How to Glue Wood Edges for a Seamless Panel Glue-Up
Glue wood edges by jointing them dead straight, checking that the faces sit in the same plane, then clamping just enough to close the seam; for most indoor panels, I reach for a quality PVA wood glue because it bonds porous wood reliably and gives a predictable open time. If the edges are out of square or the boards are twisted, the panel opens at the joints, shows a line through finish, or cures warped. This guide shows how to prep the edges, choose glue, arrange clamps, and keep the panel flat through cure.
What you’ll need


- PVA wood glue for porous wood-to-wood joints
- Parallel-jaw clamps or pipe clamps
- Cauls, straight and lightly waxed or taped
- Jointed board edges that are straight and square
- Layout pencil and reference marks
- Measuring rule or straightedge
- Small roller, brush, or glue bottle for spreading
- Rag and scraper for cleanup
- Optional: biscuits or dowels for alignment
- Optional: painter’s tape for controlling squeeze-out
How to glue wood edges for a panel glue-up
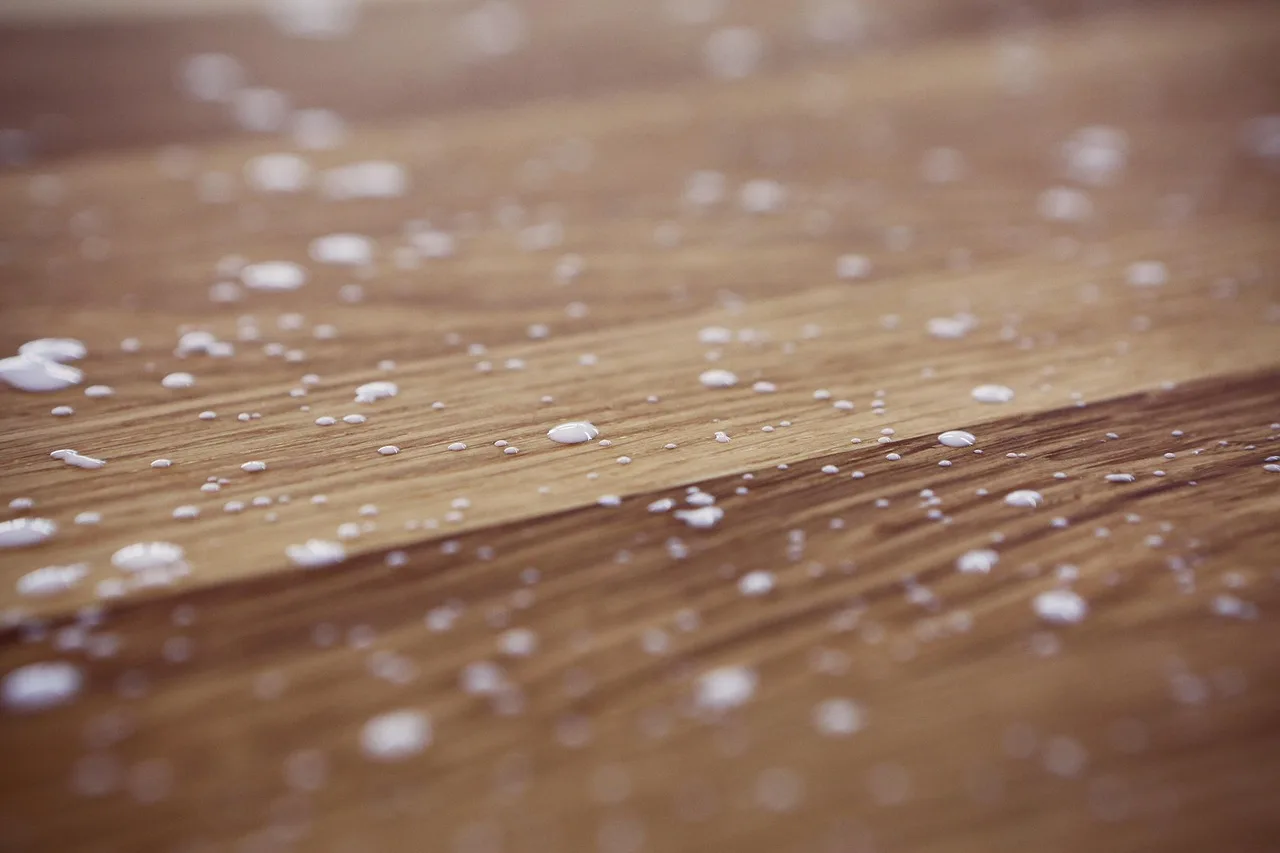
A clean seam starts with flatness, not with a stronger bottle. Jointed board edges should be straight, square, clean, and freshly machined before glue goes on, because glue can fill small pores but it will not correct bad geometry. For many indoor panel jobs, PVA wood glue is a common default because it bonds porous wood well and needs clamps for full holding power.
- Joint the edges until they meet with no daylight through the seam.
- Check each edge for square with a reliable straightedge or try square.
- Dry-fit the boards face down and mark the top faces, joint sequence, and grain direction.
- Lay out clamps and cauls before opening the glue bottle.
- Spread an even film on both mating edges.
- Bring the boards together in order, then tighten clamps only until the seam closes.
- Set cauls across the panel to keep faces flush and resist board creep.
- Clean squeeze-out at the right stage, then leave the panel alone until cure.
Why flatness comes before glue choice
A panel that is twisted or hollowed will expose the joint line even when the glue bond is sound. If the faces do not sit in the same plane, the seam shows through finish and sanding only makes the mismatch more obvious. Fix the board geometry first.
What is the best glue for edge-to-edge wood joints?
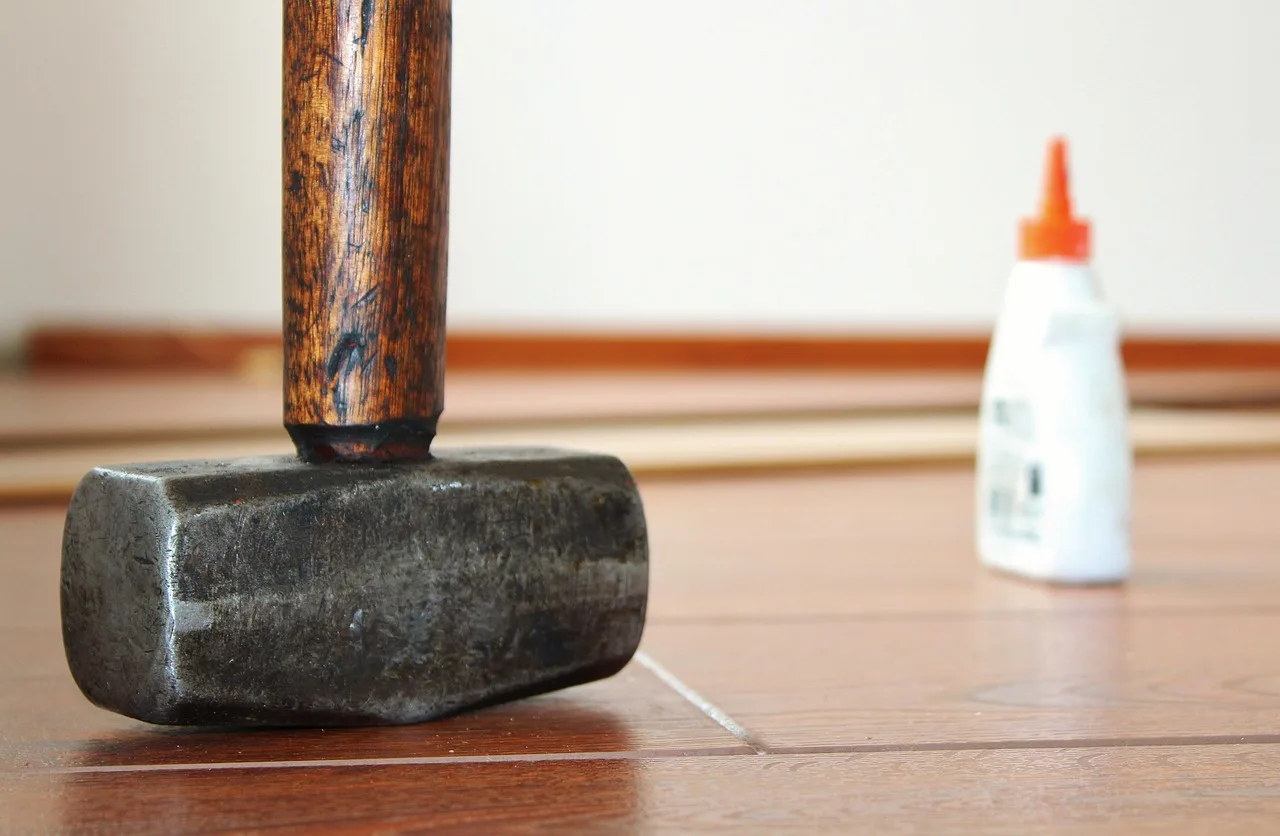
PVA wood glue is often a strong first choice for edge-to-edge panel work because it bonds wood well, stays workable while wet, and gives fairly predictable open time. Only certain wood-glue formulations are suitable for wet conditions, so moisture exposure matters. Polyurethane adhesive is a different tool; it expands as it cures and can leave foam in the joint.
| Adhesive | Best use | Panel glue-up fit | Main caution |
|---|---|---|---|
| PVA wood glue | Porous wood-to-wood joints | Best for clean seams | Needs clamps for full holding power |
| Polyurethane adhesive | Dissimilar materials and moisture-cure jobs | Poor first choice for invisible seams | Can foam out of the joint |
| Epoxy | Gap filling and special construction | Use when gaps are unavoidable | Harder to keep visually quiet |
Can polyurethane glue be used for edge glue-ups without visible seams?
It can bond wood, but it is often a poor first choice when the seam needs to disappear. Its moisture-cure behavior and foam expansion make cleanup harder, and the foamed line is often visible after finishing. Use it only when the job calls for its specific properties.
How do you prep board edges before gluing?
Prep is a fit problem. The edges should be straight, square, freshly machined, clean, and dust-free, with grain direction considered so the finished seam does not shout through the surface. Matching color and grain pattern helps the glue line vanish after sanding and finish.
Dry-fit the boards before any glue
Assemble the boards without adhesive and check the top faces, ends, and edge contact. If a board rocks, the edge is not ready. If a gap opens under finger pressure, joint the edge again before moving on.
Mark grain and face orientation
Mark the show face and the reference edge on every board. Keep the best-looking grain flow in the center of the panel when possible, and avoid placing the most visible color shift at the main seam.
How much glue should I apply on panel edges?
Apply enough glue to wet both edges evenly, not enough to run down the face. A thin, continuous film on each mating edge is the goal. If the glue disappears into dry end grain immediately, the edge may need a quick recut or a slightly fuller spread before assembly.
- Brush or spread glue over the full edge length.
- Cover the high points and corners without leaving puddles.
- Join the boards and look for a faint, continuous squeeze-out line.
- Add only a little more if a dry spot shows up when the seam closes.
Squeeze-out timing matters
Wipe too soon and you smear wet glue into the pore structure. Wait until it turns rubbery, then pare it off cleanly. That timing keeps the seam cleaner and reduces sanding marks later.
How do I keep boards aligned during a panel glue-up?
Alignment starts with straight edges and a smart clamp layout. Cauls can help keep the faces flush and limit board creep during clamp-up. Tape, reference marks, and a careful tightening sequence help, but none of them can rescue a bad edge.
- Place the clamps under the panel before the glue opens.
- Mark each board’s top face and joint order.
- Snug the center clamps first, then move outward.
- Check the top face and the ends as pressure comes on.
- Adjust cauls before final tightening if one board rises.
Clamp set choices that work
Parallel-jaw clamps and pipe clamps can both work when they are placed with a plan. More clamps do not automatically mean a better joint. Clamp pressure should close seams without starving the joint, or the glue film can get squeezed too thin to do its job.
Do I need clamps for edge-gluing boards?
Yes. Clamps are usually needed to get the full holding power of wood glue, and they keep the boards in contact while the adhesive cures. The goal is not brute force. It is even pressure, seam closure, and face control across the whole panel. (familyhandyman.com)
When simple clamps are enough
If the edges are straight, the boards are flat, and the panel is modest in width, ordinary clamps with cauls often do the job. For shelves and many cabinet panels, that is usually enough.
When alignment aids help
Biscuits or dowels can help when long edges need registration during handling or when the boards tend to shift as clamp pressure rises. They are alignment aids, not a fix for twisted or out-of-square stock. Good edge prep still does the heavy lifting.
How long should edge-glued boards stay clamped?
Keep the panel clamped until the glue has reached its handling stage and the seam no longer moves under light pressure. For a practical shop routine, leave it alone long enough that the boards cannot creep back out of alignment when the clamps come off. Then let the panel rest before flattening or trimming.
Post-cure flatness check
After clamp removal, place the panel on a known flat surface and check for twist, cup, or a lifted corner. A small deviation can be planned out during surfacing, but a major twist points back to edge prep, clamp order, or caul placement.
What causes gaps or glue lines in a glued-up panel?
Gaps and visible glue lines usually come from bad edge geometry, poor grain matching, clamp pressure mistakes, or cleanup done at the wrong time. A bright seam can also come from color mismatch between boards, especially on light finishes and wide tabletops.
Common mistakes and fixes
- Glue starvation: Reduce clamp force and spread glue more evenly.
- Misaligned edges: Re-joint the board and use cauls or light alignment aids.
- Foam squeeze-out from polyurethane adhesive: Switch to PVA for the next panel.
- Twist or cup after clamp-up: Recheck board selection and clamp balance before glueing again.
- Too much or too little pressure: Tighten only until the seam closes and the cauls sit flat.
Panel-size judgment matters
Wide tabletops usually demand stricter flatness control than a narrow shelf. Cabinet panels are sensitive to seasonal expansion and contraction, so grain orientation and width choice matter. A panel that fits today can still move with the seasons.
Prevention: Stack and sticker freshly jointed stock before glue day so the boards settle to shop conditions, then recheck flatness right before assembly.
Frequently asked questions
How do you glue wood edges so the seam disappears?
Joint the edges dead straight, match the board faces so they lie in the same plane, and use enough PVA to wet both mating surfaces. Clean squeeze-out at the rubbery stage and choose boards with similar color and grain so the line does not stand out after finishing.
Should I use biscuits, dowels, or just clamps for edge glue-ups?
For many panels, just clamps and well-jointed edges are enough. Biscuits or dowels help when the boards want to skate under pressure or when long edges need help staying registered. Use them as helpers, not as a cure for a bad joint.
Sponsored / affiliate links. As an Amazon Associate I earn from qualifying purchases. I may earn additional commission from eligible campaigns.