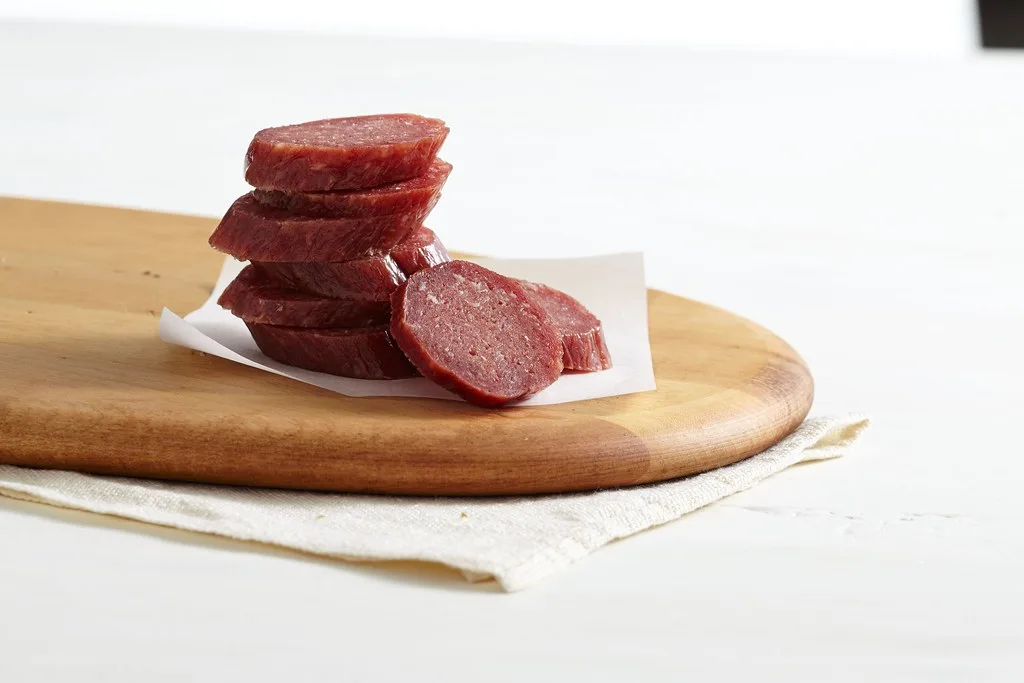
How to Glue a Cutting Board Back Together Safely Again
Glue a cutting board back together only if the break is clean, dry, tight-fitting, and you can use a food-safe adhesive; if the wood is moldy, oil-soaked, crumbling, or the seam will stay open, replace the board. A poor repair can trap moisture and bacteria, then split again under washing and knife pressure. This guide shows which glues are acceptable, how to clamp and cure the repair, and how to judge whether the board is safe for food contact afterward.
This guide is part of our Wood glue essentials: types, uses, and cure times series.
What you’ll need

- PVA wood glue for tight wood-to-wood joints on porous surfaces
- Polyurethane glue for imperfect fits or mixed-material repairs
- Epoxy adhesive for gaps, damaged fibers, and uneven edges
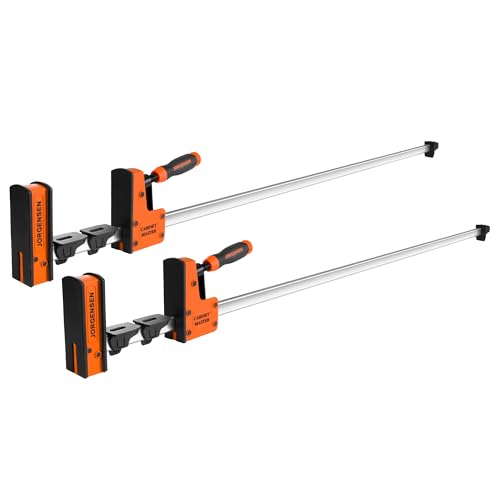
- Bar clamps, pipe clamps, or parallel-jaw clamps
- Wax paper or packing tape to keep clamps from sticking
- Scraper or chisel for squeeze-out
- 120-, 180-, and 220-grit sandpaper
- Clean rags or paper towels
- Mild degreaser or dish soap and warm water
- Mineral oil or your board’s normal finish
- Optional: cauls, straightedges, and winding sticks for warped boards
How do you glue a cutting board back together safely?
Use a food-contact-first rule: clean the wood, dry it fully, clamp the joint flat, remove squeeze-out, and let the adhesive cure all the way before washing or cutting. If the split leaves a visible glue line on the food face, or if the board is stained with oil, mold, or deep knife damage, retire it instead of trying to hide the repair.
Choose the repair based on the board, not the break alone
Adhesives can bond different materials together, but cutting boards are judged by what touches food. A hidden structural joint is one thing; a repaired surface that will be washed, scraped, and cut on is another. Adhesive spreads stress across a joint, yet a weak or exposed glue line in a food zone is a poor trade.
What makes a repair safe for food contact
The joint must be fully cured, the squeeze-out removed, and the repair stable enough that water cannot work into the seam. Wood glue is also called polyvinyl acetate (PVA) adhesive, works on wood and other porous materials, and will not bond metal, glass or plastic. Clamps are usually needed for the full benefit of wood glue’s holding power.
What glue is food safe for a cutting board repair?
For tight wood-to-wood joints on porous surfaces, PVA wood glue is often the first choice once cured, as long as the board stays flat and the repair does not leave an exposed food-contact seam. Polyurethane glue and epoxy fit special cases, but neither should be used to excuse a poor fit or a dirty, oily break.
PVA wood glue for tight, porous joints
PVA works best when both faces are clean, dry, and mate closely. It is water-soluble when wet, and it is waterproof when dry only in certain formulations, so do not assume every bottle is suitable for repeated washing. Use it where the crack closes fully under clamp pressure and the repair line can be cleaned flush after cure.
Polyurethane glue for awkward fit-up
Polyurethane adhesive can bond wood, stone, metal, plastic and other materials. It forms a flexible, waterproof bond, needs moisture to cure, and expands as it dries. That expansion can help fill a slightly imperfect seam, but it can also foam out of the joint and leave a lumpy line that is hard to keep out of a food face.
Epoxy for gaps and damaged edges
Epoxy adhesive can be useful on wood repairs where fibers are missing, the crack is gapped, or the clamping surface is not suitable for a clean PVA joint. It is the best choice when the break is more damage than split. Even then, the repaired area should often be kept off the food-contact face if the glue line remains obvious or wide.
How to prep the break for a food-safe repair
Clean off grease and food residue, dry the wood fully, and test the fit before any glue goes on. A joint that looks close on the bench can open when clamped if the board is warped, oily, or crushed with knife gouges. If the faces will not meet without force, the fix may need to move to epoxy or the board should be retired.
- Scrape old glue, dried food, and loose fibers from the break.
- Wash greasy areas with warm water and a small amount of dish soap, then dry the board completely.
- Leave the board in a warm, dry place until the wood feels stable rather than cool or damp.
- Dry-fit the break and check for twist, bow, or daylight through the seam.
- Mark the orientation so the pieces go back together in the same position.
If that didn’t work, try this next: plane or sand only enough to make the faces mate better, then re-test the fit. If the seam still opens, the board has moved beyond a simple PVA repair.
Do you need clamps to reglue a cutting board?
Yes. Clamps are needed for the full benefit of wood glue’s holding power, and they also keep the joint aligned while the adhesive cures. A hand-held squeeze is not enough. For a cutting board, use enough clamps to close the seam evenly and keep the board flat, but stop before so much pressure that glue is forced out completely. (familyhandyman.com)
How much clamp pressure is enough
Bring the joint together until a small bead of squeeze-out appears along the seam. That usually means the faces are in contact without being crushed. If the board bows under pressure, add cauls or a flat reference surface. Clamp pressure should close the break, not starve the glue line.
Where to place the clamps
Place clamps across the crack first, then add a clamp along the length if the board wants to slide. On wide boards, alternate top and bottom clamps or use cauls to keep the faces flush. For an end-grain split, compress from both sides so the block does not step out of alignment.
How long should cutting board glue cure before using it?
Wait for full cure, not just dry-to-touch. A seam that feels hard after a few hours can still move under water, heat, or knife pressure. In practice, the safe answer is to follow the adhesive’s full cure window, then add extra time before washing, re-oiling, or putting the board back into food service.
Clean squeeze-out before it hardens fully
Wipe PVA squeeze-out with a damp rag while it is still fresh, but avoid soaking the joint. For polyurethane, let the foam set and shave it off after it cures enough to cut cleanly. For epoxy, remove only the excess that will not smear deeper into the grain.
Sand only after the bond has set
Once cured, scrape the bead flat and sand the repair with a fine grit so no hardened ridge remains. Do not sand so aggressively that the glue line becomes a wide exposed strip across the food face. If the repaired seam stays visible and sits where knives will strike it, keep that face out of service.
Can you repair a cracked cutting board without making it unsafe?
Yes, if the crack is clean, tight, and stays structurally sound after cure. The repair becomes unsafe when the seam remains open, the adhesive sits in a gouge, or sanding exposes a wide glue line in the food-contact zone. If the board has mold, deep end checks, or oil saturation, replacement is safer.
When the board should stay out of food service
Keep the repaired area off the food-contact face when the glue line is broad, porous, or impossible to clean flush. That often means turning the board into a serving tray, display piece, or utility board that never touches food. If both faces need to remain usable and the repair cannot be hidden without thinning the board too much, discard it.
When to discard instead of repair
Throw the board out if the split runs through moldy wood, loose laminations, or fibers that crumble under finger pressure. Replace it if the break is in a heavily knife-gouged edge and the repair would land right where food is cut. A hidden repair is not worth an open sanitation problem.
Repair decision table: board type, crack location, and food-contact risk
| Board type | Crack location | Adhesive choice | Clamping method | Cure time before use | Keep repaired area off food face? |
|---|---|---|---|---|---|
| Edge-grain board | Tight split along a board-to-board seam | PVA wood glue | Bar clamps across the joint with cauls | Full adhesive cure, then a long dry rest | Only if sanding exposes a wide line |
| Edge-grain board | Warped or oily break with a small gap | Epoxy | Flat cauls and light-to-moderate pressure | Full epoxy cure before washing | Often yes |
| End-grain board | Crack through end blocks | Epoxy or PVA only if the fit is very tight | Even compression from both faces | Long full cure, then inspect again | Usually yes if the line is visible |
| Laminated butcher-block style | Joint failure between strips | PVA for tight joints, epoxy for gaps | Multiple clamps spaced along the seam | Full cure before any wash or oil | Yes if the repair lands on the working face |
| Any board | Crack crosses a knife-gouged edge | Epoxy or discard | Cauls plus shape control | Full cure only | Yes, or retire the board |
What if the cutting board split on an end grain joint?
End-grain splits need more caution because the broken faces can look tight while still being weak under chopping and washing. A repair can hold, but it is more likely to show, chip, or absorb moisture at the line. If the split runs through an end-grain pattern that will stay on the working face, replacement is often the cleaner decision.
How end-grain repairs differ
End-grain surfaces drink adhesive and can leave a starved joint if the glue is too thin. Epoxy is often the practical choice because it handles uneven absorption and small gaps better than PVA. Even then, the board should be inspected after cure, then kept out of service if the seam remains open or rough.
Common mistakes
Most bad cutting-board repairs fail for the same reasons: dirty wood, poor fit, too much clamp pressure, and impatience. The adhesive choice matters, but sanitation and geometry matter more when food will touch the surface.
- Do not glue over oily wood; wash, dry, and test-fit first.
- Do not use PVA on metal, plastic, or glass inserts; it will not bond them.
- Do not flood polyurethane into a tight seam; the expansion can push the joint apart.
- Do not sand so far that the glue line becomes the cutting face.
- Do not wash or oil the board before full cure.
Prevention: wipe the board dry after washing and store it upright so moisture does not sit in the crack. That slows repeat splitting and keeps the repair line from opening again.
Frequently asked questions
Can you use wood glue on a cutting board?
Yes, if the board is wood-to-wood, the faces are porous, and the joint closes tightly. Wood glue will not bond metal, glass or plastic, and it is water-soluble when wet. Only certain formulations are waterproof when dry, so the label matters for a board that will be washed often.
Should I sand or plane the glue line after repair?
Sand or plane only after the bond has fully cured, and stop before the repair becomes the main cutting surface. A flush line is fine only if it stays stable and easy to clean. If sanding would expose a broad seam in the food-contact zone, leave it alone or retire the board.
Sponsored / affiliate links. As an Amazon Associate I earn from qualifying purchases. I may earn additional commission from eligible campaigns.