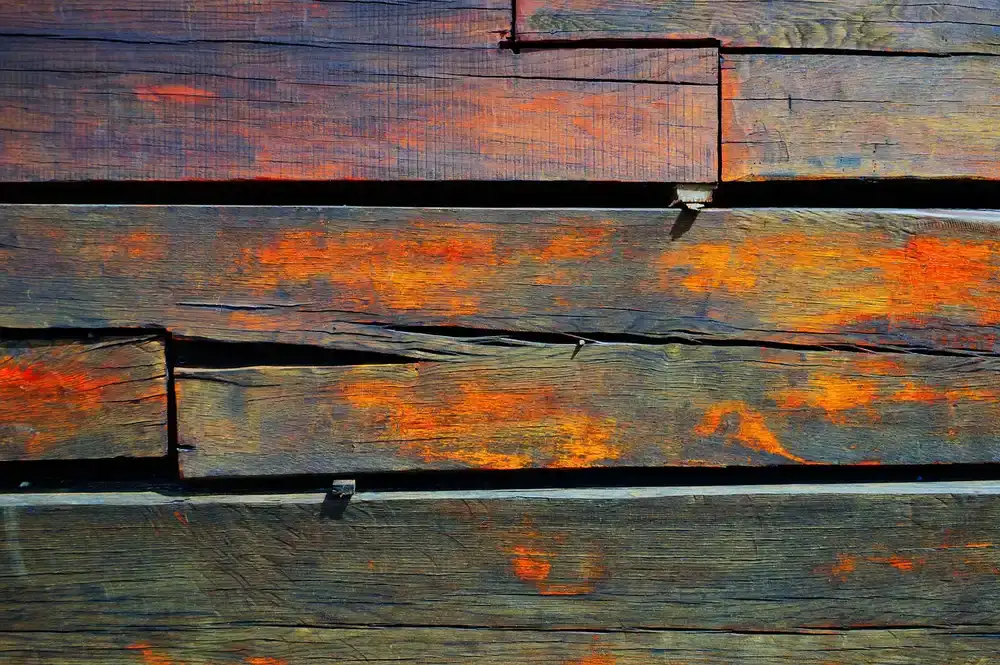
How to Glue a Cracked Wood Beam for Repair
Glue a cracked wood beam only when the split is dry, closes tightly, and is non-structural; if the gap remains fairly open, keeps moving, or has missing wood, epoxy or an inlay may be a better fit. Bad repairs leave visible lines, glue-starved joints, and cracks that reopen. This guide shows how I prep, glue, clamp, clean squeeze-out, and choose between glue, epoxy, or a Dutchman for a clean-looking repair.
What you’ll need
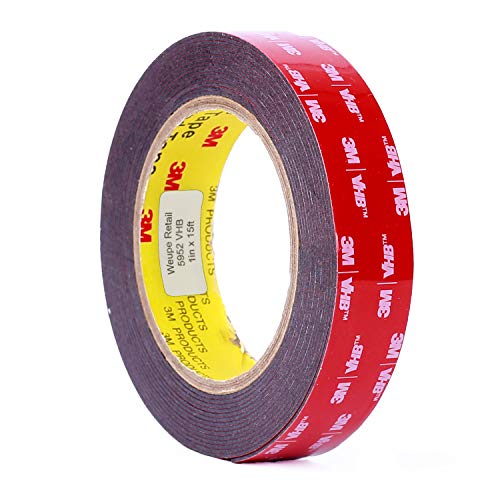

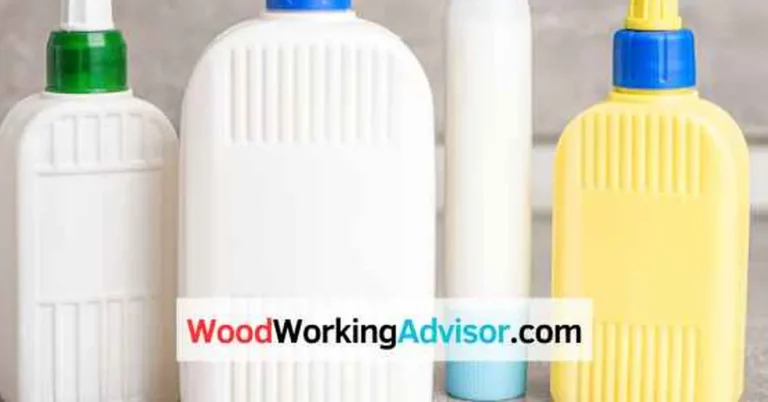
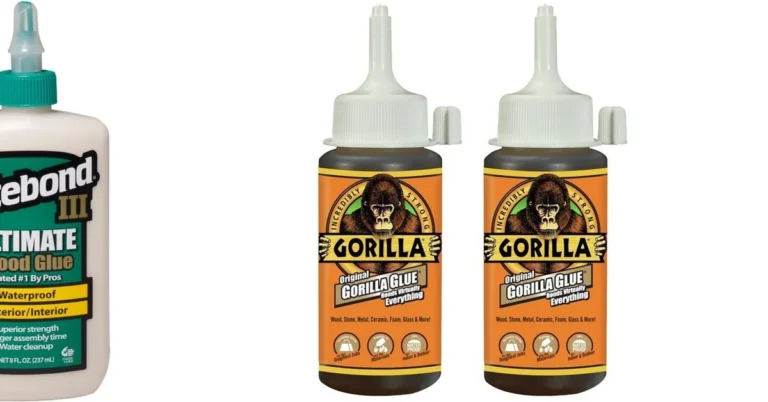
- PVA wood glue for tight, porous wood-to-wood cracks
- Epoxy for wider gaps or missing fibers
- Polyurethane glue only when a foaming gap filler is intentionally acceptable
- Clamps long enough to span the beam face and close the split evenly
- Cauls or padded blocks to prevent clamp dents
- Scrapers, stiff brushes, and a vacuum for dust and loose fibers
- Rags, tape, and a putty knife for squeeze-out cleanup
- Sanding tools for final blend work
- Table saw or circular saw if the cut-and-reglue method is needed
- Eye protection, hearing protection, and a dust mask
How do you know which repair method fits the crack?
Use the narrowest method that will close the split cleanly. Tight, stable cracks in porous wood often work well with PVA wood glue. Wider gaps, ragged edges, or missing material point to epoxy or a cut-and-reglue repair. If the beam is moving, opening, or carrying load, stop and call a pro.
Beam-crack decision table
| Crack width | Location and visibility | Movement | Best repair method | Failure mode to watch |
|---|---|---|---|---|
| Hairline to tight-close | Highly visible face | No movement after support | PVA wood glue | Glue starvation if overclamped |
| Up to about 1/16 inch | Visible but stable | Minimal seasonal opening | Epoxy | Shiny glue line if overfilled poorly |
| Open, ragged, or uneven | Any face | Edges shift or step | Cut-and-reglue with table saw or circular saw | Misalignment from forcing the split closed |
| Wide void with missing wood | Decorative or exposed beam | Stable after support | Epoxy or Dutchman/inlay | PVA bridge failure |
| Small cosmetic checking only | Low-visibility area | No movement | Wood putty or leave it alone | Patching a problem that should be monitored |
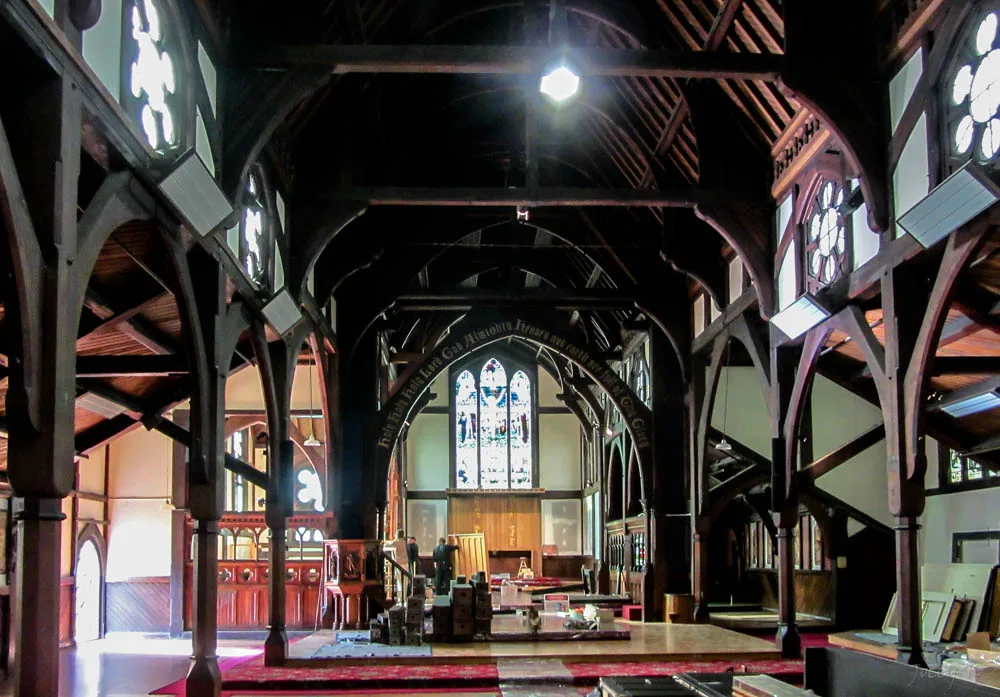
Step 1: stop the crack from moving
Support the beam so the split does not keep opening while you work. Mark both crack ends with a pencil line, then check them again after a light push or lift. If the crack length changes, the repair needs stabilization before any adhesive goes in.
Stabilize before glue-up
- Unload the area as much as possible.
- Brace the beam so seasonal movement or sag does not flex the split.
- Mark the crack ends and the grain direction.
- Photograph the gap width at several points for comparison later.
Step 2: choose glue, epoxy, or the cut-and-glue method
PVA wood glue fits porous wood with a tight joint and full clamp access. It needs clamps for full holding power and is water-soluble when wet, though only certain formulations are waterproof. Epoxy is better when the crack is wider, the wood is dry and thirsty, or the joint has missing material. Polyurethane glue is a poor default here because it expands as it cures and can foam out of the joint.
When to cut and reglue
Use a table saw or circular saw when the split is too ragged, too closed to clean, or too open to glue neatly. The cut-and-glue method is for thin cracks. If the beam face is highly visible, a clean recut often beats a crooked glue line. Bow ties are reserved for particularly large cracks, and they should extend beyond the damaged area.
Do you need clamps when gluing a cracked beam?
Yes. Clamps are usually needed to hold the crack closed during cure and to let wood glue reach full strength. Without even pressure, the joint can starve, the faces can step out of alignment, and squeeze-out can leave a stain instead of a tight seam. Cauls help spread pressure on a visible beam face. (familyhandyman.com)
Clamp and layout checklist
- Dry-fit the beam so the crack closes without forcing a twist.
- Place cauls or pads between the clamp jaws and the beam.
- Set clamps before applying glue so the assembly closes fast.
- Snug, then re-snug. Do not crush the joint flat.
- Check alignment at both ends of the split before leaving it alone.
Step 3: glue, clamp, and clean the joint
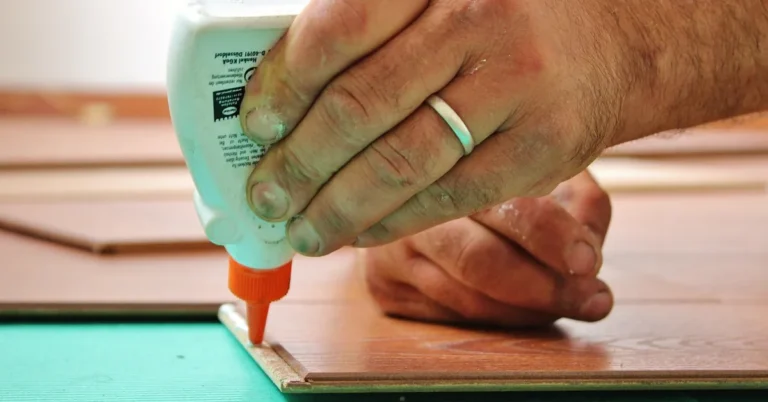
Clean the crack until glue contacts wood, not dust or old finish. Brush, vacuum, and scrape loose fibers. Apply the chosen adhesive, close the crack, and wipe squeeze-out before it hardens. Let the repair sit untouched for the full cure time before sanding, finishing, or stressing the beam.
Adhesive notes that matter
- PVA wood glue generally works best on porous wood and for wood-to-wood repairs.
- Epoxy generally handles gaps better than PVA and can be used together with reinforcement.
- Polyurethane glue needs moisture to cure, but it can foam out of joints.
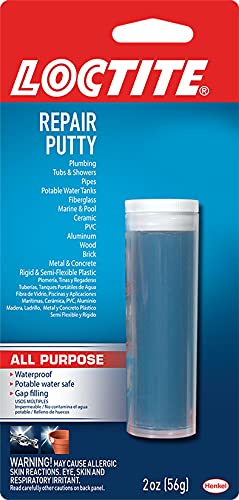
- Wood putty can hide small cosmetic cracks, but it does not restore the strength of a split beam.
How do you hide the repair so it blends in?
A hidden repair starts with a clean seam, matched color, and the right sheen. On large visible beams, even a good glue line can read as a bright stripe if the finish is too glossy or the squeeze-out stains the grain. Wood putty only disguises small cosmetic flaws; it does not bond the crack back together.
Finish-matching moves that help
- Trim cured squeeze-out with a sharp scraper before sanding.
- Feather the repair into surrounding finish, not just the crack itself.
- Match grain direction on any inlay or Dutchman patch.
- Test touch-up on a scrap from the same species if possible.
Common mistakes
Most bad beam repairs come from trying to force the wrong adhesive into the wrong crack. The joint then fails in one of a few predictable ways. Fix the cause, not the symptom.
- Glue starvation. Too much clamp pressure squeezes out PVA before it bonds. Use firm pressure, not crushing pressure.
- Polyurethane foam-out. The expanding glue can lift the joint and leave a messy edge. Use epoxy instead when the gap is open.
- Misalignment. Long cracks creep out of plane. Set cauls and check both ends before cure.
- Squeeze-out staining. Open-grain beams soak up residue fast. Wipe early and scrape late.
- Repeat splitting. If the beam is still moving, the crack will reopen. Stabilize the source or stop and call a pro.
How do you keep a crack from splitting farther after gluing?
Stop movement before glue-up and keep the beam dry and stable afterward. Mark the crack ends, brace the area, and avoid seasonal stress until the adhesive cures. If the split keeps growing, the repair method is wrong for the damage, and an inlay or professional evaluation is the safer next step.
If that didn’t work, try this next
- Switch from PVA to epoxy if the crack is wider than a tight-close seam.
- Move from glue repair to a cut-and-reglue method if the edges are ragged.
- Use a Dutchman or bow tie when the damaged area is large and visible.
- Stop if the beam still moves after support or if the crack affects structure.
Frequently asked questions
How do you glue a cracked wood beam for a non-structural repair?
Support the beam, clean the split, and choose the adhesive that matches the gap. Tight, porous cracks take PVA wood glue. Wider or uneven openings need epoxy or a recut. Clamp the crack closed, wipe squeeze-out, and wait for full cure before sanding or finishing.
What glue should I use for a cracked wood beam?
PVA wood glue is the first choice for tight wood-to-wood cracks on porous stock. It needs clamps and a close fit. Use epoxy when the gap is wider, when the wood is missing at the edge, or when wood glue would be too thin to bridge the opening.
Can wood glue repair a split beam or only small cracks?
Wood glue is best for small, tight, porous cracks that close fully under clamps. It is not a gap filler. If the split is open, ragged, or missing material, epoxy or a cut-and-reglue repair is the safer choice. Wood putty is cosmetic only.
When should I use epoxy instead of wood glue on cracked wood?
Choose epoxy when the gap is too open for PVA, when the crack has lost fibers, or when you need a material that can fill and bond at the same time. It is also useful where a joint is visible and must read cleanly instead of showing a starved glue line.
Can you glue a beam without cutting the crack open first?
Yes, if the crack is already open enough for glue to reach the inside surfaces and close fully under clamps. If it is sealed, dirty, or too ragged, a saw cut along the split gives a cleaner bond line. Table saw or circular saw cuts are used for that method.
How do you hide a cracked beam repair so it looks invisible?
Start with the least visible repair that will actually hold. Clean squeeze-out, avoid overfilling, and match finish sheen closely. On exposed beams, epoxy tinting or a carefully fitted inlay often reads better than a bright PVA line. Small cosmetic flaws can be hidden with putty only.
Sponsored / affiliate links. As an Amazon Associate I earn from qualifying purchases. I may earn additional commission from eligible campaigns.