How to Glue a Large Wood Panel Without Gaps the Right Way
I glue large panels flat by dry-fitting first, jointing the edges, setting 3 to 4 cauls, and using only enough clamp pressure to close the seam without bending the panel. Poor prep shows up fast: open seams, ridges, twist, and a panel that fights every pass of the sander. I wrote this to cover the setup, caul layout, clamp order, and pressure checks I use for repeatable glue-ups with no gaps.
What you’ll need for a large panel glue-up
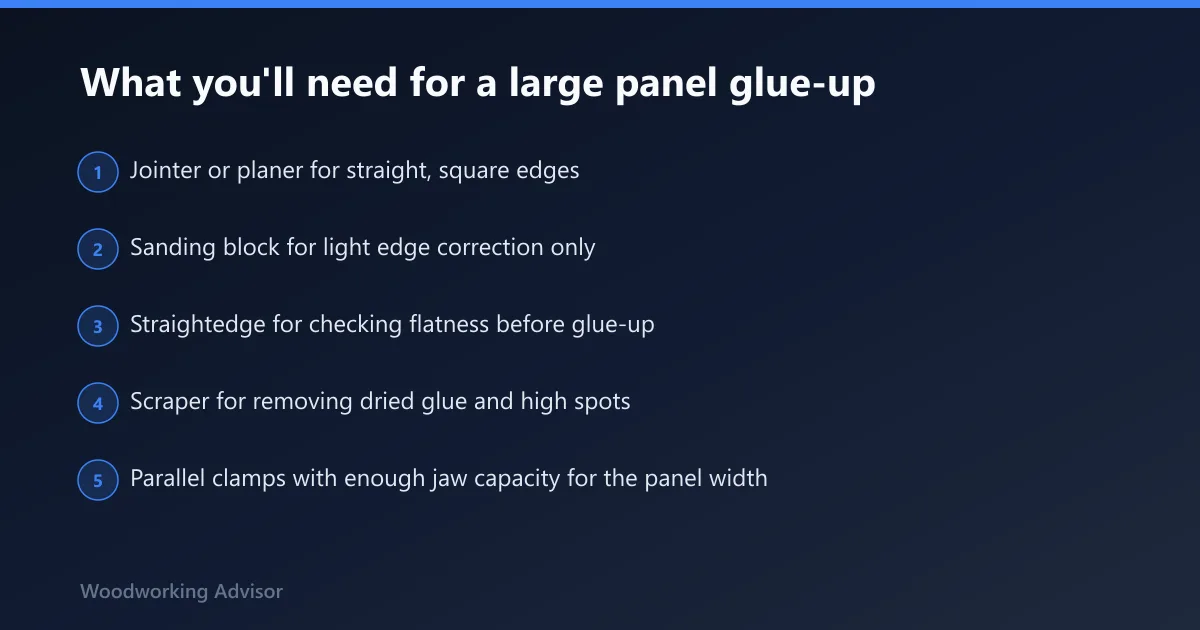


- Jointer or planer for straight, square edges
- Sanding block for light edge correction only
- Straightedge for checking flatness before glue-up
- Scraper for removing dried glue and high spots
- Parallel clamps with enough jaw capacity for the panel width
- Bar clamps or pipe clamps for long or wide assemblies
- Cauls with a slight crown, wrapped with packing tape
- PVA wood glue, polyurethane wood adhesive, or epoxy adhesive may be suitable choices
- Water, rag, and scraper for cleanup
- Dry-fit markers or pencil for clamp and board registration
How to glue a large wood panel without gaps?
Fit the joint before glue goes on, then clamp the panel flat instead of forcing shape into place. Adhesives are non-metallic substances applied to one or both surfaces, and they bond best when the parts already meet closely. On large panels, the usual failure is fit, pressure, or moisture mismatch, not the glue choice by itself.
Why large panels gap, bow, and skate during clamp-up
Wide assemblies move when clamp force is uneven, when edges are not square, or when boards carry different moisture content. Large parts with small bonding area are a poor match for any adhesive, so the joint needs to be prepared with care. Grain direction matters too; one board wanting to cup or move seasonally can pull the seam open later.
What has to be true before the glue goes on
The boards must be clean, dry, and matched tightly before gluing. A dry fit should already show a straight seam, faces close enough to need only light sanding, and no daylight under a straightedge across the assembly. If the panel is bowed before glue-up, the clamps usually copy that bow instead of fixing it.
Step-by-step large panel glue-up
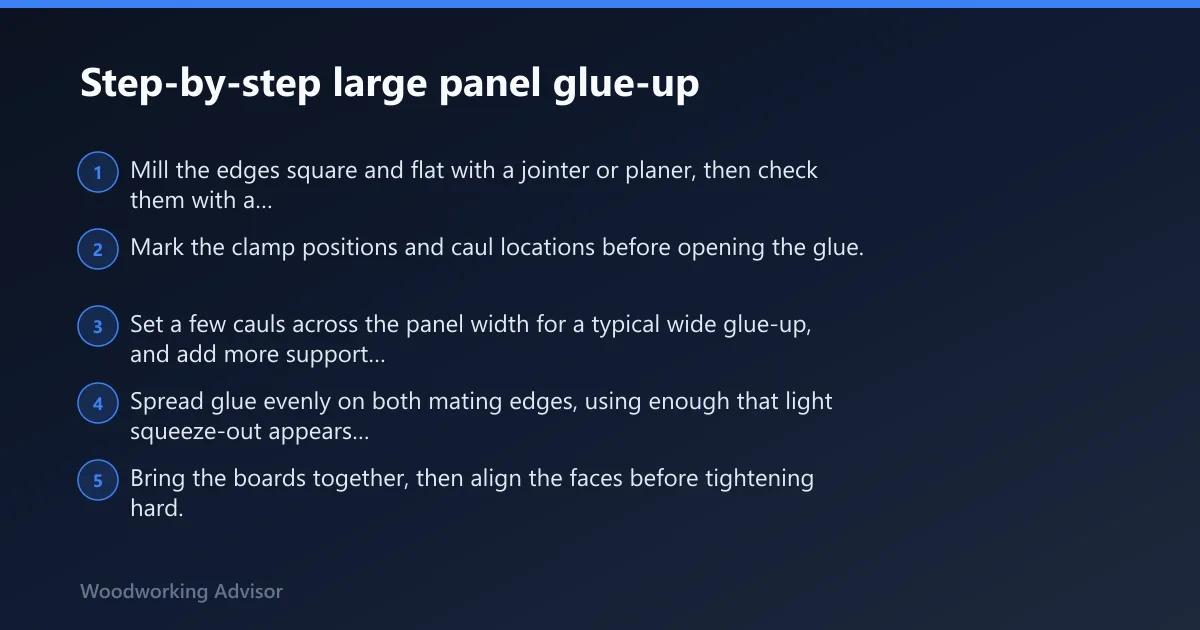
- Mill the edges square and flat with a jointer or planer, then check them with a straightedge and dry-fit the full panel.
- Mark the clamp positions and caul locations before opening the glue.
- Set a few cauls across the panel width for a typical wide glue-up, and add more support on longer runs.
- Spread glue evenly on both mating edges, using enough that light squeeze-out appears along the seam.
- Bring the boards together, then align the faces before tightening hard.
- Tighten in stages from the center outward, checking for bowing, skating, and crown as the clamps come up.
- Leave the panel untouched until the glue sets, then scrape squeeze-out after it firms up.
How much glue should you apply to a wood panel joint?
Spread a continuous film on both edges. No dry smear. No flood. For PVA wood glue, I want a full wet line with a little squeeze-out along the joint; that tells me the seam is covered. Polyurethane can foam as it cures, so use less than you would with PVA. Epoxy can tolerate thicker lines, but it should not be used to excuse a sloppy fit.
How do you keep boards aligned when edge-gluing a wide panel?
Clamp the faces flush before chasing full pressure. Parallel clamps help because their jaws spread pressure more evenly along the joint, and their jaw capacity makes them practical for wide panels. Place clamps both above and below the seam if the panel wants to skate, and keep them spaced along the length so one tight spot does not twist the run.
What clamps do you need for a large panel glue-up?
For wide panels, parallel clamps are my first choice because they hold pressure more evenly across the faces. Bar clamps or pipe clamps work well when length matters, especially on panels that outgrow shorter parallel-clamp jaws. The real question is count and spacing, not brand type. A long panel needs support along its full length, not only at the ends.
Clamp layout diagram
| Panel width | Suggested clamp setup | Placement note |
|---|---|---|
| Up to 12 in. | 2 parallel clamps | One near each end |
| 12 to 24 in. | 3 parallel clamps | Ends plus center |
| 24 to 36 in. | 4 clamps, mixed parallel and bar | Even spacing along the seam |
| Over 36 in. | 4 to 6 clamps, plus cauls | Keep pressure balanced across length |
Caul setup checklist
- Use a slight crown so the caul bites at the center first.
- Wrap the bearing face with tape or packing tape so it will not stick.
- Place cauls across the panel, not only near the ends.
- Use them to hold the panel flat, not to crush the seam closed.
- Check that the cauls do not slide as pressure comes on.
How do you stop a panel from cupping or bowing while the glue dries?
Use cauls with a slight crown and wrap them so they do not stick. That lets them press the panel flat without bonding to the work. Keep clamp pressure balanced across the full width and length, because uneven force can create a bow, a crown, or a twisted panel that looks fine wet and wrong after cure.
How to prevent skating and crowning under clamp pressure
Start with light pressure, align the faces, then tighten only until the seam closes. Too much pressure can make boards slide or lift into a crown. On edge-glued panels, I get the best result with moderate pressure, enough to close a tight joint and hold face alignment, not brute force.
Should you use PVA, polyurethane, or epoxy for a large panel?
Use PVA for close-fitting edge joints that need water cleanup and normal clamp time. Use polyurethane when moisture-cure behavior helps, but expect foaming expansion, mess, and less predictable cleanup; it suits outdoor work better than tight interior panel glue-ups. Use epoxy for repairs, thicker glue lines, and small gaps where structural fill matters.
Glue choice by use case
| Adhesive | Best use | Main tradeoff |
|---|---|---|
| PVA wood glue | Close-fitting edge joints | Needs a tight fit and typical clamp time |
| Polyurethane wood adhesive | Moisture-cure outdoor work | Foams, can get messy, and can fill only small imperfections |
| Epoxy adhesive | Structural repair and thicker glue lines | Requires mixing and careful control |
PVA generally cleans up with water and tends to work best on close-fitting joints. Polyurethane and epoxy have their place, but they are not my default for a well-machined panel seam. Some adhesive products may be quick-curing, but a quick cure does not make up for poor fit or uneven moisture balance.
Checklist, clamp layout, and failure fixes
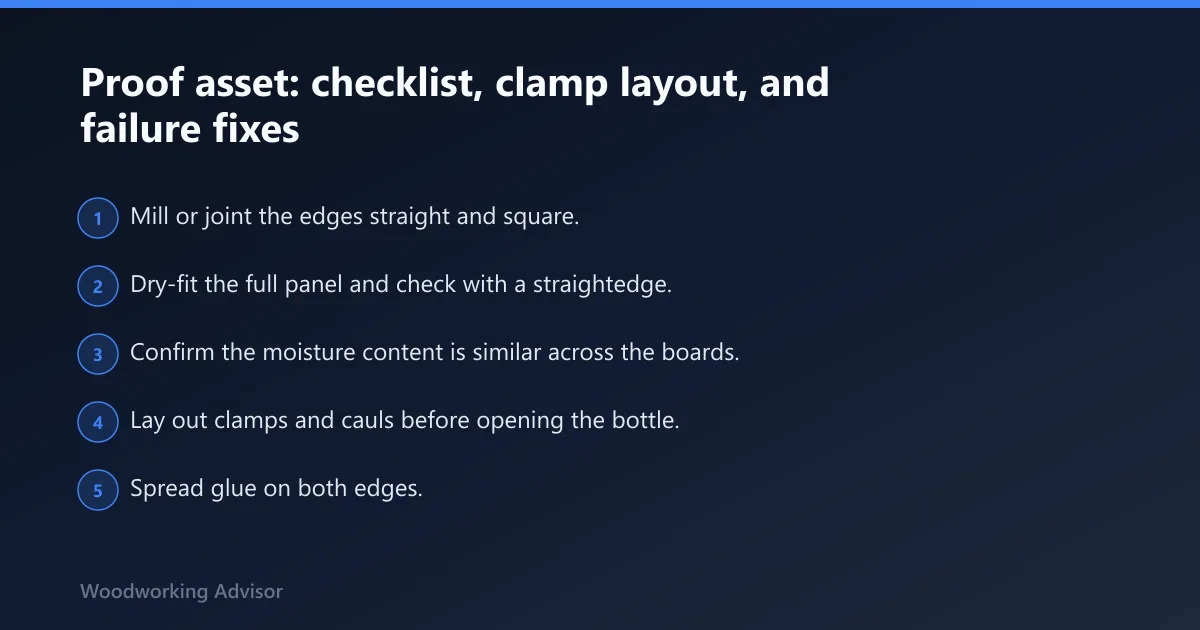
Use this sequence every time: fit, moisture, clamps, glue, alignment, cure. Adhesives spread stress across a joint more evenly than some fasteners, but only if the seam is already right. Some glues can be used to keep water out of boats or buildings, and construction adhesive products may be described as quick-curing, but a panel glue-up still needs dry stock and tight edges first.
Large-panel glue-up checklist
- Mill or joint the edges straight and square.
- Dry-fit the full panel and check with a straightedge.
- Confirm the moisture content is similar across the boards.
- Lay out clamps and cauls before opening the bottle.
- Spread glue on both edges.
- Bring the seam together and align the faces.
- Tighten in stages and check for bowing.
- Leave the panel clamped until cure.
Failure-repair table
| Problem | What usually caused it | Best fix |
|---|---|---|
| Skew | Uneven clamp sequence or no dry fit | Release pressure, realign the boards, then retighten from center outward |
| Bowing | Too much pressure at one point | Back off the middle clamp and add cauls with a slight crown |
| Starved joint | Overclamping or too little glue | Reset with lighter pressure and a full wet coat |
| Minor gaps | Small fit error or wood movement mismatch | Use epoxy for repair work, not as a fix for the whole panel |
| Uneven squeeze-out | Glue spread was inconsistent | Open the joint, recoat evenly, and reclamp |
What if that did not work
- Break the joint before full cure if the seam has obvious skew or a starved area.
- Re-joint the edges with a jointer or planer, then dry-fit again.
- Swap in longer clamps or add more clamps along the length if the panel is wide.
- Move to epoxy only for a small repaired gap, not for a poor full-length edge joint.
Prevention: Let the stock acclimate before milling, and keep boards with similar grain direction together in the same panel. That lowers the chance of seasonal movement opening the seam after glue-up.
Common mistakes
Skipping the dry fit is the fastest way to buy trouble. If the panel is not flat before glue-up, clamps usually preserve the problem instead of solving it.
- Too much clamp pressure: causes squeeze-out starvation and can bow the panel.
- Ignoring moisture mismatch: leads to later gaps as boards move at different rates.
- Using polyurethane as a default: invites foam and cleanup problems on tight seams.
- Trying to fill a bad joint with epoxy: hides a milling error for a while, then fails as a habit.
- Skipping cauls: leaves the panel free to crown or skate under pressure.
How long should you leave a large wood panel clamped?
Leave it clamped until the adhesive has set enough that the joint will not shift if the clamps are removed. For many PVA panel glue-ups, overnight clamping is safer than a quick squeeze-and-go. Polyurethane and epoxy may need different wait times, so the cure window should match the adhesive used, not the shop clock.
Sponsored / affiliate links. As an Amazon Associate I earn from qualifying purchases. I may earn additional commission from eligible campaigns.