How to Glue Bottle Caps to Wood: E6000 or Skip It Under Epoxy
Use E6000 or ordinary PVA wood glue to attach bottle caps to wood — skip hot glue and super glue if you’re finishing the piece with a poured epoxy topcoat, since neither cures reliably under resin. A cap set with the wrong glue lifts or clouds within weeks once epoxy goes over it. This guide covers picking the right adhesive for your finish, flattening bottle-opener-bent caps, and cure times for PVA, epoxy, and hot glue.
Do Bottle Caps Need To Be Flat Before Gluing?
Best Bottle Cap Glue Pick
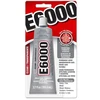
E6000 230010 Craft Adhesive, 3.7 oz – $9.35
This is the exact all-purpose formula this guide recommends for gluing metal caps straight to wood — no dowel-mounting workaround needed for flat caps.
- Best for: bonding metal bottle caps directly to wood in one step
- Why we picked it: bonds glass, wood, plastics, tin, metal and ceramic in one tube, per the manufacturer’s own bonding list
- Main drawback: strong odor while curing — work in a ventilated space, and allow up to 72 hours for full cure strength
Compare more bottle cap glue options
 Option 1 E6000 Craft Adhesive Mini (4 Pack) – $6.98
|
 Option 2 Eclectic E-6000 High Viscosity (2-Pack, 3.7 oz) – $13.50
|
 Option 3 E6000 3.7 oz + Snip-Tip Applicators & Dotting Pens – $16.99
|
As an Amazon Associate we earn from qualifying purchases.
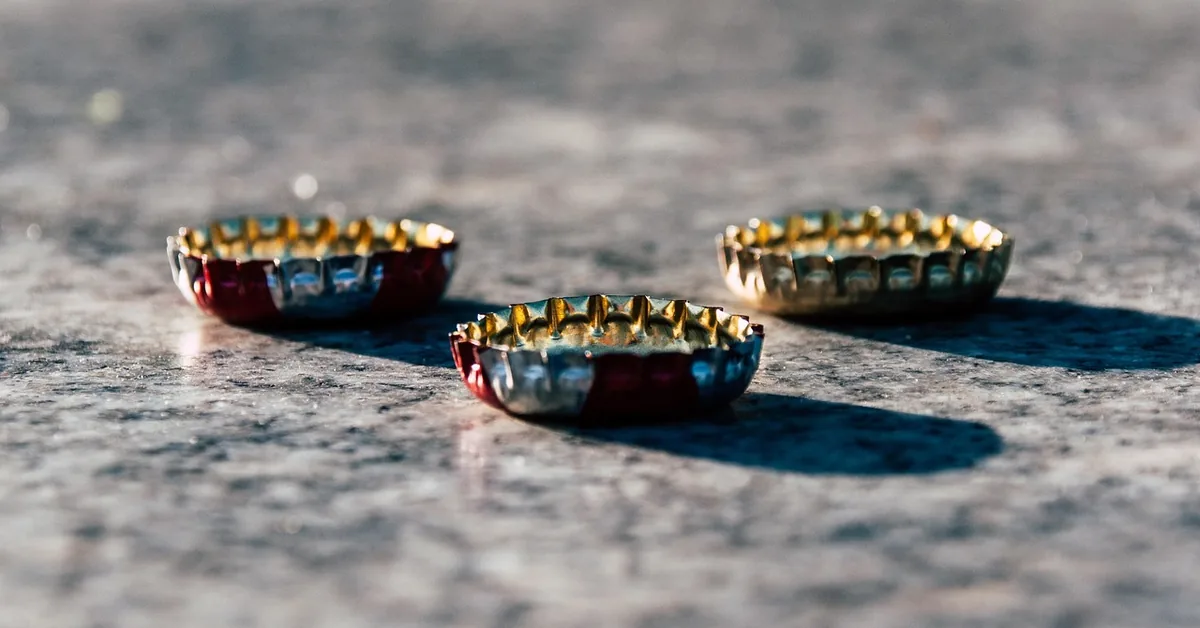
Yes — a cap bent or crimped by a bottle opener won’t sit flush against wood, so straighten it with pliers or set it aside before gluing. For caps that stay domed, glue a short section of dowel to the wood first, then glue the cap to the top of the dowel; this raised-mount trick is the standard fix crafters use for caps that won’t lie flat on their own.
“If your caps came off with a bottle opener, they’re bent — glue a scrap dowel to the wood first, then glue the cap to the dowel top. Skipping that step is the most common reason bottle-cap art ends up wobbly instead of flat.”
Materials Needed
To glue bottle caps to wood, you need specific materials. The right glue makes a big difference. Some suitable glues include PVA glue, hot glue, and epoxy. Each type has its own strengths.
Selecting the right wood is also important. Choose a smooth surface for better adhesion. Softwoods like pine work well, but hardwoods can be used too.
Gathering bottle caps is easy and fun. Look for metal or plastic caps from drinks. Clean them properly to remove any residue. This ensures a strong bond.
E6000 is the adhesive most crafters reach for first — it bonds metal caps to wood in one step, with no dowel workaround needed for flat caps; see our full E6000 how-to guide for working time and safety notes. If you’re planning to top the piece with poured epoxy resin, use PVA wood glue underneath instead — hot glue and super glue both peel away once epoxy cures over them.
Preparation Steps
Start by cleaning the wood surface thoroughly. Use a damp cloth to remove dust. Let the surface dry completely before gluing.
Next, sort your bottle caps by color or size. This helps in creating a nice design. Check each cap for dirt or rust.
Use a soft brush to clean any dirt off the caps. Make sure they are dry and free from moisture. This helps the glue stick better.
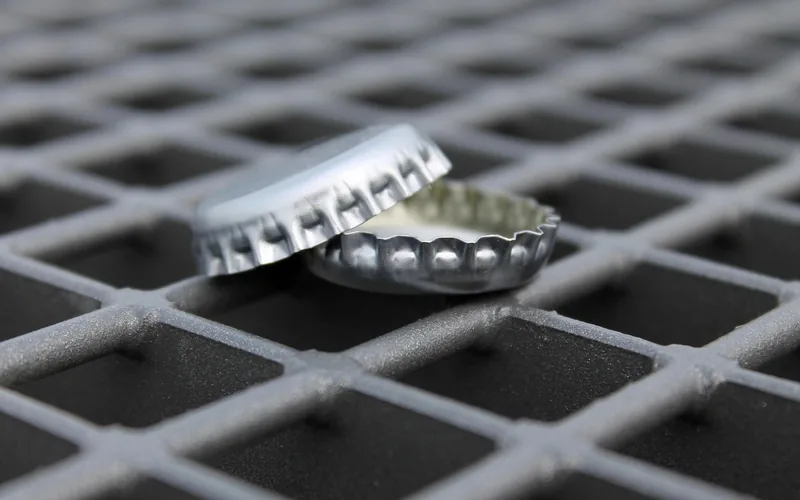
Design Layout
Before gluing, plan your design carefully. Use a piece of paper to sketch your idea. This helps visualize the layout. Choose a flat surface for your project.
Place the bottle caps on the wood temporarily. Arrange them in the desired pattern. Move them around until satisfied. This step ensures the final look is perfect. Make sure there is enough space between the caps.
Take a photo of the layout. This will help during gluing. Remember, temporary placement is crucial for a good design.
Gluing Techniques
To apply glue to bottle caps, first clean the surface. Use a dry cloth to remove dust. Select a strong glue, like super glue or wood glue. Apply a small amount of glue to the cap’s inner side. Press the cap firmly onto the wood. Hold it for a few seconds to ensure a strong bond.
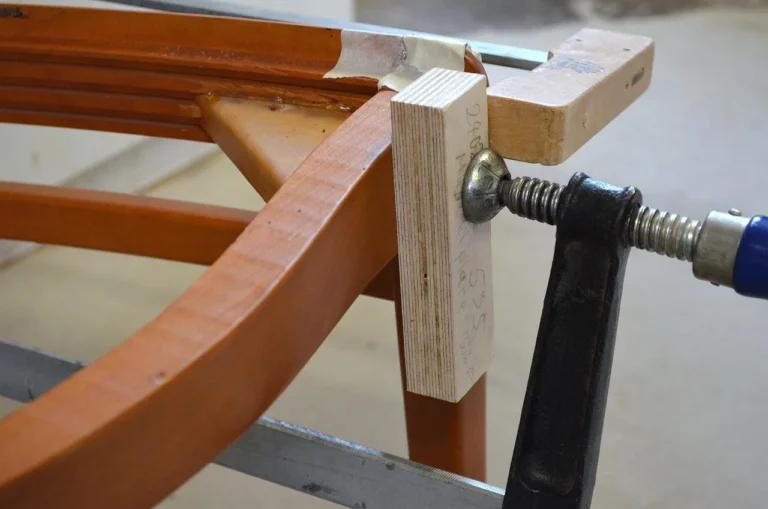
Securing caps to wood is easy with the right steps. After pressing the cap, place a weight on top. This helps keep it in place as the glue dries. Allow the glue to cure for the time recommended on the package. A longer drying time can improve the bond strength.
Drying And Curing
Drying and curing are very important for a strong bond. Use the right drying time to achieve the best results. Here are some recommended drying times for different glues:
| Glue Type | Initial Set Time | Full Cure Time |
|---|---|---|
| PVA Glue | 30 minutes | 24 hours |
| Epoxy | 5 minutes | 24 hours |
| Hot Glue | 10 seconds | 1 hour |
📊 E6000 reaches roughly 90% of its bond strength after 24 hours, but full cure takes up to 72 hours — Source: Eclectic Products, 2026
Ensuring a secure bond means waiting for the glue to dry completely. Rushing this step can lead to weak connections. Always check the manufacturer’s instructions for specific drying times. Patience pays off in the end!
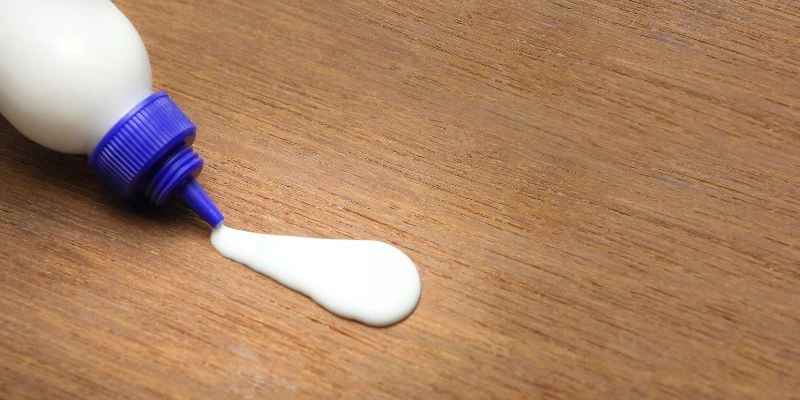
Finishing Touches
To seal your artwork, use a clear acrylic sealer. This protects the surface and adds shine. Spray or brush it on for even coverage. Allow the sealer to dry completely.
For mounting or displaying your piece, choose a sturdy base. Use strong adhesive for secure attachment. Hang your artwork on a wall or place it on a shelf.
Consider adding a frame for extra protection. Frames also enhance the overall look. Ensure the frame matches your artwork style.
Finally, enjoy your unique creation! Each piece is special and shows your creativity.
Maintenance And Care
Cleaning your bottle cap artwork is easy. Use a soft, dry cloth to remove dust. Avoid using water or chemicals. They can damage the glue.
For long-term care, keep your artwork away from direct sunlight. Sunlight can fade colors over time. Protect it from high humidity and extreme temperatures.
Check for loose caps regularly. If any caps become loose, reapply glue as needed. Store your artwork in a safe place to avoid accidental damage.
| Care Tips | Details |
|---|---|
| Cleaning | Use a soft, dry cloth only. |
| Sunlight | Avoid direct sunlight to prevent fading. |
| Humidity | Keep away from high humidity areas. |
| Loose Caps | Check and re-glue as needed. |
Frequently Asked Questions
How Do I Prepare Wood For Gluing Bottle Caps?
Before gluing bottle caps to wood, ensure the surface is clean and dry. Sand the area lightly to create a better bonding surface. Remove any dust or debris using a damp cloth. This preparation will help the adhesive adhere more effectively, ensuring a stronger bond.
What Type Of Glue Is Best For Bottle Caps?
The best glue for bottle caps is a strong adhesive like E6000 or epoxy. These types provide a durable bond suitable for metal and wood surfaces. Craft glue or hot glue may also work for lighter applications. Always check the glue instructions for specific usage recommendations.
How Long Does Glue Take To Dry On Wood?
Drying time for glue on wood varies by adhesive type. Generally, super glue dries within 10 minutes, while epoxy may take several hours to cure fully. Always refer to the manufacturer’s instructions for precise drying times. Patience is key to ensure a strong and lasting bond.
Can I Remove Glued Bottle Caps From Wood?
Yes, you can remove glued bottle caps from wood, but it requires care. Try using a heat source like a hairdryer to soften the glue. Gently pry the cap off using a flat tool, taking care not to damage the wood.
Residual glue can be removed with a solvent.
Can I Use Hot Glue Or Super Glue Under An Epoxy Resin Topcoat?
No. Hot glue and super glue both peel away once epoxy resin cures over them, so caps can lift free from the finish. Use PVA wood glue underneath instead if you’re planning to pour epoxy over the finished piece.
Conclusion
Gluing bottle caps to wood is a fun and creative project. With the right materials and techniques, you can achieve durable results. Remember to choose the appropriate adhesive for your specific needs — and match it to your finish if epoxy resin is part of the plan. For more adhesive comparisons, browse our wood glue guide hub. Your finished project will be a unique addition to your decor.
Sponsored / affiliate links. As an Amazon Associate I earn from qualifying purchases. I may earn additional commission from eligible campaigns.