How to Glue a Miter Joint on Trim and Picture Frames
Glue a miter joint by dry-fitting it, brushing on a thin, even coat on both faces, and clamping with a band clamp or tape until it sets; use PVA for wood-to-wood, polyurethane for gaps or damp repair spots, and CA for tiny frame fixes. Bad miters leave visible seams, weak corners, and squeeze-out that ruins painted trim. I cover clean-corner gluing, clamp-limited repairs on small frames and installed trim, painted-surface tactics, squeeze-out cleanup, and adhesive choice.
Why miter joints open up


A miter joint fails for plain reasons: very little glue area, a lot of end grain, and movement after installation. On visible corners, the problem shows first because light catches the seam and any springback opens the line.
Small glue area and end grain contact
A picture frame miter joint is a 45-degree corner joint with a relatively small end-grain contact area. Wood glue works on wood and other porous materials, but end grain drinks adhesive fast, so fit matters as much as glue choice.
When the cut is clean, the faces meet like two halves of one board. When the cut is off, even a good adhesive cannot make up for a hollow corner.
Fit problems, springback, and seasonal movement
Many miters open because the cut was almost right, then springback or handling shifted the corner before the bond cured. Trim molding is especially unforgiving when installed in place, because the wall, casing, or crown profile limits access and adds stress.
Seasonal movement also pushes joints apart later. That is why a corner that looked fine on the bench can show a hairline seam after the room dries out or the heat kicks on.
According to familyhandyman.com — Polyurethane glue is described as a 1K PU adhesive. (source)
How do you get a tight miter before gluing?
Get the joint tight before glue ever leaves the bottle. Dry-fit the corner, check the saw setup, correct the cut if needed, and test the fit with light pressure rather than force. A miter should close by contact, not by clamping two bad cuts into shape.
Dry-fit the corner and read the gap
Set both pieces together without adhesive and look at the seam under strong light. A gap at the front means the visible edge will show the problem after finish goes on, so fix the cut before assembly.
If the back touches and the face does not, the angle is off. If one corner lifts while the other closes, the faces are not matching cleanly.
Check the saw cut and the mating faces
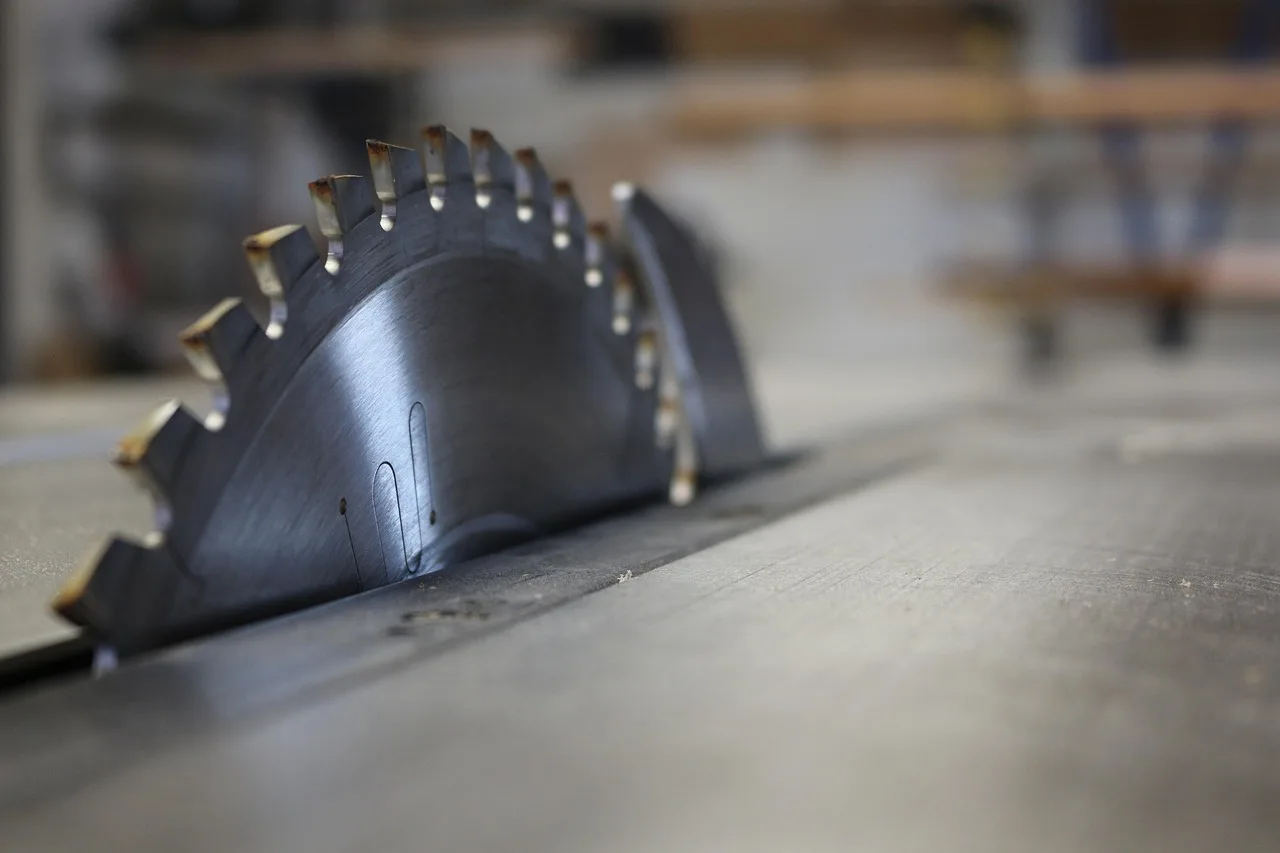
Inspect the saw setup, then check the cut faces for burning, fuzz, or a chipped point. Even a tiny ridge can hold the miter open. On stained trim, a poor cut line often looks worse than the gap itself.
For small frame parts, a fresh cut usually beats trying to sand a mismatch into submission. Sanding can round the point and make the seam more obvious.
Use light pressure, not force, to test the fit
Press the joint together by hand. It should close with light pressure and stay aligned without twisting. If you have to bend the stock hard, the glue line will fight you later and the corner may spring open after the clamps come off.
Which glue should you use on wood miters?
PVA wood glue is often the go-to for many wood miters because it tends to bond porous wood surfaces well and usually gives enough working time to align the corner. Use polyurethane glue when you need some gap-filling help and can control moisture. Use cyanoacrylate adhesive for tiny repairs, tack-ups, and quick fixes.
PVA wood glue for most porous wood joints
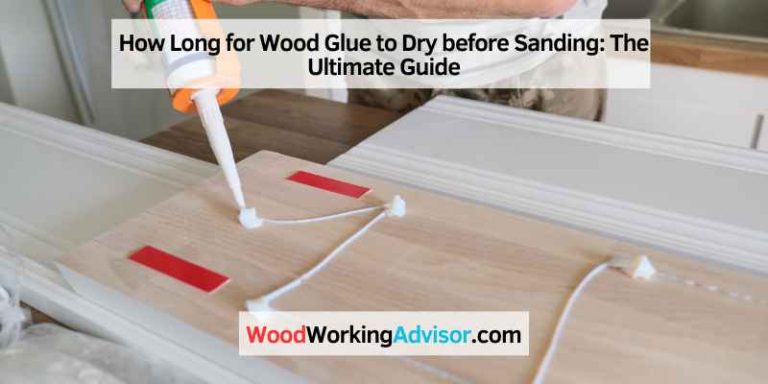
PVA wood glue, also called carpenter’s glue or white glue, is the go-to adhesive for woodworkers. It bonds two pieces of wood, usually needs clamps, and is water-soluble when wet. Some formulations are waterproof when dry, which matters on trim in damp areas.
Use PVA when the miter fit is already good. It is the best match for wood-to-wood joints where clamp access is available and squeeze-out can be cleaned before it hardens.
Polyurethane glue for gap-filling in the right situation
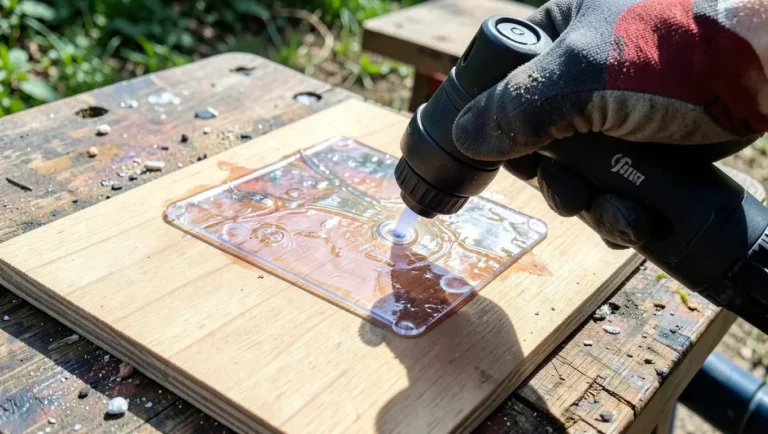
Polyurethane glue is a 1K PU adhesive that needs moisture to cure. It expands as it dries, can fill crevices and pores, and can foam out of the joint. It also bonds wood, stone, metal, and plastic, but that does not mean it is the first choice for every trim corner.
Use it when a miter has small voids, the repair spot is slightly dry or irregular, and you can control the squeeze-out. On visible corners, the foam needs careful cleanup.
Cyanoacrylate for small repairs and tack-ups
Cyanoacrylate adhesive, also called super glue, is useful in a pinch on wood. It sets fast and works well for tiny picture frame miters, quick tack-ups, and holding a corner while a slower adhesive takes over.
It is best for small parts and brief hold points, not as the main answer for a loose, stressed trim corner.
How do you glue a miter joint without clamps?
Use tape, a temporary brace, or pinning to hold the corner in alignment when clamps cannot reach. These methods are best for tiny frames and on-wall trim repairs, but they are often only a hold, not a full substitute for real clamping on a loaded joint.
Use tape, a temporary brace, or pinning to hold alignment
For a picture frame, strong tape across the back of the miter can help act like a hinge. Fold the frame, apply glue, and wrap the tape tight enough to pull the corner closed. For installed trim, a scrap block or brace can hold the profile while the adhesive sets.
Pinning can help on very small molding. A thin pin or brad placed with care can keep the faces from sliding, especially when the repair is too small for a clamp head.
Pick fast tack methods for tiny frames and on-wall trim repairs
CA glue is useful when the part is small and the alignment is already right. It grabs quickly, so there is little time to correct a bad fit. That makes it better for tack-ups than for correcting a crooked joint.
On installed trim, fast tack methods help when access is poor and the corner must be held from shifting while a more durable bond develops.
Know when no-clamp methods are only a hold, not the final bond
No-clamp tricks keep the joint closed long enough to cure, but they do not magically improve the bond. If the glue needs pressure to perform, treat tape or pins as temporary support and choose the adhesive with that limitation in mind.
How long should a miter joint stay clamped?
A miter joint should stay clamped until the adhesive has set enough to resist movement, but full cure matters more than grab time. The corner should not be bumped, twisted, or reinstalled into stress before it is ready. A weak early release often opens the seam later.
Clamp long enough for alignment, then leave the joint alone
With PVA, the clamp’s main job is to keep the faces aligned and maintain contact while the glue grabs. With polyurethane or CA, the clamp or tape still needs to hold the corner still while cure progresses.
If the joint can slide under finger pressure, it is not ready. Even a corner that looks set can creep if handled too soon.
Why full cure matters more than grab time
Grab time only tells you when the joint stops moving easily. Full cure is when the adhesive has done its real work. That distinction matters on picture frames that get lifted by one corner and on trim that takes seasonal stress after installation.
How do you stop miter joints from opening later?
Stop opening by improving the fit, choosing the adhesive for the material and access, applying steady clamping pressure, and reducing post-install movement. End grain-heavy joints need good contact, and painted trim needs a cleaner assembly than raw shop work because defects stay visible.
Fit quality and adhesive choice
A tight joint is still the best defense. Use PVA on porous wood surfaces when the cut is accurate. Use polyurethane only when the joint needs help filling small voids. Use CA only for small fixes where speed matters more than open time.
Clamping pressure and movement control
Clamp enough to close the seam, not so hard that the faces skate past each other. Too much pressure can starve the joint or twist a narrow frame rail. After the bond sets, avoid hanging loads from a single point until the corner has fully cured.
End grain-heavy joints and seasonal movement
End grain absorbs adhesive fast, so a thin coat on both faces is better than a puddle on one side. On installed trim, movement control matters too. Leave the joint in its final position, then avoid forcing caulk or fasteners to do the glue’s job.
Should you use brad nails with glue on trim joints?
Yes, brad nails can help on trim joints, but they are only a holding aid. The glue makes the bond; the nails keep the corner from shifting while the adhesive cures. On painted trim, set the nails where putty or touch-up will hide them.
When brad nails help
Brad nails can be useful when clamp access is poor, especially on baseboard returns, casing miters, and crown pieces that tend to spring apart. They hold the profile flush while the glue cures and reduce the chance of the joint creeping open.
When nails are not enough
Nails do not replace a sound fit. If the miter is gapped or twisted, the fastener may pull one face in and leave the other proud. That often creates a worse visible line than the original seam.
How do you handle painted trim corners and squeeze-out?
Mask finished edges before glue, keep squeeze-out minimal, and clean it at the right time. Painted and stained trim show every mistake. The safest workflow is to protect the face first, then remove wet glue before it hardens into a shiny patch.
Mask finished edges before glue
Use painter’s tape along the visible edges before assembly. Leave the seam line exposed, but protect the face where squeeze-out would be hard to remove. This is especially helpful on painted baseboard corners and crown trim.
Wipe or scrape squeeze-out at the right time
With PVA, wipe fresh squeeze-out before it skins over, using a damp cloth mainly on the glue line and avoiding a wide pass across an unfinished edge. With polyurethane, avoid smearing the foam around; let it cure, then trim it clean. CA glue needs speed because once it sets, scraping becomes the safer option.
Deal with cured glue without scarring the face
On visible trim, cured glue is best pared carefully with a sharp chisel or scraper held nearly flat. Test the tool in an inconspicuous spot first. Aggressive sanding can burn through paint or flatten a profile that should stay crisp.
Miter joint decision checklist and repair matrix
Use this checklist to match the adhesive, clamp method, open time, and cleanup method to the actual job. The right choice depends on fit, finish, access, and whether the corner is a small frame or installed trim.
Decision checklist
- Check the fit dry and fix the cut if the seam opens at the face.
- Identify the material: raw porous wood, painted trim, or a tiny decorative piece.
- Choose PVA for clean wood-to-wood joints, polyurethane for small voids, or CA for tiny tack-ups.
- Pick the hold method: clamp, tape, brace, pin, or a mix of them.
- Plan cleanup before glue goes on the part.
| Job | Best glue | Hold method | Open time target | Cleanup approach |
|---|---|---|---|---|
| Loose picture frames | PVA wood glue; CA only for tiny edge tacks | Corner clamp or band clamp | Long enough to square the frame and check diagonals | Wipe fresh squeeze-out immediately |
| Painted baseboard corners | PVA wood glue; CA for a fast hold if access is poor | Tape, brad nails, or a temporary brace | Short-to-moderate, since access is limited | Mask first, then scrape cured spots carefully |
| Crown trim | PVA for tight cuts; polyurethane only for small gaps | Blocks, tape, and nails as a helper | Enough time to seat the profile without shifting | Remove squeeze-out before it hardens on the face |
| Tiny decorative moldings | CA adhesive, or PVA if clamping is possible | Tape, pinning, or a light hand brace | Very short for CA; longer for PVA | Use the smallest possible cleanup area |
Frequently asked questions
What is the best glue for picture frame miters?
PVA wood glue is the best default for picture frame miters because the parts are porous wood and the joint can be clamped well. For tiny frame repairs, CA glue can help with tack-up, but it is better as a helper than as the main bond on a stressed corner.
Do you need wood glue or super glue for trim corners?
Use wood glue for most trim corners when the fit is sound and you can hold the pieces in place. Use super glue only for tiny repairs, quick tack-ups, or places where clamp access is poor. For painted trim, plan your cleanup first because mistakes are hard to hide.
What glue works best on painted trim corners?
PVA wood glue usually works best on painted trim corners if the joint is tight and the pieces can be held still. Tape off the face first, keep squeeze-out under control, and use CA only for small touch repairs where speed matters more than working time.
Sponsored / affiliate links. As an Amazon Associate I earn from qualifying purchases. I may earn additional commission from eligible campaigns.