How to Glue Wood Slats to a Wall for an Accent Panel
Use construction adhesive alone only for lightweight slat panels on sound drywall or plywood; add screws into studs for medium or tall panels, and use wall framing support for heavy solid-wood slats or weak walls. I have seen a weak bond sag, pop loose, and tear drywall, which turns a weekend job into repairs. This guide shows how I choose glue, glue-plus-screws, or framing support based on panel weight, backing, and wall type.
This guide is part of our Wood glue essentials: types, uses, and cure times series.
What you’ll need

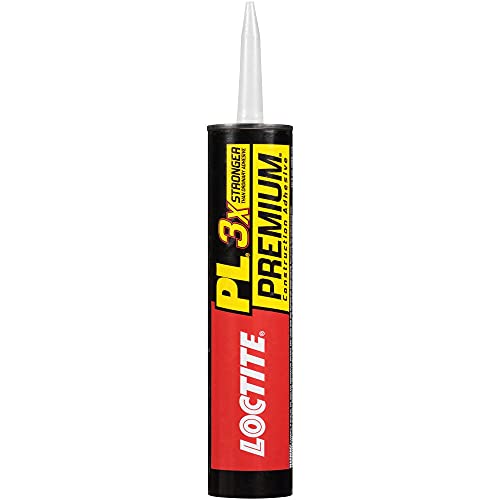


- Construction adhesive
- Caulk gun
- Tape measure
- Pencil
- Stud finder
- Level
- Utility knife or saw
- Black drywall screws
- Wall anchors matched to the substrate
- Safety glasses and hearing protection
- Felt-backed panel trim pieces, if the panel system uses them
- Outlet box extender, if the panel thickness pushes the device back from the finished face
According to how to install wood paneling on walls: Slat vs Shiplap – — One guide recommends letting panels acclimate indoors for at least 48 hours.
What type of panel and wall do you have?
Start with the panel type and the wall behind it. Felt-backed acoustic slat panels are generally lighter and easier to mount, while solid wood slats and shiplap can be heavier and may need mechanical fastening. Drywall is often the easiest common wall to work on, but plaster and masonry can change the fastening plan quickly.
Panel types
Acoustic slat panels usually combine narrow wood slats with felt backing. The felt hides screw heads and allows width trimming with a utility knife on some systems. It does not carry structural load. Solid slats and shiplap are heavier, stiffer, and more likely to bow if the wall is uneven or the adhesive line is weak.
Wall substrates
Drywall is common and can work with adhesive alone on light panels if the surface is clean and smooth. Plaster can be brittle, so anchors or direct-to-stud fastening are safer. Masonry usually needs adhesive rated for the material plus masonry anchors or a furring structure when the panel is heavy or the wall is rough.
What adhesive is best for wood slats on drywall?
Use a construction adhesive intended for wall bonding and interior trim rather than wood glue. Wood glue is for wood-to-wood joints and does not bond metal, glass, or plastic well, which matters when panel systems include clips, trims, or mixed materials. On drywall, the best bond comes from clean paint, flat contact, and enough cured adhesive area.
Choose the adhesive with the wall, not the label
For painted drywall, a construction adhesive with strong initial grab is the practical choice. The wall must be dust-free and not chalky. If the paint is glossy, scuffed paint gives the adhesive a better bite. If the panel is heavy, treat adhesive as a helper, not the only support.
Decision table: adhesive only, adhesive plus screws, or stud mounting
| Panel type | Wall substrate | Recommended fastening | Common failure mode |
|---|---|---|---|
| Felt-backed acoustic slat | Drywall | Adhesive only for light panels on smooth, clean walls; adhesive plus screws for taller runs | Sagging on dusty paint, bond failure at top edge, slight bowing |
| Felt-backed acoustic slat | Plaster | Adhesive plus anchors or direct-to-stud fastening | Cracked plaster, loose keying, edge lift from brittle substrate |
| Felt-backed acoustic slat | Masonry | Adhesive plus masonry anchors or furring strips | Weak bond on dusty masonry, cold-surface adhesion loss |
| Solid wood slat | Drywall | Adhesive plus screws into studs | Panel creep, fastener pullout from drywall alone |
| Solid wood slat | Plaster | Stud mounting or anchors plus adhesive | Hairline cracking, anchor failure in weak plaster |
| Solid wood slat | Masonry | Anchors or furring with adhesive where approved | Sagging, bond failure, uneven telegraphing from wall texture |
| Shiplap | Drywall | Adhesive plus screws into studs | Board movement, visible gaps, fastener pop through face |
| Shiplap | Plaster | Stud mounting is preferred | Cracked plaster, uneven board faces, loose sections |
| Shiplap | Masonry | Furring strips anchored to masonry, then fasten boards to framing | Adhesive failure on rough wall, uneven board plane |
How do you glue wood slats to a wall for an accent panel?
Glue works best when the wall is flat, the panel is light, and the adhesive gets time to grab before the panel can move. For felt-backed acoustic panels, adhesive can be enough on a good drywall surface. For solid slats or shiplap, plan on screws or anchors too, especially in tall sections.
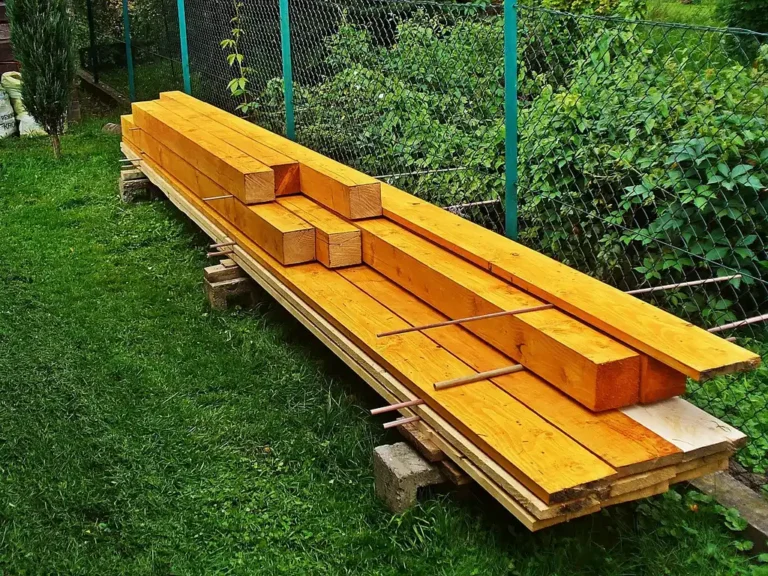
- Let the panels acclimate indoors for at least 48 hours.
- Clean the wall until it is free of dust, flat, and dry.
- Mark a plumb vertical reference line for the first panel.
- Cut panels to height and width, then open outlet and switch cutouts before hanging.
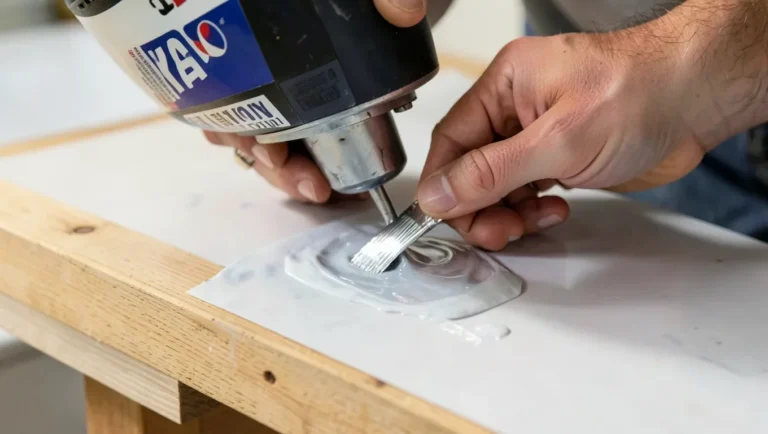
- Load the caulk gun and apply construction adhesive in an X or Z pattern on the back.
- Press the panel into place, then add screws where the panel type allows it.
- Hold, brace, or tape the panel until the adhesive grabs, then leave it to cure fully.
Adhesive bead pattern and hold strategy
An X or Z pattern spreads the load better than a few random dabs. Keep beads far enough apart that the panel can be pressed flat, but close enough that the center does not float. On large pieces, temporary bracing or painter’s tape helps stop slip while the adhesive sets.
How long should wall panels acclimate before installation?
Give the panels at least 48 hours indoors before installation. That matters because wood and felt can shift with humidity, and a panel that changes size after mounting can open seams or push itself off the adhesive line. Keep the pieces in the room where they will be installed, not in a damp garage.
Why acclimation matters
If slats arrive cold, wet, or very dry, they may move after fastening. That movement can bow edges, split trim joints, or telegraph a curve through the whole field. Let the panel stack rest flat, off concrete if possible, so air can reach both sides.
How do you cut wood slat panels around outlets?
Measure outlet and switch locations from the level reference line, then cut the opening before the panel goes on the wall. Felt-backed panels often allow clean trimming with a utility knife for width changes, while solid wood and shiplap usually need a saw for the main cut and a jigsaw or multi-tool for boxes. If the panel thickness recesses the device, use an outlet box extender so the cover plate sits flush.
Work from the face, not the guess
Dry-fit the panel and mark the device location on the face side. Then transfer the opening to the back, leaving enough material to keep the panel stable around the cutout. A sloppy cut can leave a gap that the cover plate will not hide.
One-page fastening decision table
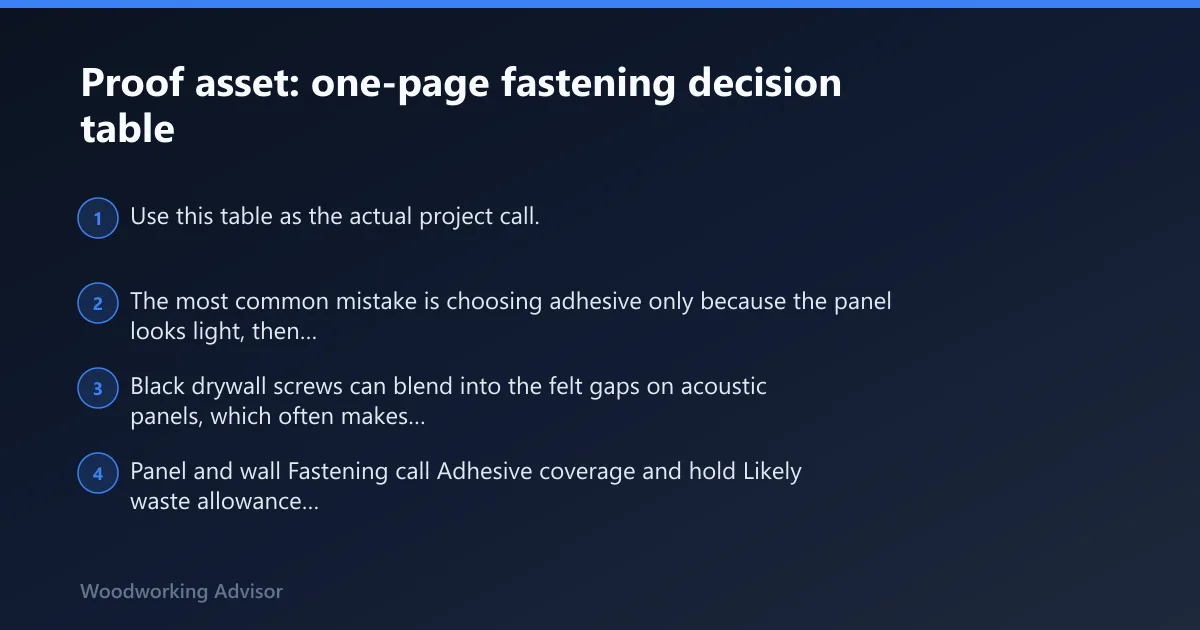
Use this table as the actual project call. The most common mistake is choosing adhesive only because the panel looks light, then finding the wall is dusty, the run is tall, or the substrate is brittle. Black drywall screws can blend into the felt gaps on acoustic panels, which often makes them a discreet supplemental fastener when the system allows it.
| Panel and wall | Fastening call | Adhesive coverage and hold | Likely waste allowance |
|---|---|---|---|
| Felt-backed acoustic slat on clean drywall | Adhesive only for small, light sections | Use continuous X or Z beads; brace until grab, then cure fully | Plan roughly 10% extra adhesive for test beads and edge cleanup |
| Felt-backed acoustic slat on drywall, tall wall | Adhesive plus black drywall screws into studs | Adhesive carries the field; screws stop creep and edge lift | Plan about 10% panel waste for cuts around corners and outlets |
| Solid slat on drywall | Adhesive plus screws into studs | Adhesive alone is not enough for long-term support | Allow extra for straightening bowed boards and trimming ends |
| Shiplap on plaster | Stud mounting or anchors plus adhesive | Use adhesive as a bed, not the only support | Plan added material for cracked areas and patching around anchors |
| Any panel on masonry | Anchors or furring, then adhesive where suitable | Rough walls need a flatter support plane first | Expect higher waste from shimming and layout adjustments |
Can these panels hold a TV or shelf?
No. Decorative wood slat wall panels are not a reliable mounting point for TVs, shelves, or other heavy loads unless the load is carried into framing or a separate structural backer. Felt backing does not carry weight, and adhesive alone is not a structural attachment for that kind of load.
Use framing for anything that can fall
If a TV, shelf, or cabinet is going on the wall, fasten that item to studs or another approved structural support behind the panel. The panel can be trimmed around the bracket, but it should not be the thing holding the load.
Common mistakes
Dusty paint, glossy walls, and uneven drywall are the usual adhesive killers. Another frequent problem is fastening only to the panel skin and missing studs on a heavier run. On acoustic panels, too few screws can let the panel sag before the adhesive cures, and bowed slats can telegraph gaps at the edges.
If that didn’t work, try this next
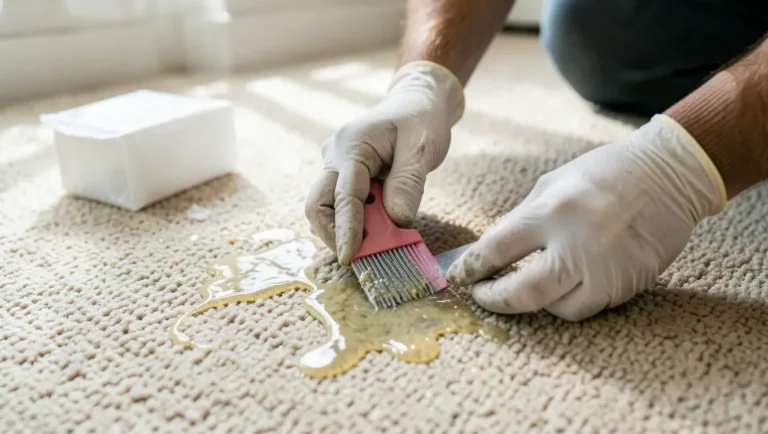
- Pull the loose panel and scrape off failed adhesive.
- Wash the wall with a dry microfiber cloth, then scuff glossy paint lightly.
- Locate studs again and add black drywall screws through felt gaps or use the proper anchors for plaster or masonry.
- Reapply adhesive in a full X or Z pattern and brace the panel until cured.
Prevention: mark the plumb line before the first panel, then dry-fit the opening cuts and device locations on the floor so the wall layout does not drift as the installation climbs.
Frequently asked questions
How do you glue wood slats to a wall without nails?
Use a construction adhesive rated for interior wall bonding, spread it in an X or Z pattern, and press the panel to a clean, flat wall. Temporary tape or a brace holds the piece while the adhesive sets. On anything beyond a light acoustic panel, add screws or another mechanical fastener.
Do I need screws as well as construction adhesive for slat panels?
Yes, for most medium or tall runs, and for solid wood slats or shiplap. Black drywall screws work well with felt-backed acoustic panels because they hide in the backing gaps. For drywall, screws into studs are the safer choice when panel weight or height increases.
Can wood slat wall panels hold a TV or shelf?
No, not by themselves. Decorative panels are finish material, not structure. Fasten TVs, shelves, and similar loads into studs or another structural backer behind the panel, and treat the slats as a trim layer that gets cut around the mounting hardware.
What’s the difference between acoustic slat panels and shiplap installation?
Acoustic slat panels are lighter, often felt-backed, and sometimes can use adhesive alone on good drywall. Shiplap is heavier and more sensitive to wall flatness, so it usually needs adhesive plus screws into studs or a furring system. The fastening choice matters more than the look.
Should I use adhesive, screws, or both for wall slats?
Use adhesive only for lightweight acoustic panels on sound drywall. Use adhesive plus screws for solid slats, tall sections, or any run where movement would be a problem. Use studs, anchors, or a structural backer when the wall is weak, the panel is heavy, or the load is more than decoration.
Sponsored / affiliate links. As an Amazon Associate I earn from qualifying purchases. I may earn additional commission from eligible campaigns.