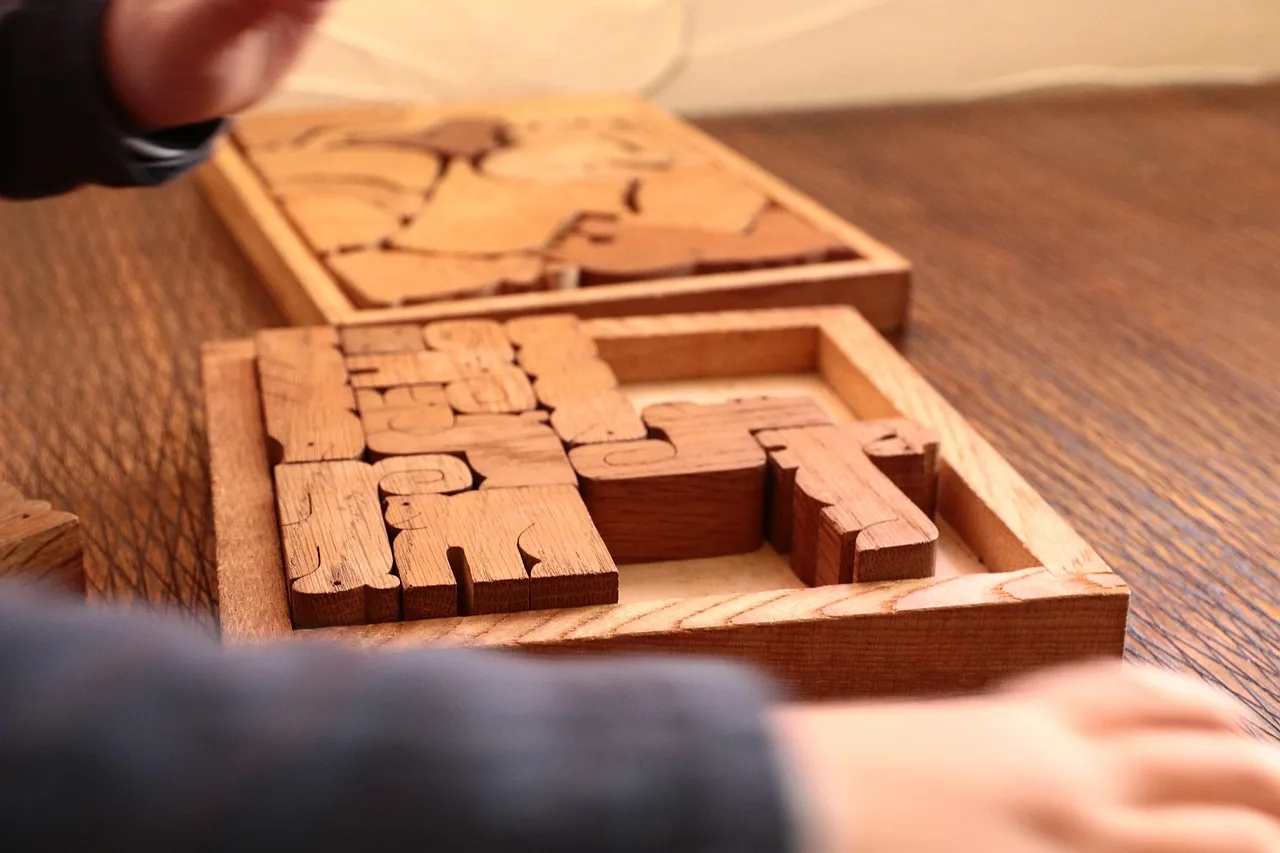
How to Glue Wooden Puzzle Pieces Back Together
What you’ll need


- PVA wood glue for most porous wood-to-wood breaks
- Cyanoacrylate glue for tiny chips and fast spot fixes
- Polyurethane adhesive for gapped breaks where waterproof bond matters more than cleanup risk
- Painter’s tape for temporary holding and alignment
- Micro clamps for small parts with light pressure
- Wax paper or scrap backing to keep parts from sticking to the bench
- Fine-grit sandpaper for flush leveling after cure
- Small scraper or razor blade for cured squeeze-out
- Wood filler or sawdust-and-glue paste for tiny cosmetic gaps
- Matching stain, retouch marker, or topcoat for finish blending
- Pencil for alignment marks on hidden edges
How do you glue wooden puzzle pieces back together without visible lines?
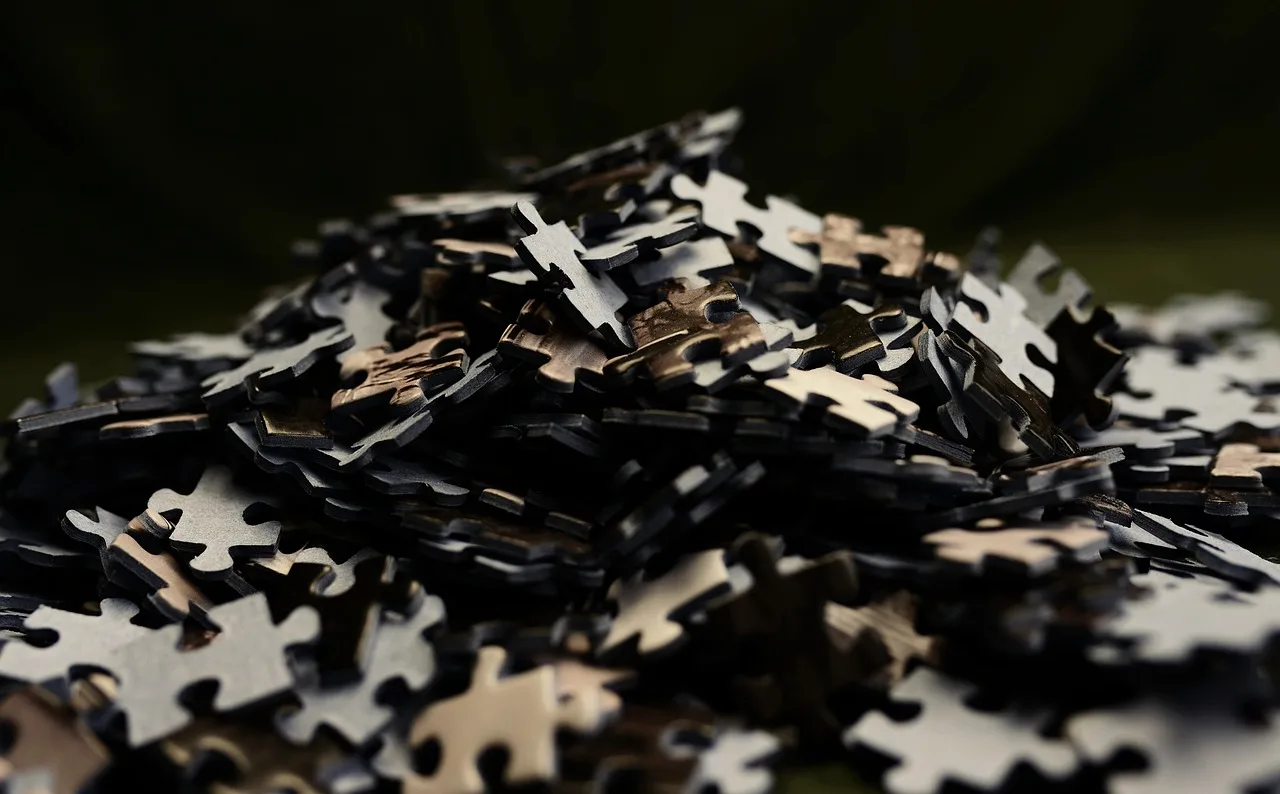
Use a clean break, a tight dry-fit, and the right adhesive for the joint. I want the faces to meet dead on, the squeeze-out kept off the front, and the final color and sheen to blend with the surrounding wood or painted art surface.
This guide is part of our Wood glue essentials: types, uses, and cure times series.
Repair decision checklist
| Break type | Best adhesive | Concealment method | Notes |
|---|---|---|---|
| Clean wood-to-wood break | PVA wood glue | Tape alignment, light clamping, careful cleanup | Best for porous wood and tight joints |
| Hairline crack | Thin cyanoacrylate glue | Wick in sparingly, sand lightly after cure | Fast, but excess can leave a glossy line |
| Tiny chip or missing sliver | Cyanoacrylate or PVA with dust filler | Sawdust-and-glue paste or fine filler | Use filler only for cosmetic repair |
| Small gap or crushed edge | PVA with tinted dust paste, or PU if gap-filling is needed | Fill, level, then match finish sheen | Polyurethane can foam out of the joint |
| Painted or printed face | Small-dose CA or PVA, depending on fit | Minimal glue line, then marker or topcoat touch-up | Gloss control matters as much as color |
Wood glue is often called white glue or carpenter’s glue, and it is more correctly known as polyvinyl acetate adhesive. It mainly works on wood and other porous materials, it won’t bond metal, glass or plastic, and it can heal cracks and splits in wood. It usually needs clamps for full holding power.
What glue works best for repairing a wooden puzzle?
PVA wood glue is the default for most puzzle repairs because it spreads thinly, dries clear enough for hidden joints, and bonds porous wood well. Cyanoacrylate fits tiny, fast repairs. Polyurethane adhesive fits a gappy break only when gap filling or water resistance matters more than cleanup risk.
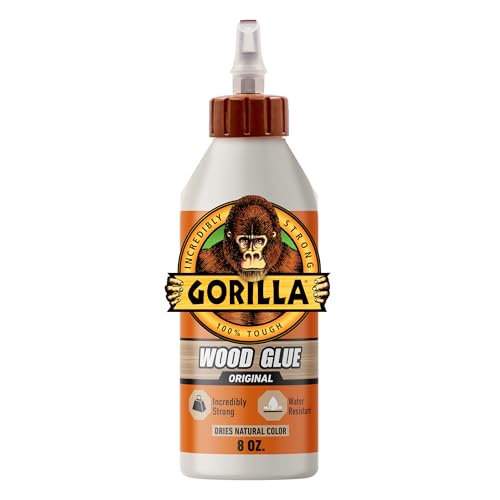
Polyurethane glue forms a flexible, waterproof bond, and a 1K PU adhesive can bond wood, stone, metal, plastic and other materials. It needs moisture to cure and expands as it dries, so the foam can show at a visible seam. Gorilla Glue is described as a polyurethane adhesive. (familyhandyman.com)
If that didn’t work, try this next
- Match the break to the bond line: use PVA for tight porous wood, CA for hairline repairs, and PU only for a gap you cannot close cleanly.
- Read the label for open time and cure time before you mix or apply anything.
- Choose the least visible adhesive that still fits the break, because extra holding power will not hide a seam.
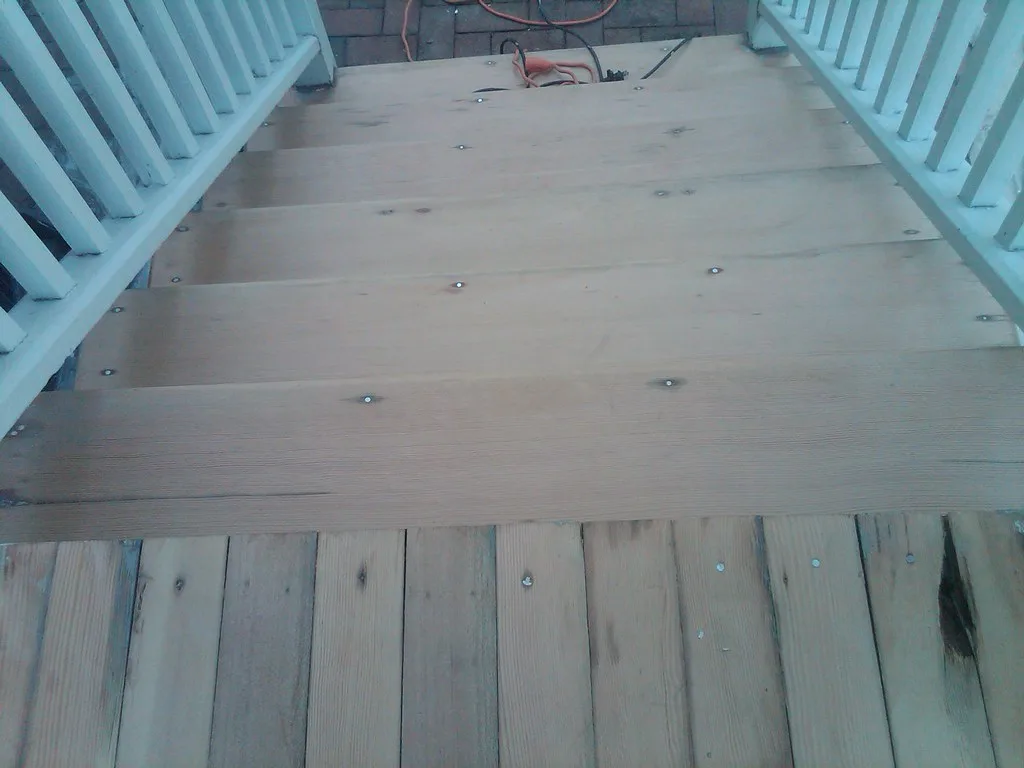
Step 1: Dry-fit the pieces and mark the alignment
Dry-fit every piece before glue touches the break. Check grain, edges, printed art, and missing chips, then pencil small reference marks on the back or hidden edge so the joint returns to the same position without twisting or sliding during clamp-up.
- Lay the broken faces together without glue.
- Check whether the break is clean, cracked, crushed, or missing a chip.
- Mark the hidden edge with a pencil line across the joint.
- Confirm the face pattern before moving to adhesive.
How do you clamp tiny puzzle pieces without damaging them?
Use painter’s tape first, then micro clamps only if the joint needs more hold. Keep pressure light. On small puzzle parts, heavy clamping can crush corners, skew the fit, and force glue into a visible ridge that is harder to hide than the break itself.
Clamp and tape setup
- Bridge the joint with painter’s tape on the face side, then fold it closed like a hinge.
- Place wax paper or scrap backing under the piece so it cannot bond to the bench.
- Use micro clamps or finger pressure with scrap blocks, not hard clamp force.
- Protect delicate edges with thin scrap wood or cardboard pads.
Step 2: Apply glue without flooding the face
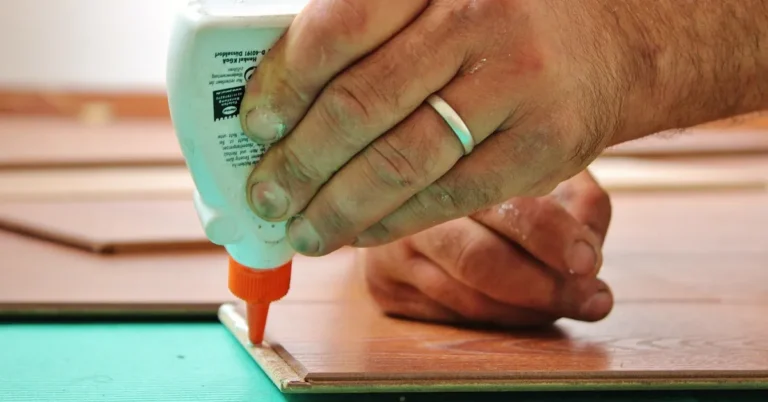
Spread a thin, even coat of PVA on both break faces, then close the joint once the surfaces look wet but not loaded. With CA, use only a small amount at the crack line. With polyurethane, use less than you think, because expansion can push foam into the seam.
- Open the break just enough to coat the mating faces.
- Brush or spread PVA into a thin film.
- For CA, touch the tip to the crack and stop as soon as it wets in.
- For PU, mist or dampen only as the label directs, then close the joint immediately.
How do you remove dried glue squeeze-out from a puzzle surface?
Remove PVA squeeze-out while it is still rubbery, not after it hardens. Trim cured CA beads with a sharp scraper, then sand lightly. Cut or scrape polyurethane foam after it cures enough to shave cleanly. Dried squeeze-out left on a face grain line becomes a shiny or white seam.
If that didn’t work, try this next
- For fresh PVA, wipe the bead with a barely damp cloth before it skins over.
- For partial cure, lift the bead with a chisel edge or plastic scraper instead of smearing it across the face.
- For CA, shave the hardened ridge carefully, then stop once it is flush.
- For PU foam, wait for cure, then trim it back before sanding.
How do you hide the repaired seam after the glue dries?
Level the joint only until it is flush, then stop. If a hairline gap remains, pack it with sawdust-and-glue paste or fine wood filler tinted to match the surrounding wood. Finish matching matters too, because a perfect color match still fails if the sheen is wrong.
Seam-hiding finish checklist
- Sand with fine-grit paper only after full cure.
- Keep sanding localized so the surrounding finish stays intact.
- Use sawdust from the same wood when possible, mixed with a small amount of glue.
- Use fine filler only for tiny cosmetic gaps, not structural missing material.
- Test stain, retouch marker, or topcoat on scrap first.
- Match both color and sheen.
Some wood glue formulations are waterproof when dry, but that does not hide a repair. PVA wood glue is water-soluble when wet, which helps with cleanup. Once dry, the visible result depends on line width, sanding, and finish touch-up far more than bond strength alone.
How can you match the finish after a puzzle piece is glued?
Sand the repair lightly, then compare color and sheen before touching the actual face. Use a test spot on scrap from the same project, or on a hidden back edge. A small retouch marker can blend a pale glue line, but the topcoat sheen has to match too.
If that didn’t work, try this next
- Blend the edge with a matching stain or marker first.
- Add a compatible topcoat only after the color looks close in daylight.
- Recheck sheen after the coat dries, because gloss mismatch can reveal the seam.
How do you fix a cracked wooden puzzle piece instead of replacing it?
A crack is usually repairable if the wood is still present on both sides and the faces can close tightly. Clean the crack, wick in a small amount of adhesive, close it gently, and keep the repair flat. Missing chips or crushed edges need cosmetic fill, not just glue.
Clean crack versus missing material
- Clean crack: glue can close the joint and disappear with light cleanup.
- Missing chip: needs dust paste or fine filler to rebuild the edge visually.
- Crushed edge: may need trim-back, fill, and finish blending.
If that didn’t work, try this next
- Open the crack slightly and clean out dust.
- Apply PVA for a tight wood split, or a small amount of CA for a hairline crack.
- Clamp or tape the piece flat until the joint holds shape.
- Fill any leftover line with tinted dust paste after cure.
How long should glue dry before sanding a puzzle repair?
Wait until the adhesive has fully cured before sanding. That matters because early sanding can pull the joint out of line, smear squeeze-out into the grain, or leave a soft seam that reopens. Follow the label directions and dry times, then check the repair under side light before sanding.
Drying and sanding sequence
- Leave the piece clamped or taped until the bond has set.
- Remove pressure carefully and inspect the seam.
- Sand only the high spots with fine-grit paper.
- Stop as soon as the joint feels flush to the fingertip.
Common mistakes
- Using too much glue, which creates a visible line.
- Clamping too hard, which crushes tiny edges and forces out too much adhesive.
- Sanding before cure, which can tear the seam open.
- Skipping finish touch-up on a visible face.
- Using filler on a joint that still needs alignment, not cosmetics.
Prevention: Photograph the broken puzzle before cleanup, then use the image to restore grain direction, paint edges, and any printed detail after the bond cures. Small reference notes save time when several pieces look alike.
Frequently asked questions
Should I use wood glue, polyurethane glue, or super glue on a wooden puzzle?
Use wood glue for most repairs. Use super glue for fast, small fixes where the joint is tiny and the face is not forgiving. Use polyurethane only when you need a gap-filling bond and can manage the expansion before it reaches the surface.
Sponsored / affiliate links. As an Amazon Associate I earn from qualifying purchases. I may earn additional commission from eligible campaigns.