How to Glue Wooden Toys Together Safely: Child Repairs
Use water-based PVA wood glue for many wooden toy repairs. Clamp or press the joint for a short while, then leave it to cure for about a day before a child handles it. If the break is missing wood or sits under heavy stress, replace the part or use fully cured, non-sandable epoxy. Bad glue lines, squeeze-out, and loose fragments can become choking or splinter hazards. This guide shows how to clean the break, pick the right adhesive, clamp it well, and judge when a toy is safe enough to go back in little hands.
This guide is part of our Wood glue essentials: types, uses, and cure times series.
What makes a wooden toy repair safe for kids?
A safe repair holds the joint, leaves no sharp glue ridges, and does not create small hard pieces that can break free. The toy should feel solid, the break should be fully closed, and the finish or adhesive residue should not rub off in a way a child can mouth or swallow.
Bond strength matters, but safety comes first. A repair can be strong and still be unsafe if it leaves brittle glue beads, exposed splinters, or a part that will fail again under toddler-level twisting. Toys that are chewed, dropped, or sat on need a wider margin than display pieces.
Repair safety versus bond strength
Bond strength is only one part of the decision. The repair also has to stay smooth, stay closed, and stay intact under the same kind of handling that broke it the first time. If a joint opens slightly when squeezed by hand, it is not ready for child use.
Signs the toy should be retired instead
Retire the toy if the break runs through a thin stress point, if missing wood leaves a gap that will not close cleanly, or if the part is small enough to fit in a child’s mouth. Retire it too when the surface coating is flaking and exposing brittle edges all around the damage.
According to familyhandyman.com — A 1K PU adhesive like Gorilla Glue is one polyurethane class. (source)
Can I use wood glue on a broken wooden toy?
Yes, wood glue is the right choice for most clean wood-to-wood breaks on toys. Wood glue is also called white glue or carpenter’s glue, and it is a PVA adhesive that works best on porous wood surfaces. It will not bond metal, glass, or plastic. (familyhandyman.com)
It can heal cracks and splits in wood, but the break faces need to meet tightly. If the toy is cracked through painted wood, waxy finish, or dirty fibers, the glue may stick weakly even if the joint looks closed at first.
When PVA wood glue is the right choice
Choose PVA when the joint is wood against wood, the break is clean, and the part is not under extreme stress. It is the default for blocks, toy wheels on wooden axles, split animal figures, and many simple peg joints. It is also the cleanest option for child-use repairs.
Porous wood surfaces and clean joint faces
Wood glue works best on porous materials. Bare wood fibers let the adhesive soak in and lock the joint. If the surface is sealed, polished, or oily, the glue may sit on top like a skin and fail later. Freshly broken faces are usually ideal if they are clean and unburnished.
Why clamping matters
Clamps are usually needed for full holding power. Pressure should align the joint without squeezing out all adhesive. Too much pressure can starve the bond line, leaving a dry seam that looks neat but fails under play. A firm, even squeeze is better than brute force.
What glue should I use for painted or varnished toys?
Painted, varnished, and lacquered surfaces often block glue, so the finish usually has to come off where the joint meets. If you glue over coating, the repair may hold only to the paint film, not to the wood. That can peel off in one hard pull from a child’s hand.
When the coating is part of the visible surface and the joint is not structural, a very small cyanoacrylate repair may be useful. For a real structural break, expose bare wood whenever possible. Polyurethane can bond more materials, but its expansion and cleanup risks make it a poor first choice for many toys.
How finish blocks adhesion
Toy finish or coating can act like a barrier. Paint, varnish, and lacquer reduce grip because the adhesive needs contact with wood fibers, not a slick film. If the break face is shiny, colored, or feels sealed, assume the glue will not bond well until that layer is removed.
When to sand back to bare wood
Sand or scrape back to bare wood when the joint face is coated, when the break is old and dusty, or when the toy keeps reopening after a previous repair. Keep the work small and controlled. Stop as soon as clean wood is exposed across the whole mating face.
When polyurethane or cyanoacrylate makes sense
Polyurethane adhesive can bond wood, stone, metal, plastic, and other materials. It needs moisture to cure and expands as it dries, so it can help on irregular fractures where a little foam fill is acceptable outside the child’s grip area. Cyanoacrylate, or super glue, bonds quickly and can be useful for tiny repairs, but it is not ideal for gap filling.
Child-safe repair checklist for common toy damage
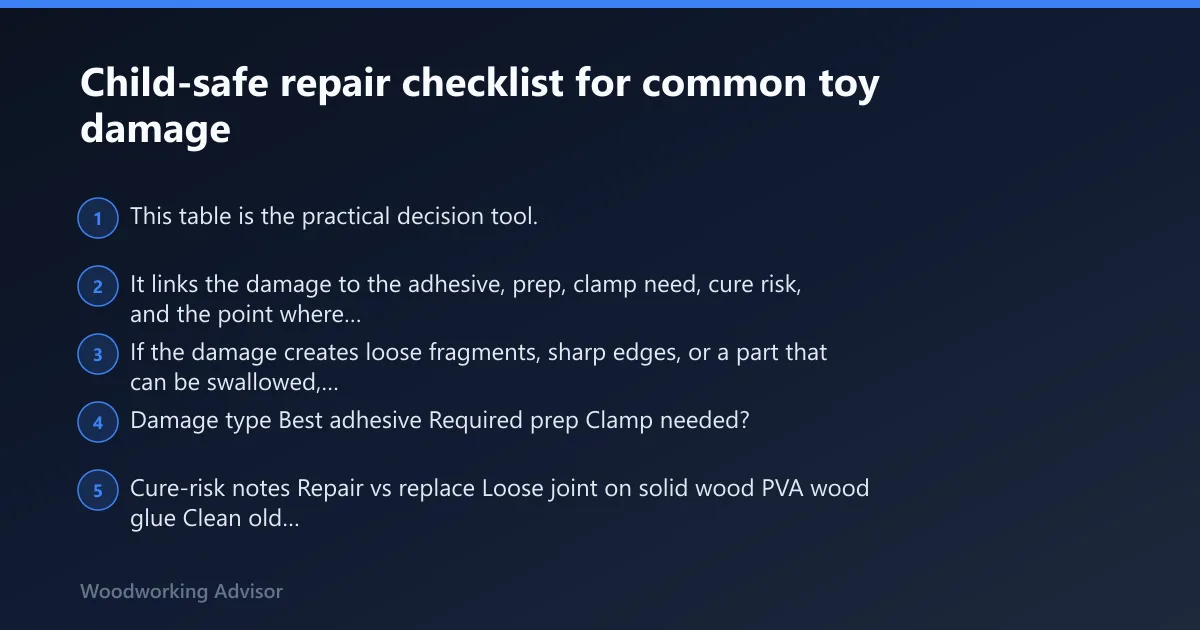
This table is the practical decision tool. It links the damage to the adhesive, prep, clamp need, cure risk, and the point where repair stops making sense. If the damage creates loose fragments, sharp edges, or a part that can be swallowed, replacement is usually the safer call.
| Damage type | Best adhesive | Required prep | Clamp needed? | Cure-risk notes | Repair vs replace |
|---|---|---|---|---|---|
| Loose joint on solid wood | PVA wood glue | Clean old glue, expose porous wood, dry-fit first | Yes | Stay out of use until fully cured; loose joints often reopen if moved early | Repair if the joint closes tightly and the part is not thin or cracked through |
| Clean break with matching faces | PVA wood glue | Remove dust and finish from the bond face | Yes | Low if clamped well; high if squeezed-out glue is left as a ridge | Repair if both halves align with no missing wood |
| Small chip or hairline split | Cyanoacrylate for tiny tight cracks; PVA for larger porous cracks | Dry, clean, and free of wax or coating | Usually no for tiny cracks | High if the repair is brittle or the chip can detach | Repair only if the fragment is large enough to stay secure and not become a hazard |
| Painted or varnished joint | PVA after finish removal; polyurethane only for unusual mixed-material cases | Sand to bare wood at the joint | Yes | Very high if glued over finish; the bond may fail invisibly | Repair only after full prep; replace if sanding would destroy the part |
| Mixed-material part with wood plus metal or plastic | Polyurethane or another adhesive suited to both materials | Clean each surface by material type | Usually yes | High from expansion and squeeze-out; cleanup matters | Replace if the piece is small, mouth-sized, or hard to clean safely |
How do I clamp, clean, and cure the repair?
Clamp the joint so the faces meet fully and the toy stays aligned while the adhesive sets. Remove excess squeeze-out before it hardens, because hardened blobs can leave rough edges. Keep the toy out of child use until the adhesive has reached full cure, not just initial grab.
That matters even more with polyurethane, which expands as it dries. Expansion can push glue into seams and form hard foam-like ridges. Those ridges may seem harmless, but on a toy they can become scratch points, bite points, or small hardened bits that break off later.
Clamp pressure without squeezing out the bond line
Use enough pressure to close the joint and hold it still. Do not crank the clamp down until all adhesive disappears from the seam. A thin, continuous line at the edge is better than a dry-looking joint with no glue left inside.
Removing excess squeeze-out before it hardens
Wipe PVA squeeze-out while it is still wet with a lightly damp cloth, being careful not to flood the wood. Scrape polyurethane squeeze-out only when it has reached the right stage for cleanup, because if it is left to fully harden it becomes much harder to remove cleanly.
Initial handling time versus full cure time
Initial grab is not the same as full cure. A joint may feel set long before it is ready for child handling, twisting, or chewing. For toy repairs, it is usually safer to keep the part out of service until the adhesive has fully cured and the seam feels solid under hand pressure.
How long does wood glue need to dry before a child can use the toy?
Wood glue should be left alone long enough to fully cure, not just enough to feel dry at the surface. A clamp or tight press is usually needed at first, then the toy should stay out of child use until the bond has reached full strength and the seam no longer shifts.
For safety, a toy should not return to a child just because it is no longer tacky. If the repair still flexes, leaves white residue, or shows a line that opens under pressure, keep it out of service. Handling too soon is a common reason repairs fail.
When should a wooden toy be repaired instead of replaced?
Repair a toy only when the break is clean, the part is large enough to stay safe in play, and the repaired area can be made smooth and solid again. Replace it when the damage creates swallowing hazards, recurring cracks, or a joint that cannot be trusted under repeated handling.
Heirloom toys deserve careful judgment, but sentiment does not make a brittle repair safe. A toy meant for frequent toddler use generally needs a sturdier standard than a display shelf piece. If a fixed joint still looks questionable after cure, it should stay out of child use.
Broken parts that can become choking hazards
If the broken piece is small enough to fit in a child’s mouth, do not glue it back and return the toy without a careful safety check. Tiny caps, knobs, wheel bits, and decorative parts can become choking hazards if the repair fails or if glue makes the edges hard and sharp.
Cracks that keep reopening
Repeatedly reopening cracks often mean the wood is too thin, the joint design is weak, or the original stress point is still active. Glue cannot fix a bad load path. If the repair keeps splitting along the same line, replacement is usually safer than another round of adhesive.
Thin pieces and stress points that fail again
Thin arms, legs, handles, and protruding tabs take a lot of abuse. If the part has already broken once, inspect whether enough wood remains for a durable repair. When there is little material left or the shape is sharply stressed, the risk of failure is too high for child use.
What glue is safe for repairing wooden toys for children?
For most wooden toy repairs, PVA wood glue is the safest and most practical starting point because it is made for porous wood-to-wood bonds and cleans up well before cure. Safety still depends on the repair being fully cured, smooth, and free of loose fragments or sharp adhesive ridges.
Polyurethane and cyanoacrylate have narrower uses. Polyurethane is useful for some mixed-material or irregular breaks, but it expands and demands careful cleanup. Cyanoacrylate is best for tiny, tight repairs, not for load-bearing toy joints or any break with missing wood.
Is super glue safe for kids’ wooden toys?
Super glue can be useful for very small, tight cracks, but it is not the best default for children’s toys. It bonds fast and can leave a hard, brittle line. If the joint needs filling, flexing, or repeat handling, a PVA repair is usually safer and more durable.
How do I fix a loose wooden toy joint without toxic fumes?
Use PVA wood glue on clean, porous wood faces, then clamp the joint until it sets. That avoids the stronger smell and cleanup headaches that come with some other adhesives. Remove old glue first, since fresh glue over old residue often gives a weak repair.
Do I need clamps when repairing a wooden toy?
Yes, for most wood-to-wood toy repairs. Clamps help keep the faces aligned and maintain contact while the adhesive cures. A hand-held press may work for a tiny piece, but larger joints usually need clamping to reach full holding power and to prevent movement during cure.
How do I keep excess glue from making a toy unsafe?
Keep the bead small, dry-fit before gluing, and clean squeeze-out before it hardens. Excess glue can form rough edges, trap dirt, or break into hard fragments. On children’s toys, a neat seam is not cosmetic only; it is part of the safety check.
If polyurethane is used, watch for expansion into seams and around edges. Trim or clean it before it becomes a hard ridge. After curing, run a finger around the repair and inspect for burrs, flakes, or any point that could catch skin or loosen during play.
Frequently asked questions
What should I do if the toy has painted or varnished surfaces?
Remove the coating from the joint face before reglueing whenever possible. Paint, varnish, and lacquer block adhesion and can make the repair fail at the finish line instead of the wood. If sanding would damage the toy or expose a weak part, replacement may be the safer option.
When should a broken wooden toy be replaced instead of glued?
Replace it when the break leaves missing wood, creates a choking hazard, or keeps reopening after repair. Thin parts, stress points, and small decorative pieces are poor candidates for repeated fixes. If the toy cannot be made smooth, solid, and reliable, it should be retired.
Sponsored / affiliate links. As an Amazon Associate I earn from qualifying purchases. I may earn additional commission from eligible campaigns.