How to Join Two Pieces of Wood Without a Jointer (4 Methods)
A jointer just does one thing: it makes an edge dead straight and square so two boards glue up without a visible seam. You can get the same result without one using a hand plane, a router with a straightedge, or a track saw — and there’s a clever trick, match planing, that most guides never mention, where you clamp two boards together and joint both edges in a single pass so any small error cancels itself out.
Why a Jointed Edge Actually Matters
Best Hand Plane for Edge-Jointing
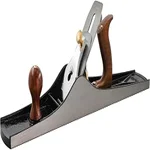 |
Faithfull No.7 Jointing Plane – $114.23 A long jointer-length plane is exactly what Method 1 (and the match-planing trick) above call for — its long sole bridges over small dips instead of following them, the way a short block plane would.
|
For a strong, invisible glue joint, the mating edges need to be flat (no bow or twist along the length) and square to the face (90 degrees, or matching bevels if you’re intentionally angling them). A rip cut straight off a table saw or circular saw is close, but saw marks and minor blade drift usually leave enough texture and inconsistency that the glue line telegraphs through, especially under a clear finish. Jointing removes that last thin layer to leave a true, glue-ready surface. None of the methods below need a jointer machine to get there — they just get you to flat-and-square by a different route.
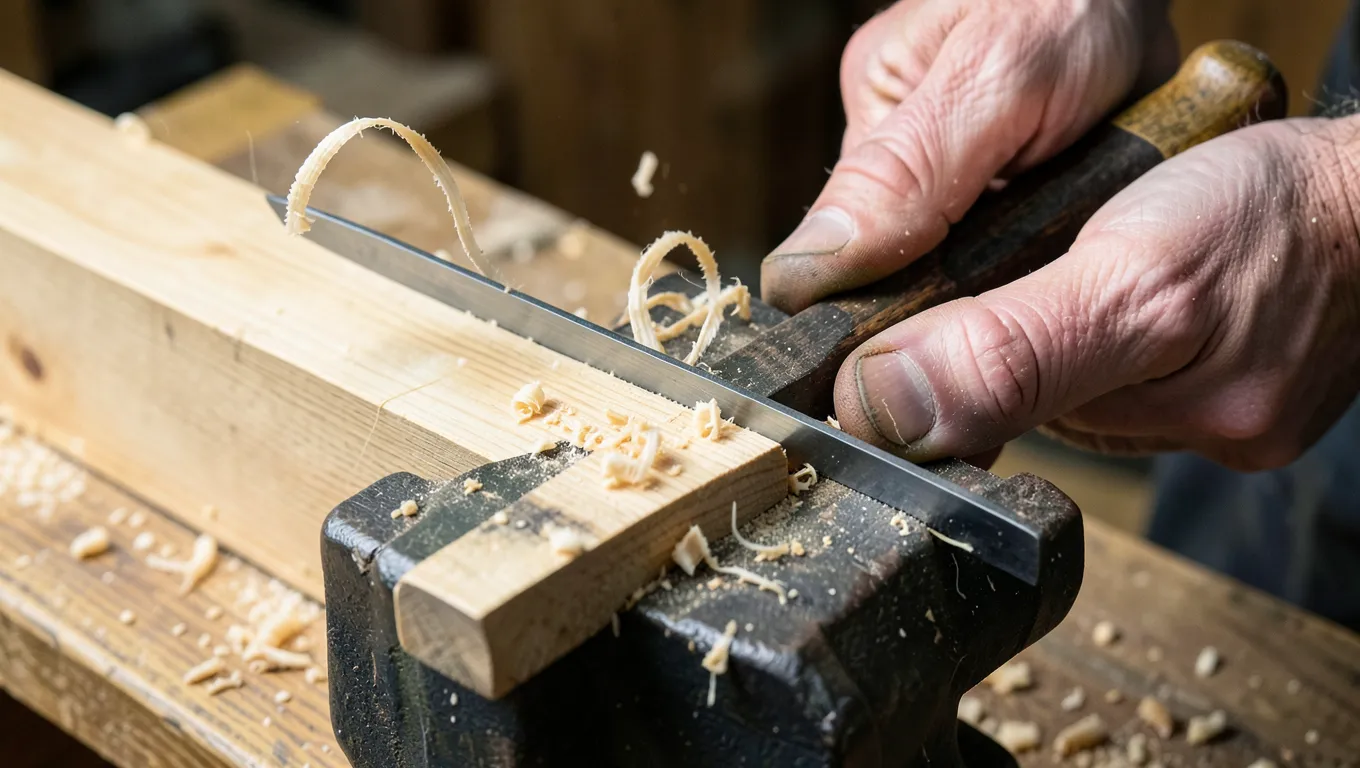
Method 1: Hand Plane (Most Control, No Power Needed)
- Clamp the board edge-up in a vise, low enough that you can plane comfortably at elbow height.
- Use a jack or jointer-length hand plane (longer is more forgiving here — a longer sole bridges dips instead of following them) with a sharp blade set for a fine cut.
- Plane the full length in smooth, even passes, checking with a straightedge or square every few passes. Watch for a continuous shaving the full width of the blade — a shaving that stops partway means you’ve found a high spot to keep working.
- Check square to the face regularly with a combination square; adjust your plane’s lateral lever or your own pressure (slightly more on the high side) to correct any lean.
Method 2: Match Planing — the Trick Most Guides Skip
This is a genuinely clever old technique for exactly the glue-joint problem this article is about, and it rarely shows up in beginner guides. Stack the two boards you’re about to join face-to-face, like a closed book, with the two edges you want to joint together lined up flush. Clamp them together and plane both edges at once in a single setup.
Here’s the part that makes it clever: if your plane isn’t held at a perfect 90 degrees and the edge comes out with a slight bevel, it doesn’t matter. Because you planed both boards together, both edges have the identical bevel angle. When you “open the book” — flip one board over like a page — the two matching bevels face each other and cancel out, closing into a perfectly tight seam even though neither edge was individually perfectly square. It’s the single best trick for getting a gap-free glue line without specialized equipment or a dead-perfect hand-planing technique.
Method 3: Router With a Straightedge
Clamp a straight board or a metal straightedge to your workpiece as a fence, offset by the distance from your router bit’s cutting edge to the base’s edge. Run a straight bit (or a flush-trim bit riding the straightedge with a bearing) along the full length in one pass. This gives a router-flat edge with none of the technique-dependence of hand planing, at the cost of needing a straightedge long enough for the board and careful clamp setup.
Method 4: Track Saw
A track saw riding on its own guide rail produces a factory-straight edge in one pass, with far less blade drift than a table saw fence or a freehand circular saw cut. It’s the closest any of these methods gets to jointer-quality results directly off the saw, and for many hobbyists a track saw doubles as their primary saw anyway, making it a practical stand-in for a dedicated jointer on edge-joining work specifically (it won’t flatten a cupped or twisted board face the way a jointer’s infeed table does, only straighten an edge).
A Word on Table Saws
A table saw rip cut can get you close if the fence is perfectly parallel to the blade and the blade itself is sharp and true, but “close” is doing a lot of work in that sentence — any fence drift or blade wobble telegraphs directly into the cut, and it’s the kind of error that’s hard to spot by eye but shows up as a visible gap at glue-up. Treat a table saw rip as a rough-cut step before one of the methods above, not a substitute for them, unless you’ve specifically verified your saw’s setup with a test cut and a straightedge.
Checking Your Work
- Straightedge test: lay a straightedge along the length of the edge and hold it up to a light source. Any light gap showing through is a low spot in the straightedge’s path, or a high spot pushing it up elsewhere.
- Square test: a combination square against the face will show any lean off 90 degrees immediately.
- Dry-fit test: clamp the two boards together edge-to-edge with no glue and check for gaps under light — this is the real test, since it reveals whether the two edges actually mate, even if each one individually measures fine.
Frequently Asked Questions
Can I join two pieces of wood without a jointer?
Yes. A hand plane, a router with a straightedge, or a track saw can all produce a flat, square, glue-ready edge without a dedicated jointer machine.
What is match planing?
A technique where you clamp two boards face-to-face and plane both mating edges together in one setup. Any small angle error in the plane is duplicated on both edges, and when you unfold the boards, the two matching bevels cancel each other out into a tight seam.
Can a table saw replace a jointer?
Only partially, and only if the fence and blade are precisely aligned. Minor fence drift or blade wobble shows up as a visible gap at glue-up, so a table saw rip is best treated as a rough cut before final jointing with another method.
How do I know if my jointed edge is actually flat?
Hold a straightedge against it up to a light source and look for gaps, and dry-clamp the two boards together without glue to confirm they mate cleanly along the full length.
Which hand plane is best for jointing an edge?
A longer plane — a jack plane or a dedicated jointer plane — is more forgiving than a short smoothing plane, since its longer sole bridges over small dips instead of following the wood’s existing contour.
Sponsored / affiliate links. As an Amazon Associate I earn from qualifying purchases. I may earn additional commission from eligible campaigns.