How to Make Wood Curls With a Hand Plane (Wood and Tool Chart)
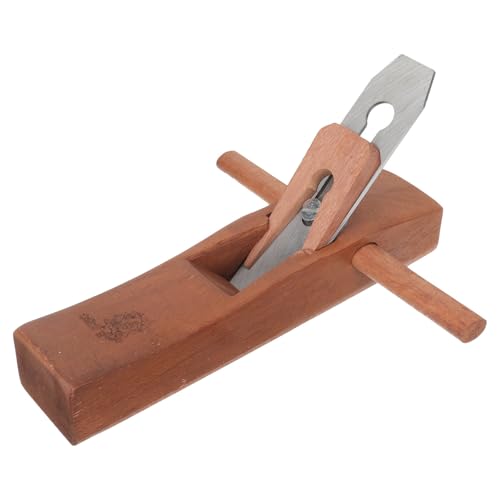
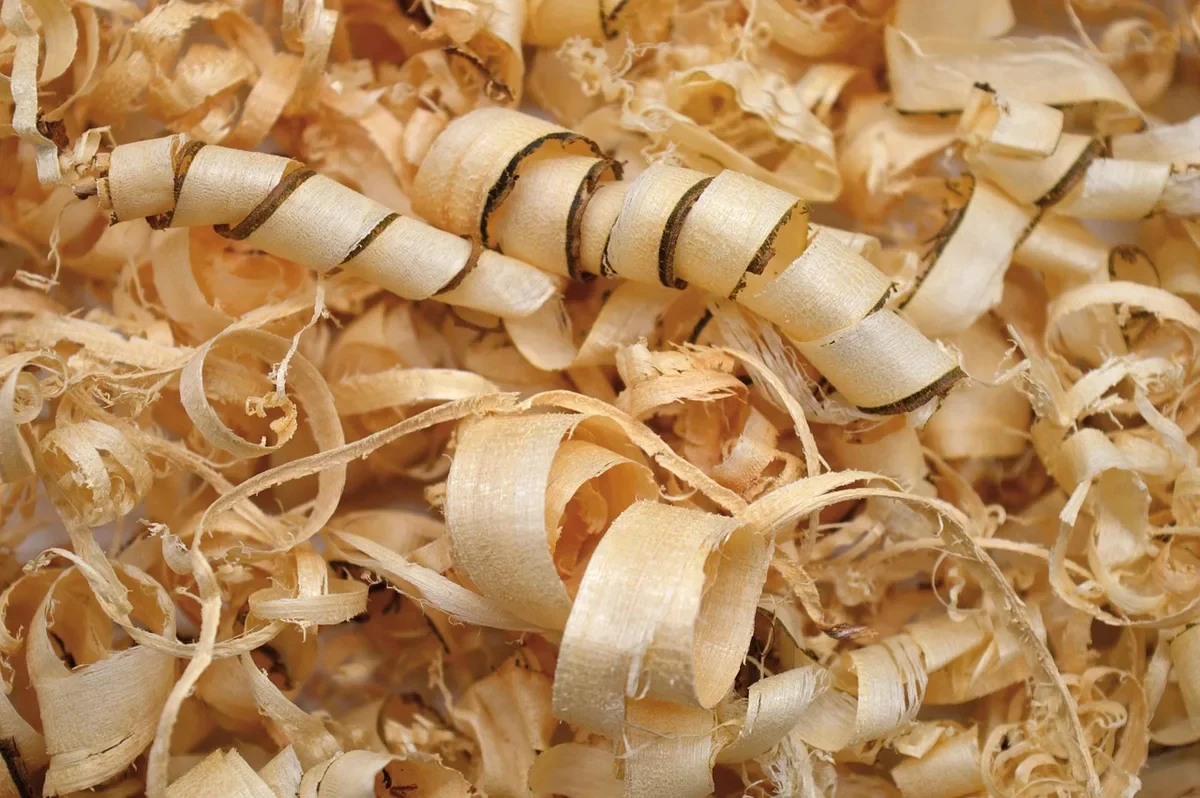
To make wood curls, clamp a dry, straight-grained softwood board on its edge, set a hand plane for a deep, wide-open cut, and push it with the grain in one long, steady stroke. The shaving that peels off the front of the blade is your curl.
The rest is control. How tightly a curl rolls depends on three things you can change in seconds: how deep the iron cuts, how close the plane’s mouth (and cap iron, on a bench plane) sits to the edge, and how much moisture is in the wood. This guide covers which woods and tools give which curls, the exact setup, how to tighten and color curls, and safe ways to use them in crafts.
Many guides tell you to hold a chisel at 45 degrees. That is where beginners go wrong: a chisel pushed across a board mostly makes short chips, not ribbons. A plane, a drawknife or a lathe gouge is what produces a continuous curl, and the chart below shows which tool does what.
The Fast Way to Make Wood Curls
Best Beginner Block Plane Pick
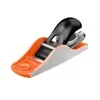 |
JORGENSEN No.102 Low Angle Block Plane – $34.98 A small, adjustable-depth plane is the simplest way to turn a softwood board edge into a stream of decorative curls.
|
- Pick the board: a straight-grained piece of basswood, white pine or cedar with no knots along the edge you will plane.
- Clamp it on edge: lock it in a vise so the edge sticks up and the board cannot move.
- Open the plane up: back the depth adjuster off to a deeper cut than you would use for smoothing, and open the mouth if your plane allows it.
- Push one long stroke: start with the toe on the wood, press down over the front knob at the start and the rear handle at the end, and do not stop mid-stroke.
- Catch and repeat: a curl that breaks off in short pieces means the cut is too deep or the grain is running the wrong way. Flip the board or ease the depth and go again.
Which Wood Makes the Best Curls
Straight grain and dryness matter more than hardness, but a softer wood needs less force, and less force means smoother, longer ribbons. These are the standard Janka hardness figures for common woods (pounds-force to embed a steel ball halfway):
| Wood | Janka hardness (lbf) | Curl quality | Notes |
|---|---|---|---|
| Basswood | 410 | Long, even, easy | Fine, plain grain; the classic carving wood |
| Eastern white pine | 380 | Long, but can crumble if very dry | Watch for resin pockets and knots |
| Eastern red cedar | 900 | Good, aromatic | Brittle across the grain; dust irritates some people |
| Poplar | 540 | Good, slight green tint | Color varies from white to olive with darker streaks |
| Red oak | 1,290 | Short, coarse curls | Open grain tears; needs a very sharp iron |
| Hard maple | 1,450 | Long and glossy when sharp | Takes the most effort; a dull iron makes powder |
Dryness is the part most articles skip. Kiln-dried wood at roughly 6 to 8 percent moisture shaves cleanly, but the curls can be brittle. Freshly cut or slightly damp wood gives longer, more flexible ribbons that hold a curl without cracking. If your curls keep snapping, the wood may simply be too dry, rather than your technique being wrong. Another light, fine-grained wood that behaves similarly in small craft work is covered in our birch wood craft ideas.
Which Tool Gives Which Kind of Curl
| Tool | Curl type | Typical result | Skill level |
|---|---|---|---|
| Block plane, deep cut | Short, wide ribbons | A few inches wide, tight roll | Beginner |
| Jack or jointer plane, cambered iron | Long, narrow ribbons | Up to the length of the board | Beginner to intermediate |
| Drawknife | Wide, thick, wavy curls | Rustic, heavy curls | Intermediate |
| Spokeshave | Narrow, tight curls | Good from a rounded or shaped edge | Intermediate |
| Lathe gouge or skew | Long spirals | Fine spirals when the tool cuts cleanly at speed | Advanced |
| Carving knife or chisel | Short chips, small curls | Mostly waste, not decorative ribbons | Any |
A spokeshave is worth a look if you already own one: it is an easy hand tool for tight little curls from a rounded or shaped edge. Our guide to rounding wood edges with hand tools covers how to set and hold one.
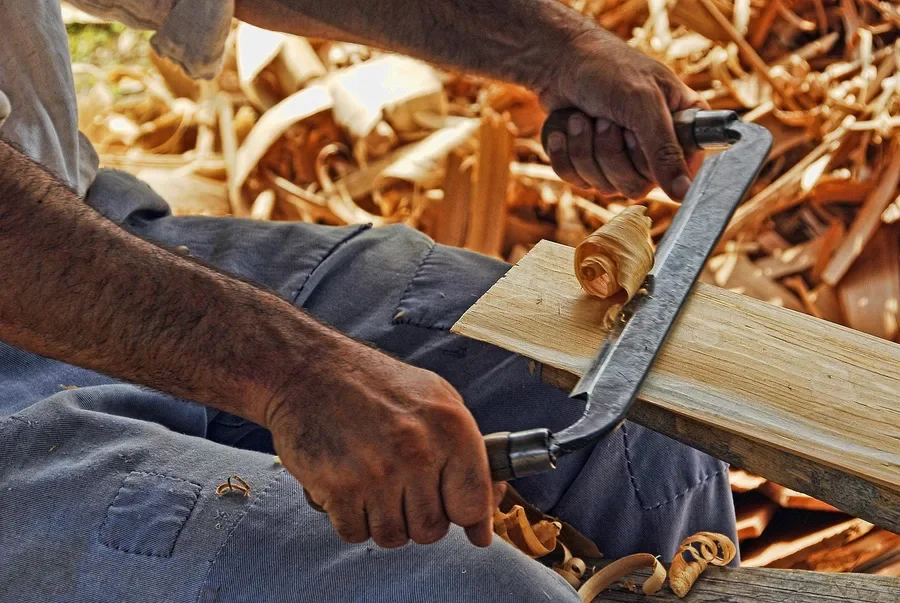
How to Make Wood Curls with a Hand Plane, Step by Step
- Sharpen first. A sharp iron shears the fibers, while a dull one crushes them into dust. If a shaving looks powdery or torn, sharpen before adjusting anything else.
- Set the depth. Fine smoothing shavings are only a couple of thousandths of an inch thick (roughly 0.002 inch). For decorative curls, back the depth knob off toward a thicker cut, roughly 0.005 to 0.01 inch, until the shaving is sturdy enough to hold a curl instead of floating off as tissue.
- Read the grain. Look at the side of the board: the grain lines should rise toward the direction you are pushing. If they dive into the board, plane the other way, or you will get tear-out and short, crumbly pieces.
- Plane the edge, not the face. A narrow edge makes narrow, tidy curls, and the plane rides more steadily.
- Make one full-length stroke. Lift the plane at the end and let the shaving fall free. Do not pinch it, because gripping a curl flattens it.
- Collect in a tray or paper bag. Curls left on the floor get crushed underfoot.
Curl Control: Cap Iron, Mouth and Moisture
On a bench plane, the cap iron (chipbreaker) sits on top of the blade. Set it close to the cutting edge and it forces the shaving to bend sharply, which usually breaks it into short pieces or tight curls. Retract it and the shaving flows out as one long ribbon. A block plane has no cap iron, so its mouth opening does a similar job: a narrow mouth curls the shaving harder, a wide mouth lets it run.
For long ribbons, open everything up and take a heavier cut. For tight, small curls for a wreath, use a thinner cut with a narrow mouth. One caution: a very tight setting on hard wood can clog the plane, so back off if shavings jam.
Making Curls Tighter, Colored and Durable
Planer curls come off with a loose natural roll. To tighten them, dampen a fresh curl with a little water, wind it around a pencil or small dowel, and let it dry in place so it sets into that shape. This uses the same principle as steam bending: wood fibers bend more easily when wet and hold the new shape once they dry.
To add color, dip curls in a diluted water-based dye or wood stain, then lay them flat on paper towels to dry. Diluted dye soaks into thin curls in seconds, while heavy stain leaves them limp and clumped. Once dry, a light coat of clear spray shellac or lacquer stiffens them so they survive handling.
Do not pile up curls that are wet with an oil-based finish such as linseed oil or Danish oil. Oil-soaked shavings and rags can heat up as the oil cures and, in a pile, can ignite on their own. Spread them flat outdoors to dry, or soak them in water in a sealed metal container before disposal.
Wood Curl Craft Ideas
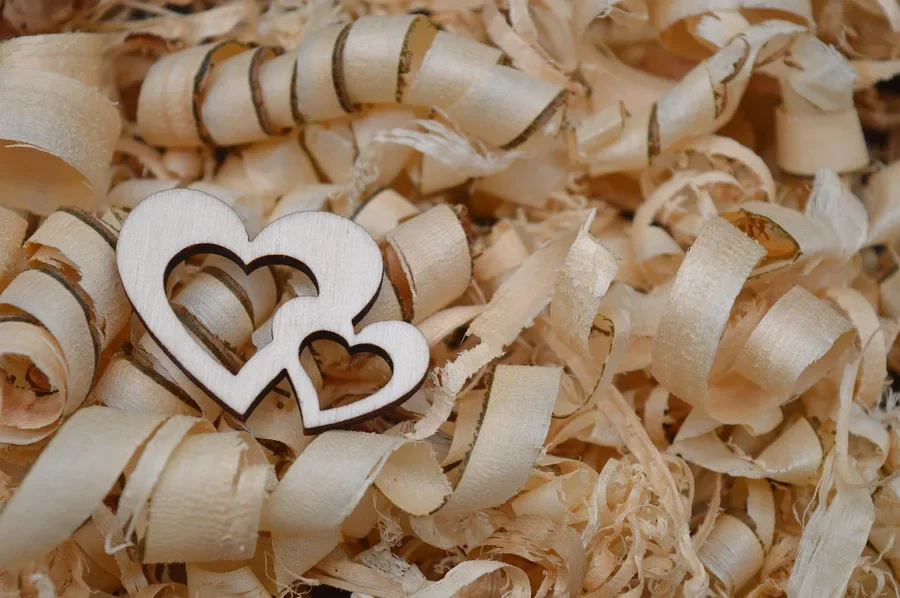
- Wreaths: hot-glue curls in overlapping layers onto a foam or grapevine ring.
- Wood curl flowers: wrap several curls around a small core and glue at the base to form a rosette.
- Gift toppers and packing fill: natural filler for gift boxes.
- Centerpieces and vase filler: a bowl or glass jar of curls under dried flowers (use battery candles, not real flames, near dry curls).
- Fire starters: dry curls dipped in wax burn well; see our guide to making fire starters with wax and wood shavings.
- Small cedar projects: leftover cedar curls pair naturally with small cedar builds and add a fresh scent.
Safety Tips for Making Wood Curls
- Keep both hands behind the cutting edge and clamp the board so it cannot slide.
- Wear safety glasses; a chip can fly up.
- Sweep curls up promptly. A pile of shavings on a smooth floor is a slip hazard.
- Large curls are much less of a breathing concern than fine dust, but sanding and machine planing produce fine dust. Wear a dust mask for those, and take extra care with cedar, which can irritate the skin and airways of sensitive people.
- Wood shavings are highly flammable. Keep them away from heaters, sparks and grinders, and store finished curls in a closed container.
Frequently Asked Questions
What is the easiest tool for making wood curls?
A hand plane set for a deep cut is the easiest. A low-angle block plane or a jack plane pushed along the edge of a dry, straight-grained softwood board like basswood or white pine throws off a continuous ribbon that curls by itself. A carving knife makes short, choppy curls, and a chisel mostly makes chips.
What wood makes the best wood curls?
Straight-grained, dry softwoods such as basswood, white pine and eastern red cedar give the longest, most even curls. Hard maple also curls well, but it needs a razor-sharp iron and more effort. Avoid wood with knots or wavy grain, because the shaving breaks at every change in grain direction.
How do you make wood curls tighter?
Take a thinner cut, close the plane mouth, and, on a bench plane, set the cap iron closer to the cutting edge, which forces the shaving to bend sharply. For a tighter set curl, dampen a fresh shaving, wind it around a dowel or pencil, and let it dry in place.
How do you keep wood curls from breaking?
Use dry but not brittle wood, plane with the grain, and keep the iron sharp. After planing, a light coat of clear spray shellac or lacquer stiffens the curls, and storing them in a closed container keeps them from snapping.
Conclusion
Wood curls come from a sharp plane, dry straight-grained softwood, and one confident stroke. Start with basswood or white pine, open the plane up, and adjust the depth until the ribbon rolls into a curl you like. Then tighten, color and seal them for crafts, and keep the shavings well away from open flames.
Sponsored / affiliate links. As an Amazon Associate I earn from qualifying purchases. I may earn additional commission from eligible campaigns.