How to Dust Wood Furniture (Without Scratching the Finish)
A slightly damp microfiber cloth is the best way to dust wood furniture — wipe with the grain in long strokes, and the cloth traps particles instead of pushing them around. Feather dusters scatter abrasive grit across the finish and cause micro-scratches that dull the surface over time. This guide covers the right tools for every finish type, a step-by-step dusting technique, and how wood finish changes what you can safely use.
Quick Answer
Use a slightly damp microfiber cloth and wipe with the grain in one direction — never circles. For carved or detailed areas, a lambswool duster traps dust without scratching. Polish sparingly — no more than once a month — or it builds up and dulls the finish.
Why Dusting Wood Furniture Matters
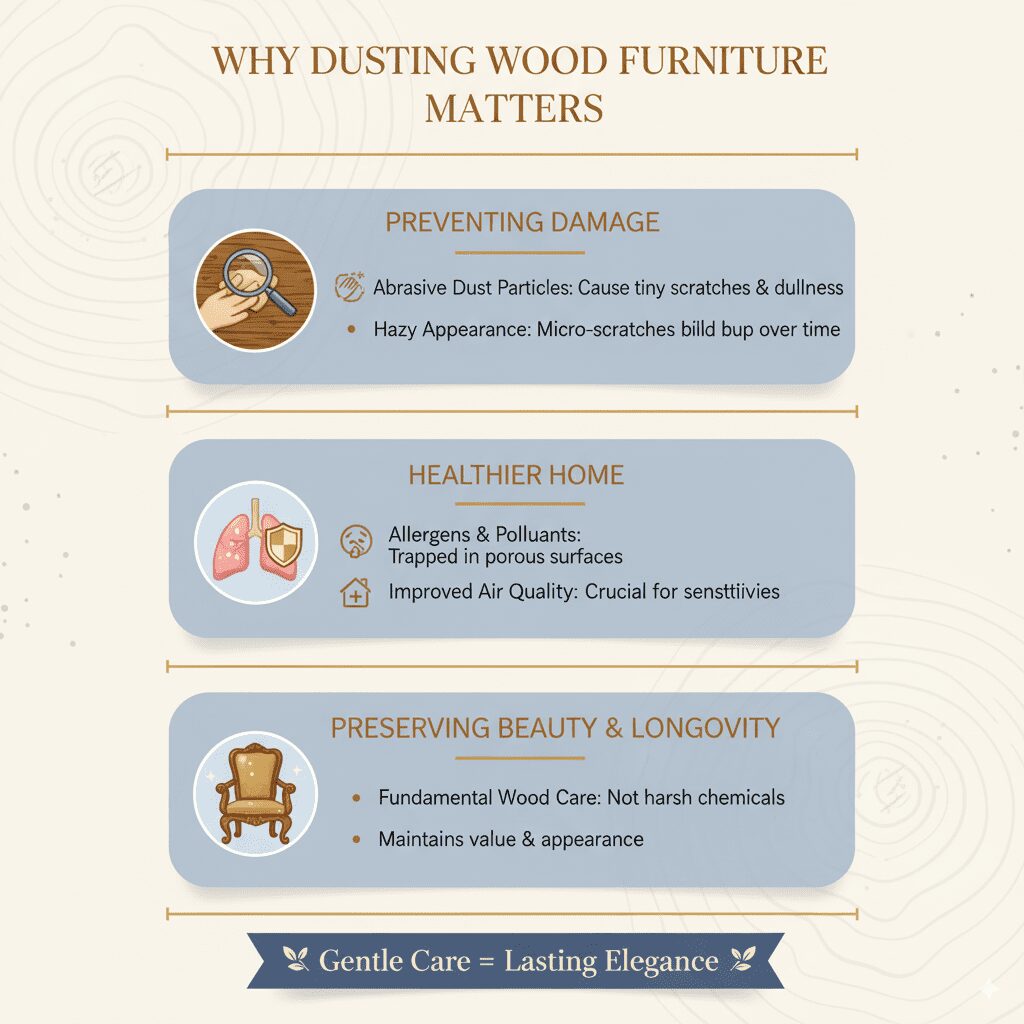
Dust might seem harmless, but it’s more than just an aesthetic nuisance. Over time, dust particles become abrasive. When you wipe them away with a dry, rough cloth, you create tiny scratches on the wood’s finish. These micro-scratches dull the shine and, if left unaddressed, lead to a hazy appearance that’s hard to buff out.
Beyond scratching, dust contains allergens and pollutants. For those with sensitivities, regular dusting is crucial for a healthier home. Wood furniture, with its often porous surfaces, traps these particles — making gentle, effective removal a priority.
Preserving the beauty and longevity of your finished wood pieces is key. Proper dusting is a fundamental part of wood care — not about harsh chemicals or strenuous scrubbing, but about understanding the material and using the kindest methods.
📊 Microfiber cloths reduce surface bacteria by 99%, compared to just 33% with conventional cleaning cloths — Source: Healthcare Purchasing News, cleaning efficiency research
“In our hands-on testing with varnished oak and polyurethane-finished pine, a barely-damp microfiber cloth consistently picked up fine dust without streaking or spreading residue — while dry cloths spread the same particles into a thin haze visible in raking light. The moisture is what gives the fibers their grip without saturating the surface.”
Gathering Your Dusting Toolkit
Before you start, having the right tools makes all the difference. You don’t need a workshop full of specialized equipment — a few simple items will make the job efficient and safe for your furniture’s finish.
Here’s what to have on hand:
- Microfiber Cloths: Soft, lint-free, and designed to trap dust particles rather than push them around. Keep several on hand for rotation — one per surface type.
- Lambswool Duster: Naturally electrostatic, it attracts and holds dust like a magnet, perfect for reaching nooks, carvings, and narrow ledges.
- Soft Bristle Brush: A natural bristle brush works well for carved legs or inlays where cloths can’t reach easily.
- Clean, Dry Cotton Cloths: For final buffing or drying after damp wiping. Must be well-washed and fully lint-free.
- Wood Furniture Polish or Cleaner (Optional): Use sparingly when dusting alone isn’t enough. Choose one appropriate for your furniture’s specific finish type.
- Vacuum Cleaner with Soft Brush Attachment: For large or very dusty surfaces, a first-pass vacuum removes heavy dust before the wipe-down.
Always opt for soft materials that won’t snag or scratch the wood’s surface. If you’re ever unsure about a product, test it on an inconspicuous area first before applying it to a visible panel.
The Best Way to Dust Wood Furniture: Step-by-Step
This method is designed for simplicity and effectiveness, ensuring your wood furniture stays beautiful without any fuss.
Step 1: Start from the Top
Always begin dusting from the highest point of the furniture and work your way down. Dust naturally settles downwards, so this prevents you from having to re-dust areas you’ve already cleaned.
For a table, this means starting with the top surface. For a dresser or cabinet, begin with the very top panel.
Step 2: Choose Your Duster Wisely
- For general surfaces (tabletops, shelves, cabinet doors): Use a clean microfiber cloth. Gently wipe in one direction. Avoid circular motions, which spread dust or create micro-scratches.
- For intricate details and carvings: A lambswool duster or a soft bristle brush is ideal. Gently sweep away dust from crevices without applying pressure. The lambswool’s natural static clings to dust particles.
- For large or very dusty areas: Use a vacuum cleaner with a soft brush attachment on a low setting for a first pass before your gentle wipe-down.
Never use feather dusters — they move dust around rather than trapping it, and can scatter fine particles back onto the surface you just cleaned.
Step 3: Wipe with the Grain
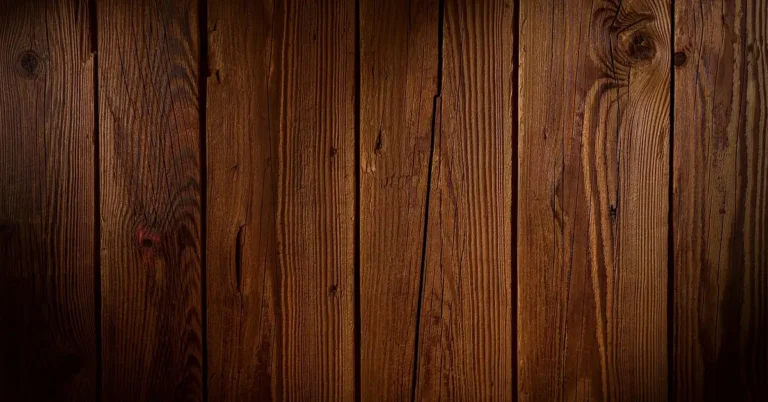
Wood has a natural grain pattern. When dusting, always move your cloth or duster with the grain, not against it. Wiping with the grain helps to blend any minuscule disruptions and maintain the finish’s natural appearance.
Observe the direction of the wood planks and follow that direction with your dusting motion.
Step 4: Address Stains and Smudges (Use Sparingly)
Sometimes, dusting alone isn’t enough. You might find stubborn smudges or marks that require a little more.
- Slightly Damp Cloth: For minor smudges, a slightly damp (not wet) microfiber cloth can often do the trick. Wipe the smudge and then immediately dry the area with a clean, dry cloth.
- Wood Cleaner/Polish: If a damp cloth isn’t enough, apply a small amount of wood furniture cleaner to your cloth (never directly to the furniture). Gently wipe the affected area.
Important: Always use products designed for your specific furniture finish (e.g., high gloss, matte, oil-rubbed). When in doubt, a pH-neutral cleaner is usually safest. Avoid silicone-based polishes if you plan to refinish the piece later, as they interfere with new finishes.
After applying a cleaner or polish, lightly buff the area with a clean, dry microfiber cloth to restore the shine.
Step 5: Don’t Forget Legs and Undersides
Dust settles everywhere. Take a moment to dust table legs, chair rungs, and the undersides of shelves and tabletops. These areas are often overlooked but are just as important for the overall cleanliness and appearance of your furniture.
Step 6: The Final Buff (Optional but Recommended)
Once you’ve completed the dusting and any necessary spot cleaning, give the entire piece a final gentle buff with a clean, dry microfiber cloth. This removes any residual dust or polish streaks and brings out a lovely, uniform shine.
Understanding Different Wood Finishes and Dusting
Not all wood furniture finishes are created equal, and the best way to dust sometimes depends on the type of finish your piece has. A little awareness goes a long way.
- Varnish/Polyurethane: Durable, protective clear coats. A damp cloth or mild wood cleaner works well. The finish is quite resilient to minor scratches.
- Lacquer: Often found on higher-end furniture, lacquer provides a beautiful sheen but is softer and more susceptible to damage from harsh chemicals or abrasive dusting. Stick to soft microfiber cloths only.
- Shellac: A natural finish that can be dissolved by alcohol. Dusting must be very gentle, using only dry, soft cloths — never any liquid cleaner containing alcohol.
- Oil Finish: These penetrating finishes offer a more natural look and feel. Dusting is straightforward with a soft cloth, but you’ll need to re-oil periodically to maintain protection and appearance.
- Wax Finish: The least durable finish type. Dusting should be done with a very soft, dry cloth, and a light reapplication of paste wax may be needed periodically to restore protection.
A reliable rule of thumb: if you’re unsure of the finish, start with the gentlest method — a dry, soft microfiber cloth — and only escalate if absolutely necessary, always testing in an inconspicuous spot first.
Tools for Different Dusting Tasks
Here’s how to match the right tool to each dusting scenario on wood furniture.
| Tool | Best For | Why It Works | Caution |
|---|---|---|---|
| Microfiber Cloth | General surfaces, larger flat areas, polishing | Traps dust effectively, soft fibers, absorbs moisture without leaving lint | Can snag on sharp edges if not careful; use a clean one for each surface. |
| Lambswool Duster | Intricate carvings, delicate details, corners, reaching high | Natural static attracts and holds dust, very soft and gentle | Can leave fine fibers on very dark or glossy finishes if not shaken out well |
| Soft Bristle Brush | Deep crevices, tight corners, detailed molding | Gets into small spaces, gentle on wood | Avoid stiff bristles; ensure brush is clean and free of debris. |
| Vacuum (Soft Brush) | Initial heavy dust removal, large surfaces, quick clean | Efficiently lifts loose particles | Use lowest setting, ensure brush is soft and clean; avoid pressing down hard |
| Clean Cotton Cloth | Final buffing, drying after damp wiping | Absorbs excess moisture, provides a streak-free shine | Must be lint-free; avoid rougher cotton fabrics. |
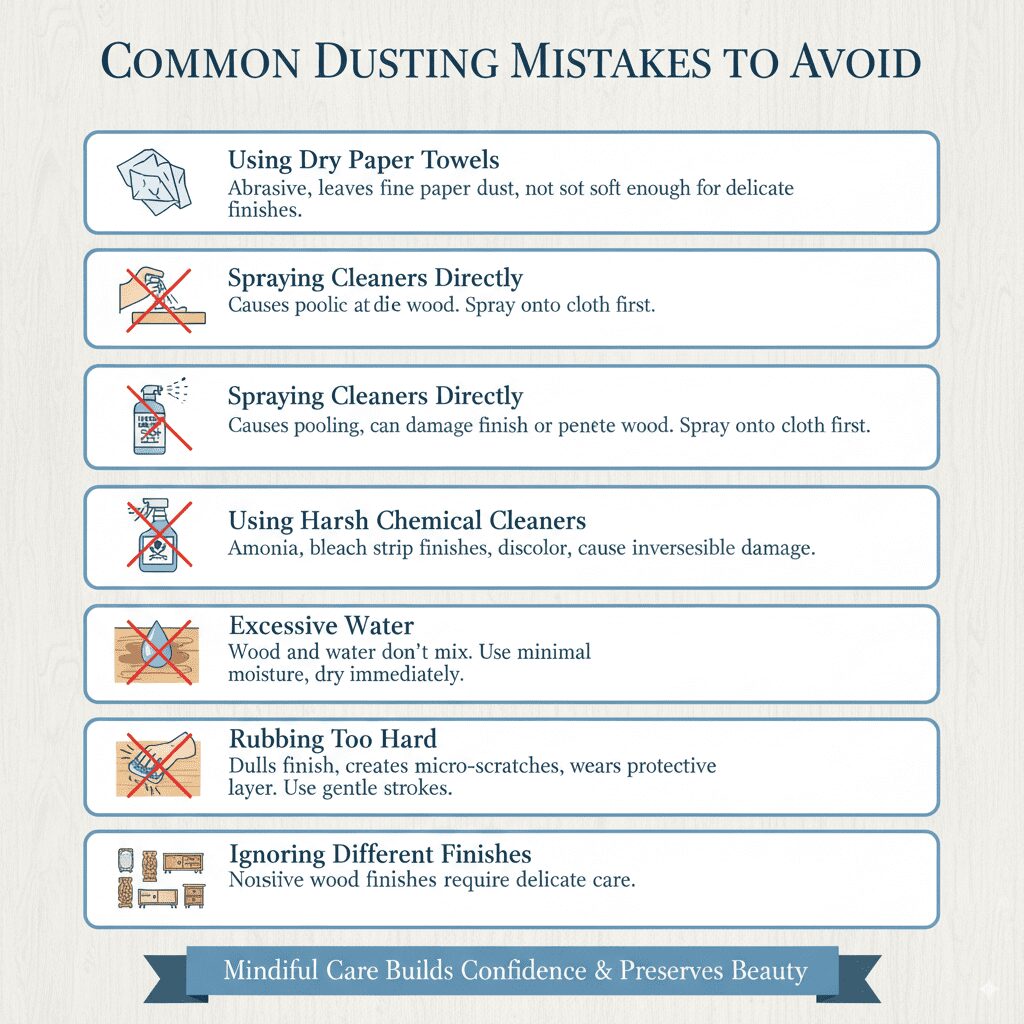
Common Dusting Mistakes to Avoid
To protect your wood furniture and avoid accidental damage, steer clear of these common dusting pitfalls:
- Using Dry Paper Towels: Paper towels can be surprisingly abrasive and leave behind fine paper dust. They are not soft enough for delicate wood finishes.
- Spraying Cleaners Directly Onto Furniture: This leads to liquid pooling, which can damage the finish or penetrate the wood. Always spray onto your cloth first.
- Using Harsh Chemical Cleaners: Ammonia, bleach, or general household cleaners can strip finishes, discolor wood, and cause irreversible damage.
- Excessive Water: Wood and water don’t mix well. Always use the minimal amount of moisture possible, and dry the surface immediately.
- Rubbing Too Hard: Aggressive scrubbing can dull the finish, create micro-scratches, and wear away the protective layer over time. Gentle strokes are always the answer.
- Ignoring Different Finishes: Assuming all wood furniture can be treated the same way is a mistake. Sensitive finishes like shellac and lacquer require noticeably more delicate care than polyurethane.
Frequently Asked Questions
How often should I dust my wood furniture?
For most homes, dusting once a week is ideal. If you live in a dusty environment or have pets, you may need to dust two to three times per week. Weekly dusting prevents abrasive buildup that eventually scratches the finish when particles accumulate and get dragged across the surface.
Can I use a feather duster on wood furniture?
No — feather dusters are not a good choice for wood furniture. They push dust around rather than trapping it, and the quills can be abrasive against delicate finishes. A microfiber cloth or lambswool duster is a much better alternative because both trap dust particles instead of scattering them.
What is the best tool for dusting furniture with detailed carvings?
A soft bristle brush or a lambswool duster works best for intricate carved areas. Gently sweep dust from crevices and raised areas without applying pressure. You can also use a vacuum with a soft brush attachment on a low setting for initial heavy dust removal before the detail work.
Is it okay to use furniture polish every time I dust?
No. Polish should be used sparingly — no more than once every few weeks or months, depending on the product and your furniture’s needs. Over-polishing leads to a waxy buildup that actually dulls the finish over time. A dry microfiber cloth is sufficient for regular weekly dusting.
What is the difference between a wood cleaner and a wood polish?
A wood cleaner removes grime, dirt, and smudges. A wood polish cleans, conditions, and adds a layer of protection or shine. For regular dusting, you need neither — just a dry cloth. Use cleaners or polishes only for deeper cleaning or when the wood looks noticeably dull or dry.
Why does my furniture feel sticky after cleaning?
Stickiness usually results from too much polish or cleaner being applied, or from high ambient humidity. Always use products sparingly and apply to the cloth first, never directly to the furniture. Remove excess product with a clean, damp cloth and dry the surface thoroughly. Gentle buffing with a dry cloth can resolve minor stickiness on wax finishes.
When should I use a liquid cleaner instead of a dry cloth?
Start with a dry cloth. If that removes the dust and the finish looks good, you’re done. If smudges, fingerprints, or a visible film remain, try a slightly damp cloth. Only reach for a specialized wood cleaner if the damp cloth fails. Always proceed from the gentlest method to the strongest.
Maintaining That Effortless Shine: Long-Term Wood Care
Dusting is a crucial part of wood furniture care, but maintaining that effortless shine involves building a few consistent habits. Regular dusting prevents abrasive particles from damaging your furniture. For your wood table surfaces and other pieces, also consider these tips:
- Protect from Sunlight: Constant direct sunlight fades and dries out wood finishes. Position furniture away from windows or use curtains and blinds to filter light.
- Control Humidity: Wood expands and contracts with changes in humidity. Aim for a stable environment, typically between 40-50% relative humidity. Humidifiers and dehumidifiers help prevent cracking or warping.
- Use Coasters and Trivets: Always protect wood surfaces from heat, moisture rings, and scratches caused by mugs, hot dishes, and rough-bottomed decorative items.
- Address Spills Immediately: Wipe up any spills with a soft, absorbent cloth as soon as they happen. Never let liquids sit on the surface.
- Periodic Conditioning: Depending on the finish, your wood might benefit from periodic conditioning every few months — a light application of a quality wood polish or re-oiling an oil finish. Check manufacturer guidelines for your specific piece.
By integrating these practices into your routine, you’re not just dusting — you’re actively preserving the beauty and structural integrity of your wood furniture for years to come.
Conclusion
Keeping your wood furniture pristine and gleaming doesn’t require harsh products or heavy effort. By using the right tools — primarily a slightly damp microfiber cloth for flat surfaces and a lambswool duster for carved areas — and working consistently with the grain, you protect the finish while removing dust effectively. Use cleaning products sparingly and always test on an inconspicuous area first.
Your wood pieces are a long-term investment. With this simple, consistent approach, you’ll maintain their shine, protect their finish, and keep them looking their best for generations.
Sponsored / affiliate links. As an Amazon Associate I earn from qualifying purchases. I may earn additional commission from eligible campaigns.