How to Make Bench Dogs for Your Workbench
Bench dogs are removable pegs that slot into the round or square “dog holes” drilled through a workbench top. Paired with a vise or a holdfast, they clamp a workpiece flat against the bench surface so it can’t shift while you plane, chisel, or sand it.
Making your own costs a few dollars in scrap hardwood instead of $10-30 for a commercial set, and you can size them to match holes your bench already has rather than hoping a store-bought size fits. The catch most beginner guides skip: a dog that isn’t friction-fit or spring-loaded will simply fall through the hole the moment you’re not pressing down on it. This guide covers measuring your bench’s existing holes, cutting and shaping round dogs on a drill press, building in a real friction/spring fit, and why square dogs are a different project entirely.
What Bench Dogs Do and Why Hole Spacing Matters
A dog sits in a hole slightly proud of the bench surface. Push a workpiece against it, then close a vise or drop in a second dog (or a holdfast) on the far side, and the piece is locked flat — no clamps sticking up into your working area. The one rule that trips people up: the dog’s diameter and your bench’s existing hole spacing come first. Measure the actual holes in your bench before cutting any wood. Most factory and shop-built benches use 3/4-inch round holes spaced 4 to 8 inches apart, but plenty of older or DIY benches use 1-inch or 20mm holes instead, and a dog cut for the wrong size will either fall straight through or won’t seat at all.
Best Pre-Made Alternative
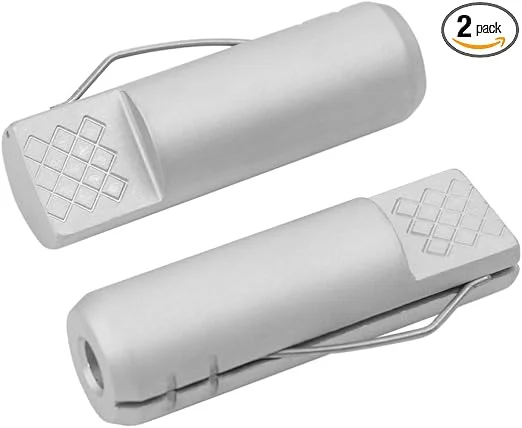 |
POWERTEC Aluminum Spring-Loaded Bench Dogs (2-Pack) – $9.99 Not ready to cut and fit your own? These use the exact spring-loaded mechanism described below, built into an aluminum body sized for standard 3/4-inch dog holes.
|
Tools and Materials You’ll Need
Use a dense hardwood for the dog body — hard maple, red or white oak, or beech are the practical standard, since the clamping face takes repeated stress every time you tighten a vise against it. Softwoods like pine compress and round over within a season of regular use.
You’ll need:
- Hardwood stock at least 1 inch longer than your bench top’s thickness, sized to your hole diameter (3/4″ or 1″ are the most common)
- Drill press with a Forstner bit matched to that exact hole diameter — a Forstner bit gives a clean, flat-bottomed round hole, which a spade bit or twist bit won’t
- Band saw or table saw to rip the dog blank to width and length
- Chisel for rounding over the top edge so it’s comfortable to grip and pull
- Sandpaper, 120 then 220 grit
- A short length of spring steel wire or a compression spring, and a small dowel or set screw, for the friction-fit mechanism
Step 1: Measure Your Bench’s Dog Holes First
Before cutting anything, measure an existing hole in your bench with a caliper or a close-fitting drill bit. Note both the diameter and the depth of the bench top itself — your finished dog needs to be long enough to seat solidly but still grip below the surface when it’s pushed down flush. Check two or three holes, not just one; on an older or shop-built bench, holes drilled freehand can vary by a millimeter or two, which matters when you’re aiming for a snug friction fit.
Step 2: Cut and Shape the Dog Body
Rip your hardwood blank to a square or round cross-section matching the hole diameter you measured, leaving it very slightly oversized (about 1/32 inch) so you can sand it down to a precise friction fit rather than cutting it undersized and getting a sloppy one. Cut it to length — typically 1 to 1.5 inches taller than the bench is thick, so roughly half an inch stands proud of the surface when fully seated.
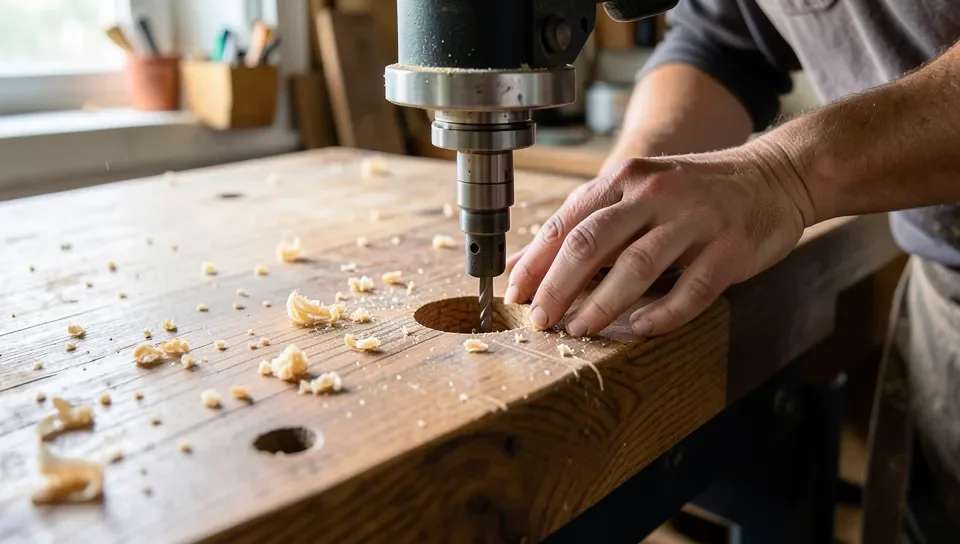
Chuck a Forstner bit matching your hole size into the drill press and true up the round profile if you started from square stock, or skip straight to shaping if you ripped it round on a router table. Use the chisel to round over the top 1/4 inch so it doesn’t have a sharp edge that catches your palm when you push down on it repeatedly through a project.
Step 3: Build In a Spring-Loaded or Friction Fit
This is the detail that separates a dog that actually works from one that’s constantly falling into your lap. A bare cylinder of wood dropped into a hole has nothing holding it up when it’s not under clamping pressure — it just falls through. There are two practical fixes:
- Friction fit: sand the dog down in small increments, test-fitting constantly, until it takes firm hand pressure to push it in or pull it out. This is the simplest option and works fine if your bench holes are consistent, but it wears looser over months of use as the wood compresses.
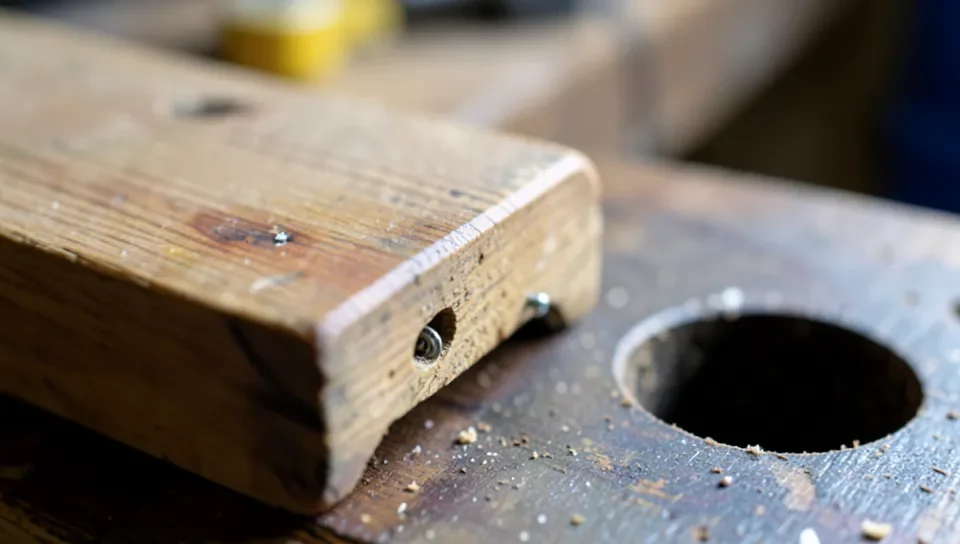
- Spring-loaded fit: drill a shallow cross-hole partway down the dog’s side and set a small compression spring or a bent length of spring steel wire into it, proud enough to press against the hole’s wall. The spring keeps constant outward tension so the dog stays put at any height, and you can still slide it up or down by hand. This is how most commercial aluminum bench dogs work, and it holds up far longer than a friction fit alone.
Square Dog Holes: Why They’re Less Common in a DIY Build
Square dog holes let a dog resist twisting under sideways pressure, which round holes can’t do on their own. The tradeoff is how you cut the hole: a square mortise has to be chopped by hand with a chisel and mallet, or roughed out with a drill press and squared up afterward — there’s no bit that cuts a clean square hole in one pass the way a Forstner bit does for round ones. That extra hand-chopping time is why most DIY benches stick with round holes and round dogs, and save square holes for a dedicated tail vise or planing-stop setup where the anti-twist grip actually matters.
Finishing Your Bench Dogs
A light coat of paste wax or boiled linseed oil is enough — skip film finishes like polyurethane, since they build up thickness that can throw off a fit you just spent time sanding to size. Wax also reduces friction slightly, which makes the dog easier to slide by hand while still gripping well in the hole. Let it cure fully before test-fitting again, since a fresh coat can temporarily swell the fit.
Using Bench Dogs With a Vise or Holdfast
The most common setup pairs one bench dog with your bench vise’s own dog hole: put the workpiece between the fixed dog and the vise’s movable jaw, then tighten. For flat work away from the vise, use two dogs on opposite sides of the piece, or a single dog plus a holdfast dropped into a separate hole. If you’re setting up a vise for the first time, our guide on how to mount a vise to a workbench covers keeping the vise’s own dog hole level with the rest of the bench, which matters for this to work smoothly.
Frequently Asked Questions
What size should I make my bench dogs?
Match the diameter to the holes already in your bench — measure them directly rather than assuming a standard size. Most benches use 3/4-inch round holes, but 1-inch and 20mm holes are also common, especially on older or imported benches.
What wood is best for bench dogs?
Hard maple, oak, or beech. These hardwoods hold up to repeated clamping pressure at the contact face far longer than softwoods like pine, which compress and round over after regular use.
How do I stop a bench dog from falling through the hole?
Build in a friction fit by sanding the dog to a snug hand-press fit, or add a spring-loaded mechanism — a small compression spring or bent spring-steel wire set into a shallow cross-hole in the dog’s side, pressing outward against the hole wall. The spring-loaded approach holds up longer than friction alone.
Are round or square dog holes better?
Round holes are easier to drill accurately with a Forstner bit and are the standard for most DIY benches. Square holes resist twisting better under sideways pressure but require hand-chopping a mortise, which is why they’re mostly reserved for tail vises and planing stops rather than general-purpose dog holes.
Conclusion
The two details that make the difference between bench dogs that work and ones that end up in a drawer are matching your bench’s actual hole size, and building in a real friction or spring fit so they stay put under their own weight. Get those two things right and a set of shop-made hardwood dogs will outlast most of what you’d buy.
Sponsored / affiliate links. As an Amazon Associate I earn from qualifying purchases. I may earn additional commission from eligible campaigns.