Band Saw Christmas Projects for Easy Holiday Builds
Band saw Christmas projects work best when you choose flat, low-profile shapes, use a 3/16 to 1/4 inch blade for tight curves, and keep small parts attached to a larger blank until the last cut. Rush the cut sequence or free tiny pieces too early, and you risk tear-out, kickback, and parts too small to control safely. This guide shows easy project ideas, a simple skill-based picker, blade choices, safe small-part cutting methods, and finishing that suits seasonal wood pieces.
What you’ll need


- Band saw with a guarded blade path, adjusted blade guides, and a square table
- 1/8-inch blade for the tightest curves on thin stock
- 3/16-inch or 1/4-inch blade for most Christmas profiles
- Skip-tooth or hook-style blade, usually 6 to 10 TPI for wood
- Pine, poplar, birch plywood, or hard maple stock
- Ornament blanks about 1/8 to 3/8 inch thick, depending on the design
- Safety glasses, hearing protection, and dust collection
- Push stick or push block for straight or supported feed, not for freehand curves
- Sandpaper: 120, 180, and 220 grit
- Shellac or water-based finish, plus paint if you want color
- Small drill bit for hanger holes after cutting
- Clamps or double-sided tape for batch setups and template holding
Christmas project matrix
This matrix sorts projects by real band-saw difficulty, not by holiday theme. The easiest pieces stay flat, wide, and simple to guide. The harder pieces either tighten the curves, reduce the blank size, or demand cleaner grain and better blade control.
| Project | Skill level | Recommended stock thickness | Minimum blade width | Estimated cut time | Main risk to avoid |
|---|---|---|---|---|---|
| Tree silhouette ornament | Beginner | 1/8 to 1/4 inch | 1/8 inch | 10 to 15 minutes each | Tipping a tiny blank near the last point |
| Star ornament | Beginner | 1/8 to 3/8 inch | 1/8 inch | 10 to 15 minutes each | Overturning sharp points while turning the stock |
| Gift tag with rounded corners | Beginner | 1/8 to 1/4 inch | 1/8 inch | 8 to 12 minutes each | Splintering the hanger hole area |
| Simple reindeer outline | Beginner to intermediate | 1/4 inch | 3/16 inch | 15 to 20 minutes each | Wandering on leg and antler curves |
| Bell silhouette | Beginner to intermediate | 1/4 inch | 3/16 inch | 15 to 20 minutes each | Burning on the tight lower curve |
| Snowflake cutout from edge | Intermediate | 1/8 to 1/4 inch | 1/8 inch | 20 to 30 minutes each | Misreading the pattern so arms break off |
| Nativity silhouette panel | Intermediate | 1/4 to 3/8 inch | 1/4 inch | 25 to 40 minutes each | Rough inside corners at figure transitions |
| Desktop tree | Intermediate | 3/8 inch | 1/4 inch | 25 to 35 minutes each | Base wobble from uneven feed pressure |
| Layered star stand | Intermediate | 1/4 to 3/8 inch | 1/4 inch | 30 to 45 minutes each | Glue-line gaps after poor sanding |
| Stocking plaque | Intermediate | 1/4 inch | 3/16 inch | 20 to 30 minutes each | Fuzzy edges on plywood veneer |
| Gnome ornament | Advanced beginner | 3/8 inch | 1/4 inch | 25 to 35 minutes each | Too many tight transitions in one pass |
| Angled candle or house plaque | Advanced beginner | 1/4 to 3/8 inch | 1/4 inch | 30 to 45 minutes each | Forcing the blade through long curves without relief cuts |
For batch work, cut several blanks from one board or sheet at the same time only if the pattern stays clear and the stack remains stable. A batch of six 1/4-inch ornaments usually takes less setup time than six separate cut-and-clear cycles.
Which projects are easiest for beginners?
The easiest Band Saw Christmas Projects are flat silhouettes with broad curves: trees, stars, rounded gift tags, and simple bells. They cut cleanly from 1/8- to 1/4-inch stock and do not depend on tiny inside corners. Start here if you want a quick win and predictable feed control.
Best first cuts
Pick patterns with at least a 1/2-inch wide feature and no sharp internal turns. A tree outline on poplar or pine is easier than a snowflake, and a star is easier than a reindeer because the curves are shorter and the direction changes are simpler.
Good choices for batch cutting
Flat ornaments, tags, and small stars are efficient to repeat. Trace multiple patterns across one board, leave space between parts, and cut the outside profiles first. That keeps the stock stable longer and reduces the chance of a tiny piece tipping before the final cut.
Projects to skip until later
Skip very small nativity figures, layered fretwork, and shapes with narrow antlers or thin legs. Those designs demand better drift control, sharper layout, and cleaner blade selection. They are doable later, but they are poor first cuts for a band saw.
- Choose a flat pattern with broad outside curves and no hidden internal openings.
- Trace it on 1/8- to 1/4-inch stock, leaving at least 1/4 inch between parts in a batch layout.
- Cut the outside perimeter first, keeping the offcut attached until the shape stays wide enough to control.
- Use a narrow blade only when the smallest radius truly demands it; otherwise stay with a 3/16- or 1/4-inch blade for better tracking.
- Ease the edges, sand the faces, and drill hanger holes only after the shape is complete.
How band saw works
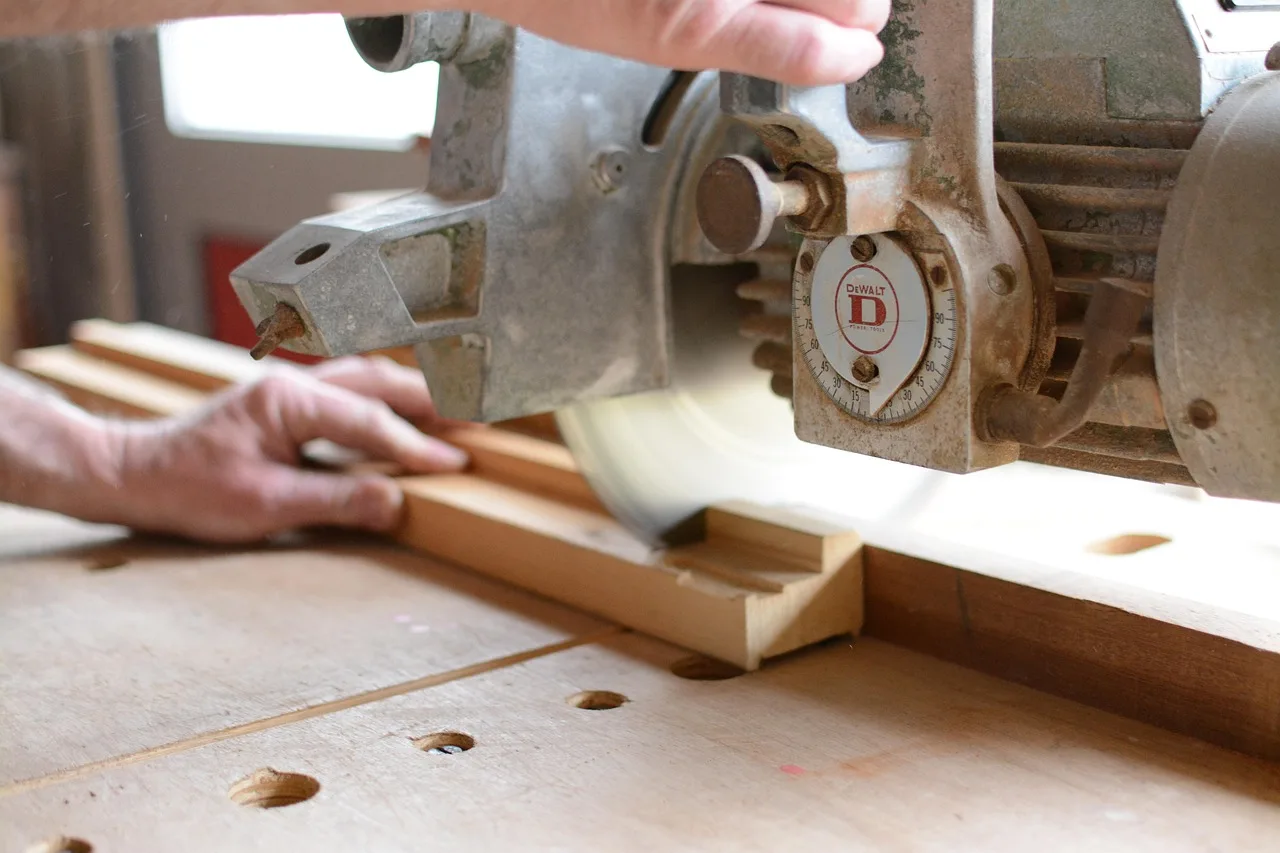
A band saw cuts with a continuous loop of toothed metal blade running over two wheels. For holiday work, the tool is best at curve cutting, edge-to-edge profiles, and resawing thin stock. It is not the right tool for interior openings that do not begin at an edge unless you use a different saw or redesign the pattern.
What matters on this tool
Throat depth limits how wide a panel you can swing through the blade. Blade width affects the smallest curve you can follow, table tilt sets angled cuts, and blade speed influences burning on dense stock. Fence use matters for straight cuts or repeatable resawing, not for freehand ornament curves.
Resawing versus curve cutting
Resawing splits thicker lumber into thinner boards along the grain. Curve cutting follows a layout line on the face of the stock. For Christmas projects, most work is curve cutting, while resawing is useful only if you want to make your own thin ornament blanks from thicker lumber.
How do you set up the blade?
For most small holiday pieces, a 1/8-inch blade handles the tightest turns, while a 1/4-inch blade tracks better on broader shapes and resawn blanks. A 6 to 10 TPI carbon-steel blade is usually enough for pine, poplar, and birch plywood. Move to bi-metal only when cut volume or harder stock justifies it.
1/8-inch versus 1/4-inch blades
Use 1/8-inch for tiny stars, tight tree branches, and small reindeer legs where the curve radius is very short. Use 1/4-inch when you want straighter tracking, less wandering, and better control on 1/4- to 3/8-inch stock. A wider blade resists twist better, but it cannot turn as tightly.
Tooth count and blade speed
A common woodcutting range is about 6 to 10 TPI. Fewer teeth clear chips faster on thicker or softer stock; more teeth leave a cleaner edge on thin plywood and small ornaments. If your saw has variable speed, slower settings help with hardwoods and reduce burning on tight curves.
Tension, guides, and drift control
Set blade tension so the blade tracks without flutter, then adjust the side guides and thrust bearings close to the blade. Drift control improves when the blade is sharp, tensioned correctly, and fed steadily. If the saw drifts, correct the setup before forcing the line.
How do you cut small shapes safely on a band saw?
Cut small Christmas shapes by keeping the workpiece large until the last possible moment, feeding slowly, and starting every profile from an edge. Do not try to start an interior opening from a drilled hole; a standard band saw blade cannot be threaded through the middle of the work that way.
Start from an edge, not the middle
If a pattern includes an inside opening, redesign it so the cut begins from the edge, or use a different tool. For ornament silhouettes and gift tags, edge-start cuts are enough. Keep your fingers outside the blade path and use a push stick only when the cut is straight or well supported.
Use relief cuts on tight curves
Make short relief cuts into waste areas when a curve is too tight for one smooth pass. Those cuts reduce blade twist and heat. On a 1/4-inch blade, a common practical minimum curve radius is about 1/2 inch; on a 1/8-inch blade, it can be closer to 1/4 inch, depending on the saw and stock.
Control tiny blanks without forcing them
Keep the blank flat on the table, use both hands until the piece gets small, and stop before finger clearance becomes tight. Say your 2-inch star begins to wobble near the last point; pause, back out only if needed, and finish the cut with the remaining tab supported, not by pinching the piece near the blade.
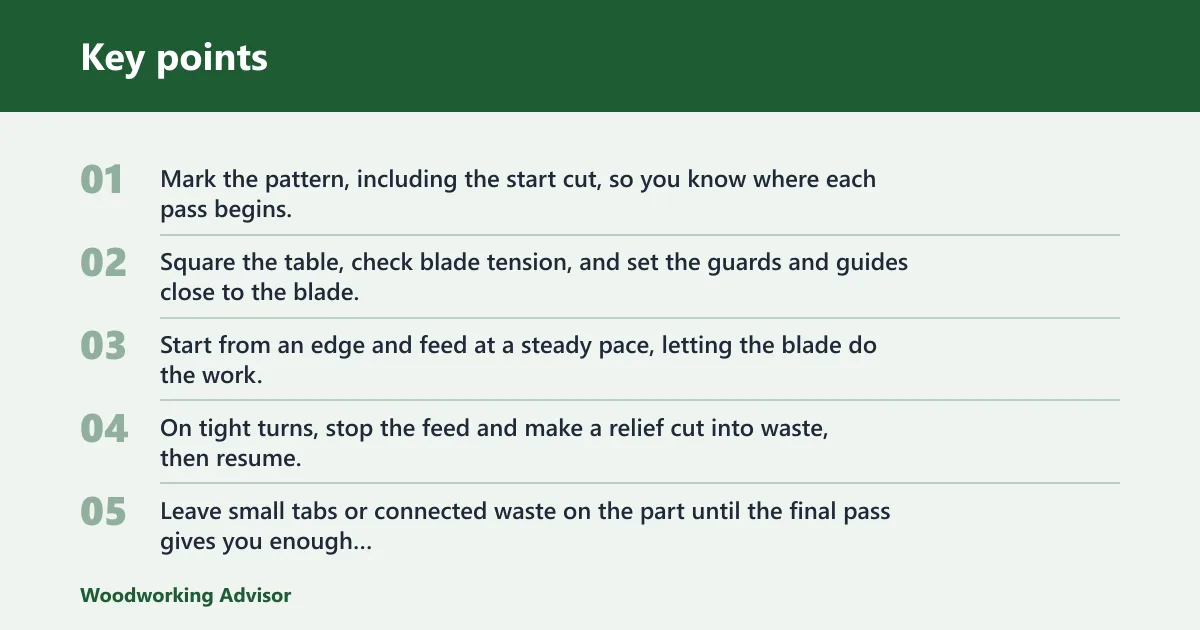
- Mark the pattern, including the start cut, so you know where each pass begins.
- Square the table, check blade tension, and set the guards and guides close to the blade.
- Start from an edge and feed at a steady pace, letting the blade do the work.
- On tight turns, stop the feed and make a relief cut into waste, then resume.
- Leave small tabs or connected waste on the part until the final pass gives you enough control.
- If cut quality starts to wander, back out and reset rather than twisting the work harder.
How do you finish holiday pieces?
Sand after cutting in a short progression, ease sharp edges, and remove dust before finish goes on. Shellac works well as a quick sealer, and water-based finish is a good choice when you want a clear topcoat over paint.
Sanding sequence and edge easing
Break the sharp corners first with a light pass of 180 grit, then sand the faces and curves. Keep the edge easing consistent so ornaments do not feel rough in the hand. For plywood, sand with the grain of the face veneer to limit fuzzing.
Paint versus natural finish
Natural finishes suit pine, poplar, and maple when the grain is part of the design. Paint works better on mixed-media pieces, layered stars, and tags with letters or holiday color blocking. Use water-based paint or a fully cured shellac base when you want a clean finish over end grain.
Hanger holes and final cleanup
Drill hanger holes after cutting so the layout stays accurate. For small ornaments, place the hanger hole about 1/4 inch from the edge on 1/4-inch stock. Blow off dust, inspect for splinters, and reinstall any hanging cord only after the finish cures.
Picture a 3-inch birch-plywood star with painted edges and a natural face. The band saw cuts the outline cleanly, a drill adds the hanger hole near the top point, and a light shellac coat seals the face before the paint on the edges is touched up. That sequence keeps the edges crisp.
Common mistakes
The most common failures are avoidable: burning from slow feed, wander from the wrong blade, tear-out on plywood, and tipping when a small blank gets too short to hold. Fix the setup first, then the cut path. When the part gets small, stop treating it like a full-size board.
- Burning: Reduce feed hesitation, check blade sharpness, and use a slower saw speed on hardwood.
- Blade drift: Recheck tension, guides, and tracking before blaming the pattern.
- Tear-out: Use birch plywood or a sharper blade, and support the exit side of the cut.
- Tipping small blanks: Keep a larger waste tab attached longer and finish the smallest features last.
- Wrong blade width: Match blade width to the tightest curve in the pattern, not to the project name.
- Too much force: Let the saw cut at its own pace; pushing harder only increases wander and heat.
Suppose you are cutting a 4-inch plywood snowflake and the blade starts to scorch one arm. The next adjustment is to slow the feed, then add a short relief cut before the tightest turn. If that does not help, switch from a dull 1/4-inch blade to a fresh 1/8-inch blade.
Frequently asked questions
What blade should I use for band saw Christmas decorations?
Start with a 3/16-inch or 1/4-inch blade and 6 to 10 TPI for most ornaments, trees, and gift tags. Drop to 1/8 inch for very tight curves in thin stock. Carbon-steel blades are fine for pine and poplar; bi-metal makes more sense for frequent use or harder wood.
What wood is best for band saw Christmas crafts?
Poplar is a strong beginner choice because it cuts cleanly and paints well. Pine is soft and easy to feed, though it can dent and fuzz. Birch plywood resists tear-out better than many softwoods on small parts, while hard maple is best saved for when your blade and feed control are steady.
How do I avoid burning or blade drift on small festive cuts?
Use a sharp blade, correct tension, and the slowest practical feed rate for the wood. Check that the guides are close to the blade and that the table is square to the cut path. Relief cuts help on tight turns, and a fresh blade often fixes both burning and drift at once.
Can I make gifts on a band saw instead of a scroll saw?
Yes, for flat gifts such as ornaments, tags, plaques, and simple desk decor. The band saw is less suited to very fine internal fretwork, but it handles outline cuts and thicker stock well. If a design needs tiny inside openings with no edge entry, a scroll saw or other tool is the better choice.
How do I sand and finish band saw Christmas ornaments?
Shellac seals quickly and works under many paints; water-based finish is a good topcoat when you want clarity. Drill hanger holes after cutting and before final finish so the edges stay clean.
How do I cut small Christmas shapes safely on a band saw?
Keep the blank as large as possible, start from an edge, and finish the smallest features last. Use both hands until finger clearance becomes tight, then stop and reposition rather than forcing the piece. A push stick helps on straight sections, but it does not replace careful hand control on curves.
Sponsored / affiliate links. As an Amazon Associate I earn from qualifying purchases. I may earn additional commission from eligible campaigns.