How to Build a Makeup Vanity Table (DIY Plans & Dimensions)
A makeup vanity table needs a 30-inch-tall top, 18-24 inches of depth, and drawer slides mounted 3/4 inch inset – get those wrong and the drawers bind or your knees hit the apron. Skipping a seated eye-height check before hanging the mirror is the most common build mistake. This guide covers standard dimensions, a two-drawer cut list, and how to size the mirror and stool correctly.
Affiliate disclosure: this post may contain Amazon affiliate links. As an Amazon Associate we earn from qualifying purchases at no extra cost to you.
Quick Answer
A DIY makeup vanity table works best at 30 inches tall with an 18 to 24 inch deep top, built from 3/4-inch plywood or solid wood. Mount ball-bearing drawer slides 3/4 inch inset from the front edge, size the mirror to your seated eye height, and finish with two coats of polyurethane.
Standard Makeup Vanity Table Dimensions
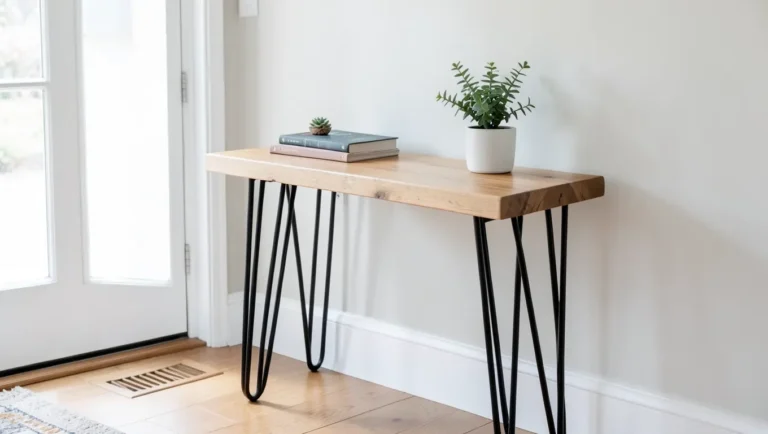
Most makeup vanity tables stand 28 to 32 inches tall, in line with standard desk height, with a tabletop 18 to 24 inches deep. Plan for at least 24 inches of clear floor space in front of the stool so you can sit down and stand up without hitting the apron underneath.
If you are building the stool separately, keep its seat 8 to 12 inches lower than the tabletop’s underside for comfortable knee clearance. A stool in the 17 to 19 inch range fits most 30-inch-tall vanities. New to woodworking? Start with our complete woodworking projects and tips guide before cutting anything.
📊 Standard vanity height runs 28-32 inches with an 18-24 inch top depth, and drawer slides typically need 3/4 inch of inset clearance from the drawer face. Source: Blum drawer-slide installation specifications and furniture-sizing references, 2026.
Vanity Hardware You Need: Drawer Slides & Mirror
Two components make or break a vanity build: the drawer slides and the mirror mount. Full-extension ball-bearing slides let you reach the back of a makeup drawer without pulling it all the way out, and they mount 3/4 inch inset from the front edge of the drawer box so the drawer face sits flush with the apron.
Best Vanity Drawer Slide Pick
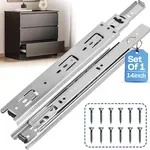 |
Ourshom 14" Full-Extension Drawer Slides (Pair) – $9.99 Sized for the 14-16 inch drawer boxes this guide’s cut list uses, with the 3/4-inch front inset this article’s drawer section calls for.
|
For the mirror, decide between a fixed wall mount and a tabletop stand before you finalize the apron height – a fixed mount needs backing blocking installed inside the apron now, while a stand can be added later. See the mirror-sizing formula below before drilling anything.
Choosing The Right Wood
Choosing the right wood matters for both durability and the drawer-slide fit above. Different species offer different tradeoffs.
| Wood Type | Durability | Aesthetics |
|---|---|---|
| Oak | Very strong and durable | Rich grain and color |
| Maple | Hard and sturdy | Smooth texture and light color |
| Pine | Moderately durable | Warm and rustic look |
Local lumberyards often price oak and maple lower than big-box stores. Ordering online is convenient but can add $20 to $40 in shipping on a single vanity-sized order, so compare both before buying.
Designing Your Makeup Table
Designing a makeup table starts with the dimensions above. Measure the space where it will go, then decide on a modern, rustic, or classic look before choosing hardware finishes.
Build in storage while you design, not after. Drawers hide products; open shelves display frequently used items. Keep everything within arm’s reach of the seated position you measured earlier.
How Do You Size a Vanity Mirror to Your Height?
Sit in your vanity chair or stool and measure the floor-to-eye-line height. Center the mirror at that measurement rather than a fixed number – eye height can vary 4 to 6 inches between a low stool and a full chair. A mirror around 24 inches wide is comfortable for most single-person vanities.
Tools And Materials Needed
Essential tools for this build:
- Table saw for making straight cuts.
- Router for shaping edges.
- Drill for making holes and driving screws.
- Sander for smoothing surfaces.
- Clamps to hold pieces together while the glue sets.
Materials and supplies:
- Wood glue for strong joints.
- Sandpaper in 120, 180, and 220 grit.
- Wood finish to protect the surface.
- Measuring tape for accuracy.
- Safety goggles to protect your eyes.
Creating The Woodworking Plans
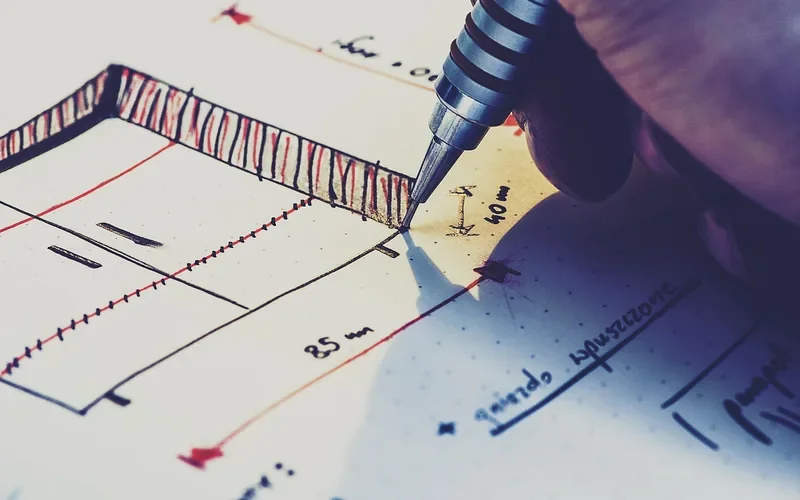
Start by sketching your design on paper using the dimensions from the first section. Focus on the tabletop depth, leg height, and drawer opening size before adding decorative details.
Build a cut list before you touch a saw. This vanity plan targets a 30-inch-tall, 18-inch-deep table with a single center drawer opening sized for the 14-inch slides above.
| Part | Material | Size | Quantity |
|---|---|---|---|
| Tabletop | 3/4" plywood or solid wood | 40 × 18 in | 1 |
| Legs | Wood, 2 × 2 in | 29 in long | 4 |
| Apron/support rails | Wood, 3/4 × 3 in | 36 in long | 2 |
| Drawer box sides | 1/2" plywood | 13 × 3.5 in | 4 |
For the drawer box, cut the sides about 1 inch narrower than the opening – 1/2 inch of clearance per side – so the 14-inch ball-bearing slides above fit and glide correctly.
Step-by-Step Construction Process
- Prepare the wood: Cut the tabletop, legs, and apron pieces to the sizes in the cut list above, checking each cut against the plan before moving to the next.
- Assemble the frame: Join the legs to the apron with wood glue and screws, checking every joint for square with a framing square as you go.
- Build and fit the drawer: Cut the drawer box 1 inch narrower than the opening, then mount the ball-bearing slides 3/4 inch inset from the front edge.
- Attach the tabletop: Screw the top to the frame from underneath so no fasteners show on the visible surface.
Finishing Touches For Durability And Style
Sanding comes before any finish. Work through 120, then 180, then 220 grit for a smooth surface that won’t telegraph scratches through stain.
Staining adds color and depth. Pick a stain color that matches your room, apply evenly with the grain, and let it dry fully before sealing.
Sealing protects the wood from spilled makeup, water rings, and daily wear. Two to three coats of a clear polyurethane or oil-based finish will outlast a single coat by years, not months.
Choosing the right hardware finishes the look. Knobs, pulls, and hinges in a matte black or brushed brass finish read as intentional rather than mismatched leftovers.
Styling Your Makeup Table
A large mirror reflects light and brightens the space; pair it with a comfortable chair or stool at the height you measured earlier for easy access to your makeup.
Keep products organized so the drawers stay usable: larger palettes and brushes go in the main drawer, small containers hold lipsticks and eyeliners, and a lazy Susan keeps daily-use items within reach on top.
Maintenance And Care Tips
Wipe the surface with a soft cloth regularly; avoid harsh chemicals that can strip the finish. A gentle soap-and-water solution handles most makeup and skincare spills.
Check the tabletop periodically for scratches or dents. Sand a damaged spot lightly, then reapply matching stain and sealant so the repair blends in rather than standing out.
Expanding Your Woodworking Skills
A vanity table is a good stepping stone to more advanced furniture builds. Try one of these next:
- Custom mirror frame: build a frame to match the vanity’s wood and finish.
- Storage stool: a stool with a lift-off top doubles as hidden storage.
- Jewelry organizer: a small divided box for rings, earrings, and bracelets.
- Vanity lighting: add a simple LED strip or sconces above the mirror.
Frequently Asked Questions
What Materials Do I Need For A Makeup Table?
To build a makeup table, you’ll need plywood, solid wood, or MDF for the surface. Additionally, gather screws, wood glue, sandpaper, and paint or stain for finishing. Don’t forget hardware like drawer slides and handles. Having quality tools like a saw and drill will ensure better results.
How Long Does It Take To Build A Makeup Table?
Building a makeup table typically takes 4 to 8 hours of active work, spread across a weekend once drying time for glue and finish is factored in. Beginners should budget extra time for measuring and test-fitting the drawer slides before final assembly.
Can I Customize My Makeup Table Design?
Yes. You can adjust the size, shape, and storage features based on your needs, as long as you keep the 28-32 inch height range and size the mirror to your own seated eye height rather than a generic standard.
Are There Beginner-Friendly Woodworking Plans Available?
Yes, plenty of free and paid beginner plans exist online, including the cut list in this guide. Look for plans with a clear dimensioned drawing and a materials list before starting, so you are not guessing measurements mid-build.
What Is The Standard Height Of A Makeup Vanity Table?
Most makeup vanity tables stand 28 to 32 inches tall, matching standard desk height, with a tabletop 18 to 24 inches deep. Building outside this range makes the table feel too high or too low for everyday use.
How Much Clearance Do Drawer Slides Need?
Full-extension ball-bearing slides need about 1/2 inch of clearance on each side of the drawer box, and the mounting bracket sits roughly 3/4 inch inset from the front edge so the drawer face closes flush.
How Do I Choose The Right Mirror Height For A Vanity?
Use the seated eye-height method covered earlier in this guide rather than a generic number. If you switch between a stool and a chair at the same vanity, a swing-arm or tilting mirror mount is more forgiving than a fixed frame.
Conclusion
Building your own makeup vanity table comes down to a handful of numbers: a 28-32 inch height, an 18-24 inch deep top, drawer slides inset 3/4 inch, and a mirror centered on your own seated eye height. Get those right and the rest – wood choice, finish, and styling – is where you can make it truly yours.
Sponsored / affiliate links. As an Amazon Associate I earn from qualifying purchases. I may earn additional commission from eligible campaigns.