How to Make Wooden Chess Sets: Lathe-Turning & Real Proportions
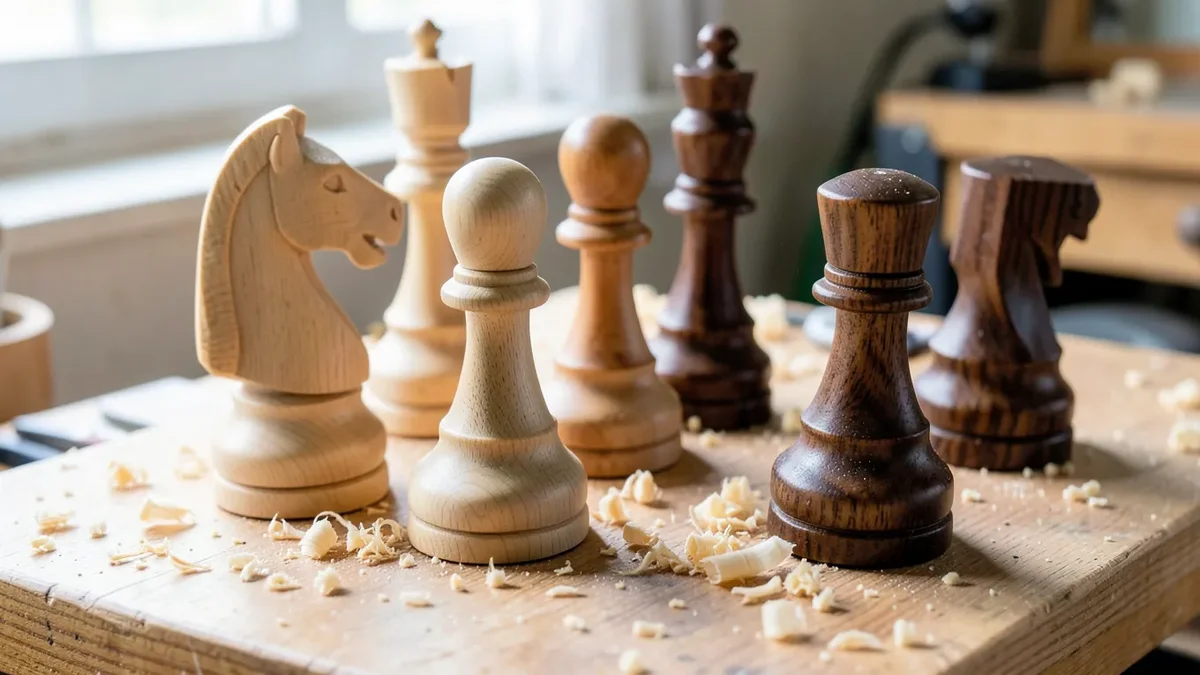
Most home-made wooden chess sets are turned on a lathe, not whittled by hand – the Staunton pattern that’s been the tournament standard since 1849 is built almost entirely from cylindrical and conical shapes that a lathe produces far faster and more consistently than hand-carving. A hobby lathe and a basic gouge set will get you a full 32-piece set in a weekend; hand-carving the same set with a knife is a realistic multi-week project.
If you’d rather hand-carve every piece with a knife instead of turning most of them on a lathe – including the knight, which has to be hand-carved either way – see our guide to hand-carving chess pieces for the tool kit, wood choice, and knight-carving technique.
Below is how to actually build a set: choosing wood that turns and finishes well, the real Staunton proportions that make pieces look and balance right, the board dimensions that match a standard piece size, and the finishing steps that make a set feel as good as it looks.
Choosing Your Wood
BEST GLUE FOR A CHECKERBOARD GLUE-UP
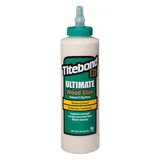 |
Titebond III Ultimate Wood Glue – $9.58 A strong, waterproof PVA glue for gluing up the alternating light and dark squares of a checkerboard chess board.
|
Standard tournament sets pair a light wood for one side against a dark wood for the other, and both need to turn cleanly without excessive tear-out on the small details of a knight or bishop.
Wood For The Pieces
Boxwood is the traditional choice for the light side in high-end sets – dense, fine-grained, and it turns crisp detail better than almost any other wood, though it’s pricier and can be harder to source in usable turning-blank sizes. Maple is the practical substitute: nearly as pale, widely available, and forgiving to turn. For the dark side, ebony is the traditional premium choice, with walnut or rosewood as more affordable, still-attractive alternatives with good turning characteristics. Basswood turns easily and is the cheapest realistic option for a first attempt, though it dents more easily in daily use than a harder wood.
Wood For The Board
A board’s squares see less handling than the pieces, so the priority shifts to visual contrast and stability rather than fine turning detail. Maple and walnut is the classic pairing and mirrors the piece colors nicely. Birch works as a lighter, more affordable alternative to maple, and cherry ages to a deeper reddish tone over time that some builders specifically want.
Getting Staunton Proportions Right
A chess set doesn’t need to be tournament-certified, but matching roughly to Staunton proportions is what makes a home-turned set look “right” rather than slightly off, and it’s the detail most first-time builders skip.
Standard Piece Heights And Base Sizing
Tournament sets typically run a king height of 3.75 to 4 inches, with every other piece sized as a fraction of that: bishops around 85-90% of king height, knights and rooks around 75-80%, and pawns around 50%. Base diameter should run roughly 40-50% of king height for stability – a common, and very real, mistake in first-time turned sets is making the base too narrow relative to height, which leaves pieces prone to tipping over on the board.
Weighting The Base
Quality sets add weight low in each piece – commonly a lead or steel disc or a few embedded fishing weights set into a recess turned into the base, then covered with the felt bottom – both to improve stability on the board and to give pieces a satisfying heft in hand. This is easy to add on a lathe: turn a shallow recess into the base before parting the piece off, glue in the weight, then apply the felt over it.
Tools Of The Trade
A wood lathe is the one tool that actually determines whether this project takes a weekend or a month, but a handful of smaller tools round out the build.
For Turning The Pieces
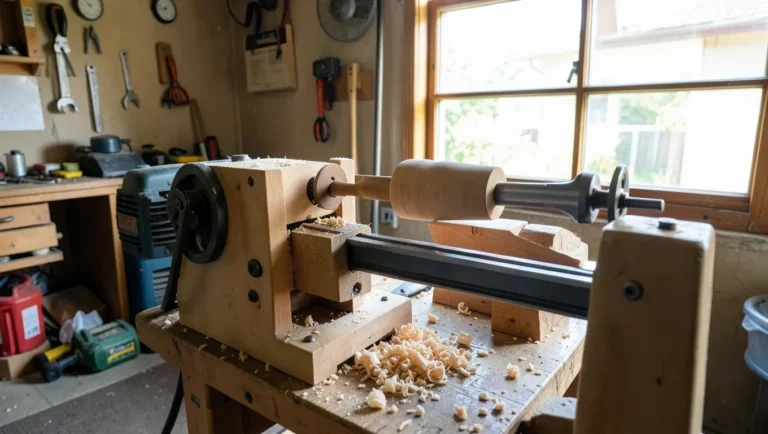
A mini or midi wood lathe (even a benchtop model) handles chess-piece-sized turning blanks comfortably. A basic spindle-turning gouge set (roughing gouge, spindle gouge, and a parting tool at minimum) covers the shapes involved – the knight’s head is the one piece most builders finish by hand-carving or with a rotary tool after rough-turning the base shape, since a horse’s head profile isn’t a shape a lathe can produce on its own.
For The Board And Finishing
A table saw with a good crosscut sled gives the most consistent square sizes for the board; a miter saw works but is harder to get perfectly repeatable cuts from. Standard tournament boards use 2.25-inch squares (matched to a king base that fits comfortably within one square without crowding its neighbors) – that number is worth building around even for a non-tournament set, since it’s what most Staunton-proportioned pieces are designed to sit on comfortably.
Standard safety gear applies throughout: eye protection at the lathe (turning throws chips and occasionally a piece can catch), a dust mask for sanding, and hearing protection if your lathe or sander runs loud. A lathe specifically also calls for no loose clothing or jewelry that could catch on the spinning workpiece.
Turning The Chess Pieces
Pawns are the easiest piece to start with – simplest profile, most forgiving of small errors – and turning all 16 pawns first (8 per side) is a good way to get comfortable with your gouges before tackling the more detailed pieces.
Rough-turning To Shape
Mount a squared turning blank between centers, rough it round with a roughing gouge, then work in from your reference measurements (a caliper set to your planned dimensions saves a lot of guessing) using a spindle gouge for the curves and a parting tool for the sharp transitions like the underside of a bishop’s mitre or a rook’s crenellations.
The Knight: The One Piece That Needs Hand Work
Turn the knight’s base and neck on the lathe like any other piece, then part it off and carve or rotary-tool the horse’s head profile by hand from a rough turned blank. This is genuinely the hardest piece in a chess set to get looking right, and it’s reasonable to expect your first few knights to look rougher than the rest of the set – most turners consider the knight the actual skill test of a chess set project.
Sanding On The Lathe
Sand pieces while they’re still spinning on the lathe (with the lathe running at a slower speed) starting around 150-grit and working to 320 or higher – this is dramatically faster and gets a more even result than sanding a finished piece by hand afterward. Stop the lathe to sand along the grain for a final pass, since sanding while spinning leaves fine circular scratches that a with-the-grain pass removes.
Building The Chess Board
A checkerboard glue-up looks intimidating but is really just careful, repeatable strip-cutting and a methodical glue-up sequence.
Cutting Consistent Squares
Rip your light and dark boards into 2.25-inch strips, then crosscut those strips into 2.25-inch squares – cutting strips first and then crosscutting them is far more accurate than trying to cut individual squares one at a time, since it eliminates repeated setup error. You need 32 light and 32 dark squares for a standard 8×8 board.
Assembling The Grid
Lay out the full 8×8 grid dry first, alternating light and dark in every row and column, and double-check that a light square sits in the bottom-right corner from the white player’s perspective – this is the official chess orientation, and it’s an easy detail to get backwards. Glue up in strips of 8 squares first, let those cure, then glue the 8 strips together into the full board; gluing the entire grid at once makes keeping everything aligned while clamping far harder than it needs to be.
Framing And Finishing The Board
A mitered hardwood border frame, sized to your two board species, both protects the glued-up edge grain and gives the board a finished, furniture-grade look. Sand the assembled board flat before finishing – even careful strip-cutting usually leaves tiny height differences between squares that need to be leveled before a topcoat goes on.
Finishing Touches
The finish protects the set and determines how it feels to actually play with, which matters as much as how it looks on a shelf.
Finishing The Pieces
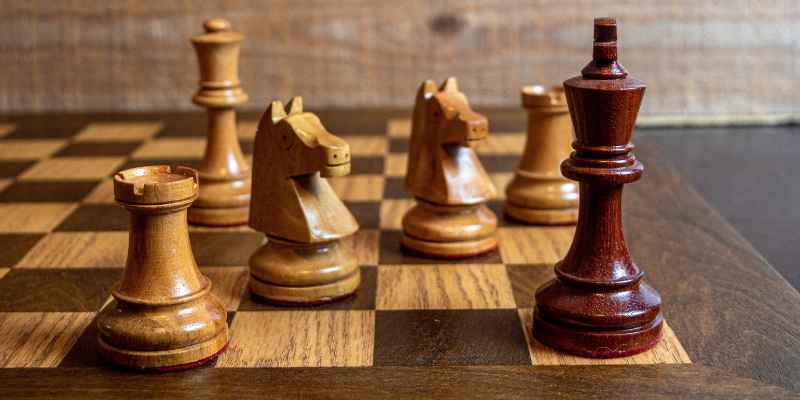
A wipe-on oil finish (Danish oil or a similar penetrating oil) is the traditional choice for chess pieces – it soaks into the turned detail without building a thick film that would blur crisp edges, and it’s easy to reapply if a piece gets scuffed later. Apply while the piece is still on the lathe for even coverage, wipe off excess, and let it cure fully before handling. Finish each piece’s base with self-adhesive felt sized slightly smaller than the base diameter so it doesn’t peek out around the edge – this is what makes pieces slide smoothly on the board instead of scratching it.
Finishing The Board
A wipe-on polyurethane or lacquer gives a board more durability against the daily wear of pieces sliding across it than an oil finish alone would. Apply in thin coats, scuff-sanding lightly between coats, and give the final coat several days to fully cure before regular play – a board that feels dry to the touch can still be soft enough underneath to mark from a dragged piece.
Playing On And Caring For Your New Set
A handmade set is worth a little extra care compared to a mass-produced one, mostly because replacing a single damaged piece means turning a matching one from scratch rather than ordering a replacement.
Wipe pieces and the board with a soft, dry cloth rather than water or household cleaners, which can dull an oil finish or lift a felt base over time. Store the set away from direct sunlight and significant humidity swings – the same wood movement that affects any solid-wood project can cause a board’s squares to shift slightly at the seams over years if it’s left somewhere with big seasonal temperature and humidity changes.
Frequently Asked Questions
How To Choose Wood For Chess Sets?
Pair a light wood (boxwood or maple are traditional) against a dark wood (ebony, walnut, or rosewood) for visual contrast between sides. Prioritize a wood that turns cleanly with minimal tear-out for the pieces; for the board, visual contrast and stability matter more than fine turning detail.
What Tools Are Needed For Making Chess Sets?
A wood lathe with basic spindle-turning gouges (roughing gouge, spindle gouge, parting tool) handles the pieces; a table saw with a crosscut sled gives the most consistent squares for the board. A rotary tool or carving knife is typically needed just for the knight’s head, the one piece a lathe can’t fully produce on its own.
How Long Does It Take To Make A Chess Set?
Turning a full 32-piece set on a lathe is realistically a weekend project once you’re comfortable with basic spindle turning, plus separate time for the board glue-up and finishing cure times. Hand-carving an entire set with a knife instead of a lathe is a multi-week undertaking by comparison.
Can Beginners Make Wooden Chess Sets?
Yes – pawns are the easiest piece to start with and a good way to build lathe confidence before tackling bishops, knights, and kings. Expect your first knight in particular to look rougher than the rest of the set; it’s the one piece that challenges even experienced turners.
Conclusion
A wood lathe, not a carving knife, is what actually makes a home-made chess set achievable in a weekend rather than a month – get the Staunton proportions roughly right, weight the bases for stability, and match your board’s 2.25-inch squares to your pieces. The knight will test your patience more than anything else in the set, but that’s normal, and a set you turned yourself will feel like a genuinely different object across the board than anything bought off a shelf.
Sponsored / affiliate links. As an Amazon Associate I earn from qualifying purchases. I may earn additional commission from eligible campaigns.