Can You Paint Cherry Cabinets? Best Methods & Pro Tips
Painting cherry cabinets is absolutely possible and can dramatically change your kitchen’s look. Success hinges on proper preparation, using the right primer, and choosing a durable paint. This process requires patience but yields beautiful, lasting results, giving your cabinets a fresh, modern appearance.
Getting a replacement? Check how to measure hinges first for the right size.
Understanding Cherry Cabinets Before You Paint
Cherry wood is beautiful. It has a natural reddish-brown hue. This color deepens and warms up over time.
That’s called “aging” or “curing.” It’s a sign of quality wood. This natural aging is why many people love cherry cabinets in the first place.
But sometimes, this rich color can feel too dark. Or maybe the grain pattern isn’t what you want today. You might see scratches or wear marks.
These can make the cabinets look dull. Painting them can hide imperfections. It also lets you pick any color you like.
This is a big reason why painting is so popular.
The natural oils in cherry wood can be tricky. They can bleed through paint. This is called “tannin bleed.” If you don’t use the right primer, you’ll see dark spots appear.
These spots can ruin the look of your new paint job. So, knowing about these oils is key. It helps you choose the best products and methods.
Many people worry about ruining the wood’s natural beauty. This is a valid concern. However, with the right approach, you can achieve a stunning painted finish.
It’s about respecting the wood but updating its style. Think of it as giving your kitchen a modern makeover. It’s a way to make the space feel new again.
My Own Cherry Cabinet Painting Journey
I remember the first time I tackled cherry cabinets. It was at my friend Sarah’s house. She had these gorgeous, but very traditional, cherry cabinets.
They were dark and felt a bit heavy for her bright, modern kitchen she was aiming for. Sarah was nervous. She loved the wood but hated the style.
“Can I really do this without messing it up?” she asked me, wringing her hands.
We spent a whole weekend prepping. Dusting, cleaning, sanding. It felt like a mountain of work.
Then came the primer. I used a special stain-blocking primer. I remember holding my breath as the first coat went on.
Would the dreaded tannin bleed show up? For a moment, I thought I saw a faint hint of pink. Panic set in.
But we let it dry completely. It disappeared. Phew!
That was a huge relief. It taught me that patience is your best friend with cherry wood.
Painting them was another story. It took several thin coats. Each one felt like progress.
Watching the color change slowly was exciting. The final result? Absolutely stunning.
They looked like brand new cabinets. Sarah was thrilled. Her kitchen felt so much lighter and more inviting.
That experience showed me that painting cherry cabinets isn’t just possible; it’s a fantastic way to update a home.
The Essential Steps to Painting Cherry Cabinets
Getting ready is super important. This step takes the longest. But it’s where you build the foundation for a great paint job.
Don’t rush this part. Your cabinets will thank you later.
First, you need to take everything out. Empty all the shelves and drawers. Then, remove the doors and drawer fronts.
Label each piece. This helps you put them back in the right place. It might seem like a lot, but it’s easier to paint them when they are off the cabinet boxes.
Next, clean them really well. Use a good degreaser. Kitchen cabinets get greasy.
You need to remove all that grease. If you don’t, the paint won’t stick. After cleaning, give them a light sanding.
Use fine-grit sandpaper. Something like 120-grit or 150-grit is good. This roughs up the surface just enough for the primer to grip.
Wipe away all the dust. A tack cloth works best for this. It picks up tiny dust particles.
Make sure every surface is clean and dry. This is crucial for paint adhesion.
Painting Prep Checklist
- Remove hardware (knobs, hinges).
- Take off cabinet doors and drawer fronts.
- Label each piece clearly.
- Clean thoroughly with a degreaser.
- Lightly sand all surfaces.
- Wipe away all dust with a tack cloth.
- Protect your countertops and floors.
Choosing the Right Primer for Cherry Wood
This is where we fight the tannin bleed. A good primer is your secret weapon. You can’t skip this step.
Not with cherry wood. You need a primer specifically designed to block stains.
Look for a high-quality stain-blocking primer. Oil-based primers are often recommended for this job. They are very effective at sealing in tannins.
Some water-based primers also work well. They are easier to clean up. But always check the label to ensure it’s a stain blocker.
Apply the primer in thin, even coats. Let each coat dry completely. The manufacturer’s instructions will tell you how long.
You might need two coats. Especially if the wood is very oily or the color is deep. Inspect the cabinets after the first coat.
If you see any signs of bleed-through, add another coat.
Once the primer is dry, you might need to do a very light sanding. Use super-fine sandpaper, like 220-grit. This makes the surface super smooth for the paint.
Wipe away any dust again. This ensures a flawless finish.
Primer Power: Why It Matters
What it does: Seals wood oils to prevent bleed-through.
Why cherry needs it: Cherry wood naturally has tannins. These can seep into paint.
Types to look for: Oil-based stain blockers or specific water-based stain blockers.
Application tip: Apply thin, even coats. Allow full drying time between coats.
Selecting the Best Paint for Your Cabinets
Now for the fun part: paint color! But also, the type of paint. For cabinets, you want something tough.
They get a lot of use. You need a paint that can stand up to daily life.
The best paints for cabinets are usually water-based alkyd enamels or high-quality acrylic latex paints. These offer good durability. They also have a smoother finish.
Look for paints with a satin, semi-gloss, or gloss finish. These finishes are more durable. They are also easier to clean than matte finishes.
Satin is a popular choice. It has a slight sheen. It’s durable but not too shiny.
Semi-gloss offers more shine and is very tough. High-gloss is the most durable and shiniest. It can highlight imperfections, though.
So, choose wisely based on the look you want.
Always use paint designed for cabinetry or trim. These paints are formulated for hard surfaces. They dry harder and are more resistant to chipping and scratching.
Many brands offer excellent cabinet paints.
Apply paint in thin, even coats. Just like with primer. You’ll likely need two or three coats.
Let each coat dry completely before applying the next. This builds up a strong, smooth finish. A light sanding between coats can help too.
Use 220-grit or 320-grit sandpaper. Then wipe clean.
Paint Finish Guide
Matte: No shine. Hides imperfections well. Less durable, harder to clean.
Satin: Low sheen. Good balance of durability and subtle shine. Popular choice.
Semi-Gloss: Noticeable shine. Very durable and easy to wipe clean. Great for kitchens.
Gloss: High shine. Most durable. Can show every little flaw.
Application Techniques: Brushes, Rollers, and Sprayers
How you apply the paint matters. It affects the final look and feel. Each method has its pros and cons.
Think about the tools you have and the finish you want.
Brushes: High-quality synthetic brushes are best for latex or acrylic paints. For oil-based paints, use natural bristles. Use a good quality brush.
It will give you smoother strokes. Avoid cheap brushes that leave bristles behind.
Rollers: Foam rollers or short-nap rollers work well. They give a smooth finish without brush strokes. Be careful not to press too hard.
You want thin, even coats. Rollers are great for doors and large flat areas.
Sprayers: This is the professional choice for a flawless finish. A paint sprayer applies paint evenly and quickly. It can create a factory-like finish.
However, sprayers require practice. They also need careful masking to protect surrounding areas. If you’re not experienced, practice on scrap wood first.
No matter the tool, thin coats are key. Multiple thin coats are always better than one thick coat. This prevents drips and ensures even coverage.
Take your time between coats.
Work in a well-ventilated area. If you’re spraying, wear a respirator mask. Always follow the paint manufacturer’s safety guidelines.
Tool Time: What to Use?
For a smooth, quick finish: Paint Sprayer (requires practice and masking)
For large areas like doors: High-quality Foam Roller or Short-Nap Roller
For corners and edges: High-quality Synthetic Brush (for water-based paint)
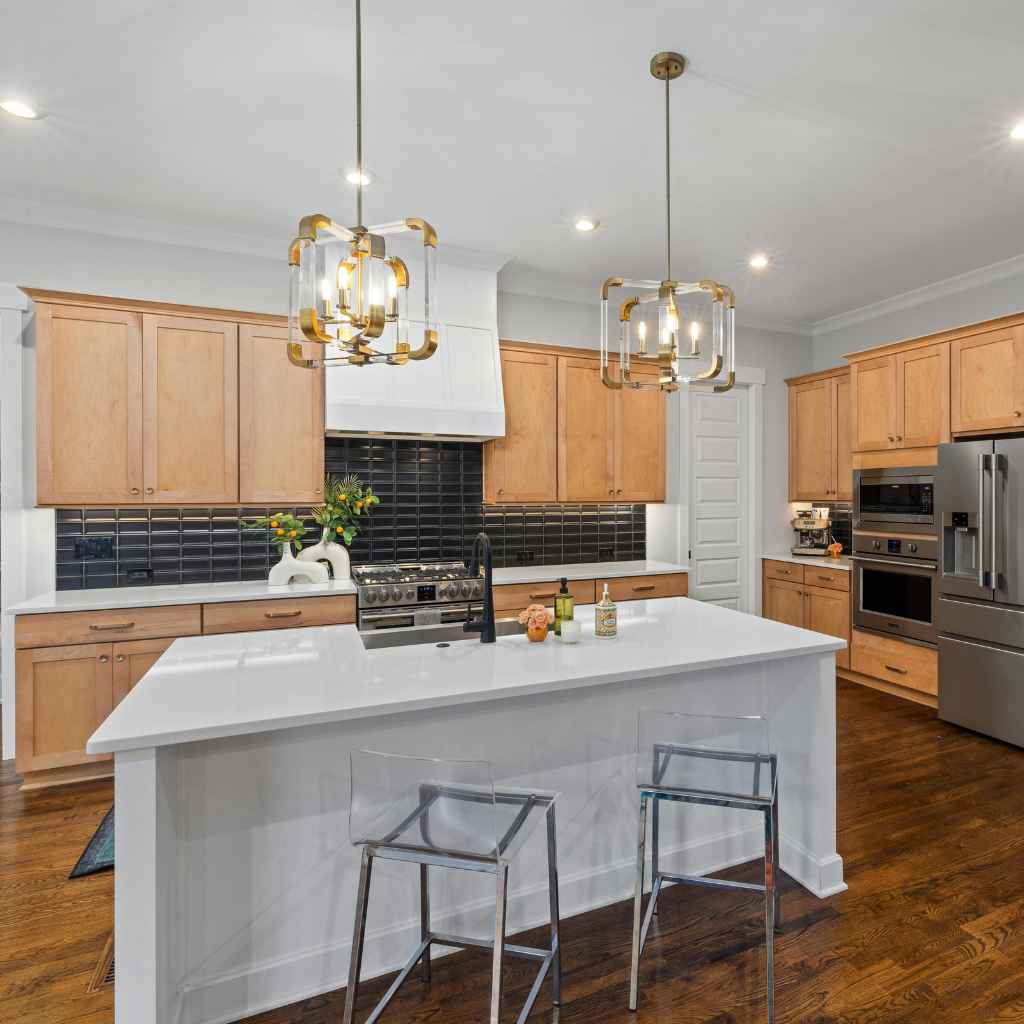
Real-World Context: Cherry Cabinets in Different Homes
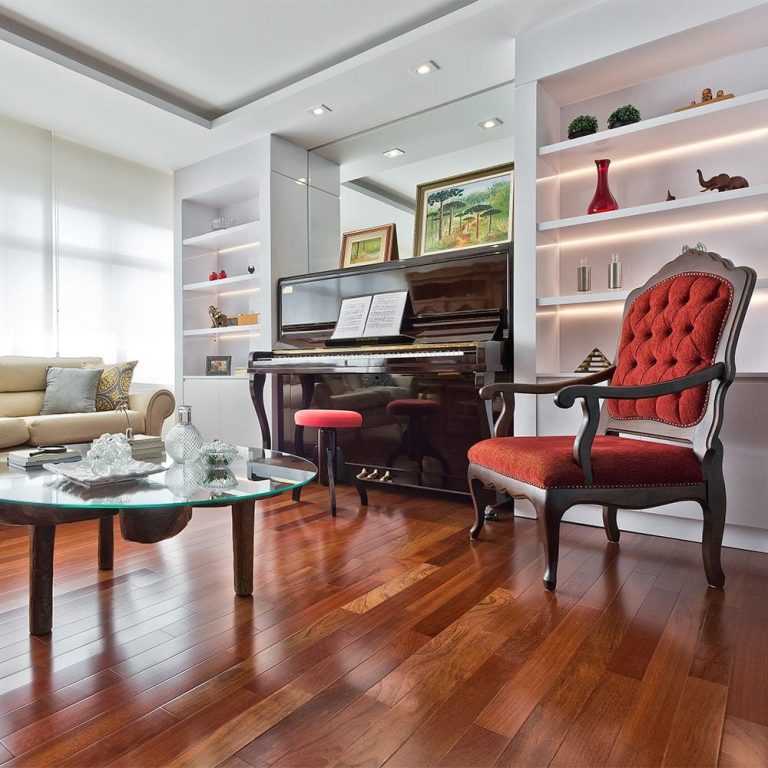
I’ve seen cherry cabinets in all sorts of homes. In older houses, they often have a deep, rich patina. They might feel traditional or even a bit dark.
In these homes, painting can bring a surprising lightness. A soft gray or a creamy white can make the kitchen feel much bigger.
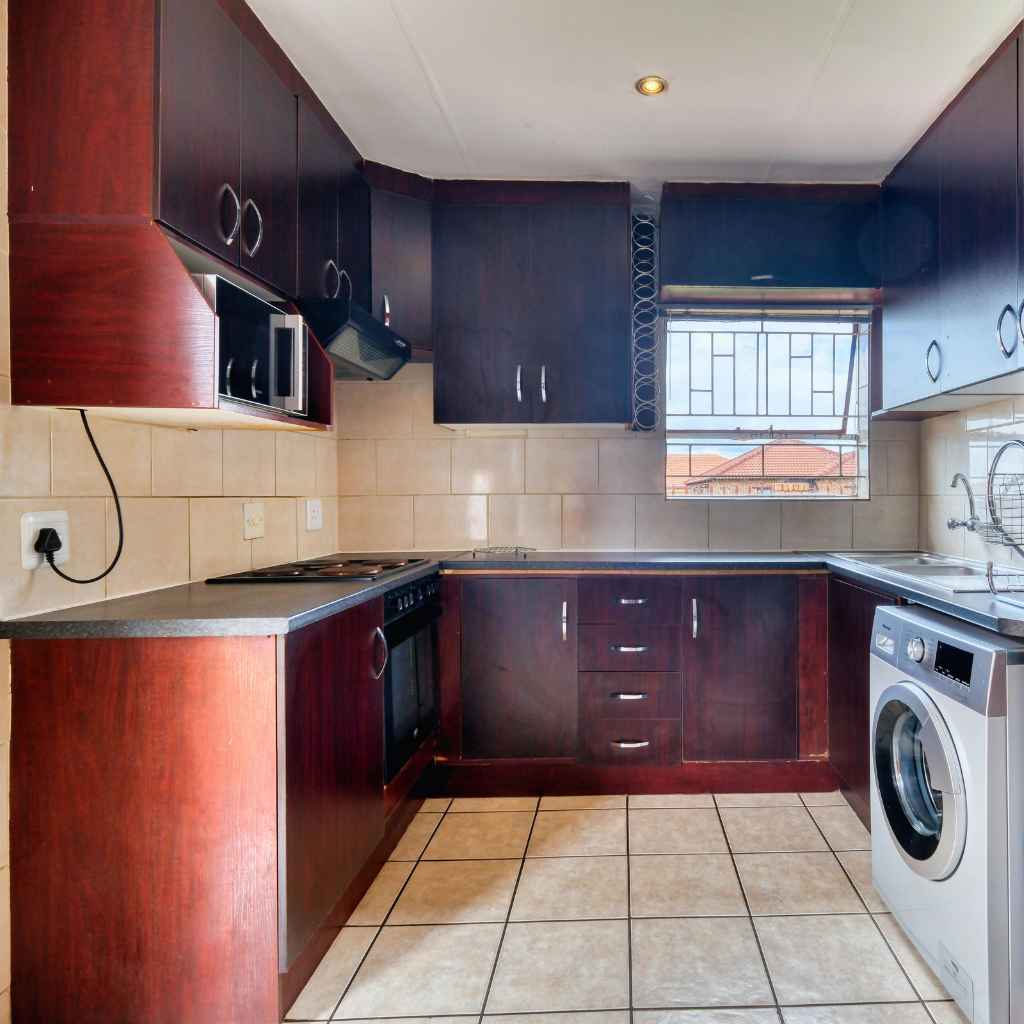
In newer homes, cherry might be used for contrast. Maybe a homeowner wants a bolder statement. Darker cherry can look very dramatic.
But even here, tastes change. A homeowner might want to update to a more neutral palette. Or perhaps a brighter, more cheerful color.
The environment plays a role. In humid climates, wood can expand and contract more. This can put stress on paint.
Using a flexible paint and primer is important. In dry climates, wood might be more stable. But it can also be more prone to cracking if not sealed well.
Think about the existing style of your home. Are you going for a farmhouse look? A modern minimalist vibe?
A classic traditional feel? The color you choose for your cherry cabinets should complement the overall aesthetic. Painting them a classic white works in many styles.
A deep navy or a soft sage green can also be stunning.
Consider the lighting in your kitchen. Lots of natural light can handle darker colors. Rooms with less light might benefit from lighter, brighter shades.
This is where seeing paint samples in your actual kitchen is a must.
Cherry Cabinets: Style Match
Traditional Homes: Can feel dark. Painting lightens them up, creating a fresh look.
Modern Homes: May be used for contrast. Painting offers a way to update to current trends.
Climate Impact: Humidity and dryness affect wood. Choose flexible paints and good sealers.
Home Style: Match paint color to your home’s overall design for a cohesive feel.
What Painting Cherry Cabinets Means for Your Kitchen
Painting your cherry cabinets is a big project. But the rewards can be huge. It’s a way to completely change the heart of your home.
It can make a dated kitchen feel brand new. This is often much cheaper than buying new cabinets.
When is it normal to paint? If you’ve lived with your cherry cabinets for years. If their style no longer fits your life.
If they have scratches or wear that bothers you. If you want a different color scheme. All these are good reasons.
When should you maybe reconsider? If the cabinets are in near-perfect condition. If you genuinely love the natural cherry color and grain.
If you’re looking for a super quick, weekend project. Painting cherry cabinets requires time and effort. It’s not a minor change.
Simple checks can help you decide. Look at your cabinets closely. Are there areas where the finish is worn off?
Are there deep scratches or dents? Do you find yourself wishing they were a different color almost every day? If you answer yes to these, painting is likely a great option for you.
It also means you need to be prepared for the process. It will take days, possibly weeks. You’ll be without your kitchen functioning fully for a bit.
Have a plan for meals. Keep your workspace organized. This makes the disruption less stressful.
Painting Cherry Cabinets: The Big Picture
Cost-Effective Update: Often cheaper than cabinet replacement.
Style Transformation: Completely changes the look and feel of your kitchen.
Hides Imperfections: Covers wear, scratches, and inconsistent aging.
Requires Patience: It’s a multi-day project needing careful prep and application.
Quick Tips for a Successful Cabinet Paint Job
If you’ve decided to paint, here are some pro tips I’ve picked up. These can help avoid common mistakes and get a beautiful finish. Think of these as little helpers on your journey.
Don’t skip the degreaser: Seriously, grease is the enemy of paint adhesion. Clean until your cabinets feel squeaky clean.
Label everything: This is a lifesaver when reassembling. Put a number or letter on the back of each door and its corresponding cabinet frame.
Thin coats are king: It’s better to do four thin coats than two thick ones. This prevents drips and gives a smoother, more durable finish.
Allow ample drying time: This is especially true for primers and between paint coats. Rushing this step leads to peeling and chipping later.
Use the right tools: Invest in good quality brushes and rollers. They make a noticeable difference in the final outcome.
Ventilation is important: Work in a well-ventilated area. Use fans to help air circulate. Open windows when safe to do so.
Test colors in your space: Paint swatches on a few doors. Look at them in different lights throughout the day. Colors can look very different in your kitchen.
Patience is a virtue: This project takes time. Don’t get discouraged. Take breaks if you need them.
Celebrate small victories.
Painting Cabinet Cheat Sheet
Prep: Clean, sand, wipe. Don’t skip.
Primer: Stain-blocking is a must for cherry.
Paint: Durable enamel or acrylic latex.
Coats: Thin and multiple. Let them dry.
Tools: Quality brushes and rollers make it easier.
Frequently Asked Questions About Painting Cherry Cabinets
Do I really need to sand cherry cabinets before painting?
Yes, light sanding is very important. It creates a surface that the primer and paint can stick to better. Without sanding, the paint might not adhere properly and could peel off later.
Think of it as giving the paint something to grip onto.
What is the best type of paint for kitchen cabinets?
For kitchen cabinets, you want a durable paint that’s easy to clean. High-quality acrylic latex paints or water-based alkyd enamels are excellent choices. These paints dry hard and resist wear and tear.
A satin, semi-gloss, or gloss finish is usually best for kitchens.
How do I prevent tannin bleed on cherry cabinets?
The key to preventing tannin bleed is using a high-quality stain-blocking primer. Oil-based primers are very effective. Apply at least one, and often two, coats of primer.
Make sure each coat is fully dry before moving on to the next step. This seals in the natural oils of the cherry wood.
Can I paint over a cherry wood stain without sanding?
It’s not recommended to paint directly over cherry stain without proper preparation. You will likely need to clean, lightly sand, and then prime the cabinets. Skipping these steps means the paint may not stick well, leading to premature failure of the paint job.
How long does it take to paint kitchen cabinets?
Painting kitchen cabinets is a time-consuming project. It typically takes several days, or even a week or more, depending on the number of cabinets and your drying times. This includes prep work, priming, painting, and reassembly.
Rushing the process can lead to a less than ideal finish.
Should I remove my cabinet doors before painting?
Yes, it is highly recommended to remove your cabinet doors and drawer fronts before painting. This allows you to paint all sides and edges thoroughly. It also makes it much easier to achieve a smooth, even finish on each piece, and the cabinet boxes themselves.
Final Thoughts on Your Cabinet Makeover
Painting cherry cabinets is a rewarding project. It’s a way to bring new life to your kitchen. With the right preparation and materials, you can achieve beautiful, lasting results.
Remember, patience is key. Take your time with each step. This ensures your cabinets will look great for years to come.
Enjoy your refreshed kitchen!