How to Plane Wood With a Sander: Method & Real Limits
A belt sander can remove wood fast enough to work like a planer on small jobs, but it isn’t a real substitute for one. Coarse grit will knock down a proud edge or level a cupped face in a few passes, yet a sander and a planer remove material through completely different mechanisms — and that difference shows up the moment you need two faces perfectly parallel, or a board wider than about 6 inches truly flat. This guide covers the actual technique for using a sander as a planer stand-in, the grit sequence that works, and the specific point where sanding stops helping and starts causing problems.
Can You Really Plane Wood With a Sander?
Within limits, yes. A planer removes material with a rotating cutterhead: sharp knives take a single controlled pass across the board, guided by a fixed bed and rollers that hold the workpiece at a set height. The cut depth is mechanical, not judged by feel, so the resulting face comes out flat and exactly parallel to the reference face underneath it. A sander does something different — abrasive grit wears material away through friction, and how much comes off any given spot depends entirely on how much pressure and time you give it. That makes a sander genuinely useful for small stock-removal jobs: taking a swollen glue line down flush, thinning a board by a sixteenth of an inch or less, or smoothing rough-sawn lumber that’s already close to the thickness you need. It is not a reliable way to take a warped or oversized board down to a precise, uniform thickness across its whole length — that’s a job a planer does mechanically and a sander does by hand-eye judgment.
Best Belt Sander for Light Stock Removal
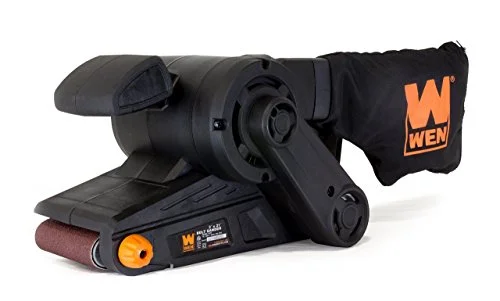 |
WEN 6321 7-Amp 3″ x 21″ Belt Sander – $38.79 A 7-amp corded belt sander with enough power for the coarse-grit stock removal this guide covers, plus a built-in dust bag to cut down on cleanup.
|
Sander vs. Planer: What’s Actually Different
A thickness planer does three specific jobs that nothing else in a shop replicates well: it makes the second face of a board parallel to the first, it smooths rough stock in one pass, and it reduces a board to an exact target thickness you dial in ahead of time. Sanding, by comparison, is a corrective and finishing process — it follows whatever shape is already under the pad or belt. If a board is cupped or twisted, a sander rides along that curve instead of cutting through it, so leaning harder on the low spots just digs a groove into the surrounding wood without ever bringing the board level. There’s also a dust difference worth knowing about: a planer ejects continuous shavings through a chute, while sanding a whole face with coarse grit throws a lot more fine, airborne dust for the same amount of material removed. If you’re deciding between the two tools for a specific project rather than a one-off fix, our belt sander vs. planer comparison breaks down which one actually suits your workload.
Choosing the Right Sander for Stock Removal
Not every sander is built for this. A belt sander is the only common shop sander with enough aggressive, continuous cut to stand in for a planer on small jobs — its looped abrasive belt runs fast and flat, which is what actually removes material quickly rather than just polishing the surface. A random-orbit sander is the wrong tool for stock removal; it’s built for finish work and will take far longer to remove the same amount of wood, though it’s the right choice once you’re down to blending scratches. A detail or corner sander has its place on trim and tight joints but doesn’t have the surface contact to flatten anything.
| Sander Type | Use It For |
|---|---|
| Belt sander | Removing real material — the only sander suited to planer-style stock removal |
| Random-orbit sander | Finish smoothing after stock removal, not removal itself |
| Detail/corner sander | Tight corners and small parts, never full-face flattening |
Step-by-Step: Using a Belt Sander to Remove Stock
Clamp the board securely before you start — a belt sander has real torque, and a board that shifts mid-pass will gouge unevenly. Before turning the sander on, lay a straightedge or a pair of winding sticks across the board to see how much material you’re actually dealing with; this tells you whether you’re looking at a five-minute fix or a job that really needs a planer instead.
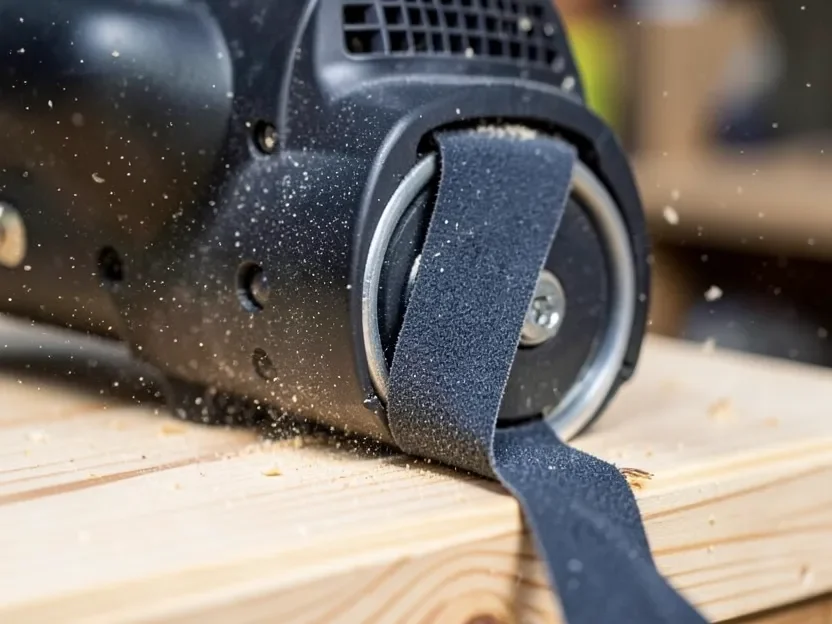
Load a coarse belt — 36 to 60 grit — for the actual removal work. On the first pass, run the sander at a slight diagonal or even across the grain; this cuts faster and makes it easier to see exactly where material is coming off. Keep the sander moving at all times and let its own weight provide the pressure — pressing down or lingering in one spot digs a low point that’s hard to sand back out evenly. Once the high spots are gone, switch to sanding with the grain to remove the cross-grain scratch pattern the coarse belt left behind, then step up through 80 and 120 grit to clean up the surface. As a rule of thumb, if you need to remove more than about a sixteenth of an inch of material, a sander is the wrong tool for the job — that amount of hand-guided removal is very hard to keep even, and a planer will do it in one controlled pass.
Where Sanding Falls Short of a Planer
The honest limitation is worth spelling out. On a board wider than the sander’s own footprint, it’s very difficult to keep the tool level from edge to edge across the full pass — small variations in hand pressure show up as a slightly wavy surface instead of a true flat plane. A planer avoids this because the board is held flat against a fixed bed and the cutterhead spans the full width in one motion. Precision is the other gap: a planer sets thickness in fractions of a millimeter and repeats it identically pass after pass, while sanding is judged by eye and feel, so it’s easy to take more off one edge than the other without realizing it until the board is already too thin. If your actual goal is correcting warp, cup, or twist rather than light stock removal, see our guide on whether sanding can really flatten wood — it covers exactly where that line sits.
Safety and Workspace Setup
Coarse-grit sanding throws noticeably more airborne fine dust than planing does, so a real dust mask or respirator matters more here than for most shop tasks — a disposable paper mask isn’t enough for extended coarse-grit work. Wear eye protection and hearing protection, since a belt sander runs loud and throws debris. Clamp the workpiece to a bench rather than holding it by hand, keep the work area clear so you’re not backing into anything mid-pass, and check the cord and belt for wear before you start. If you’re working indoors, a shop vac positioned near the sander’s dust port or an open window will cut down on cleanup significantly.
When to Just Use a Planer Instead
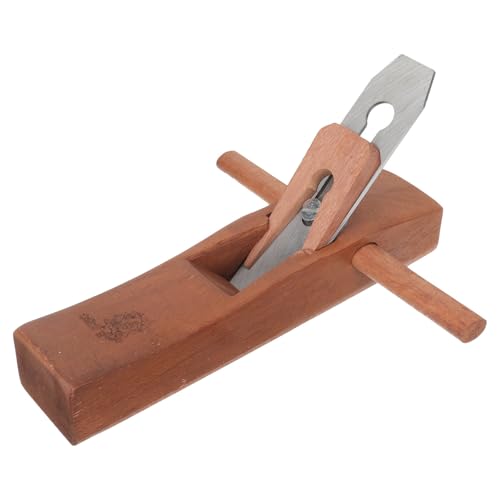
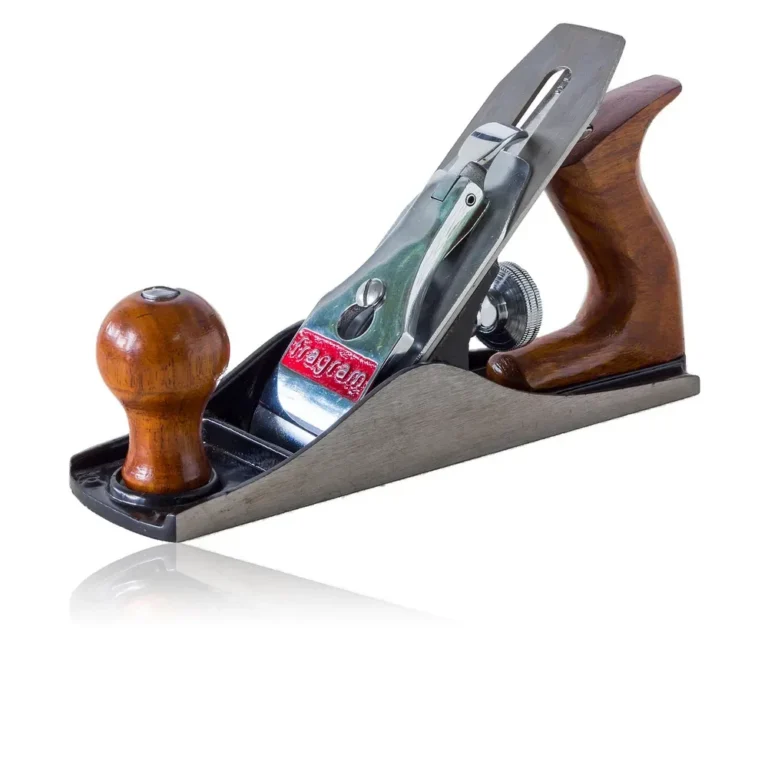
If you’re removing more than a sixteenth of an inch, working a board wider than roughly 6 inches, or need several boards to match to the exact same thickness for a glue-up panel, stop reaching for the sander and use a planer — either your own, a borrowed one, or a local lumberyard’s surfacing service, which usually costs a few dollars per board foot. If you already own a hand plane and just need to tune it up before tackling the job by hand, our guide on adjusting a wood plane blade covers depth and lateral setup.
Frequently Asked Questions
How Do You Use A Sander For Planing Wood?
Clamp the board, then load a coarse belt (36-60 grit) on a belt sander and run it slightly across or diagonal to the grain to remove material fast. Keep the sander moving and let its weight do the work rather than pressing down. Once high spots are gone, switch to sanding with the grain and move up through 80 and then 120 grit to clean up the surface. This works well for removing up to about a sixteenth of an inch — beyond that, use an actual planer.
What Type Of Sander Is Best For Planing?
A belt sander is the only common sander with enough aggressive, continuous cutting action to substitute for a planer on small jobs. Random-orbit and detail sanders are built for finish work, not bulk material removal, and will be far slower at the same task.
Can You Plane Wood Without A Planer?
Yes, for light jobs. A belt sander can remove enough material to smooth rough stock or knock down a proud glue line, but it can’t guarantee two perfectly parallel faces or a precise, repeatable thickness the way a planer’s fixed bed and cutterhead do. For heavier stock removal or matching multiple boards to the same thickness, a planer — owned, borrowed, or via a lumberyard’s surfacing service — is still the right tool.
How Do You Achieve A Smooth Finish When Sanding?
Work through the grits in order without skipping steps: coarse (36-60) for removal, then 80, then 120 or higher for finish. Sand with the grain on your final passes to eliminate cross-grain scratches, keep the sander flat and moving, and clean dust off the surface between grit changes so you can actually see your progress.
Bottom Line
A belt sander is a legitimate, honest workaround for small stock-removal jobs — it just isn’t a planer, and treating it like one on anything wider than a narrow board or thicker than a sixteenth of an inch will cost you more time than it saves. Use the coarse-to-fine grit sequence above for quick fixes, and reach for an actual planer once the job calls for real, repeatable thickness control.
Sponsored / affiliate links. As an Amazon Associate I earn from qualifying purchases. I may earn additional commission from eligible campaigns.