How to Adjust a Wood Plane Blade: Depth & Lateral Setup Guide
To adjust a wood plane blade, turn the depth-adjustment knob a quarter turn at a time until the blade barely peeks past the sole, then nudge the lateral lever until the edge sits parallel to the sole on both sides. Test on scrap: a properly adjusted blade lifts a continuous, paper-thin, even-width shaving. Too thick or uneven means more adjustment – not more force.
Most “the plane won’t cut right” frustration isn’t a sharpening problem at all – it’s a blade that’s advanced too far, tilted to one side, or seated with the chipbreaker in the wrong spot. This guide walks through what the depth knob and lateral lever actually do mechanically, how to set both correctly, and how to tell when the real issue is dullness instead of adjustment.
How the Adjustment Mechanism Actually Works
Handy For Keeping The Edge Sharp Too
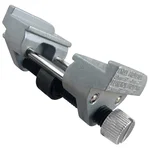 |
ATLIN Honing Guide – $19.99 A crooked or rounded-over bevel is a common reason a “properly adjusted” blade still won’t cut cleanly – this jig holds the angle steady while you hone.
|
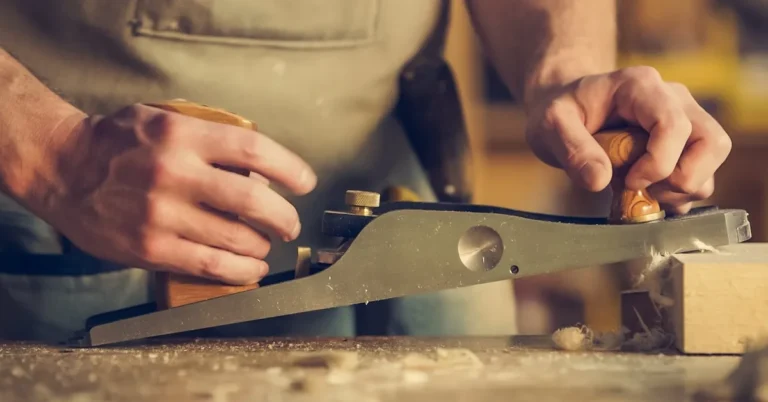
On a standard Bailey-pattern bench or block plane, two separate controls do two separate jobs, and mixing them up is the most common cause of a bad cut:
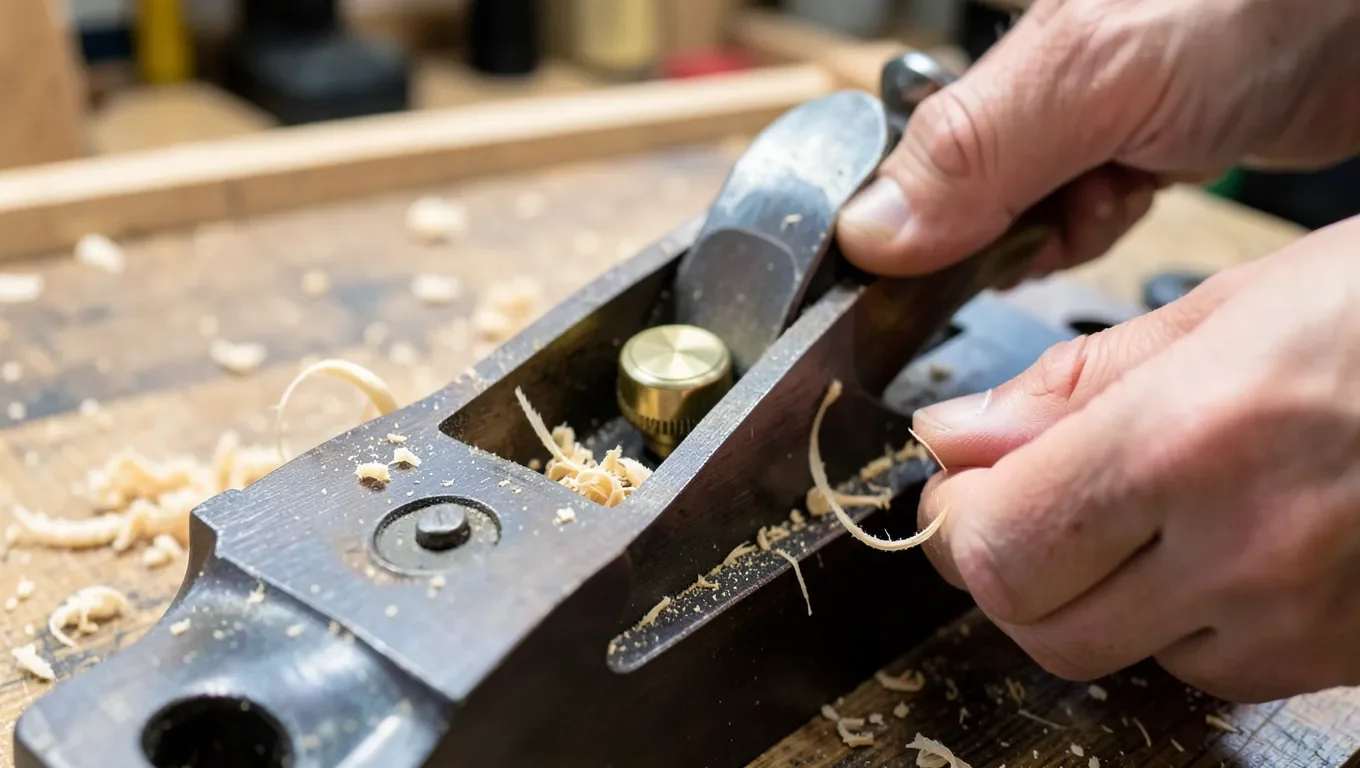
- The depth-adjustment knob (the round brass or steel knob at the back of the frog) moves the blade forward and back through a yoke that engages a slot in the chipbreaker. Turning it clockwise usually advances the blade (more cut); counterclockwise retracts it (less cut).
- The lateral adjustment lever (the small flat lever sticking up just behind the blade) tilts the blade left or right in the mouth without changing how far it protrudes. This is what makes the shaving thickness even across the full width of the blade instead of thick on one side and nonexistent on the other.
Block planes (no chipbreaker, blade bevel-up) usually use a simpler single knob with no separate lateral lever – you adjust laterally by hand-shifting the blade slightly before locking the cap down.

Tools You’ll Want on Hand
| Tool | Why |
|---|---|
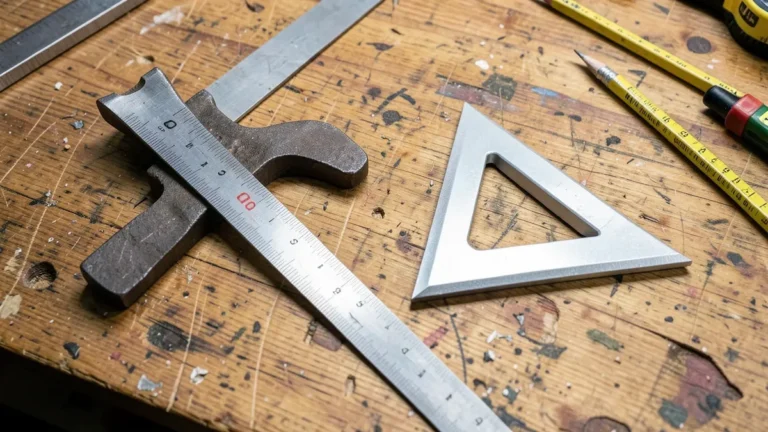
| Small straightedge or steel rule | Sight the blade projection against light |
| Honing guide | Keeps the bevel angle consistent if you also need to touch up the edge |
| Sharpening stone (or diamond plate) | For fixing dullness – adjustment alone won’t fix a dull edge |
| Scrap wood, straight-grained | Test cuts after every adjustment |
| Screwdriver | Only needed if the frog itself is loose, not for routine adjustment |
Step 1: Back Off Before You Start
Retract the blade fully (turn the depth knob counterclockwise until you feel it stop resisting) before making any other adjustment. Starting from zero cut and working forward is far easier to control than trying to back down from an already-too-aggressive setting, and it prevents the edge from catching the wood and chipping while you’re still fiddling with the lateral lever.
Step 2: Set the Depth in Quarter Turns
Turn the depth knob clockwise in small increments – a quarter turn is plenty per check. Sight along the sole from the front of the plane, angling it toward a light source; you’re looking for a thin, even, dark line of blade just barely visible past the sole. Stop as soon as you can see it – it’s much easier to advance a little more than to back off after an overly aggressive first pass.
Step 3: Even Out the Cut With the Lateral Lever
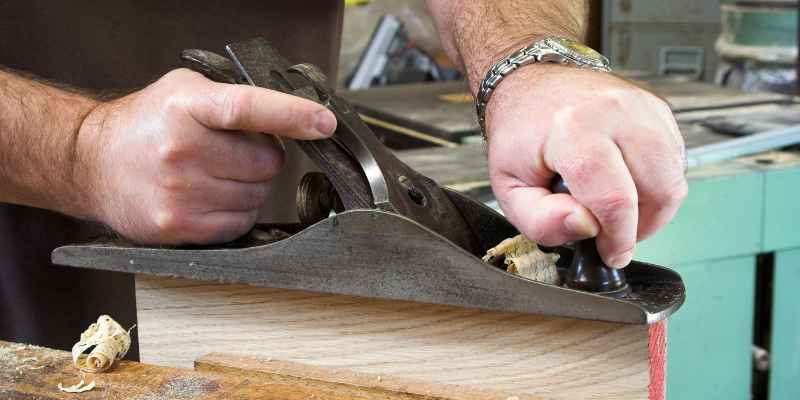
With the blade just barely showing, nudge the lateral lever left or right while sighting down the sole. You’re aligning the cutting edge so it’s parallel to the sole – not angled higher on one side. Move it in small steps; the lateral lever is sensitive, and a big push can swing the blade from “too far left” straight past center to “too far right” without ever passing through correct.
Step 4: Test Cut and Read the Shaving
Run the plane over a piece of straight-grained scrap and read what comes off, since the shaving tells you more than eyeballing the blade ever will:
- Thin, continuous, full-width shaving: correctly adjusted – stop here.
- No shaving at all, or a fine dust instead of a curl: the blade is either retracted too far or is dull rather than misadjusted.
- Thick shaving only from one corner: the lateral adjustment needs more correction toward that side.
- Digging in and stalling, or tearing the surface: back the depth off – you’re advanced too far for this pass, or you’re cutting against the grain direction.
When It’s Not an Adjustment Problem
If you’ve centered the lateral lever, set the depth carefully, and the plane still won’t take a clean shaving, adjustment isn’t the issue anymore. Check for these instead:
- A dull or nicked edge. Look at the edge under strong light – a dull edge reflects a thin bright line along the cutting edge itself; a sharp edge shows no reflection. Hone it on a stone (a honing guide keeps the bevel angle consistent) before adjusting further.
- Chipbreaker set too far back. The chipbreaker should sit roughly 1/32″ to 1/16″ behind the cutting edge for general smoothing work – set much further back, it won’t control tear-out; set right at the edge, it can choke the mouth and clog with shavings.
- A loose frog or cap iron. If the blade chatters (leaves a rippled surface instead of a clean cut) even at a light setting, check that the cap iron screw and the frog-mounting screws are actually tight – vibration under a loose blade causes chatter that looks like a sharpness problem but isn’t.
Block Plane vs. Bench Plane Adjustment
| Plane Type | Adjustment Mechanism |
|---|---|
| Block Plane | Single depth knob, blade bevel-up; lateral position is set by hand before locking the cap, not with a separate lever |
| Bench Plane | Depth knob plus a dedicated lateral lever; blade bevel-down under a chipbreaker |
Maintenance That Keeps Adjustments From Drifting
A plane that holds its setting between uses saves you from re-adjusting every session. Wipe the sole and blade dry after use to keep rust from pitting the sole (a pitted sole throws off consistent depth even with a perfectly set blade). Store it on its side, not resting on the blade, so the edge isn’t sitting against a hard surface. Check the frog-mounting screws for tightness every few months – a frog that shifts under use will make the plane feel like it needs constant re-adjustment when the real problem is the frog itself moving.
Frequently Asked Questions
How do you adjust a wood plane blade?
Retract the blade fully, then turn the depth knob clockwise in quarter turns until the edge barely shows past the sole. Use the lateral lever to level the edge so it’s parallel to the sole, then test on scrap wood and fine-tune until the shaving is thin and even across the full width.
What tools are needed to adjust a wood plane?
Routine adjustment just needs the plane’s own depth knob and lateral lever – no extra tools required. A straightedge helps you sight the blade projection, and a honing guide and sharpening stone are worth having on hand for when the real problem turns out to be a dull edge rather than a misadjustment.
How often should you adjust the wood plane blade?
Check the setting whenever you switch to a different wood species or grain direction, or whenever the shaving quality changes mid-project. There’s no fixed schedule – adjust based on what the test-cut shaving tells you, not on a set time interval.
Why won’t my plane cut evenly even after adjusting the blade?
If the lateral lever is centered and the depth is set correctly but the cut still isn’t clean, the issue is usually a dull or nicked edge, a chipbreaker set too far from the cutting edge, or a loose frog causing chatter – none of which the depth and lateral controls can fix on their own.
Conclusion
Adjusting a wood plane blade comes down to two controls used in the right order: set the depth first in small increments, then level the cut with the lateral lever, and let a test shaving – not a visual guess – tell you when it’s right. When adjustment alone doesn’t fix the cut, the next thing to check is almost always sharpness, not the mechanism.
Sponsored / affiliate links. As an Amazon Associate I earn from qualifying purchases. I may earn additional commission from eligible campaigns.