How to Remove Wood Screw Plugs: Easy & Effective Tips
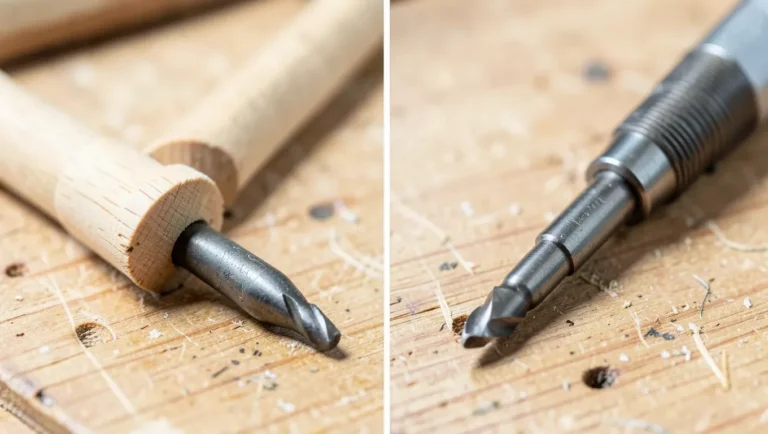
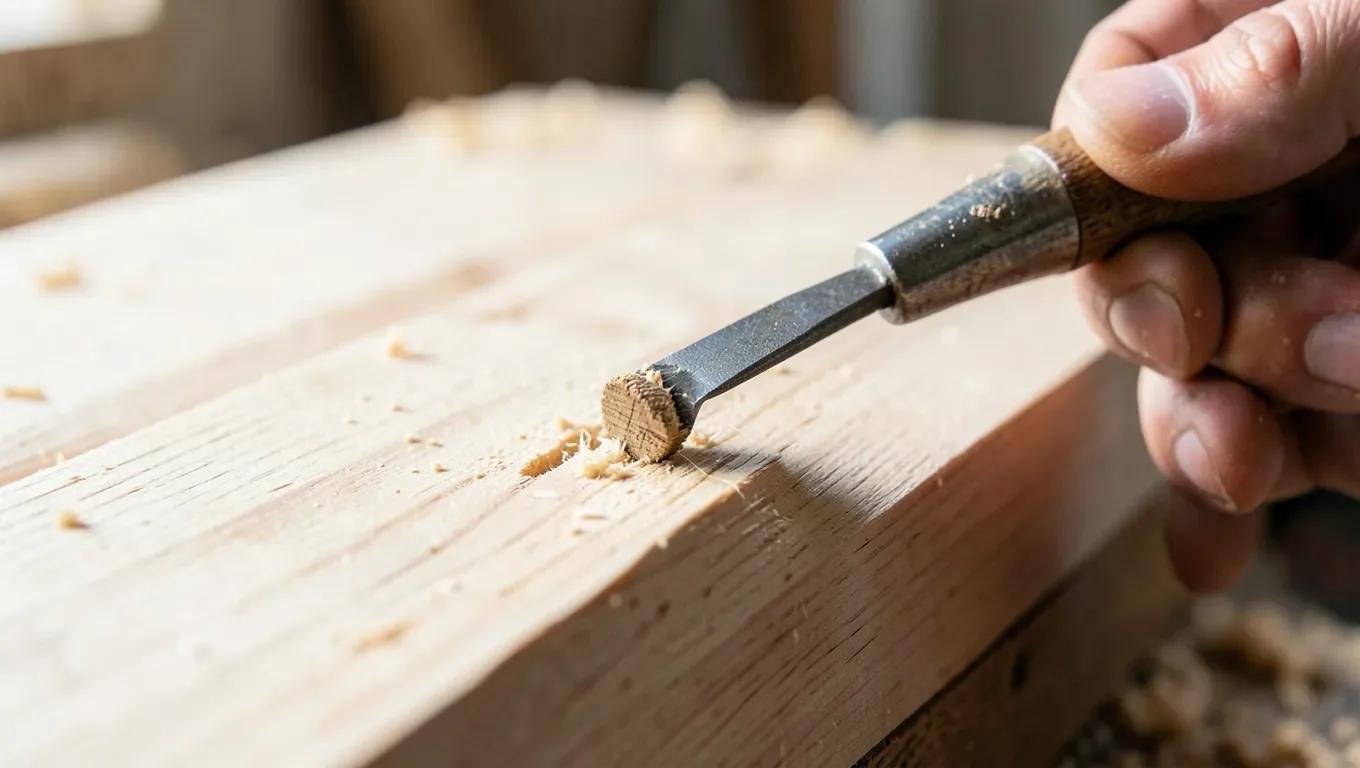
Work a small chisel or flathead screwdriver gently under the edge of the plug to lift it, then remove the screw underneath. For a plug that won’t budge, drill a small pilot hole into its center and use a screw extractor threaded in and turned counterclockwise — this grips the plug from the inside and pulls it out without prying on the surrounding wood.
Why Some Plugs Come Out Easier Than Others
Best For Stubborn, Stuck Plugs
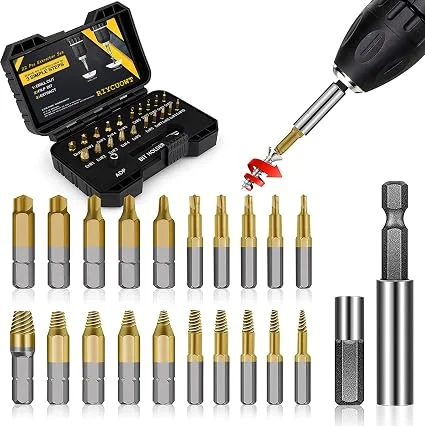 |
22-Piece Titanium Screw Extractor Set – $29.99 The right tool for a plug that won’t lift with a chisel — threads into a drilled pilot hole and pulls the plug straight out without prying on the surrounding wood.
|
A wood plug is typically held in with standard wood glue (PVA), not the kind of hot-melt adhesive that softens meaningfully with a heat gun — so don’t count on heat alone to loosen a plug. What actually determines how easily a plug comes out is how well it was originally fitted: a plug installed with excess glue squeezed into the surrounding grain will resist prying more than one set with just enough glue to hold it, and an older plug’s glue joint can also become brittle over time, which sometimes makes it easier to crack loose with a light chisel tap rather than harder.
Tools You’ll Need
- Small chisel or flathead screwdriver: for the first, gentlest attempt at lifting the plug’s edge.
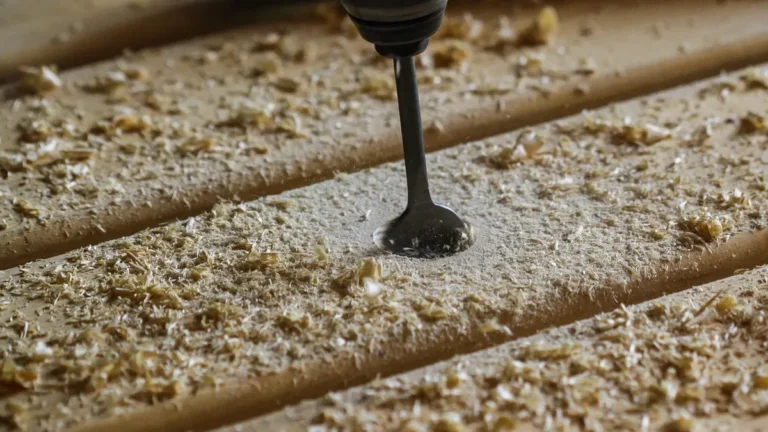
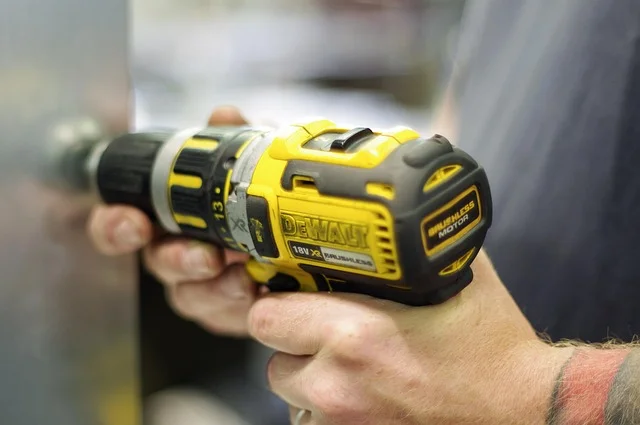
- Drill with a small bit: to create a pilot hole in the plug’s center if it doesn’t lift easily.
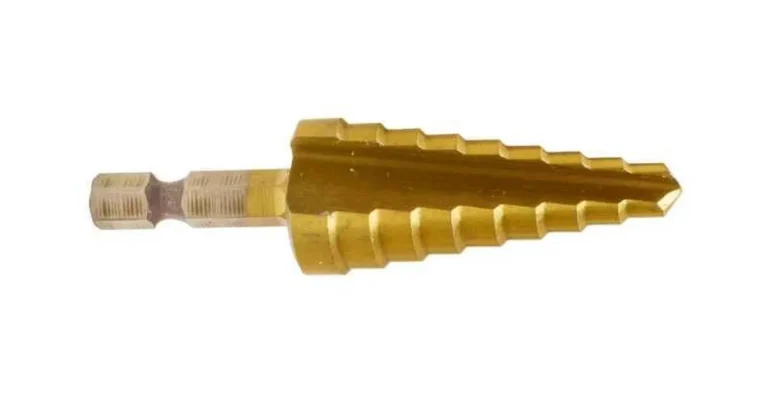
- Screw extractor set: threads into that pilot hole and grips the plug from the inside for stubborn cases.
- Safety glasses: wood chips and splinters fly during both prying and drilling.
Step 1: Try Prying First
- Clear and clamp the workpiece securely so it can’t shift while you work.
- Work a small chisel or flathead screwdriver gently under one edge of the plug, applying steady pressure rather than sudden force.
- Once an edge lifts slightly, work around the plug’s perimeter rather than levering hard from one spot — this spreads the stress and reduces the chance of splitting the surrounding wood.
- If it lifts freely, remove the screw underneath with a screwdriver matching its head type.
Step 2: Use A Screw Extractor For Stubborn Plugs
If prying isn’t moving the plug, drill a small pilot hole into its center — deep enough to seat the extractor, not deep enough to reach the screw underneath. Insert a screw extractor bit sized to that hole and turn it counterclockwise; the extractor’s reverse threads bite into the plug material as you turn, letting you pull it straight up and out. This method avoids the risk of splitting the surrounding wood that comes with prying harder and harder on a plug that won’t lift.
Step 3: Drilling Out A Plug As A Last Resort
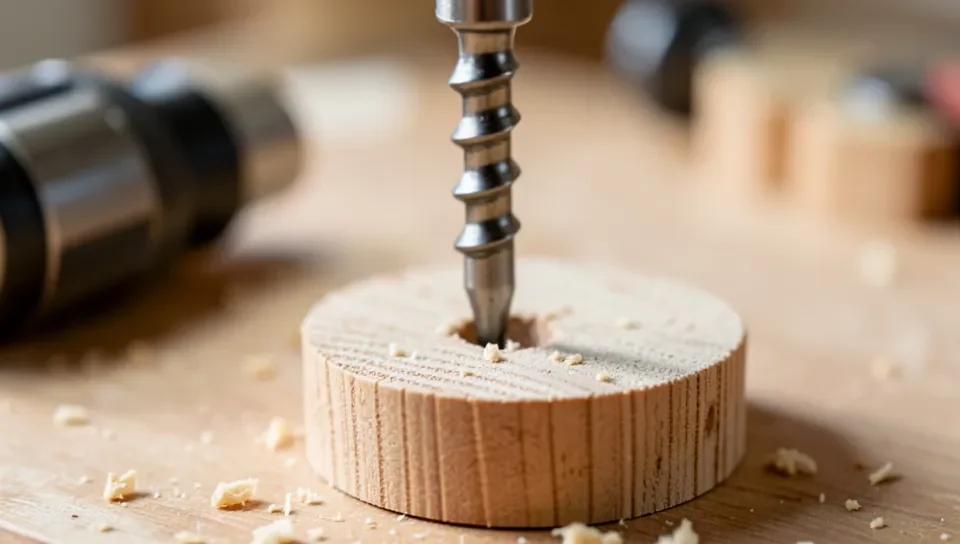
If the plug is too damaged or crumbly for an extractor to grip, drilling it out entirely is the fallback. Use a bit slightly smaller than the plug’s diameter, drill in small increments, and check often to stop the moment you reach the screw head underneath. This method removes more material than the other two, so it typically leaves a slightly larger hole to patch afterward.
Finishing The Repair
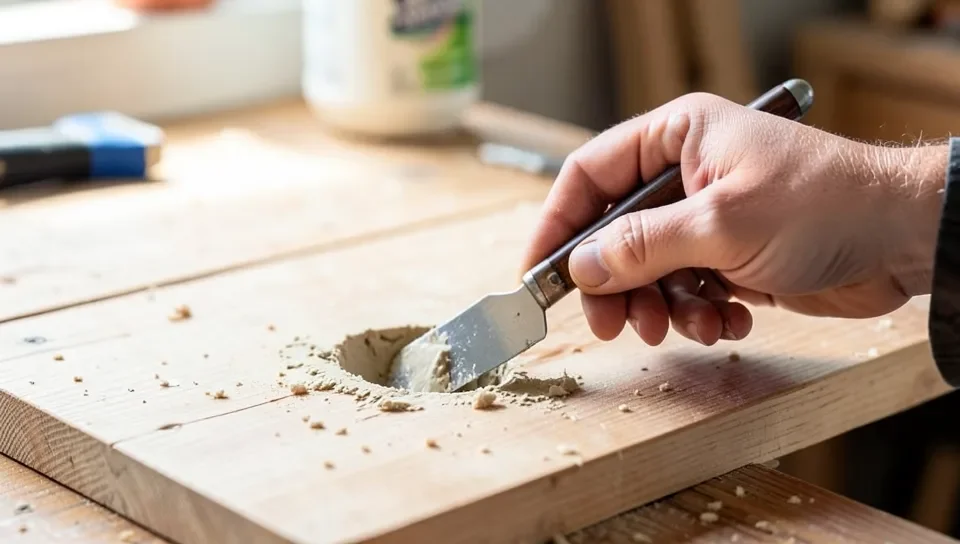
Once the plug and screw are out, sand the area smooth with fine-grit sandpaper and clean away debris. If you’re not reinstalling a new plug immediately, fill the hole with wood filler matched to your wood’s color, let it cure fully, and sand flush once dry.
Preventing Future Removal Headaches
Use just enough glue when installing a plug — excess squeezed into the surrounding grain bonds more of the wood than necessary and makes a future removal harder. Pre-drill screw holes to the correct size so the screw isn’t over-torqued into the wood, and match plug size precisely to the hole so it seats without excessive force. A well-fitted plug is easier to remove cleanly later if that’s ever needed, not just easier to install now.
Frequently Asked Questions
How Do I Remove Wood Screw Plugs Easily?
Start by gently prying an edge up with a small chisel or flathead screwdriver. If it won’t lift, drill a small pilot hole into the plug’s center and use a screw extractor turned counterclockwise to pull it out.
What Tools Do I Need To Remove Screw Plugs?
A small chisel or flathead screwdriver for the first attempt, plus a drill and a screw extractor set for plugs that won’t lift easily. Safety glasses are worth wearing throughout, since both prying and drilling send debris flying.
Can I Reuse Wood Screw Plugs After Removal?
Yes, if the plug comes out intact and undamaged. Clean off any old glue residue and apply fresh wood glue before reinstalling. A plug that cracked or crumbled during removal isn’t worth reusing — cut a new one instead.
How Do I Fill Holes Left By Removed Screw Plugs?
Use a wood filler matched to your wood’s color, applied with a putty knife and packed in fully. Let it cure completely per the label, then sand flush with the surrounding surface.
Conclusion
Start gentle — a chisel or screwdriver lifts most plugs without any special tools. When that doesn’t work, a screw extractor threaded into a small pilot hole pulls a stubborn plug out cleanly, and drilling it out entirely is the last resort for a plug too damaged to grip. Patience at each step is what actually prevents the surrounding wood from splitting, more than which specific tool you reach for.
Sponsored / affiliate links. As an Amazon Associate I earn from qualifying purchases. I may earn additional commission from eligible campaigns.
 Uxcell 50Pcs Flat Head Wood Plugs, 11/32 Inch Wooden Button Screw Plugs, Beige Wood, Suitable for Furniture, Tables, Chairs
 Wood Filler for Cracks and Holes, Fast-Drying Natural Wood Repair Paste and Scratch Concealer, Shrink-Resistant Sandable Mender for Furniture, Doors, Cabinets, and Hardwood Floors (60ML*2PCS)