How to Replace Wooden Drawer Slides With Undermount Slides
Most guides make replacing wooden drawer slides with undermount slides sound like a five-minute hardware swap: unscrew the old runners, screw in the new ones, done. For a lot of drawers, that’s simply not true. Undermount slides mount to the bottom of the drawer box instead of the sides, and they hold much tighter dimensional tolerances than the wooden runners they’re replacing – which means the retrofit can turn into a partial drawer-box rebuild if you skip the checks below.
Why This Isn’t Always a Drop-In Swap
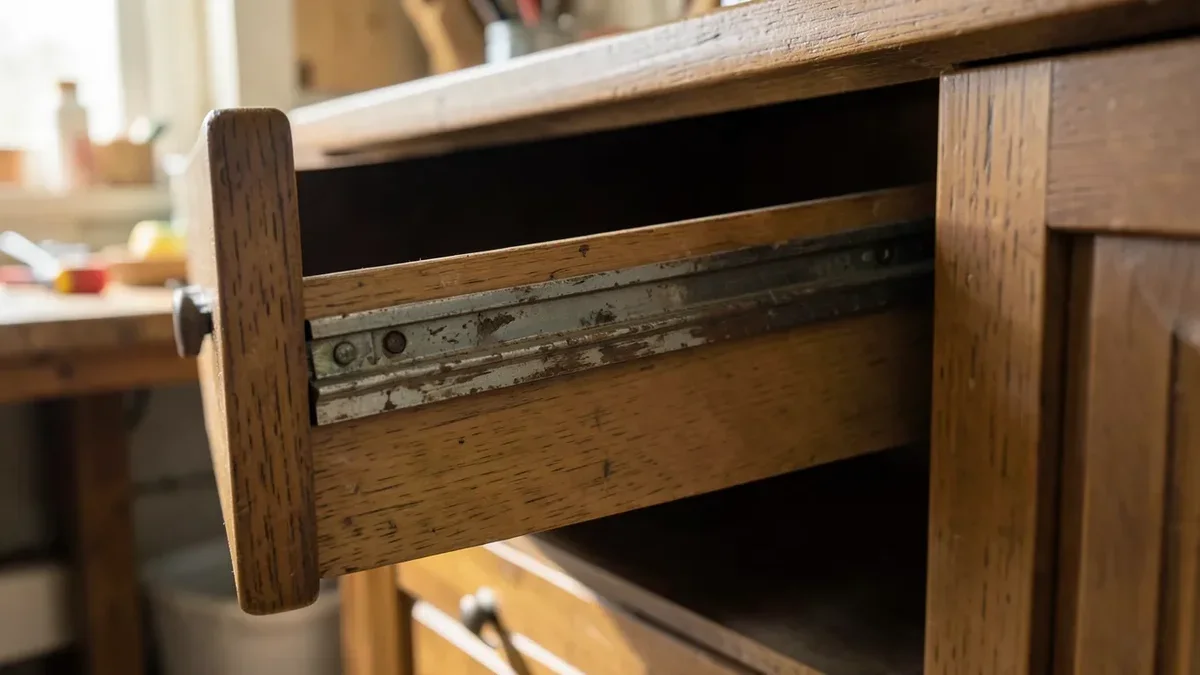
Old wooden runners are forgiving. They usually ride in a groove cut into the drawer side or on a wood strip screwed to the cabinet interior, and a little slop in the fit doesn’t stop the drawer from working. Undermount slides don’t have that flexibility. Because the hardware attaches to the underside of the drawer box and to the cabinet floor, the drawer box has to be built – or rebuilt – to a specific width relative to the cabinet opening, with square corners and a flat, solid bottom panel for the screws to bite into. If your existing drawer box is out of square, has a thin bottom, or was sized loosely to work around wood runners, the new slides will bind, rack, or refuse to close flush no matter how carefully you install them.
Best Undermount Retrofit Pick
 |
Blum Tandem Premium Undermount Slide, 15″ 100# Class – $48.53 A well-reviewed soft-close undermount set sized for a standard 15″ drawer – exactly the kind of hardware this retrofit is built around.
|
Check These Three Things Before You Buy Slides
A few minutes of checking now saves a lot of frustration during installation.
- Cabinet opening width. Undermount slide lines (including Blum’s Tandem series) size the drawer box off the cabinet opening, not the other way around. Our Blum undermount measuring guide walks through the exact opening-to-drawer-width formula – measure this before you order slides, not after.
- Drawer box squareness. Pull the drawer, set it on a flat surface, and check the corners with a square. Wood runners tolerate a slightly racked box; undermount slides bind on one and glide freely.
- Bottom panel thickness and condition. The slide screws into the drawer bottom near the back corners. A thin, warped, or already-split bottom panel won’t hold screws securely, and you’ll want to reinforce or replace it before installing anything.
Tools and Materials You’ll Actually Need
Beyond the slides themselves, gather a cordless drill/driver, a 1/8″ pilot-hole bit sized to your screws, a combination square, a tape measure, and a pencil. Keep wood filler on hand for patching the old screw holes left by the wooden runners, since undermount hardware almost never lines up with the original holes. If the drawer box needs squaring up or the bottom panel needs reinforcing, add a straightedge clamp and a thin plywood or hardboard doubler panel to the list – cheap insurance against a bottom that won’t hold a screw.
Removing the Old Wooden Runners
Pull the drawer fully out and set it aside. Most wooden runner systems are either a wood strip screwed to the drawer side, a strip screwed inside the cabinet, or both – remove every strip and every screw you find, not just the ones that look obviously attached to hardware. Leftover strips are the most common reason an undermount install fails on the first try, since they sit exactly where the new slide’s cabinet-side bracket needs to go. Once everything is off, check the cabinet interior and drawer sides for gouges or old glue residue and clean them up so you’re working with a flat reference surface.
When the Drawer Box Actually Needs Rebuilding
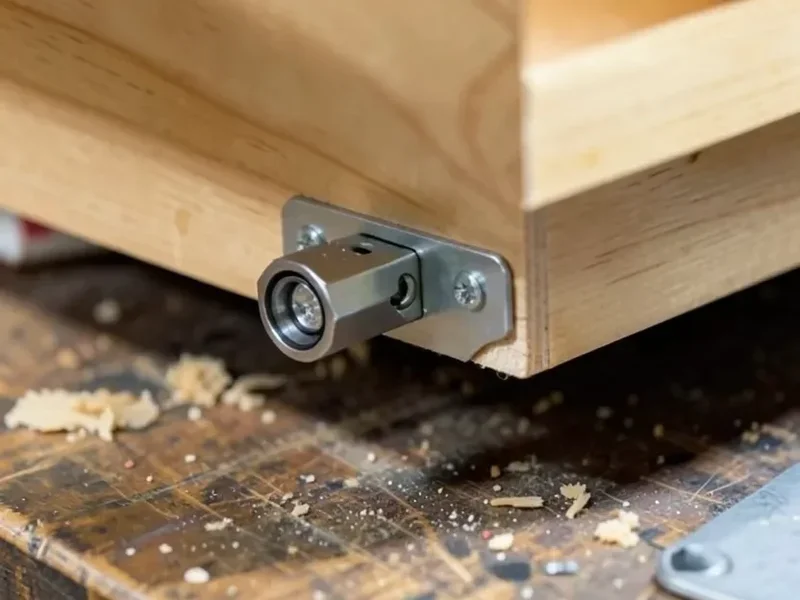
This is the step most tutorials skip entirely. If your drawer box was built loosely to accommodate forgiving wood runners – common in older cabinetry – it may be too wide, too narrow, or too far out of square for undermount hardware to work without modification. Solid-wood drawer boxes are generally easier to true up with a hand plane or table saw pass than thin plywood boxes, which can be more prone to flexing or blowing out at the corners when you try to trim them. If the box is more than about 1/8″ off the slide manufacturer’s target width, plan on resizing it rather than forcing the slides to compensate – undermount hardware has some lateral adjustment built into the mounting brackets, but it’s meant for fine-tuning, not correcting a box that’s fundamentally the wrong size. In some cases it’s genuinely faster to build a new drawer box to the correct dimensions than to rework an old one.
Installing the Undermount Slides
Start with the cabinet-side rail. Using your opening measurement, mark a level line front-to-back on the cabinet floor (or side supports, per your slide’s mounting instructions) and screw the rail in place, checking level as you go. Next, attach the drawer-side brackets to the underside of the drawer box, positioned per the manufacturer’s template – most kits include a paper or plastic template specifically because this placement is unforgiving. Drill pilot holes before driving any screws into the drawer bottom; undermount brackets typically sit close to the edge, and a split panel here means starting over.
With both sides mounted, lower the drawer box onto the cabinet-side rails until the brackets click or lock into place, then push the drawer in slowly and check that it seats evenly. Most quality undermount slides include tool-free height, tilt, and side-to-side adjustment on the drawer front – use these to square up the reveal gaps around the drawer front before you call the install finished.
Adjusting for Smooth, Square Operation
Open and close the drawer several times before adjusting anything – hardware often needs a few cycles to settle. If the drawer front sits crooked, use the slide’s side-to-side adjustment (usually a small screw or cam near the front bracket) rather than reshimming the box. If the drawer doesn’t fully self-close, double check that the cabinet-side rail is level and that nothing is obstructing the back of the drawer box. A drawer that binds partway through its travel almost always points back to a squareness or width problem in the box itself, not a defective slide.
Maintenance Tips
Undermount slides are largely maintenance-free compared to wood runners – there’s no wax or paraffin to reapply. Every few months, wipe down the exposed portion of the rail and check that mounting screws haven’t backed out, especially in the first few weeks after installation while everything is settling. If a drawer starts to sag or bind again later, it’s worth rechecking whether moisture has warped the drawer bottom, since a panel that’s swelled or cupped will throw off the same tight tolerances that made the install finicky in the first place.
Frequently Asked Questions
Is replacing wooden drawer slides with undermount slides a simple swap?
Not always. Wooden runners are forgiving of an imprecisely sized drawer box, but undermount slides mount to the drawer bottom and require the box to be built to a specific width and squareness. Many retrofits need the drawer box resized or partially rebuilt rather than a straight hardware swap.
Do undermount slides fit any drawer box?
No. The drawer box needs a flat, solid bottom panel thick enough to hold screws securely, square corners, and a width that matches the slide manufacturer’s spec relative to the cabinet opening. A thin, warped, or loosely sized box built for wood runners often needs reinforcement or resizing first.
What are the disadvantages of undermount drawer slides?
They cost more than side-mount or wood-runner hardware, demand tighter drawer box tolerances, and can require special installation templates and mounting screws. Because the mechanism is hidden under the drawer, troubleshooting a binding drawer is also less straightforward than with a visible side-mount slide.
How do I know if my drawer box needs to be rebuilt for undermount slides?
Check the box on a flat surface with a square – if a corner is noticeably out of square, or the box width is off the slide’s target measurement by more than about 1/8″, plan on resizing or rebuilding rather than forcing the new slides to compensate.
Conclusion
Undermount slides give drawers a cleaner look and a genuinely smoother, soft-close feel, but the honest version of this project starts with checking your drawer box, not with a screwdriver. Confirm the cabinet opening width, square up or rebuild the drawer box if it needs it, and only then install the new hardware. Skip that check and you’ll spend more time fighting a binding drawer than you would have spent building a new box in the first place.
Sponsored / affiliate links. As an Amazon Associate I earn from qualifying purchases. I may earn additional commission from eligible campaigns.