How to Apply Deck Stain and Sealer (Without Peeling or Blotching)
Clean the deck, let it dry completely, test your product on a hidden board, apply thin coats with the wood grain, then back-brush before the finish sets — that sequence, done in that order, is what keeps deck stain and sealer from peeling or blotching.
Most deck finish failures trace back to one of two mistakes: staining wood that wasn’t actually dry yet, or applying too thick a coat because the previous one looked patchy. Both are avoidable once you know what to check for at each stage. This guide walks through the full process — cleaning, drying-time verification, product selection, application technique, and how to tell when a coat has gone on too heavy before it’s too late to fix easily.
Deck Stain vs. Deck Sealer: The Short Version
Stain adds pigment for color and UV protection; sealer is clear and blocks moisture only. Most homeowners end up using a combination product that does both jobs in one coat — which is what the rest of this guide assumes you’re applying, since that’s the fastest path to a protected deck in a single weekend.
Best All-in-One Stain and Sealer Combo
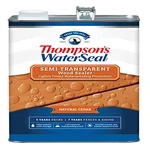 |
Thompson’s WaterSeal Semi-Transparent Stain & Sealer, Natural Cedar, 1 Gal – $28.98 A one-coat combo product that matches the “apply once, protect both ways” approach this guide walks through.
|
If you’re staining wood that’s already been sealed separately in the past, or you want to understand exactly when a dedicated two-step system beats a combo product, our full breakdown in Wood Deck Stain and Sealer: What’s the Difference? covers oil-based versus water-based chemistry and when each category is worth the extra step. The rest of this article focuses on the actual application process.
Phase 1: Preparation — Cleaning and Repair
Skipping prep is the single biggest reason a stain job fails early. A coat applied over dirt, mildew, or a damp board will peel within a season no matter how good the product is.
Step 1: Inspect and Repair the Deck
Walk the deck before you touch any cleaner. Structural problems should get fixed now, not after the finish is on.
- Secure loose fasteners: Drive in raised nail heads or swap them for deck screws so they don’t tear tools or feet later.
- Replace rotten boards: Any board that feels spongy or crumbles under a screwdriver tip needs to come out before you stain around it.
- Spot-sand rough areas: Use 60–80 grit only on splintered spots or peeling patches. You don’t need to sand the whole deck to bare wood unless you’re switching from a solid stain to a clear finish.
Step 2: Deep Clean the Wood Surface
Dirt, mildew, and old finish residue all block stain from soaking into the wood fibers, which is exactly where you want the pigment and sealing agents to end up.
- Pick the right cleaner: A general deck cleaner handles everyday dirt; for gray, weathered wood or mildew, use one with an oxalic-acid brightener.
- Apply and scrub: Wet the deck first, apply the cleaner in manageable sections, and scrub with a synthetic-bristle brush along the grain.
- Rinse completely: Any leftover cleaner residue will block the stain from absorbing evenly, so rinse until the runoff is clear.
If you’re using a pressure washer, keep it under 1200 PSI on softer woods like pine, use a fan tip of at least 40 degrees, hold the wand 12 inches off the surface, and keep it moving in overlapping passes along the grain. Sitting in one spot for even a few seconds will gouge the wood fibers and leave the surface fuzzy and blotchy once stained.
Step 3: Let the Wood Dry Completely
This is the step most beginners rush, and it’s the one that causes the most callbacks. Staining over damp wood traps moisture under the coating, which shows up weeks later as blistering and premature mildew. wood is too wet after a wash usually takes 48 hours minimum, longer in humid weather.
Don’t guess. Tape a small square of clear plastic sheeting to the deck surface and leave it overnight. Condensation on the inside of the plastic the next morning means the wood is still too wet to stain — wait another day and retest.
Phase 2: Choosing Your Product
Oil-based and water-based combo products both work well; the right one depends on how much grain you want visible and how much re-coat flexibility you want later.
| Feature | Oil-Based Stain/Sealer | Water-Based Stain/Sealer |
|---|---|---|
| Penetration | Sinks deep into the wood fibers | Sits closer to the surface but bonds well with modern formulas |
| Drying Time | Slower — 24 to 72 hours | Faster — often workable by the next day |
| Cleanup | Mineral spirits or a specialized cleaner | Soap and water |
| Durability/Look | Rich, natural look and strong UV resistance; harder to re-coat evenly | Wider color range; easier touch-ups down the road |
Before committing to a full gallon, get a small sample of the exact shade, brush it onto a hidden spot like the underside of a stair tread, and wait 24 hours. Color reads differently once it dries and differently again in full sun versus shade, so a wet swatch on the can lid will mislead you.
Phase 3: Application
With a clean, bone-dry deck and a tested product in hand, the technique below is what actually separates an even, long-lasting finish from a blotchy one.
Staining a bare wood deck for the first time? Our step-by-step guide on how to stain a wood deck covers the readiness tests, sanding grit, and wet-on-wet coat rules in detail.
Weather Window
- Temperature: Stay between 50°F and 90°F, per most manufacturer labels.
- Sun: Work on a partly cloudy day or in full shade — direct sun flash-dries the surface before the stain can soak in, and that’s what causes blotchiness.
- Forecast: No rain in the 48 hours after you finish.
Step 4: Stir, Don’t Shake
Pigment settles to the bottom of the can. Shaking clumps it unevenly instead of blending it, which shows up as darker streaks once applied. Stir for a full five minutes, scraping the bottom, and restir every 10 to 15 minutes as you work.
Step 5: Work Top to Bottom, One Board at a Time
Stain the vertical surfaces — railings, posts, fascia boards — before the horizontal deck floor, so any drips land on wood you haven’t finished yet instead of ruining a completed section.
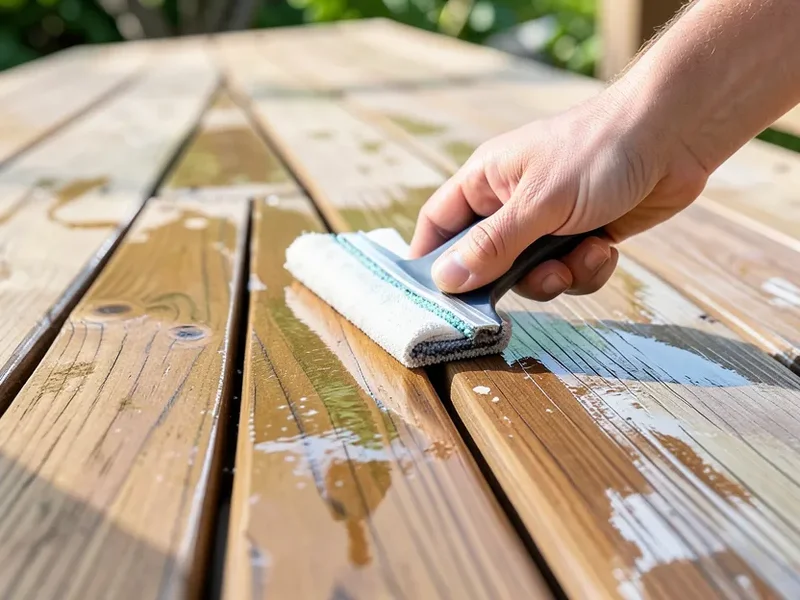
On the floorboards, apply in long continuous strokes and keep a “wet edge”: each new pass should slightly overlap the previous wet section so you don’t get a visible lap line where you stopped and restarted. A gallon of most combo products covers roughly 150 to 300 square feet per coat depending on how porous the wood is — for a 300-square-foot deck, plan on a full gallon for one thin coat, and buy a second if the boards are old, rough-sawn, or unusually absorbent. Finish one full board end-to-end before starting the next.
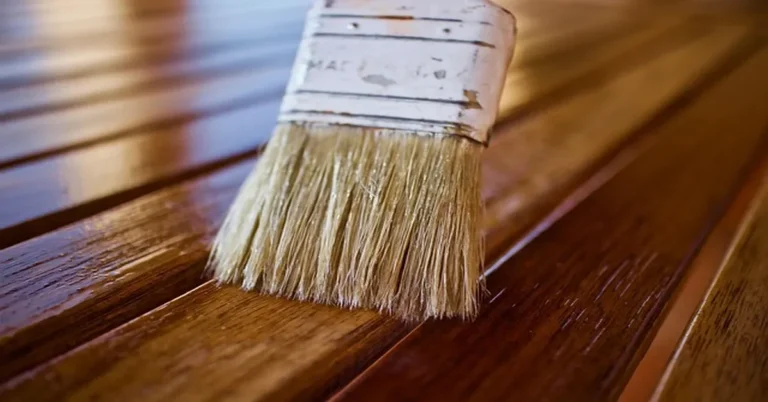
Step 6: Back-Brush Before It Sets
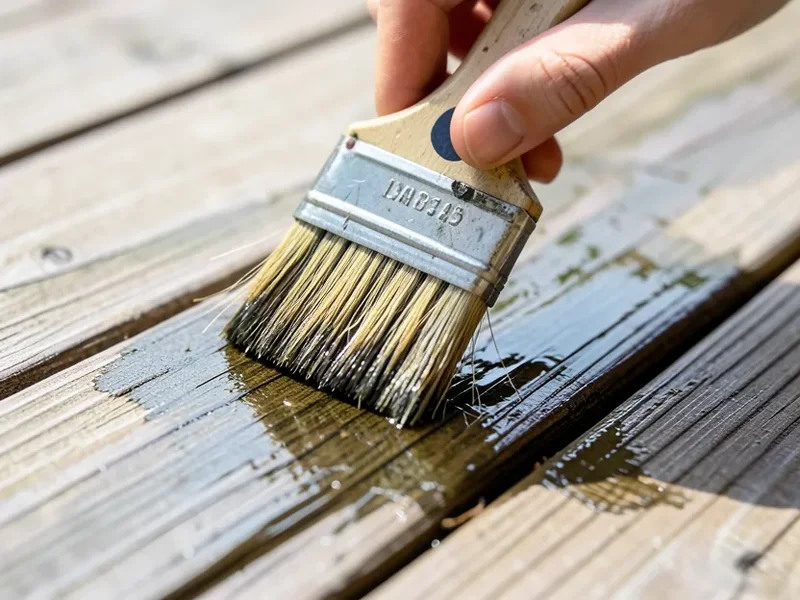
After rolling or padding on two or three boards, go back over the wet surface with a natural-bristle brush, working with the grain. This pushes the product deeper into the wood pores, breaks up any bubbles or puddles, and is the single biggest factor separating a finish that lasts two seasons from one that peels in one. For a comparison of brush, pad, roller and sprayer, plus the best order to work the boards, see our guide on the best way to apply stain on a deck.
Step 7: Walk the Deck for Puddling
Once the whole deck is coated, do a full walk-around while it’s still wet. Any spot that looks glossy, pooled, or noticeably darker than the surrounding boards has too much product sitting on the surface — that’s the spot that peels first. Blot it with a clean, dry, lint-free rag until it matches the rest of the finish.
Phase 4: Curing, Maintenance, and Re-Coat Timing
Drying is when the surface is dry to the touch (6 to 24 hours). Curing — the point where the finish has fully hardened and bonded with the wood — takes longer, up to several days for water-based products and up to two or three weeks for heavier oil-based ones.
- Light foot traffic: Usually fine after 24–48 hours; keep furniture off for at least 72 hours.
- Water exposure or washing: Wait a full week, or longer per the can’s instructions, before the deck sees standing water.
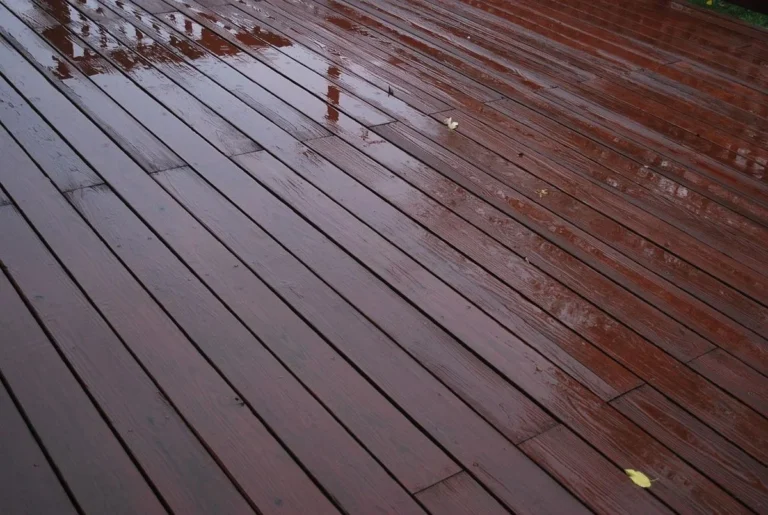
Once the deck is finished, the water-bead test is the easiest way to know when it’s time to redo it: flick a few drops of water onto the boards every 8 to 10 weeks during the season with the heaviest sun and foot traffic. If the water beads up and sits, the sealer is still working. If it soaks in within a minute or two, the finish is failing and it’s time to plan a re-coat — don’t wait until the wood visibly grays. Most semi-transparent stains last 2 to 3 years on horizontal surfaces (which take more sun and foot traffic) and 3 to 5 years on vertical railings.
Troubleshooting Common Application Problems
Even with careful prep, a few issues turn up often enough that it’s worth knowing the fix before you start.
| Problem | Cause | Fix |
|---|---|---|
| Blotchy or uneven color | Wood was unevenly damp, too much stain applied, or the can wasn’t stirred well | Wipe excess immediately if still wet; if dry, lightly sand the dark spots and apply one very thin coat to just those areas, brushing it out thoroughly |
| Stain peeling or flaking | Wood wasn’t clean enough, or an old finish wasn’t fully removed and the new coat bonded to a failing one underneath | Strip with a chemical deck stripper, rinse thoroughly, let it dry completely, then re-stain using the back-brushing technique |
| Sticky surface after drying | Too much product applied, so it never cured properly (“capping”) | Give it more time — sometimes weeks in cool, humid weather. If still sticky, buff lightly with 220-grit sandpaper or a Scotch-Brite pad, wipe off the dust, and let it off-gas in the sun |
| Brush marks or lap lines | The wet edge was lost, or application started in direct hot sun | While still wet, brush back into the overlap to blend it; once dry, you either live with it or sand that section and re-stain the entire board end-to-end |
Frequently Asked Questions
Can I stain pressure-treated wood right after it’s installed?
No. Pressure-treated wood holds excess moisture from the treatment process and needs 4 to 6 weeks (sometimes longer) to dry out, or until it passes the water-bead test — meaning water soaks in rather than beading up.
Do I need to sand the whole deck before reapplying stain?
Usually not. If the existing stain is largely intact with good adhesion, a deep clean and brightener are enough. Sand only the areas that are visibly faded, worn through, or peeling.
How long should I wait between cleaning and staining?
Until the wood is completely dry — typically 48 hours, but 3 to 4 days in humid conditions. Use the plastic-sheet test from Step 3 rather than guessing based on how the surface looks.
Is a stain pad or a brush better for application?
A stain pad is faster for covering large flat areas, but you still need to follow it with a natural-bristle brush to push the product into the grain — that back-brushing step is what actually determines how long the finish lasts.
What if the sun comes out partway through the job?
Stop and finish the section you’re on quickly, then cover the rest of the deck with a tarp until the sun moves off it or the temperature drops. Direct sun forces the stain to dry on the surface instead of soaking in, which causes blotching.
Can I use the same product on the deck floor and the railings?
Yes, most combo stain-and-sealer products are rated for all exterior wood surfaces. The floor takes more sun and foot traffic, though, so expect to re-coat it years before the railings need attention.
The Bottom Line
Applying deck stain and sealer well comes down to patience in two spots: waiting for the wood to actually be dry before you start, and applying thin enough coats that back-brushing can work them into the grain instead of leaving product sitting on top. Rushing either one is what turns a weekend project into a redo next spring.
Sponsored / affiliate links. As an Amazon Associate I earn from qualifying purchases. I may earn additional commission from eligible campaigns.