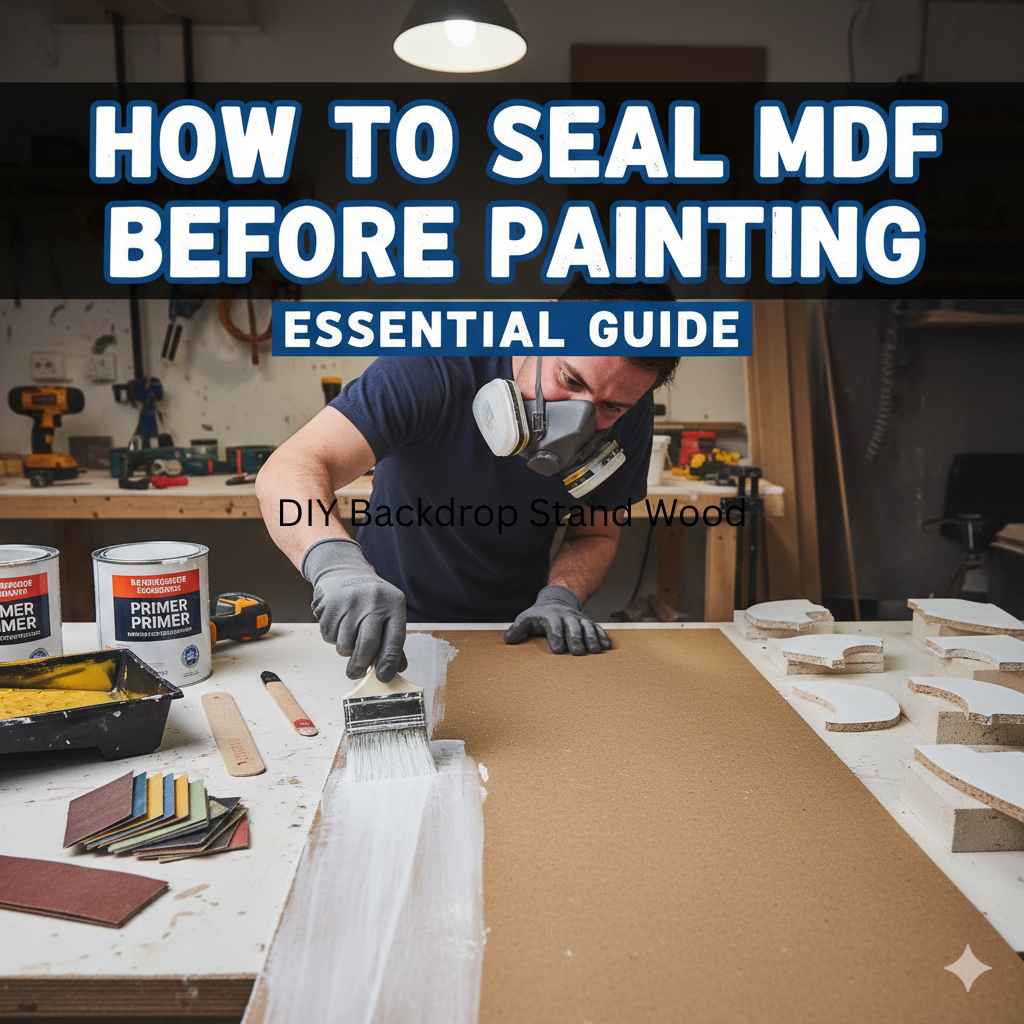
How To Seal MDF Before Painting: Essential Guide
Sealing MDF before painting is crucial for a smooth, durable finish. It prevents the porous material from absorbing paint unevenly, stops swelling from moisture, and creates a perfect canvas for your chosen color. Follow these simple steps for professional-looking results every time.
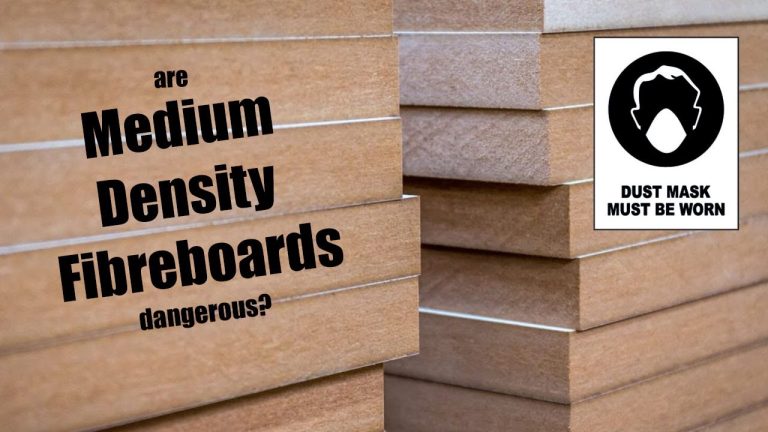
MDF, or Medium Density Fiberboard, is a fantastic material for DIY projects. It’s affordable, smooth, and easy to work with. However, it has a secret weakness: it’s super thirsty! If you try to paint it directly, it’s like pouring water onto a sponge. You’ll end up with splotchy paint, uneven absorption, and a finish that just doesn’t look right. Plus, MDF can swell if it gets wet, which is a painter’s nightmare.
But don’t worry! Sealing MDF before painting is a simple process that makes a world of difference. It’s the secret to achieving that smooth, professional, and long-lasting painted finish you’ve been dreaming of. In this guide, I’ll walk you through everything you need to know, step-by-step, so you can tackle your next MDF project with confidence. We’ll cover what you need, how to do it, and why it’s so important.
Why Sealing MDF is a Must Before Painting
Think of MDF as a super-fine sawdust composite. Because it’s made from wood fibers and resin, it’s inherently porous – meaning it has tiny holes that can soak up liquids.
Here’s why sealing is so important:
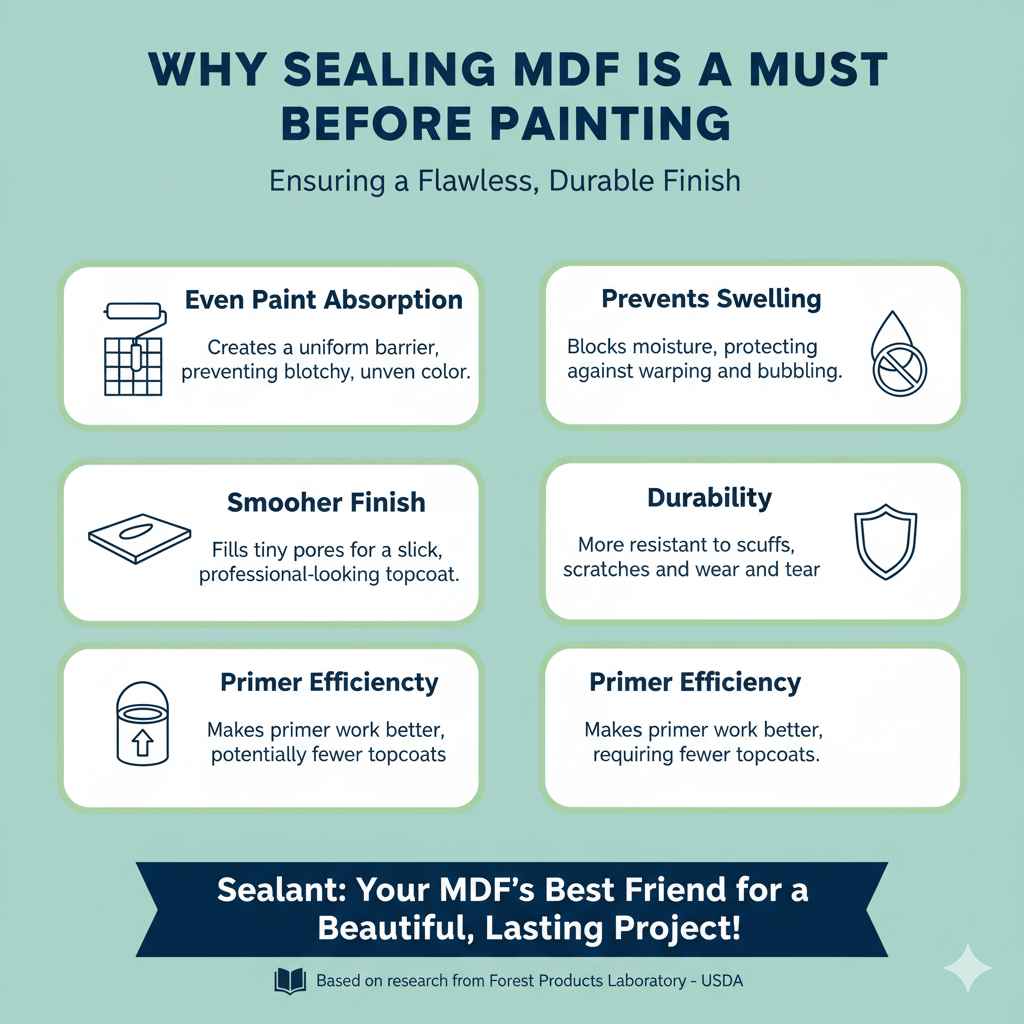
Even Paint Absorption: Unsealed MDF drinks up paint. This leads to patchy areas where the paint sinks in more, and other areas that look lighter. A sealant creates a barrier, ensuring the paint sits evenly on the surface, giving you a uniform color.
Prevents Swelling: MDF is sensitive to moisture. If you paint an unsealed surface and apply a water-based paint or primer, the MDF can absorb the liquid and start to swell. This ruins the smooth surface and your project. A good sealant blocks moisture, protecting your MDF.
Smoother Finish: Sealing fills in those tiny pores. This creates a smoother surface for your paint to adhere to, resulting in a much slicker, more professional-looking final coat.
Durability: A sealed surface is more resistant to scuffs, scratches, and general wear and tear. This means your painted MDF project will look great for longer.
Primer Efficiency: While primer is a type of sealant, applying a dedicated primer first or preparing the surface properly before priming makes your primer coat work much harder and more effectively. You might even find you need fewer coats of your topcoat.
What Materials Do You Need?
Gathering the right tools and materials beforehand makes the process much smoother. Here’s what you’ll likely need:
MDF Board: The project material itself!
Sandpaper: 120-grit and 220-grit are good starting points.
Sanding Block or Orbital Sander: For even sanding.
Tack Cloth or Microfiber Cloth: To remove dust.
Primer: An oil-based or shellac-based primer is often recommended for MDF, especially for the first coat, as they offer excellent sealing properties. Water-based primers can also work, especially for subsequent coats or if you’re painting lighter colors. You can find great primer options from brands like:
KILZ® Adhesion Primer (oil-based)
Insl-x Aqua Lock Plus Primer (water-based, designed for challenging surfaces)
Sealer: This could be your primer itself if it’s a high-quality, blocking primer, or a specific wood sealer. For extra stubborn MDF or if you’re worried about moisture, a specialized MDF sealer can be beneficial.
Paint Brushes, Rollers, or Sprayer: Depending on your preference and the size of your project. High-density foam rollers are excellent for smooth MDF.
Paint Tray: If using rollers.
Safety Gear: Dust mask (especially when sanding), safety glasses, and gloves.
Step-by-Step Guide: How to Seal MDF Before Painting
Let’s get down to business! Follow these steps to prepare your MDF for a beautiful paint job.
Step 1: Prepare Your Workspace
First things first, ensure you’re working in a well-ventilated area. MDF dust can be harmful, so always wear a dust mask and safety glasses. Lay down a drop cloth to protect your floor from dust and paint.
Step 2: Cut and Sand Your MDF
If you need to cut your MDF to size, it’s best to do it before sealing. MDF can be rough on saw blades, so use a sharp blade and consider a dust collection system if possible.
Once your pieces are the desired size, it’s time to sand.
Initial Sanding: Use 120-grit sandpaper to smooth out any rough edges or surfaces. Focus on any cut edges, as these are often the most porous.
Finer Sanding: Switch to 220-grit sandpaper for a super smooth finish. The smoother the MDF, the better your sealer and paint will adhere.
Edge Detail: Pay special attention to the edges. These are the parts that will absorb the most moisture. Sand them thoroughly until they feel smooth to the touch.
Step 3: Clean Off the Dust
This is a critical step that’s often overlooked! After sanding, your MDF will be covered in fine dust. If you don’t remove it, this dust will get embedded in your primer and sealer, leading to a rough finish.
Tack Cloth: The best way to remove sanding dust is with a tack cloth. These sticky cloths grab and hold onto the finest particles. Wipe down the entire MDF surface, including edges, with the tack cloth.
Microfiber Cloth: If you don’t have a tack cloth, a clean, dry microfiber cloth can work. Just ensure it’s lint-free and very clean. You might need to wipe it down a few times to get all the dust.
Step 4: Apply Your First Coat of Sealer/Primer
Now it’s time for the magic! Choose a good quality primer or a dedicated MDF sealer.
Recommended Primers: For MDF, oil-based or shellac-based primers are excellent first coats. They penetrate the fibers and seal them effectively, providing a solid barrier. Brands like KILZ or Zinsser BIN are popular choices for this. Water-based (latex or acrylic) primers can also be used, but they might require more coats on raw MDF because they don’t penetrate quite as deeply.
Application:
Brushing: Use a good quality brush for edges and smaller areas.
Rolling: A high-density foam roller or a small-nap (1/4″ to 3/8″) microfiber roller works best for smooth surfaces. Apply a thin, even coat. Avoid applying it too thickly, which can cause the MDF to swell or create drips.
Spraying: If you have a sprayer, this can give a very smooth finish, but it requires careful setup and technique to avoid overspray and ensure even coverage.
Coverage: Make sure to cover all surfaces, especially the edges, which are the most vulnerable.
Step 5: Let It Dry Completely
Patience is key here! Allow the first coat of sealer or primer to dry thoroughly according to the manufacturer’s instructions. This might take a couple of hours, or even overnight, depending on the product and humidity. Rushing this step can lead to problems later on.
Step 6: Lightly Sand Again
Once the primer is completely dry, you’ll notice that the moisture in the primer has caused the wood fibers to swell slightly, making the surface feel a bit rough. This is actually a good thing – it means your primer is working!
Sanding: Lightly go over the entire surface with fine-grit sandpaper (220-grit or even 320-grit). The goal is not to remove the primer, but to knock down any raised wood fibers and create a perfectly smooth surface for the next coat.
Dust Removal: Again, use a tack cloth or clean microfiber cloth to remove all sanding dust. Thorough cleaning is essential before the next step.
Step 7: Apply a Second Coat (Optional but Recommended)
For the best results, especially with MDF, a second coat of primer is highly recommended.
Application: Apply another thin, even coat of your chosen primer. This coat will be much easier to apply and will go on smoother because the first coat has already sealed the board.
Coverage: Ensure all surfaces and edges are covered.
Step 8: Dry, Sand, and Clean Again
Drying: Let the second coat dry completely.
Sanding: Lightly sand with your fine-grit sandpaper (220-320 grit).
Cleaning: Thoroughly clean off all dust with a tack cloth.
You should now have a beautifully smooth, well-sealed surface ready for your paint!
Step 9: Apply Your Paint
With your MDF properly sealed, you’re ready to apply your topcoat of paint.
Primer for Paint Adhesion: Ensure your primer is compatible with your chosen paint (e.g., latex paint over latex primer, oil-based over oil-based, or a universal primer that works with both).
Application: Apply your paint in thin, even coats using your preferred method (brush, roller, or sprayer).
Drying Between Coats: Allow each coat of paint to dry thoroughly according to the manufacturer’s instructions before applying the next.
Number of Coats: You may find you need fewer coats of your final paint color than you would on unsealed MDF.
Pros and Cons of Sealing MDF
Like any woodworking step, there are always advantages and considerations.
Pros:
Superior Finish: Achieves a smooth, professional, and uniform painted look.
Enhanced Durability: Protects against moisture, swelling, and minor damage.
Paint Savings: Often requires fewer coats of topcoat paint.
Easier Application: Paint glides on more smoothly.
Longevity Projects: Ensures your painted projects last longer and look better.
Cons:
Extra Time: Adds drying and sanding time to your project.
Material Costs: Involves the cost of primer/sealer and sandpaper.
Dust Generation: Sanding produces dust that needs to be managed.
Tips for Different Types of MDF Projects
The amount of sealing you need can depend on the project:
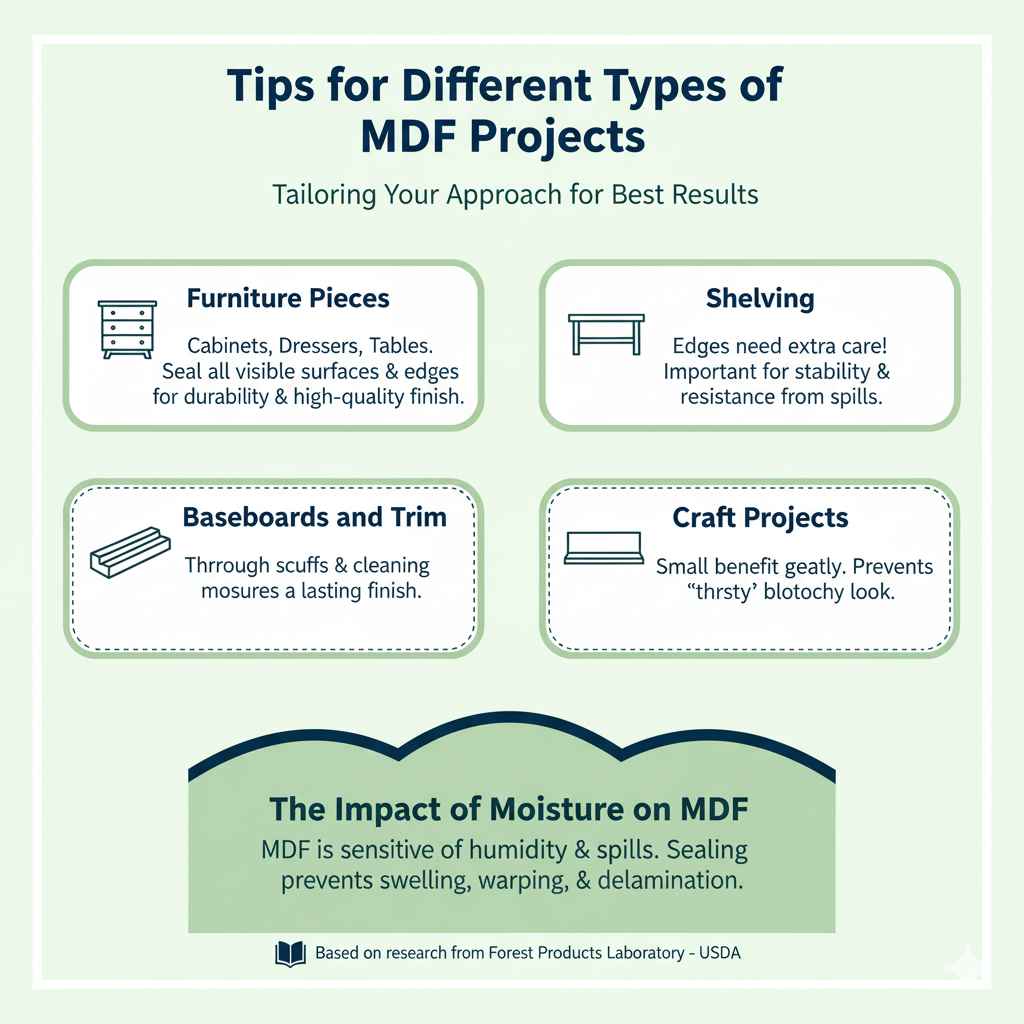
Furniture Pieces (Cabinets, Dressers, Tables): These benefit from thorough sealing on all visible surfaces and edges to ensure a durable, high-quality finish resistant to wear.
Shelving: Ensure edges are well-sealed, especially if the shelves might hold heavy items or be subject to occasional moisture from spills.
Baseboards and Trim: These are subject to scuffs and potential moisture from cleaning. A good seal is essential for a lasting finish.
Craft Projects (Decorations, Small Boxes): Even small projects can look significantly better with proper sealing, preventing that tell-tale MDF “thirsty” look.
The Impact of Moisture on MDF
It’s worth reiterating the importance of moisture resistance. According to the Forest Products Laboratory – Forest Service, USDA (page 14), MDF’s dimensional stability can be affected by changes in moisture content. Sealing creates a vital barrier against this. Imagine your beautiful painted MDF shelf absorbing a bit of humidity or a small water spill – without a seal, it could bubble, warp, or delaminate. A good sealant is your first line of defense.
Frequently Asked Questions (FAQ)
Q1: Can I skip sealing MDF and just use extra coats of paint?
While you can technically apply more paint, it’s not a good substitute for sealing. Unsealed MDF will absorb paint unevenly, leading to a splotchy, unprofessionallook. You’ll likely use more paint in the long run trying to cover it up, and the finish won’t be as smooth or durable as a sealed surface.
Q2: What’s the best type of primer for MDF?
For raw MDF, oil-based or shellac-based primers are often recommended for the first coat because they are excellent at sealing the porous surface and preventing bleed-through. Water-based primers are also effective, especially for subsequent coats, and are easier to clean up. Many modern water-based primers are formulated for superior adhesion and sealing on challenging surfaces like MDF.
Q3: How many coats of primer should I apply to MDF?
At least two coats of primer are generally recommended for MDF. The first coat seals the raw fibers, and the second coat provides a uniform base and smooth surface for your paint. Always allow each coat to dry completely and lightly sand between coats for the best results.
Q4: Can I use wood filler instead of sanding MDF edges?
Wood filler can be used to fill small imperfections or gouges, but it’s not a direct substitute for sanding. You still need to sand the entire MDF surface to create a smooth profile. For the edges, sanding is essential. If an edge is very rough or damaged, you might use a wood filler on top of that, but the primary preparation involves sanding.
Q5: Do painted MDF edges look different from the faces?
Yes, if not sealed properly. The edges of MDF are more porous than the faces and will absorb more primer and paint, potentially leading to a slightly different sheen or color saturation. Thoroughly sealing and sanding all sides and edges minimises this difference, creating a uniform look.
Q6: What is sealing MDF vs. priming MDF? Are they the same thing?
For practical purposes in DIY painting before applying a topcoat, priming IS sealing MDF. The primary job of primer is to adhere to the surface, seal porous materials (like MDF), block stains, and provide a uniform base for the topcoat. So, when we talk about sealing MDF before painting, we are essentially talking about applying a primer specifically designed to deal with MDF’s porous nature.
Conclusion
Mastering how to seal MDF before painting is a game-changer for any DIY enthusiast or homeowner. It transforms a potentially frustrating process into a rewarding one, ensuring your projects look professionally finished and stand the test of time. By taking the extra steps to sand, clean, and apply a good quality primer or sealer, you’re not just preparing your MDF; you’re investing in the beauty and durability of your creations.
Remember, patience and thoroughness are your best friends in this process. From the initial sanding to the final smooth coat, each step builds upon the last, creating a flawless canvas for your chosen color. So, the next time you pick up a piece of MDF for your project, you’ll know exactly what to do to achieve that stunning, smooth painted finish. Happy building, and happy painting!