How to Stain Between Deck Boards Without Wasting Half a Day
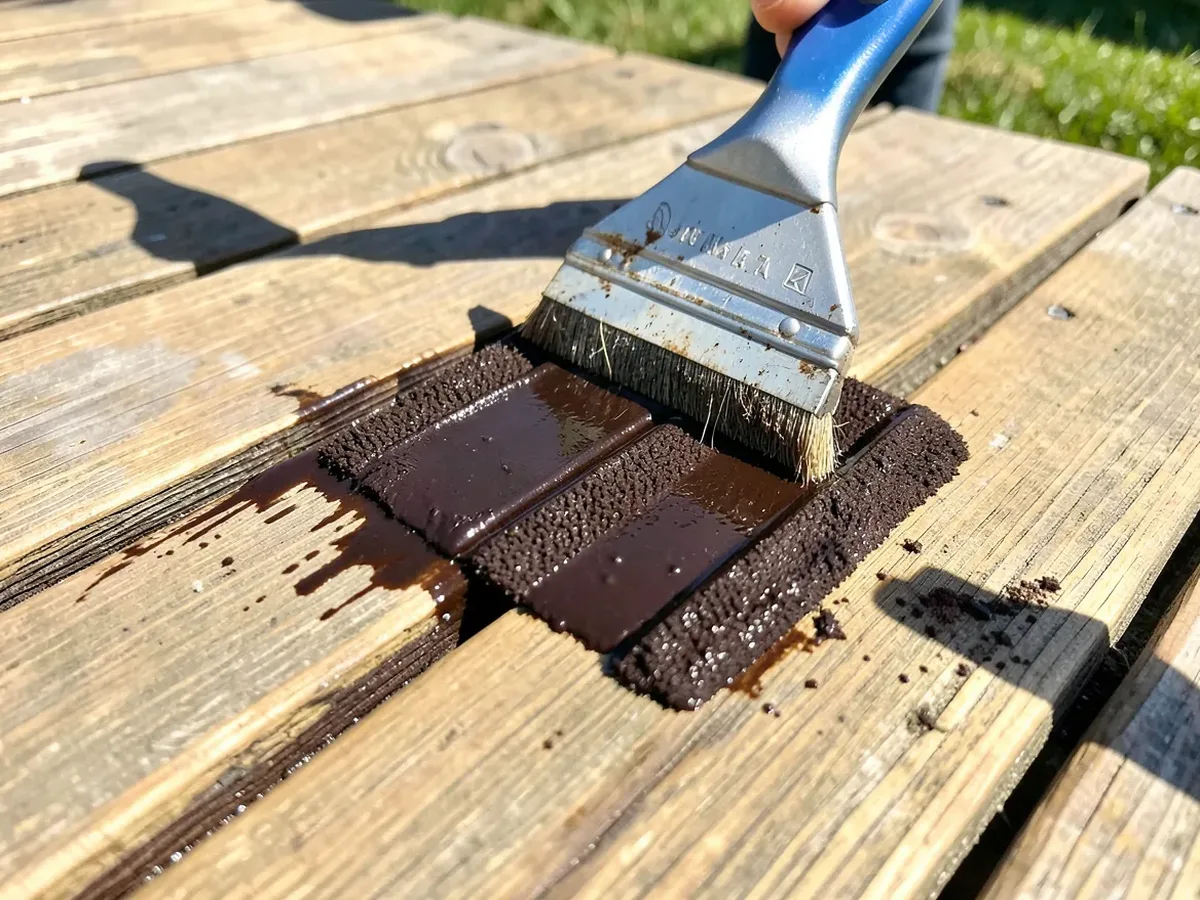
The fastest way to stain between deck boards is a stain pad with a built-in groove tool — a stiff foam or rubber ridge molded into the applicator that rides down inside the gap while the flat pad coats the board tops on either side in the same pass. A narrow brush works too, but it’s roughly twice the time on a full-size deck since you’re doing the gaps and the board faces as two separate motions.
The gaps matter more than most people assume: they’re where water actually collects and sits against end grain, so a gap that never gets stain is often the first place a deck starts to rot, long before the open board faces show any wear at all.
Clear the Gaps Before You Clean the Surface
Cuts Gap-Staining Time Roughly In Half
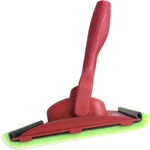 |
Shur-Line Deck Stain Pad with Groove Tool – $18.87 The molded ridge on the underside rides in the gap while the pad coats both adjacent board faces, so you’re not staining the flat surface and the gaps as two separate passes.
|
Debris trapped between boards isn’t cosmetic, it holds moisture against the wood long after the surface has dried, which is exactly the condition rot needs. Run a putty knife or a thin scraper down each gap first to pop loose leaves, dirt, and old caulk. Where the gap is too tight for a scraper, a shop vacuum or a leaf blower pointed along the run clears it fast. Finish with a stiff brush (an old toothbrush works fine) to knock loose anything still clinging to the sides.
Once the gaps are clear, wash the whole deck with a deck cleaner or a pressure washer on a wide, low-pressure fan tip — a narrow “pinpoint” nozzle can gouge softwood fibers and leave streaks the stain will highlight later. Rinse thoroughly and give the deck a full 48 hours to dry before you stain; wood that still holds surface moisture won’t accept stain evenly, and it can trap that moisture under the new coat.
Picking a Stain That Actually Reaches the Gaps
Semi-transparent and solid-color stains both work between boards, but thinner, oil-based penetrating stains flow into a tight gap more readily than a thick, film-forming product, which tends to bridge across a narrow gap rather than coat the sides of it. If your deck is softwood (pine, fir, treated lumber), it drinks stain fast and evenly; hardwoods like cedar or ipe are denser and need a stain formulated for tight-grained wood, or coverage inside the gaps will be noticeably thinner than on the open faces.
UV protection matters more inside gaps than you’d expect, since sun exposure there is intermittent and angled rather than direct, which is part of why gap areas often fade unevenly compared to the open deck surface if the stain’s UV inhibitors are weak to begin with. Check the label for UV-blocking pigment content rather than just a “UV protection” claim on the front of the can.
Applying Stain to the Gaps Without Wasting Half of It
Stain on a day between 50°F and 90°F, out of direct midday sun, with no rain forecast for at least 24 hours. Cover nearby plants and furniture before you start; stain that drips off a gap-tool pad travels farther than brush drips do.
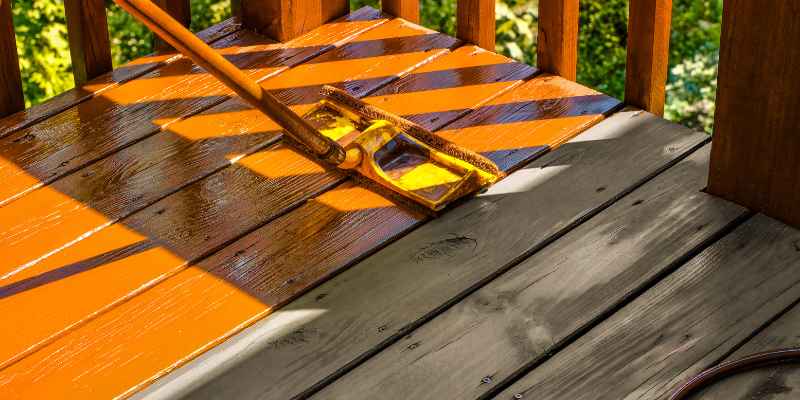
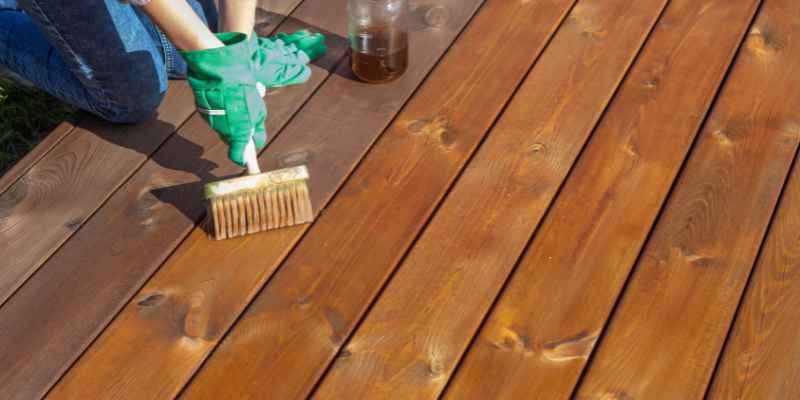
Work one section at a time, roughly 4-6 boards wide, rather than doing all the gaps first and the faces second — staining wet-into-wet across a section avoids the lap marks that show up when stain dries before the adjoining section gets coated. A groove-tool pad handles the gap and the two adjacent faces together; if you’re using a brush instead, angle the bristles into the gap first, then blend outward onto the face so you’re not doubling up on stain right at the seam.
Wipe back any pooled stain within a few minutes of application, especially inside the gaps where excess has nowhere to spread out and simply sits until it dries tacky. Pooled stain in a gap dries slower than stain on the open face, and it’s the number one cause of a blotchy, uneven look days later. Dispose of stained rags in a metal container or laid flat outside to dry — oil-based stain rags can spontaneously combust if balled up while still wet.
When the Deck Fights Back: Old Coatings and Warped Boards
Old stain or paint sitting in the gaps blocks the new coat from penetrating, and it’s usually thickest right where boards meet, since that’s where old finish pools during previous applications. Scrape what’s loose, then use a chemical stripper on the remainder and rinse thoroughly — sanding a gap clean isn’t practical at that width, so stripping does the real work here.
A warped or cupped board changes the gap’s shape rather than its width, which throws off a groove-tool pad’s contact. For a handful of problem boards, a narrow brush with stiff bristles still gets into an uneven gap better than a rigid tool designed for a consistent profile. If warping is widespread across the deck, that’s a structural issue worth addressing (replacing the worst boards, or resetting fasteners) before staining locks in the unevenness for another season.
Knowing When It’s Time to Redo the Gaps
Gap coverage tends to wear out before the open deck surface does, since it holds moisture longer and gets less airflow to dry between rain events. Three signs it’s time: color fading or turning gray specifically along the gap edges even while the open face still looks fine, water soaking in instead of beading along the board edges, or visible dark staining or softness right at the gap that suggests moisture is already sitting there. Don’t wait for the whole deck to look worn before checking the gaps specifically — they’re usually the leading indicator, not the trailing one.
Bottom Line
Clear the gaps before you clean, let the deck dry fully, use a thinner penetrating stain that actually flows into a tight space, and apply with a groove-tool pad if you can, a stiff brush if you can’t. The gaps are where water sits longest and rot starts first, so they’re worth the extra ten minutes per section, not the corner most people cut.
Sponsored / affiliate links. As an Amazon Associate I earn from qualifying purchases. I may earn additional commission from eligible campaigns.