How to Stain Poplar Wood: Achieve Perfect Finishes!
To stain poplar wood, start by sanding the surface to ensure a smooth finish. Then, apply a wood conditioner to help the stain penetrate evenly.
Next, choose a stain color and apply it with a brush or cloth, following the grain of the wood. Allow the stain to dry completely before applying a second coat if desired. Finally, seal the stained wood with a clear polyurethane or lacquer for added protection and a glossy finish.
Remember to work in a well-ventilated area and wear protective gloves and eyewear throughout the staining process. Happy staining! Staining poplar wood can be a rewarding way to enhance its natural beauty and protect it from wear and tear. Whether you’re a woodworking enthusiast or a DIY enthusiast, learning how to stain poplar wood can give your projects a professional and polished look.
In this guide, we’ll explore the step-by-step process of staining poplar wood, from preparing the surface to applying the stain and finishing it off with a protective sealant. So, let’s dive in and discover how to transform your poplar wood into a stunning piece of craftsmanship.
Introduction To Poplar Wood Staining
When it comes to enhancing the natural beauty of wood, staining is a popular choice. In this post, we will explore the art of staining poplar wood to bring out its unique characteristics and create stunning visual effects. Let’s begin with an introduction to poplar wood staining.
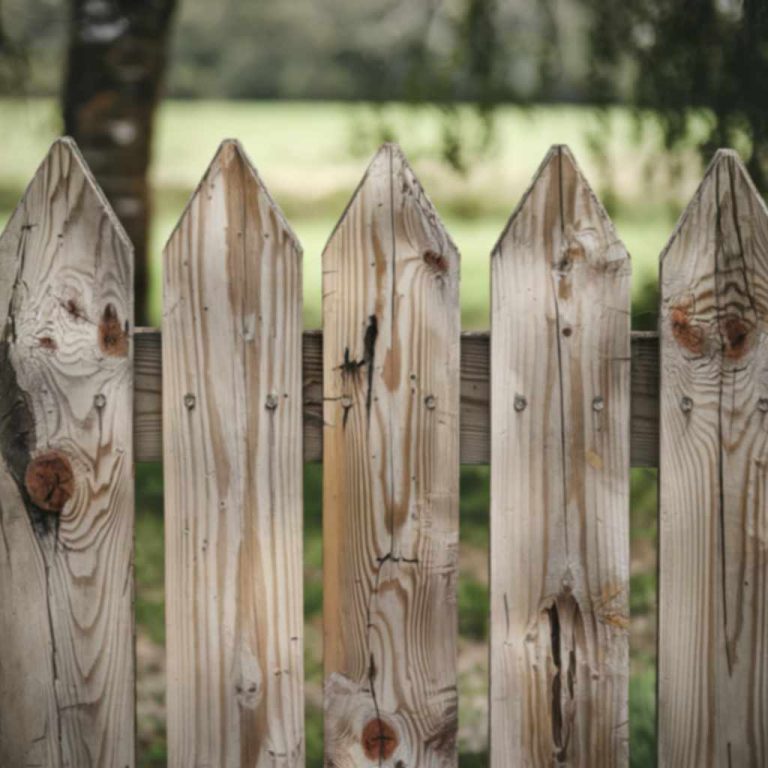
Characteristics Of Poplar Wood
Poplar wood is known for its fine texture and straight grain, making it a versatile choice for various woodworking projects. It is relatively soft and lightweight, with a uniform pale white to yellowish-brown color.
Benefits Of Staining Poplar
- Enhances the natural grain and color
- Provides protection against moisture and UV damage
- Allows for customizing the appearance to match different decor styles
Preparation Essentials
Gathering Materials
Before starting the staining process, it’s important to gather all the necessary materials to ensure a smooth and efficient workflow.
- Wood stain in the desired color
- Stir sticks and a stir stick holder
- Pre-stain wood conditioner
- High-quality paintbrush or cloth
- Protective gloves and goggles
- Sandpaper in various grits (120, 150, and 220)
- Tack cloth for removing sanding dust
- Drop cloths to protect the work area
Surface Preparation
Proper surface preparation is crucial to achieving a flawless finish when staining poplar wood. Follow these steps to prepare the wood surface:
- Sand the wood: Start by sanding the poplar wood with 120-grit sandpaper to remove any rough spots and uneven areas.
- Smooth the surface: Progress to 150-grit sandpaper to further smooth the wood and ensure a uniform surface.
- Final sanding: Finish the preparation by sanding the wood with 220-grit sandpaper to achieve a silky smooth finish.
- Clean the surface: Use a tack cloth to remove any sanding dust and ensure the surface is clean and ready for staining.
- Apply pre-stain conditioner: Apply a pre-stain wood conditioner to the poplar wood to ensure even stain penetration and prevent blotchiness.
Choosing The Right Stain
Choosing the right stain for poplar wood is crucial to achieving the desired look for your project. With the wide array of stains available, it’s important to understand the types of stains and how to select the right one for color consistency.
Types Of Stains
When it comes to staining poplar wood, you have a few different options to choose from:
- Water-Based Stains
- Oil-Based Stains
- Gel Stains
Selecting For Color Consistency
For a consistent color on poplar wood, it’s essential to consider the natural color variation in the wood. Opt for a pre-stain wood conditioner to help the stain penetrate evenly and reduce blotchiness. Additionally, choosing a pigment-rich stain can help achieve a more uniform color.
Stain Application Techniques
When staining Poplar wood, the application technique plays a vital role in achieving the desired finish. Properly applying the stain can enhance the natural beauty of the wood while ensuring a consistent and professional look.
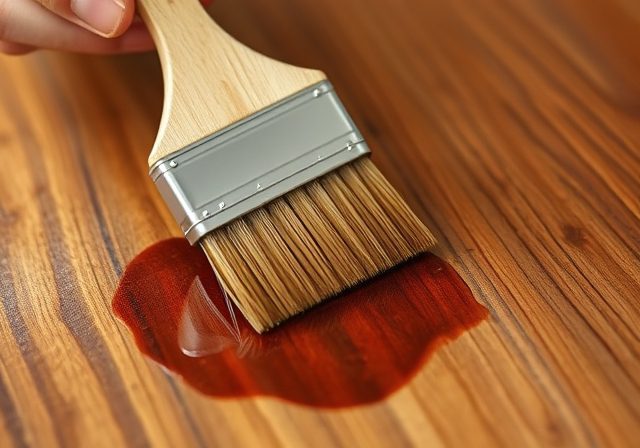
Brush Vs. Rag Application
Brush Application: Use a high-quality brush to apply the stain in long, even strokes to ensure proper coverage. Rag Application: Alternatively, you can use a clean rag to apply the stain in a circular motion for a softer, more blended finish.
Applying Even Coats
- Prep the Wood: Sand the wood surface to remove imperfections and ensure a smooth finish.
- Stir the Stain: Thoroughly mix the stain to distribute pigments evenly for consistent color.
- Start Staining: Apply the stain in the direction of the wood grain for even coats.
- Wipe Excess: After applying, wipe off any excess stain to prevent drips or uneven drying.
Overcoming Common Challenges
To successfully stain Poplar wood, prep the surface by sanding evenly and applying wood conditioner before staining. Choose a stain color that complements the wood’s natural grain, and apply multiple thin coats for a rich, even finish. Remember to seal the stained wood to protect it from wear and tear over time.
If you’re looking to stain poplar wood, you may face some common challenges such as blotching or achieving uniformity. But fear not, there are ways to overcome these issues and create a beautiful, even finish on your poplar wood. Let’s take a look at some tips to help you overcome these challenges.
Dealing With Blotching
Blotching occurs when the wood absorbs the stain unevenly, resulting in a splotchy appearance. This is a common issue with poplar wood due to its inconsistent density. However, there are steps you can take to minimize blotching.
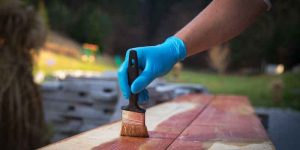
One way to prevent blotching is to use a pre-stain wood conditioner. This conditioner helps to seal the wood and create a more even surface for the stain to absorb into. Apply the conditioner with a brush or cloth, following the manufacturer’s instructions.
Another way to avoid blotching is to use a gel stain. Gel stains have a thicker consistency than traditional stains, which can help to prevent blotching. Apply the gel stain with a brush or cloth, following the manufacturer’s instructions.
Achieving Uniformity
Achieving uniformity in staining poplar wood can be a challenge due to its uneven density. However, there are steps you can take to ensure a more even finish.
Start by sanding the wood to a smooth surface before staining. This will help to create a more even surface for the stain to absorb into. Use a fine-grit sandpaper, such as 220 grit, and sand in the direction of the grain.
Apply the stain in thin, even coats, using a brush or cloth. Allow each coat to dry completely before applying the next. This will help to prevent the stain from pooling in certain areas and creating an uneven finish.
In conclusion, staining poplar wood can be a challenge, but with the right techniques, you can achieve a beautiful, even finish. Use a pre-stain wood conditioner to prevent blotching, and sand the wood to a smooth surface before staining to ensure uniformity. By following these tips, you can create a stunning finish on your poplar wood project.
Finishing Touches
Achieving a beautiful finish on poplar wood requires careful staining techniques. Start with properly sanding the wood, then apply a pre-stain conditioner to prevent blotchiness. Apply the stain evenly and wipe off any excess to reveal a stunning finish.
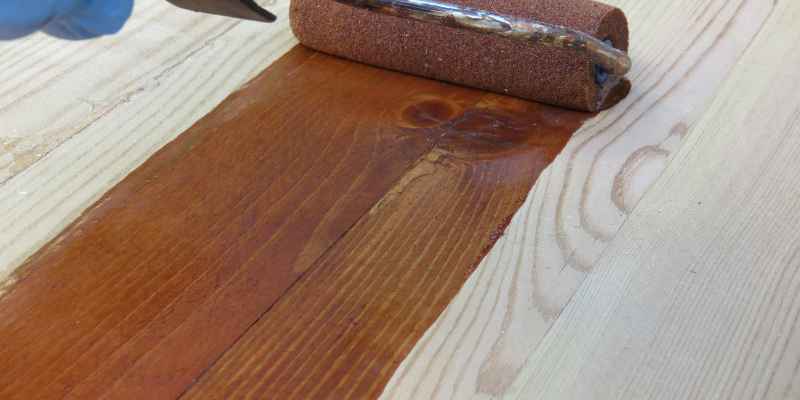
Sanding Between Coats
Sanding between coats of stain ensures a smooth finish.
Use fine-grit sandpaper to lightly sand the wood surface.
Applying Protective Finish
Protect your stained poplar wood with a protective finish.
Apply a clear coat of polyurethane for durability.
Maintenance And Care
Maintenance and care are crucial for extending the lifespan of your stained poplar wood. Following some simple steps can help you keep your furniture looking new for years to come. Here are some tips for regular cleaning and touch-ups:
Regular Cleaning
Regular cleaning is essential to maintain the beauty of your stained poplar wood. You can follow these steps:
- Dust your furniture regularly with a soft cloth or a feather duster.
- Use a soft-bristled brush to remove dirt and debris from the surface and crevices of the furniture.
- Wipe the furniture with a damp cloth, using a mild soap solution. Rinse the cloth thoroughly and wipe the surface again.
- Dry the furniture with a soft, clean cloth to prevent water damage.
Touch-up Tips
Despite your best efforts, your stained poplar wood may get scratched or damaged over time. Here are some tips for touch-ups:
- For minor scratches or scuffs, use a touch-up marker or a wax-based crayon that matches the color of your stain. Fill the scratch or scuff with the marker or crayon and wipe off the excess with a soft cloth.
- For deeper scratches or gouges, use a wood filler that matches the color of your stain. Fill the scratch or gouge with the wood filler and let it dry completely. Sand the surface with fine-grit sandpaper until it is smooth, then apply the touch-up marker or wax crayon as described above.
- For stains or water rings, use a soft cloth to apply a mixture of baking soda and water to the affected area. Rub gently until the stain disappears, then wipe the surface with a clean, damp cloth.
By following these maintenance and care tips, you can keep your stained poplar wood looking beautiful and new for years to come.
Advanced Tips And Tricks
Discover expert techniques for staining poplar wood with our advanced tips and tricks. Enhance the natural beauty of poplar wood with professional staining methods for a flawless finish. Master the art of staining poplar wood like a pro with our insider guidance.
Poplar wood is a popular choice for woodworking projects, thanks to its affordability and versatility. However, staining poplar wood can be tricky, as it tends to absorb stain unevenly. In our previous post, we discussed the basics of staining poplar wood. In this post, we will explore some advanced tips and tricks that can help you achieve a flawless finish.
Mixing Stains For Custom Shades
If you want to achieve a custom shade that is not available in stores, you can mix different stains together. However, it’s important to note that not all stains are compatible with each other. For example, oil-based stains and water-based stains should not be mixed together. It’s also important to test the stain on a scrap piece of wood before applying it to your project.
Here are some tips for mixing stains:
- Start with a small amount of each stain
- Mix the stains in a separate container
- Record the ratio of each stain for future reference
- Apply the stain to a test piece of wood to check the color
Using Wood Conditioners
Wood conditioners are products that help prepare the wood for staining by improving its ability to absorb stain evenly. They are especially useful for softwoods like poplar, which tend to absorb stain unevenly.
Here’s how to use wood conditioners:
- Sand the wood with a fine grit sandpaper
- Clean the wood with a tack cloth to remove any dust or debris
- Apply the wood conditioner with a brush or a cloth
- Wait for the wood conditioner to dry according to the manufacturer’s instructions
- Apply the stain to the wood
Using a wood conditioner can help you achieve a more even and consistent finish. However, it’s important to note that wood conditioners may lighten the color of the stain, so it’s important to test the stain on a scrap piece of wood before applying it to your project.
Staining poplar wood can be challenging, but with these advanced tips and tricks, you can achieve a flawless finish. Mixing stains for custom shades and using wood conditioners are two techniques that can help you achieve a more even and consistent finish. Remember to always test the stain on a scrap piece of wood before applying it to your project.
Frequently Asked Questions
How Can I Prepare Poplar Wood For Staining?
To prepare Poplar wood for staining, sand the surface evenly, apply pre-stain wood conditioner, and remove any dust. Test the stain on a small area before applying it to the entire surface for consistent color absorption.
What Types Of Stains Work Best On Poplar Wood?
Oil-based stains are recommended for Poplar wood due to their ability to enhance the wood’s natural beauty and provide a rich, deep color. Gel stains can also be used for better control and minimal blotching on Poplar wood surfaces.
How Long Should I Let The Stain Dry On Poplar Wood?
Allow the stain to dry on Poplar wood for at least 24 hours before applying a protective finish. Ensure proper ventilation during the drying process to achieve optimal results and prevent any issues with the staining application.
Conclusion
Staining poplar wood can be a straightforward process if you follow the right steps. From preparing the wood surface to choosing the right stain color, each aspect plays a crucial role in achieving the desired result. By understanding the characteristics of poplar wood and using the appropriate techniques, you can enhance the natural beauty of the wood while protecting it for years to come.
So go ahead and give your poplar wood project the perfect finish it deserves!