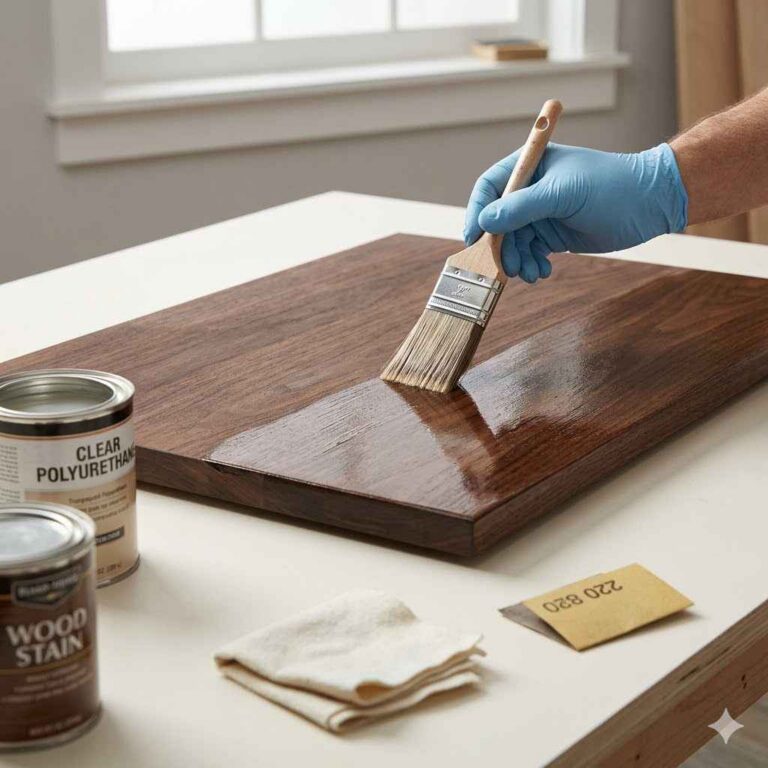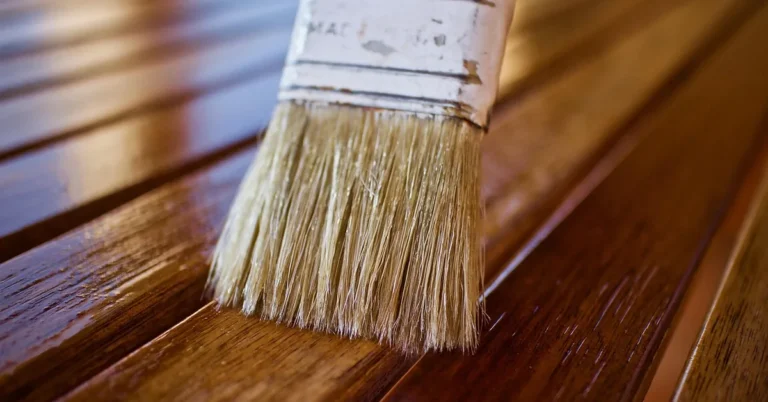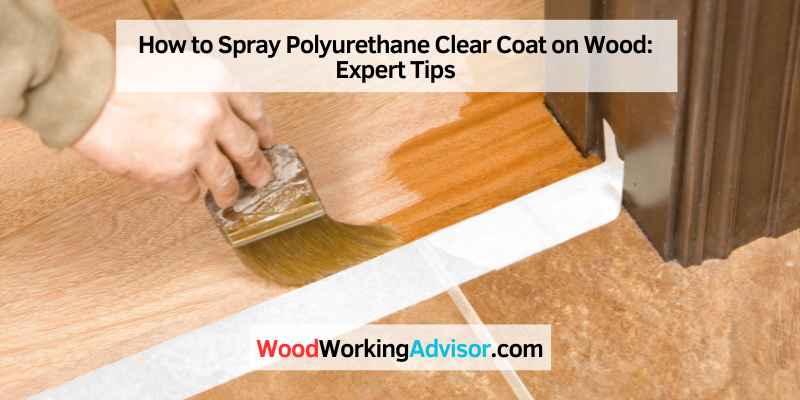
How to Spray Polyurethane Clear Coat on Wood (PSI & Cure Times)
Spraying polyurethane clear coat means laying down 2–3 thin coats with an HVLP gun set to 35–50 PSI and a 1.0–1.4mm fluid tip, held 10–12 inches from the wood — thinned 5–10% so it atomizes instead of orange-peeling. Skip the tack cloth before that final coat and trapped dust shows up as permanent bumps you can’t sand out without cutting through the finish. This guide covers gun setup, mixing ratios, technique, and cure times.
Tools and Materials You’ll Need
Best Spray Gun Pick For This Guide
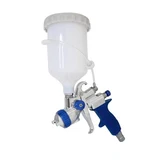
Fuji Spray T75G HVLP Gravity Spray Gun
A gravity-feed HVLP gun sized right for polyurethane out of the box — no swapping tips to get a clean, thin coat.
- Best for: Furniture and cabinet work where finish quality matters most
- Why we picked it: Ships with a tip sized for topcoats, not the oversized tips other kits default to
- Main drawback: Needs a compressor rated for its air draw — check your CFM before buying
Compare more polyurethane spray gun options
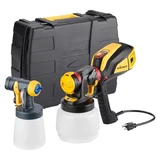 Option 1 Wagner FLEXiO 595 Handheld HVLP
|
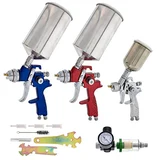 Option 2 TCP Global 3-Gun HVLP Set (1.0/1.4/1.8mm)
|
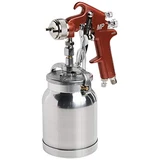 Option 3 Astro Pneumatic 4008 Spray Gun
|
As an Amazon Associate we earn from qualifying purchases.
Gather everything before you mix any polyurethane — stopping mid-spray to hunt for a tack cloth is how you end up with a half-tacky coat.
- HVLP or airless spray gun with a 1.0–1.4mm fluid tip (see the settings table below)
- Oil-based or water-based polyurethane
- Paint thinner (oil-based) or water (water-based) for thinning
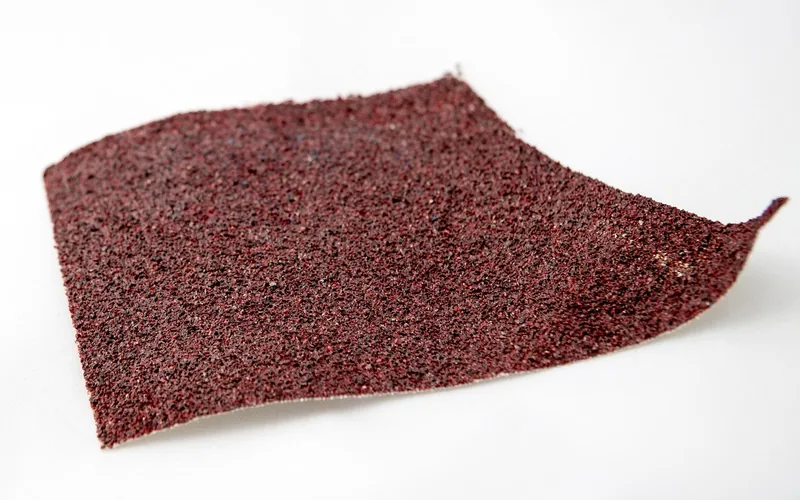
- 120-grit and 180-grit sandpaper for new wood; 220-grit for between coats
- Tack cloth
- Respirator rated for organic vapors, plus eye protection
- Drop cloths and painter’s tape for overspray control
Choosing the Right Spray Gun and Settings
Polyurethane is thicker than stain or lacquer, so a gun set up for either of those will usually clog or spit on straight polyurethane. Four settings actually decide whether your setup works: tip size, air pressure, thinning ratio, and cup capacity. If you’re wondering whether a standard paint sprayer can even handle it, see can you spray polyurethane with a paint sprayer.
Spray Settings Cheat Sheet
No single source online lists every one of these numbers together, so here they are in one place — pulled from HVLP manufacturer specs and polyurethane manufacturer data sheets:
| Setting | Target Range | Why It Matters |
|---|---|---|
| Fluid tip size | 1.0–1.4mm | Smaller clogs on thick poly; larger lays down too much material |
| Air pressure | 35–50 PSI (2.5–3.5 bar) | Standard HVLP gun manual range for topcoats |
| Compressor output | 10–14 SCFM at 40 PSI | Undersized compressors cause pressure drop mid-pass |
| Thinning ratio | 2:1 base coat, 5–10% after | Straight poly is too thick to atomize cleanly through a spray tip |
| Spray distance | 10–12 inches | Closer causes runs; farther causes dry, gritty overspray |
| Room temperature / humidity | 65–75°F, under 60% RH | Outside this range the finish stays tacky or flash-dries into bubbles |
Air pressure and tip size only get you halfway there — the compressor feeding the gun has to keep up, or pressure drops mid-pass and the coat goes uneven. If you’re still choosing a gun rather than dialing in one you own, see our full comparison of 7 spray guns for polyurethane, which breaks down tip size and price across gravity-feed, airless, and turbine options. The pick below is the one we’d start with if you don’t already own a gun.
Preparing the Wood and Mixing the Polyurethane
Start new wood at 80-grit, then work up through 120- and 180-grit. On a previously finished piece, 120-grit is usually enough to start. Wipe with a tack cloth, not a dry rag — a dry rag just moves dust around instead of lifting it.
Stir the polyurethane — never shake it, which whips air into bubbles that telegraph through the finish. For the base coat, mix roughly 2 parts polyurethane to 1 part thinner (paint thinner for oil-based, water for water-based). Every coat after that only needs a 5–10% thin. Mineral spirits works as a substitute thinner for oil-based poly if that’s what you have on hand. Test the mix on scrap wood or cardboard before it ever touches your project — that’s the only way to confirm the gun is atomizing cleanly at your current thinning ratio.
Oil-based polyurethane keeps its amber tint and slightly enriches the wood tone; water-based dries clear and resists yellowing over time. If you’d rather brush a wipe-on version instead of spraying, see our guide to making wipe-on water-based polyurethane.
How to Spray Polyurethane, Step by Step
- Set up ventilation and PPE: Work in a dust-free space with cross-ventilation, and put on your respirator and eye protection before you open the can.
- Mix and test the polyurethane: Stir (don’t shake) and thin to the ratios above, then spray a test pass on scrap to confirm the pattern is even, not spitting or misting.
- Hold the gun 10–12 inches out: Keep the gun perpendicular to the surface at a consistent distance — angling it or wandering closer causes uneven film thickness.
- Spray in overlapping passes: Trigger on just before you reach the piece, sweep through in one continuous motion, and release just after you pass beyond the edge; overlap each pass by about one-third.
- Let the coat flash off, then sand: Once the coat is dry to the touch, scuff with 220-grit sandpaper and wipe with a tack cloth before the next coat — skip this and the next coat won’t bond evenly.
- Apply 2–3 coats total: Most projects need a base coat plus 2 more coats for durable protection; let each one dry fully before recoating.
In our shop, the single biggest cause of orange peel on a sprayed coat isn’t the polyurethane — it’s a fan pattern left too round for a wide board. Flattening the pattern and slowing the pass down fixes it before you ever have to reach for sandpaper.
Temperature, Humidity, and Cure Times
Spray in a room between 65–75°F with relative humidity under 60%. Colder or more humid than that and the coat stays tacky or blushes; hotter and it can flash-dry into bubbles and brush-mark texture before it levels out. For the full breakdown of how oil- and water-based polyurethane each react to temperature swings, see our guide to what temperature to apply polyurethane. For choosing a finish and cure schedule for the rest of the piece, see our full wood finishing guide.
📊 Humidity above 65% is the threshold where trapped moisture starts causing bubbling and discoloration in polyurethane finishes. — Source: General Finishes application guidance
| Stage | Water-Based | Oil-Based |
|---|---|---|
| Dry to the touch / recoat window | ~2 hours | 3–6 hours |
| Safe to handle lightly | 24 hours | 24 hours |
| Full cure (safe for heavy use) | 30 days | 30 days |
Spraying Polyurethane vs. Brushing It On
Spraying lays down a thinner, more even film with no brush marks, which is why it’s the better choice on cabinet doors, turned pieces, and anything with detail. Brushing needs no compressor or overspray containment and is often the more practical choice for a single tabletop or a built-in you can’t easily mask off. If you’d rather roll it on instead, see our guide to applying polyurethane with a roller.
| Method | Best For | Setup Needed |
|---|---|---|
| Spraying | Cabinet doors, detail work, large flat surfaces | Compressor or turbine, ventilation, overspray control |
| Brushing | Tabletops, small projects, touch-ups | Natural-bristle brush, no compressor |
Troubleshooting Common Spray Problems
Runs and Sags
Runs happen when the gun is held too close, moved too slowly, or too much material is applied in one pass. Increase your distance slightly, speed up the pass, and lay down a thinner coat — you can always add another coat, but you can’t un-run a sag once it sets.
Orange Peel Texture
A dimpled, pebbled surface usually means the polyurethane isn’t thin enough, the tip is undersized for the material, or the gun is too far from the surface. Confirm your thinning ratio against the cheat sheet above before you touch the tip size. For a deeper fix if it already happened, see how to get bumps out of a polyurethane finish. If the coat is bad enough that you’d rather start over, see our guide on how to strip polyurethane back off the wood.
Advanced Tips for Professional Results
Custom Mixing Sheens
Mixing a satin and a gloss polyurethane from the same product line lets you dial in a sheen between the two — stir thoroughly so the flatting agents in the satin distribute evenly, or you’ll get uneven sheen across the piece.
Spraying Vertical Surfaces
On vertical panels and doors, use a slightly drier mix (closer to straight polyurethane, less thinner) and spray in horizontal passes bottom-to-top — gravity pulls a thin, wet coat down into runs faster on a vertical surface than on a flat one. If you’re still deciding between urethane and polyurethane products for the job, see our guide on how to spray urethane.
Frequently Asked Questions
How do I prepare wood before spraying polyurethane clear coat?
Sand new wood starting at 80-grit and work up through 120- and 180-grit; on refinished pieces, 120-grit is usually enough. Wipe with a tack cloth, not a dry rag, to lift dust instead of just moving it around.
Can you spray polyurethane over stain?
Yes, once the stain is fully dry per the manufacturer’s label — typically 24 hours minimum for oil-based stains (see our guide on how long paint or stain should dry before applying polyurethane). Spraying too soon over wet stain causes the polyurethane to lift pigment and streak.
What PSI and tip size do you need to spray polyurethane?
Most HVLP guns run 35–50 PSI (2.5–3.5 bar) with a 1.0–1.4mm fluid tip for polyurethane. A compressor rated 10–14 SCFM at 40 PSI keeps pressure from dropping mid-pass.
How many coats of polyurethane should you spray?
Most projects need a thinned base coat plus 2 more coats — 3 total — sanding with 220-grit between each. High-traffic surfaces like tabletops and floors benefit from a 4th coat.
Do you need to thin polyurethane before spraying it?
Yes. Straight polyurethane is too thick to atomize cleanly through most spray tips. Mix roughly 2 parts polyurethane to 1 part thinner for the base coat, then thin later coats by only 5–10%.
How long does sprayed polyurethane need to cure before use?
Water-based polyurethane is dry to the touch in about 2 hours and oil-based in 3–6 hours, but full cure — safe for heavy daily use — takes about 30 days for both types. Light handling is safe after 24 hours.
Conclusion
Dial in the tip size, PSI, and thinning ratio before you worry about technique — most spray problems trace back to one of those three settings, not a shaky hand. Get the setup right, spray thin overlapping coats 10–12 inches out, and let each one cure fully before the next.
Sponsored / affiliate links. As an Amazon Associate I earn from qualifying purchases. I may earn additional commission from eligible campaigns.