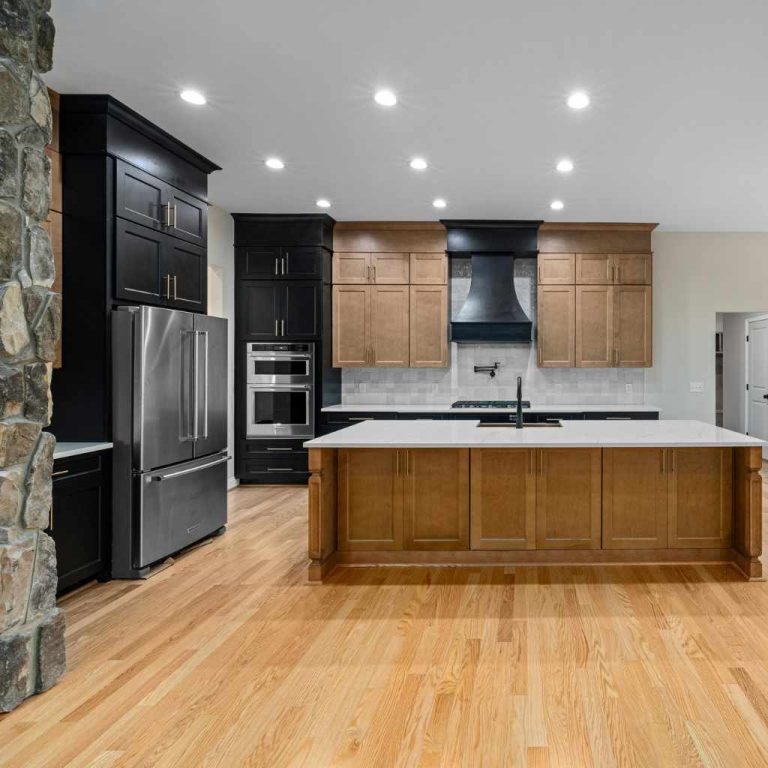
How to Start Laying Hardwood Floor: Easy Steps for Stunning Results
Are you ready to transform your space with the timeless beauty of hardwood floors? Laying hardwood flooring yourself might seem like a big challenge, but with the right steps, you can achieve stunning results that will make your home feel warm and inviting.
In this guide, you’ll discover simple, clear instructions that make the process easy to follow, even if you’ve never done it before. By the end, you’ll have the confidence and know-how to start your hardwood floor project and enjoy the satisfaction of a job well done.
Let’s get started and turn your flooring dreams into reality!
Choosing Hardwood Flooring
Choosing hardwood flooring is the first step in creating a beautiful floor. The right hardwood adds warmth and style to any room. It also needs to match your lifestyle and budget. Understanding the different types of wood and finishes helps you pick the best option.
Types Of Hardwood
Hardwood comes in many species. Oak, maple, and cherry are popular choices. Oak is strong and has a classic look. Maple is smooth and light in color. Cherry has a rich, reddish tone. Each type has a unique grain and hardness level. This affects durability and appearance.
Selecting The Right Wood
Choose wood based on room use and traffic. Hardwoods like hickory and oak handle heavy wear well. Softer woods suit low-traffic areas. Color matters too. Light woods make rooms feel bigger. Dark woods add warmth and elegance. Consider your home’s style and lighting when selecting.
Finishes And Styles
Finishes protect wood and change its look. Matte finishes give a natural feel. Glossy finishes reflect light and shine. Styles include solid, engineered, and reclaimed wood. Engineered wood is more stable in humid areas. Reclaimed wood adds character and history. Pick a finish and style that fits your space and taste.
Preparing The Space
Preparing the space is the first important step before laying hardwood floors. It ensures a smooth installation and a strong, lasting floor. Proper preparation helps avoid problems like uneven surfaces or wood damage.
Clearing The Area
Remove all furniture and items from the room. Clear the floor completely. This gives you enough space to work freely. Clean the floor surface from dust and debris. A clean area helps the wood lay flat and stick well.
Checking Subfloor Condition
Inspect the subfloor closely for damage or moisture. Look for cracks, bumps, or loose boards. Fix any issues before starting the installation. The subfloor must be dry and level. A strong base prevents future floor problems.
Acclimating The Wood
Let the hardwood planks sit in the room for a few days. This balances the wood with the room’s temperature and humidity. Acclimating reduces wood expansion or shrinking after installation. Place the wood flat and keep it away from heat sources.
Gathering Tools And Materials
Starting a hardwood floor project needs careful preparation. Gathering the right tools and materials makes the work easier and faster. It also helps to get a smooth and clean finish. Before you begin, organize everything you need in one place.
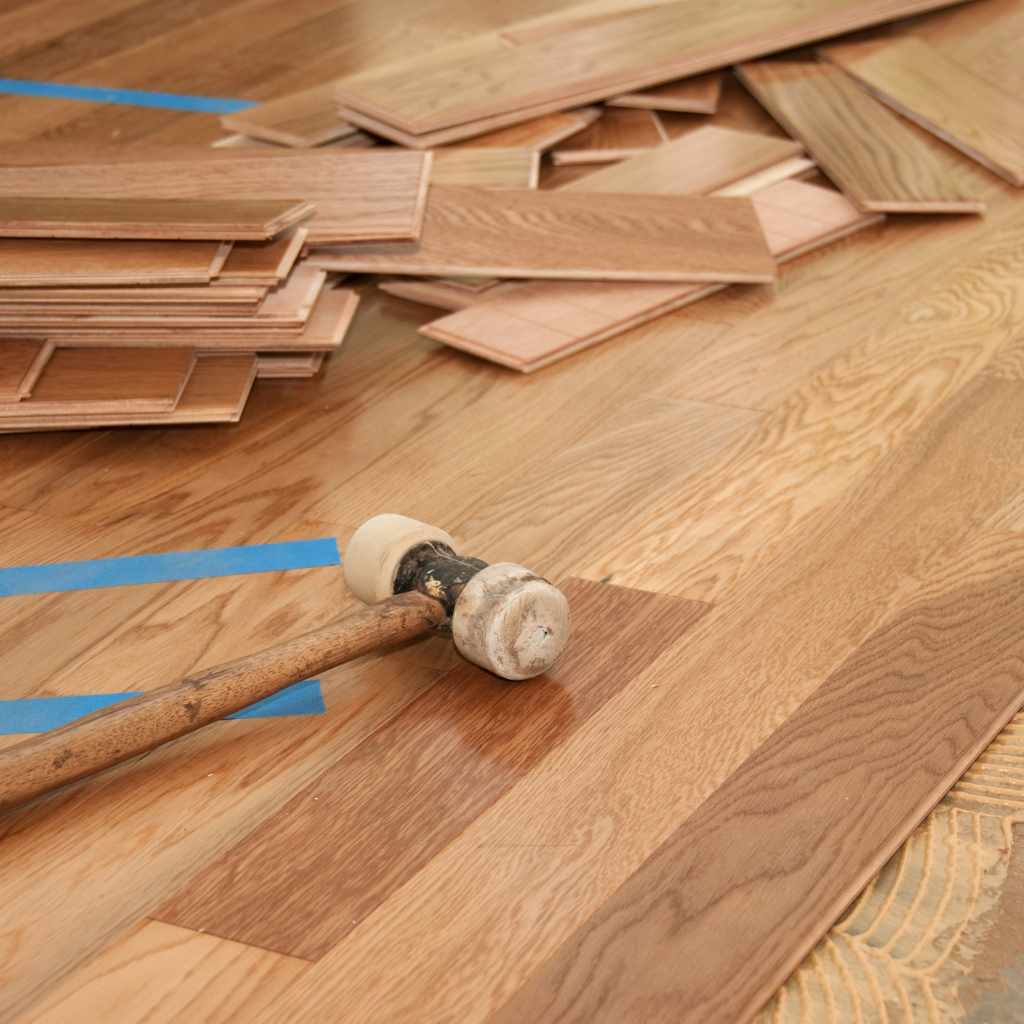
Essential Tools
Basic tools include a tape measure, pencil, and chalk line for accuracy. A saw is necessary to cut the wood planks to size. A hammer or nail gun helps to secure the boards in place. You will also need a pry bar and a rubber mallet for adjustments. A level ensures the floor stays even throughout.
Safety Gear
Protect yourself with safety glasses to shield your eyes from dust and debris. Wear ear protection to avoid loud noise from cutting tools. Gloves keep your hands safe from splinters and sharp edges. Knee pads make kneeling on hard floors more comfortable during installation.
Additional Supplies
Purchase hardwood flooring planks in the right quantity and style. Use underlayment to reduce noise and provide moisture protection. Wood glue or flooring adhesive strengthens plank connections. Spacers keep gaps between planks for natural expansion. Clean rags and a broom help maintain a tidy workspace.
Planning The Layout
Planning the layout is the first step in laying a hardwood floor. It helps to organize the space and avoid mistakes. A good plan saves time and materials. Taking time now makes the installation smoother. The layout affects the look and function of the floor.
Measuring The Room
Measure the length and width of the room. Use a tape measure for accuracy. Write down the numbers for later use. Measure any closets or cutouts separately. Double-check measurements to avoid errors. Knowing the size helps to calculate how much wood you need.
Deciding The Pattern
Choose a pattern that fits your style and room shape. Common patterns include straight, diagonal, and herringbone. Straight patterns are easier to install. Diagonal patterns make small rooms look bigger. Herringbone adds a classic touch but needs skill. Pick a pattern before buying materials.
Marking Reference Lines
Mark reference lines on the subfloor to guide installation. Use a chalk line or pencil for clear marks. Start with a line along the longest wall. This helps keep the boards straight. Mark a second line to space the rows evenly. Reference lines keep the pattern consistent and neat.
Installing The Hardwood
Installing hardwood floors requires careful attention to detail. It is important to follow each step to ensure a smooth and long-lasting finish. Proper installation helps the floor stay strong and look great for years.
This section covers the key steps in laying hardwood boards. You will learn how to start the first row, secure the boards, and allow space for natural movement.
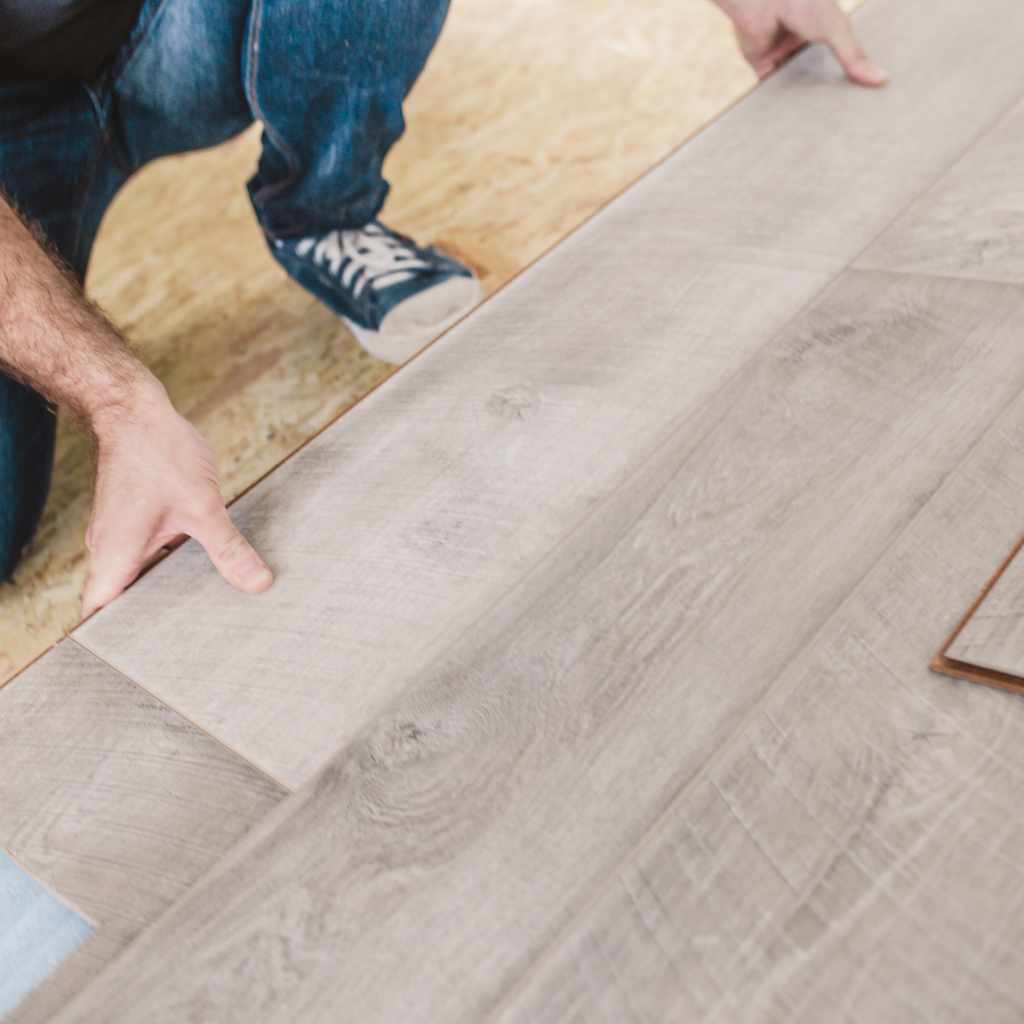
Laying The First Row
Begin by placing the first row of hardwood boards along the longest wall. Use spacers to keep a small gap from the wall. This gap lets the wood expand with changes in temperature and humidity.
Make sure the boards are straight and aligned. Check with a level or straight edge. A straight first row sets the foundation for the rest of the floor.
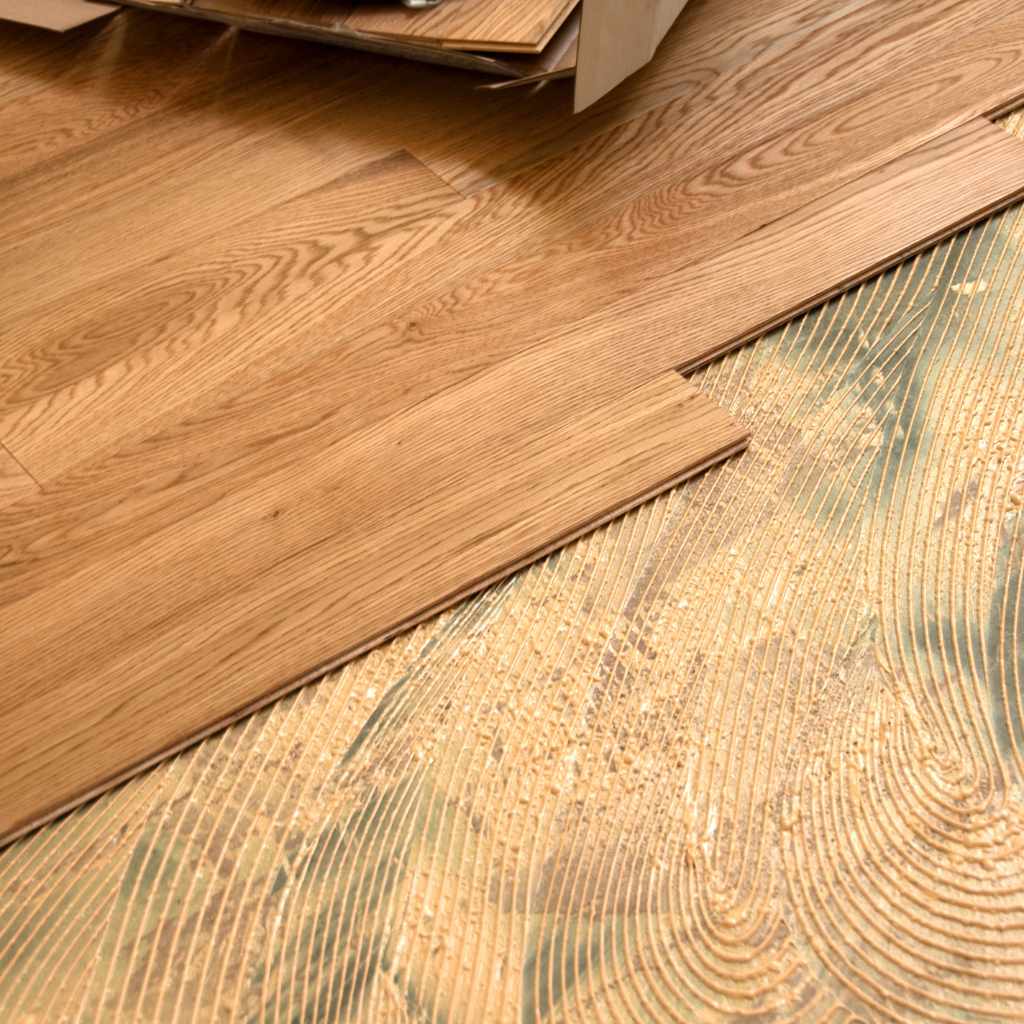
Nailing Or Gluing Boards
Secure the hardwood boards by nailing or gluing them to the subfloor. Nails provide strong support and allow some movement. Use a flooring nailer for best results.
Gluing is an option for engineered hardwood. Apply adhesive evenly to avoid gaps. Press boards firmly together for a tight fit.
Spacing And Expansion Gaps
Leave expansion gaps around all edges of the floor. These gaps prevent buckling when wood expands. Spacers help maintain consistent gaps during installation.
Cover the expansion gaps later with baseboards or moldings. Do not fill gaps with caulk or wood filler. Proper spacing is essential for hardwood floors to last.
Finishing Touches
Finishing touches make your hardwood floor look perfect and last longer. This stage polishes the surface and adds protection. It also hides gaps and rough edges. Follow these steps carefully to give your floor a clean, smooth, and beautiful finish.
Sanding And Buffing
Sanding removes rough spots and old finish from the wood. Use a floor sander with medium-grit sandpaper first. Then switch to fine-grit for a smooth surface. Buffing follows sanding to smooth the floor further. It opens the wood pores for better finish absorption. Always clean dust between sanding and buffing steps.
Applying Finish
Choose a finish that fits your floor use and style. Polyurethane is popular for its durability and shine. Apply the finish with a brush or roller in thin, even coats. Let each coat dry fully before adding the next. Usually, two to three coats create strong protection. Lightly sand between coats for a smooth feel.
Installing Trim And Molding
Trim and molding hide gaps between the floor and walls. They also add a polished look to the room. Measure and cut pieces to fit each wall side. Nail them carefully without damaging the floor. Use wood filler to cover nail holes. Paint or stain trim to match or contrast your floor color.
Maintenance Tips
Maintaining hardwood floors is key to keeping them beautiful and lasting long. Simple care routines protect your investment and keep floors looking fresh. Follow these maintenance tips to enjoy your hardwood floors for years.
Cleaning Best Practices
Use a soft broom or vacuum with a hardwood floor attachment. Avoid vacuums with beater bars that can scratch wood. Clean spills immediately with a dry or slightly damp cloth. Never use wet mops or steam cleaners on hardwood floors. Choose cleaners made for hardwood floors only. Regular cleaning stops dirt buildup and protects the finish.
Preventing Damage
Place felt pads under furniture legs to stop scratches. Avoid walking on floors with high heels or heavy boots. Use area rugs in high-traffic spots to reduce wear. Keep pet nails trimmed to prevent scratches. Do not drag heavy items across the floor. Protect floors from direct sunlight to avoid fading.
Long-term Care
Refinish floors every few years to restore their shine. Check and repair scratches and dents promptly. Maintain indoor humidity levels between 35% and 55% to prevent wood warping. Avoid placing plants directly on the floor to stop moisture damage. Regular care extends your floor’s life and keeps it looking new.
Frequently Asked Questions
How Do I Prepare The Subfloor For Hardwood Installation?
Prepare the subfloor by cleaning it thoroughly and ensuring it is dry and level. Remove old flooring and fix any uneven spots. Use a moisture barrier if needed. This ensures a stable base and prevents damage to your hardwood floor over time.
What Tools Are Essential For Laying Hardwood Floors?
Essential tools include a tape measure, chalk line, saw, hammer, nailer, spacers, and a pry bar. These tools help measure, cut, and secure the hardwood planks accurately for a smooth installation process.
How Much Space Should I Leave For Hardwood Expansion?
Leave a ¼ inch gap around the room’s perimeter for hardwood expansion. This space allows the wood to expand and contract with temperature changes, preventing buckling and damage over time.
Can I Install Hardwood Floors Over Concrete?
Yes, but use a moisture barrier and plywood underlayment over the concrete. This prevents moisture from damaging the hardwood and provides a stable, smooth surface for installation.
Conclusion
Starting to lay hardwood floors can feel tough but is very rewarding. Plan well and gather all tools before you begin. Take your time with each step and follow the instructions closely. Measure carefully to avoid mistakes and waste. Stay patient, and don’t rush the process.
With effort, your new floor will look great and last long. Enjoy the warmth and beauty hardwood floors bring to your home.