How to Successfully Replace One Plank of Hardwood Floor
Repairing a damaged hardwood floor can feel like a big job, especially if you’ve never done it before. Sometimes, a single plank gets scratched, cracked, or warped. Knowing How to Successfully Replace One Plank of Hardwood Floor makes this common problem much easier to fix.
You might worry about messing things up, but don’t. We’ll walk you through it step by step. Get ready to learn a simple way to make your floor look great again.
Preparing to Replace a Hardwood Floor Plank
Before you can swap out a damaged plank, getting ready is key. This step involves gathering your tools and understanding what you need. Proper preparation stops you from stopping halfway through the job.
It also helps make sure the new plank fits right in. Having everything handy means you can work efficiently. This makes the whole process less stressful.
Gathering Necessary Tools and Materials
To replace a plank, you’ll need a few specific items. First, a pry bar is essential for carefully lifting the old board. You’ll also need a hammer and a wood chisel.
A utility knife is helpful for cutting away old adhesive or finish. For the new plank, make sure it matches your existing floor in type, width, and thickness. You might also need wood glue and possibly some finish that matches your floor’s color.
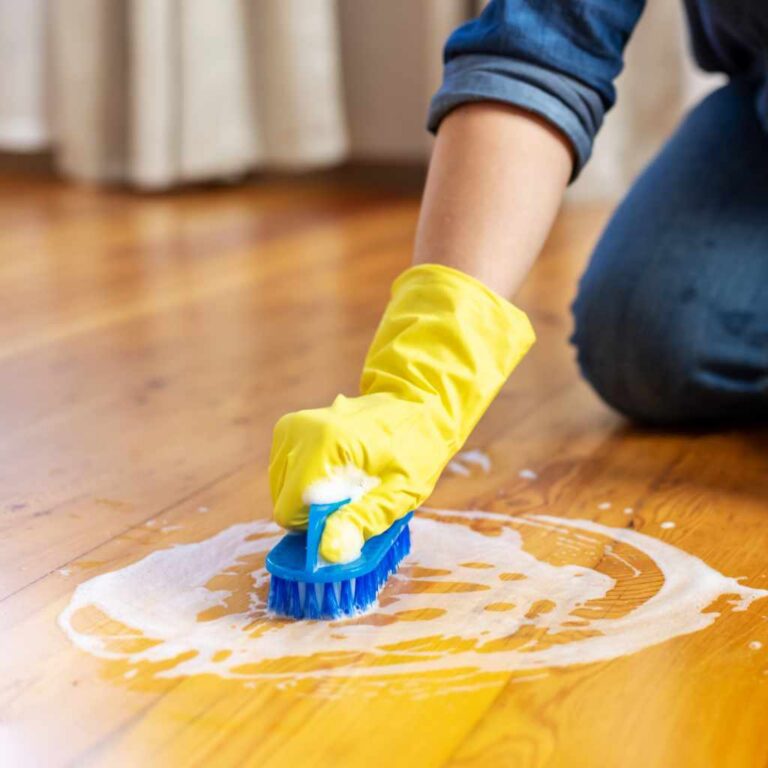
Safety glasses are a must to protect your eyes.
Pry Bar: This tool is used to gently lift and separate the damaged floorboard from its neighbors and the subfloor. It should have a flat head for leverage.
Hammer: A hammer is needed for tapping the chisel and for driving in any fasteners if your floor uses them.
Wood Chisel: A sharp chisel helps to carefully shave away wood or adhesive that might be holding the old plank in place. Use it with a hammer for controlled force.
Utility Knife: This is useful for scoring and cutting through any old sealant or adhesive that has bonded the plank to the subfloor. A sharp blade makes for cleaner cuts.
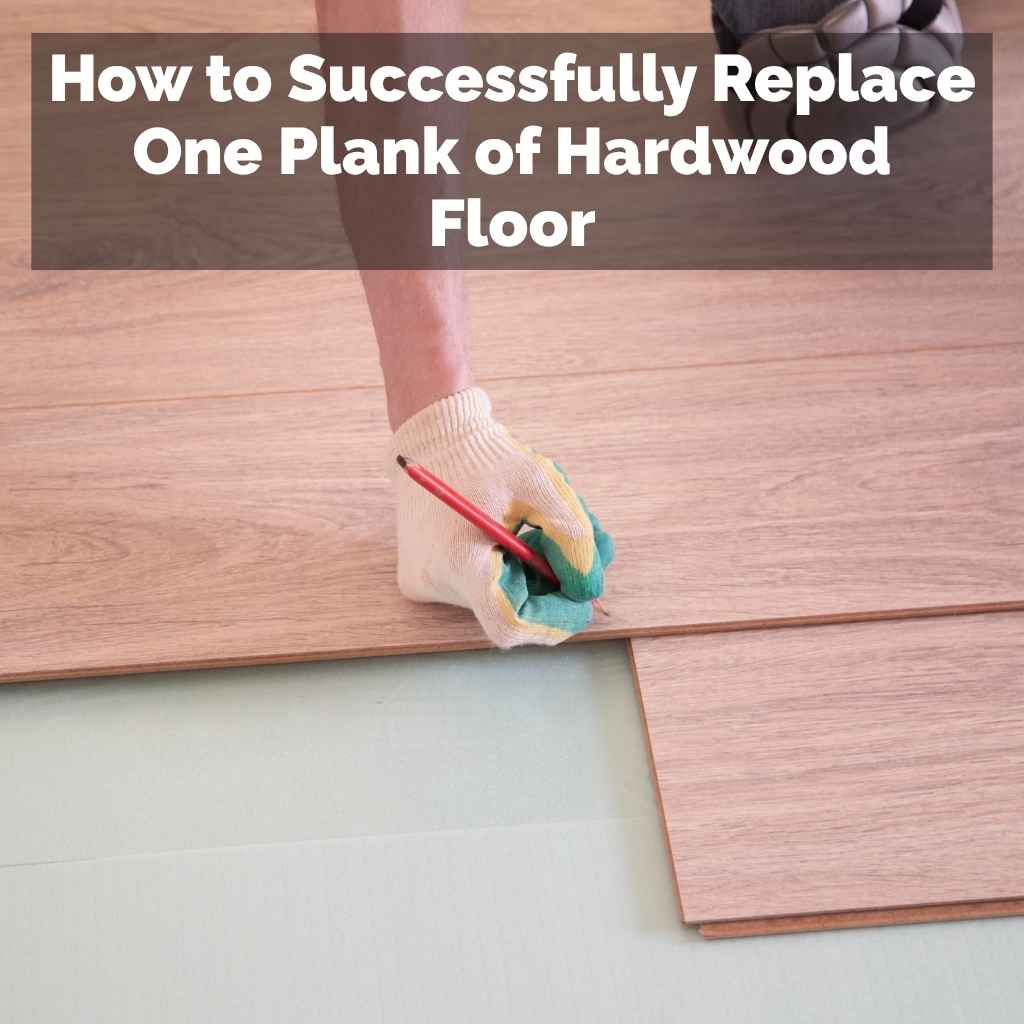
Measuring Tape: Accurate measurements are vital to ensure the replacement plank fits perfectly. Measure the damaged plank’s length, width, and thickness.
Safety Glasses: Always wear safety glasses when working with tools, especially when prying or chiseling wood. Small pieces can fly.
Replacement Plank: This must be an exact match to your existing floor. If you don’t have extras, try to find a matching product from the same manufacturer.
Wood Glue: This is used to secure the new plank to the subfloor, ensuring it doesn’t move. Use a good quality wood adhesive.
Matching Finish: If your floor is stained or coated, you’ll need a matching stain or finish to blend the new plank in.
Assessing the Damaged Plank and Its Surroundings
Take a close look at the plank you need to replace. Is it just a surface scratch, or is it deeply cracked or warped? The type of damage affects how you remove it.
Also, check the planks next to it. Are they loose or damaged? You want to avoid damaging the good planks.
Understanding how your floor is installed is also helpful. Is it glued down, nailed, or a floating floor? This information guides your removal method.
For instance, if your floor is glued down, you’ll likely need to use a chisel and potentially a solvent to break the adhesive bond. If it’s nailed, you’ll need to be careful not to damage the surrounding nails. Floating floors are often easier to work with as planks interlock.
Knowing these details means you can plan your attack. This avoids unnecessary damage and makes the repair smoother.

Removing the Damaged Hardwood Floor Plank
This is where you carefully take out the old piece. The goal is to get it out without harming the planks still in place. It takes patience.
You need to work slowly and deliberately. If you rush this part, you could end up with more repairs to do. We’ll cover how to do this for different types of installations.
Methods for Removing Glued-Down Planks
If your hardwood floor is glued down, removing a single plank needs a bit more effort. The adhesive creates a strong bond. You’ll likely need to score the edges of the plank with a utility knife to break any seal.
Then, use your chisel and hammer to carefully lift the plank. Start at one end and work your way along. Tap the chisel gently to avoid splitting the wood.
Sometimes, the adhesive is very tough. You might need to use a wood floor scraping tool or a solvent designed to soften old adhesives. Always test solvents in an inconspicuous area first to make sure they don’t damage the surrounding finish.
It’s a slow process, but being gentle is important. You want to create space for the new plank to fit in.
A real-life example: Sarah had a plank that was water-damaged and warped in her kitchen. It was glued down. She used a utility knife to cut along the edges.
Then, she carefully worked a thin putty knife under the plank. She gently wiggled it and tapped with a rubber mallet. She also used a small amount of adhesive remover.
It took her about an hour, but she got the plank out without damaging the planks next to it.
Techniques for Removing Nailed Planks
For floors where planks are nailed down, you’ll often see small nail holes along the edges. You’ll need to remove these nails first. You can use a nail puller or pliers.
Gently pry the nails up. Be careful not to tear the wood surface. Once the nails are out, you can use your pry bar to lift the plank.
Work from the end of the plank.
If the plank is very stubborn, you might need to cut it into smaller sections. This makes it easier to remove without damaging the subfloor or surrounding boards. Use a circular saw set to the depth of the plank, or a handsaw, to cut across the plank in a few places.
Then, you can remove the pieces with your pry bar and chisel. This is a bit more destructive but often necessary.
Consider this scenario: Mark had a plank damaged by a dropped heavy object. His floor was nailed. He first tried to pull the nails.
Some came out easily, but others were bent and stuck. He used a thin metal saw blade to cut the plank into three sections across its width. This allowed him to pry each section out.
He then carefully removed any remaining nail shanks from the subfloor.
Dealing with Floating Hardwood Floors
Floating floors are usually the easiest to repair. These floors don’t have nails or glue directly attaching them to the subfloor. Instead, the planks interlock with each other.
To remove a plank, you typically need to uncouple it from the planks surrounding it. This might involve carefully lifting the damaged plank and sliding it out. You might need a pry bar to gently create space.
If the damaged plank is in the middle of the floor, you might need to remove several planks from the edge of the room to access it. Work your way across the floor until you can lift the damaged plank free. Be sure to keep track of the order of the planks you remove.
This will help you reassemble the floor later. The interlocking system can be delicate, so gentle pressure is key.
Installing the New Hardwood Floor Plank
Once the old plank is out, it’s time to put in the new one. This part is about making sure the new plank sits snugly and securely. It needs to look like it was always meant to be there.
This involves cleaning the area and then fitting the new board.
Preparing the Subfloor for the New Plank
After removing the old plank, the subfloor needs to be clean and smooth. Scrape away any old glue, adhesive, or debris. Make sure the surface is level.
If there are any high spots or low spots, you might need to sand them down or fill them. A clean, flat subfloor ensures the new plank sits properly and doesn’t squeak.
Check the subfloor for any damage. If the subfloor itself is rotted or broken, you’ll need to repair that before installing the new plank. This is important for the long-term stability of your floor.
For glued-down floors, apply a thin, even layer of wood glue to the subfloor where the new plank will sit. For nailed floors, make sure the subfloor is ready to accept new nails.
Fitting and Securing the Replacement Plank
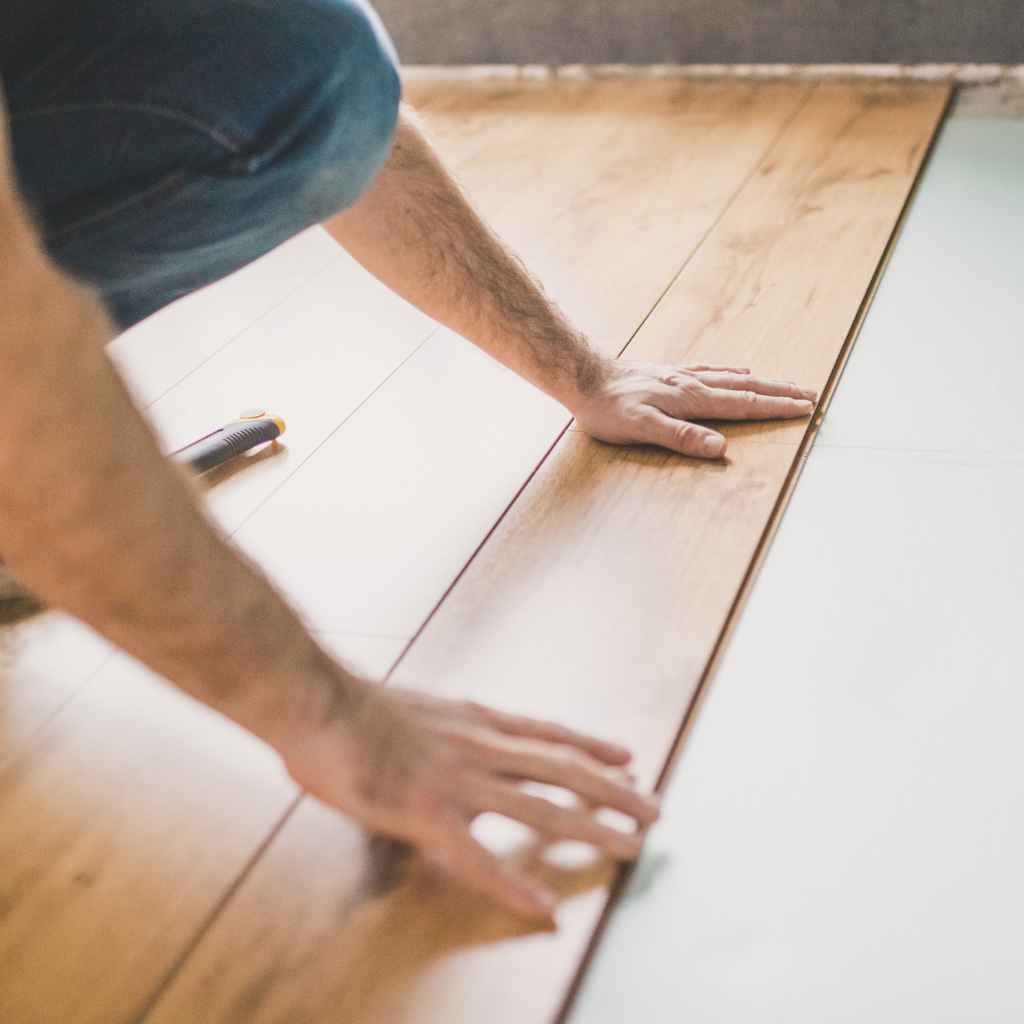
Carefully place the new plank into the space. If it’s a floating floor, engage the interlocking system. If it’s glued, press it down into the glue.
For nailed floors, you’ll need to nail it down. Pre-drilling pilot holes can prevent the wood from splitting, especially near the ends of the plank. Use nails that are the correct size and type for your flooring.
Once the plank is in place, secure it firmly. For glued floors, you might need to place weights on the plank while the glue dries. For nailed floors, drive the nails carefully.
Make sure the nail heads are slightly countersunk but not so deep that they break through the surface. If you’re not using a nail gun, a hammer and nail set can help with this.
A practical tip: Always dry-fit the new plank first. This means placing it in the gap without glue or nails to ensure it fits perfectly. If it’s too tight, you might need to shave a little off the edges.
If it’s too loose, it might indicate an issue with the subfloor or the surrounding planks.
Matching the Finish and Appearance
This is the final step to make the repair invisible. Once the new plank is secured, you’ll need to match the finish. If your floor has a stain, apply a matching stain to the new plank.
You might need to experiment on a scrap piece of wood to get the color right. Then, apply a protective finish, like polyurethane, to match the sheen of your existing floor.
Work carefully to avoid getting stain or finish on the surrounding planks. You can use painter’s tape to mask off the edges. Multiple thin coats of finish are usually better than one thick coat.
Allow each coat to dry completely before applying the next. The goal is for the new plank to blend seamlessly with the rest of the floor.
Consider this scenario: Maria replaced a plank in her living room. The original floor had a medium oak stain and a satin finish. She tested a few stains on a piece of scrap wood until she found one that was a close match.
After staining the new plank, she applied three coats of satin polyurethane. She carefully brushed it on, feathering the edges so the transition was smooth. The repair was nearly invisible.
Tips for a Successful Hardwood Floor Plank Replacement
Even with clear steps, a few extra tips can make your project go even smoother. These are little things that experienced DIYers know. They help prevent common mistakes and ensure a professional-looking result.
Think of these as shortcuts to success.
Working with Different Wood Species
Different types of hardwood react differently to tools and finishes. Oak is hard and dense, requiring sharp tools. Pine is softer and easier to dent.
Knowing your wood type helps you adjust your approach. For harder woods, you might need to pre-drill more often. For softer woods, be extra gentle to avoid damage.
For example, hickory is a very hard wood. When replacing a plank of hickory, you’ll want to ensure your saw blades are sharp and your chisel is honed. Using a hammer too forcefully can dent softer woods like pine or fir.
This is why understanding your wood species is important for the entire process, from removal to finishing.
Dealing with Stains and Finishes
Matching stain and finish can be the trickiest part. Most floors have a finish that’s been applied years ago. Manufacturers sometimes change their formulas.
You might need to use a universal stain or a custom blend. Always test your stain and finish on scrap wood that is the same type as your floor.
A common issue is sheen mismatch. A floor that looks matte might have a satin finish. Check how light reflects off your floor.
This will tell you if you need a matte, satin, semi-gloss, or high-gloss finish. If you’re unsure, a satin or semi-gloss finish is often a safe bet as they are common.
Statistics show that around 30% of DIY home repair projects involve flooring. Among these, plank
When to Call a Professional
While How to Successfully
One scenario where calling a pro makes sense is if the damaged plank is in a highly visible area, like the center of a room, and you want it to be absolutely flawless. Another is if you don’t have the right tools or the time. A professional flooring installer can complete the job quickly and efficiently, often saving you stress and potential mistakes.
A survey of homeowners found that 65% of those who attempted a significant DIY flooring repair ended up calling a professional to fix their mistakes. This highlights the importance of knowing when to tackle a project yourself and when to enlist expert help for better results.
Frequently Asked Questions
Question: How long does it take to replace one hardwood floor plank
Answer: It can take anywhere from 1 to 3 hours to replace a single hardwood floor plank, depending on the difficulty of removal, the type of floor, and your skill level.
Question: Can I use a different type of wood for the replacement plank
Answer: It is best to use an exact match in wood species, width, and thickness. Using a different wood can create an uneven appearance and feel.
Question: What if I can’t find an exact match for my plank
Answer: You can try to find a plank from the same manufacturer or a similar species. Sometimes, people use a slightly different plank and then stain and finish it to blend in as much as possible.
Question: How do I avoid damaging surrounding planks
Answer: Work slowly and use gentle, controlled force. Use thin tools like putty knives to lift. Protect surrounding planks with painter’s tape or cardboard.
Question: Do I need special tools to replace a hardwood floor plank
Answer: You will need basic tools like a pry bar, hammer, and chisel. A utility knife and possibly a saw might also be necessary depending on the situation.
Summary
Knowing How to Successfully Replace One Plank of Hardwood Floor brings confidence to DIY repairs. You learned to prepare, remove the old plank carefully, and install a new one. Matching the finish ensures the repair is nearly invisible.
With the right tools and patience, you can achieve great results. Don’t hesitate to try this yourself.