Safe Ways to Put Radiant Heat Under Hardwood Floors
Adding radiant heat under hardwood floors can make your home super cozy, but it might seem tricky at first. Lots of people wonder how to do it right without damaging their beautiful wood. It’s important to get this installation just right to enjoy warm floors for years.
This guide will walk you through the simple steps to make sure your radiant heat project is a success, from start to finish.
Choosing Your Radiant Heat System for Wood
Selecting the correct radiant heating system is the first big step for ensuring both comfort and longevity when installing under hardwood. Not all systems are created equal, and some are much better suited for the delicate nature of wood flooring than others. The primary concern is how the system generates and distributes heat.
Overheating or uneven heating can cause wood to warp, crack, or cup. Therefore, choosing a system that provides consistent, low-level heat is paramount. We will explore the different types of systems and what makes them compatible, or not, with hardwood.
Electric Radiant Heat Systems
Electric radiant heat is a popular choice for its ease of installation and precise temperature control. It typically uses heating cables or mats that are laid directly onto the subfloor or embedded in a thin-set mortar. The electricity flowing through the cables generates heat, which is then transferred to the floor above.
This method is very effective for warming up specific areas or an entire room.
Electric systems offer great zoning capabilities, meaning you can control the temperature in different rooms independently. This is excellent for energy efficiency, as you only heat the areas you are using. For hardwood floors, it’s vital to use systems designed for this application and to ensure the installer follows the manufacturer’s guidelines precisely.
Key features of electric radiant heat:
Precise Temperature Control
This allows for very specific temperature settings, preventing overheating of the hardwood. Smart thermostats can be integrated to further optimize comfort and energy savings. The ability to set a maximum temperature limit is crucial for hardwood protection.
Ease of Installation
Compared to hydronic systems, electric radiant heat is generally simpler to install. It doesn’t require a boiler or extensive plumbing, making it suitable for DIY projects or faster professional installations. The low-profile nature of mats and cables means minimal added height to the floor.
Zoning Capabilities
Each room or zone can have its own thermostat, allowing for customized heating schedules and temperatures. This flexibility means you can heat your living room extensively while keeping less-used areas at a lower temperature, saving energy.
Hydronic Radiant Heat Systems
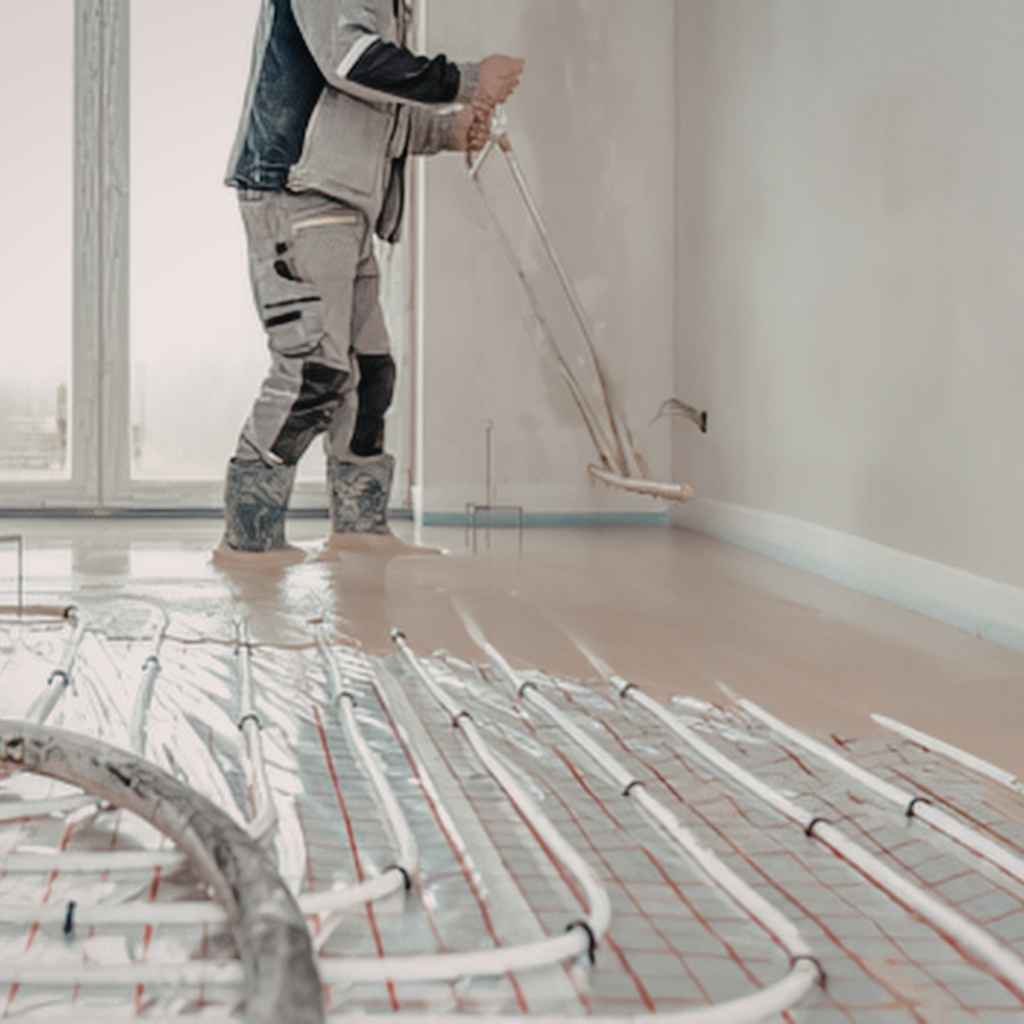
Hydronic radiant heat systems use hot water circulated through tubes embedded in the floor. These systems are typically more complex to install than electric ones, often requiring a boiler, pumps, and an intricate network of pipes. However, they can be very energy-efficient, especially in larger homes or when powered by renewable energy sources.
The gentle, even heat produced by hydronic systems is excellent for hardwood floors. The large volume of water acts as a heat reservoir, providing consistent warmth without rapid temperature fluctuations. Careful planning is needed to ensure the tubes are laid out evenly and at the correct spacing to avoid hot or cold spots under the wood.
Advantages of hydronic radiant heat:
Energy Efficiency
When paired with efficient boilers or heat pumps, hydronic systems can be more cost-effective to run than electric systems, especially for whole-house heating. The water’s capacity to hold heat helps maintain a stable temperature.
Comfort and Even Heat Distribution
The widespread distribution of heated water through the tubes creates a very uniform and comfortable warmth across the entire floor surface. This gentle heat feels very natural and pleasant.
Lower Operating Costs (Potentially)
Depending on the energy source and local utility rates, hydronic systems can have lower monthly operating expenses than electric systems. This is particularly true if using natural gas or propane for heating.
Common Challenges and Solutions
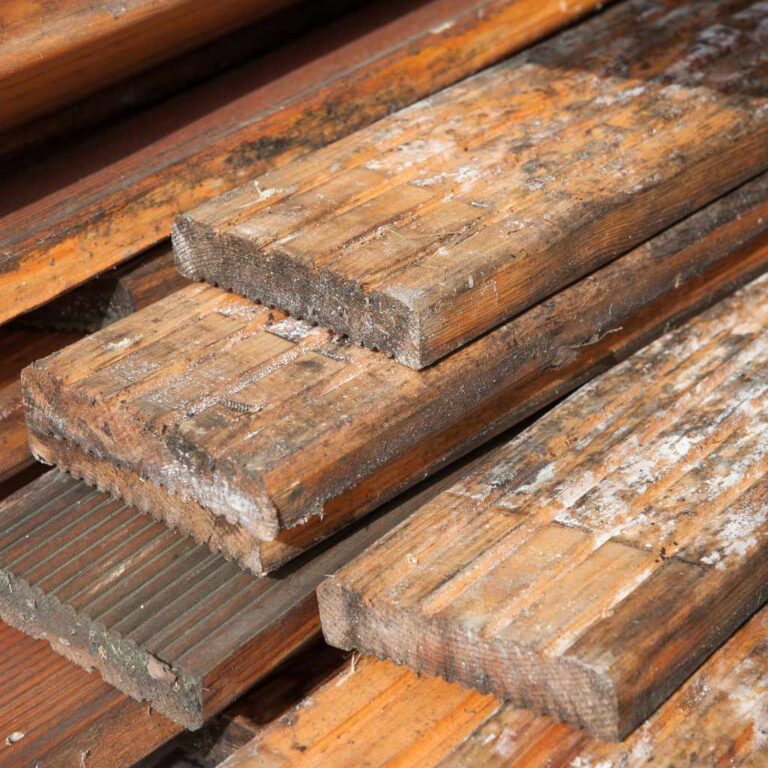
One of the main challenges with radiant heat under hardwood is preventing the wood from drying out or expanding too much. This is often due to improper installation or incorrect temperature settings. Wood is a natural material that reacts to changes in humidity and temperature.
If the heat is too high or fluctuates wildly, the wood can become brittle or swell. This can lead to gaps between planks or even buckling.
To avoid these issues, always use a radiant heat system that is specifically rated for use under wood floors. The system should also have precise temperature controls and ideally a thermostat with a built-in floor sensor. This sensor monitors the actual temperature of the floor surface, not just the air temperature, allowing for more accurate regulation.
Adhering strictly to the manufacturer’s maximum temperature limits for the wood species is also critical.
Solutions for common challenges:
Use a Floor Sensor Thermostat
This is perhaps the single most important tool for protecting your hardwood. A floor sensor prevents the system from overheating the wood by directly measuring its temperature. It allows the system to shut off before damaging levels are reached.
Respect Wood Species Limitations
Different wood species have varying tolerances to heat and moisture. Hardwoods like oak or maple are generally more stable than softer woods. Always check the radiant heat manufacturer’s guidelines and your hardwood flooring manufacturer’s recommendations for maximum allowable floor surface temperatures.
Install a Moisture Barrier
In some installations, especially over concrete slabs, a proper moisture barrier is essential. This protects the wood from ground moisture and can also help with heat distribution. Ensure it is compatible with your radiant heat system.
Safe Installation Practices for Radiant Heat Under Hardwood
When it comes to installing radiant heat under hardwood, safety and proper technique are not just recommendations; they are necessities. A poorly installed system can lead to costly damage to both the flooring and the heating system itself. This section details the critical steps and considerations to ensure a safe and effective installation process, laying the groundwork for years of warm, comfortable floors.
Subfloor Preparation
A clean, level, and stable subfloor is the foundation for any successful radiant heat installation under hardwood. Any imperfections on the subfloor can transfer through the heating system and the flooring, leading to uneven heating or even damage. The subfloor must be able to support the weight of the heating elements and the finished flooring without flexing or creaking.
Before laying any heating elements, inspect the subfloor thoroughly. Remove any old adhesives, nails, or debris. If the subfloor is uneven, it needs to be leveled using a self-leveling compound or by sanding down high spots.
For electric systems, especially those involving embedding cables in mortar, the subfloor needs to be robust and clean. For hydronic systems, the spacing and support for the tubing are crucial for even heat transfer.
Steps for subfloor preparation:
Cleanliness is Key
Remove all dust, dirt, old adhesive, and any loose particles. A vacuum cleaner with a brush attachment is ideal for this. Any debris left behind can cause bumps or hot spots.
Ensure Levelness
Use a long level to check for high and low spots. Minor imperfections can be fixed with a self-leveling underlayment. Major issues might require more extensive repair or subfloor replacement.
Structural Integrity
The subfloor should be rigid and securely fastened to the joists. Any squeaks or movement can be exacerbated by temperature changes and can lead to premature flooring failure.
Embedding the Heating Elements
How the heating elements are installed beneath the hardwood is critical. For electric systems, this often involves laying heating mats or cables. For hydronic systems, it means securing the PEX tubing.
The method used must ensure good thermal contact between the heating element and the flooring above, while also protecting the elements from damage.
Electric heating mats are typically laid directly on the subfloor, often secured with tape or a thin layer of adhesive. Heating cables might be attached to a mesh or laid in a serpentine pattern. Hydronic tubing is usually secured in channels, clips, or embedded in a thin-set mortar or a gypsum concrete overlay.
The choice depends on the specific system and the subfloor material.
Techniques for embedding elements:
Electric Cables and Mats
These are usually laid out with specific spacing to ensure even heat distribution. If using a thin-set mortar, the mats or cables are placed, and then a thin layer of modified thin-set is applied over them to create a smooth, continuous surface.
Hydronic Tubing Installation
PEX tubing is often installed using aluminum heat diffusion plates that sit between the joists or are laid on top of the subfloor. These plates help spread the heat evenly. Alternatively, tubing can be secured within grooved sleepers or directly embedded in a concrete pour or gypsum concrete underlayment.
Achieving Good Thermal Contact
Whatever the method, the goal is to maximize the contact between the heating element and the subfloor or overlay material. Air gaps are the enemy of efficient and even heat transfer. This is why using thin-set mortar or specialized underlayments is common.
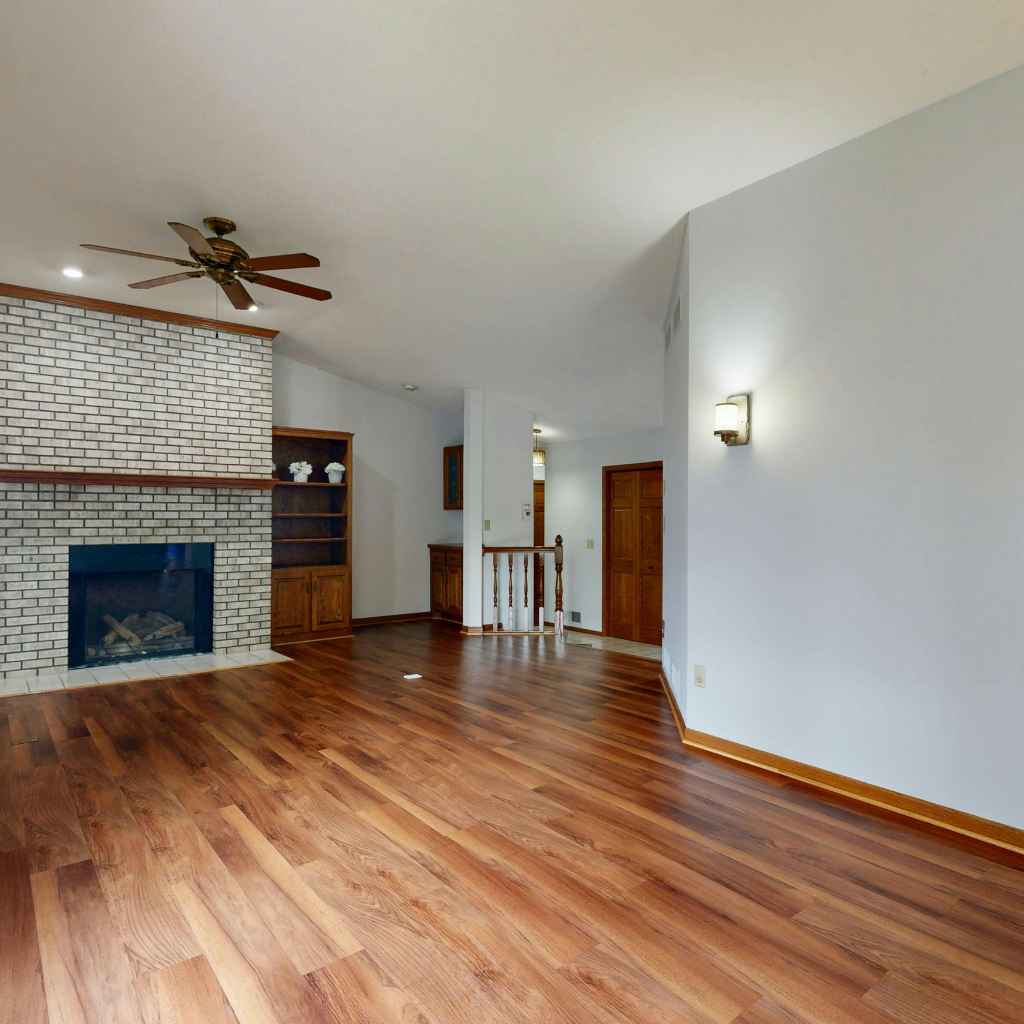
Installing the Hardwood Flooring
Once the radiant heating system is installed and tested, the hardwood flooring can be laid. The method of installation – whether it’s glue-down, nail-down, or floating – depends on the type of hardwood, the subfloor, and the radiant heating system. Some radiant systems work best with glue-down installations, as this provides excellent thermal transfer.
Others may allow for floating or nail-down methods.
It is crucial to follow the hardwood flooring manufacturer’s instructions regarding radiant heat compatibility. They will specify maximum allowable floor temperatures and recommended installation methods. Using the wrong adhesive or installation technique can lead to voids, poor heat transfer, or damage to the flooring itself due to the thermal expansion and contraction caused by the radiant heat.
Considerations for hardwood installation:
Glue-Down Installation
This is often the preferred method for radiant heat. A high-quality, flexible adhesive designed for radiant heat applications ensures maximum contact between the wood and the subfloor/heating system, promoting even heat distribution. It also helps manage the expansion and contraction of the wood.
Nail-Down or Staple-Down
Some radiant systems, particularly hydronic systems installed in joist bays with diffusion plates, may allow for nail-down or staple-down installation. However, it’s essential to ensure the fasteners do not penetrate the heating elements or tubing. The subfloor must be thick enough to support this.
Floating Floors
Floating hardwood floors are generally not recommended for radiant heat because they have an air gap between the flooring and the subfloor, which hinders efficient heat transfer. If a floating installation is necessary, special underlayments designed for radiant heat might be used, but compatibility must be confirmed.
Testing and Temperature Control
Thorough testing of the radiant heating system before and after flooring installation is a non-negotiable step. This ensures everything is working correctly and safely. The initial test is typically done after the heating elements are installed but before the flooring goes down, to check for any electrical shorts or leaks.
A second test is performed after the flooring is installed.
The most critical aspect of temperature control is setting and adhering to the maximum floor surface temperature limits recommended by both the radiant heat manufacturer and the hardwood flooring manufacturer. For most hardwoods, this limit is around 85°F (29°C) to 88°F (31°C). Exceeding this can cause significant damage to the wood.
Essential testing and control steps:
Initial System Test
After installation but before flooring, run the system at a low temperature for a few hours to check for any issues. For hydronic systems, pressure test the entire loop to ensure no leaks.
Post-Flooring Test
Once the hardwood is installed, allow any adhesives or finishes to cure fully (typically 24-72 hours). Then, gradually increase the heat to the target temperature. Monitor the floor temperature with an infrared thermometer or a floor sensor.
Gradual Heating and Cooling
Never turn the system on high immediately. Gradually increase the temperature over several days. Similarly, when shutting the system off, let it cool down slowly.
This helps the wood acclimate and reduces stress.
Thermostat Settings
Program your thermostat to maintain the desired temperature but always stay within the safe limits for your hardwood. Consider using a thermostat with a floor probe for optimal control.
Choosing the Right Hardwood for Radiant Heat
Not all hardwood floors are created equal when it comes to living with radiant heat. Some species and construction types are far more resilient and better suited to the fluctuating temperatures. Selecting the right wood can make the difference between a cozy, trouble-free floor and one that requires constant maintenance or repair.
This section will guide you through the characteristics of wood that make it ideal for radiant heating systems.
Wood Species and Stability
The stability of a wood species is its ability to resist changes in dimension (expansion and contraction) when exposed to changes in temperature and humidity. Denser, more stable hardwoods are generally better choices for radiant heat. Woods that have a higher Janka hardness rating are often more stable.
For example, Brazilian Cherry, Walnut, and Hickory are known for their hardness and stability.
Softer woods or those with a more open grain structure can be more susceptible to cupping or warping when subjected to the radiant heat’s warmth. While even the most stable woods will react to temperature changes, choosing a more forgiving species will significantly reduce the risk of damage. It’s also important to consider the grain pattern; straight-grained woods tend to be more stable than those with wild or irregular grain.
Stable wood species examples:
Oak (Red and White)
Oak is a classic choice for a reason. It’s hard, dense, and relatively stable, making it a good performer under radiant heat. Both red and white oak are popular and readily available.
Maple
Maple is another very hard and dense wood. Its fine grain structure contributes to its stability. While it can be slightly less forgiving than oak, it is still a strong contender.
Hickory
Known for its exceptional hardness and strength, hickory is very stable and can withstand temperature fluctuations well. It also offers a beautiful, natural grain variation.
Walnut
While not as hard as hickory or maple, walnut is very stable and has a lower expansion rate. Its rich color and grain make it an attractive option.
Engineered vs. Solid Hardwood
When considering hardwood for radiant heat, engineered hardwood often has an advantage over solid hardwood. Engineered wood consists of multiple layers of wood veneer or plywood glued together with a top layer of real hardwood. This cross-grain construction makes it much more stable and less prone to expanding and contracting with changes in temperature and humidity.
Solid hardwood, while beautiful and timeless, is more susceptible to moisture and temperature changes. It can expand and contract significantly, potentially leading to gaps or buckling when installed over radiant heat. If you choose solid hardwood, opt for wider planks, as they tend to show expansion and contraction more noticeably than narrower planks.
Comparison of Engineered and Solid Hardwood:
| Feature | Engineered Hardwood | Solid Hardwood |
|---|---|---|
| Stability | High; cross-grain construction resists expansion/contraction | Moderate to Low; prone to dimensional changes |
| Installation | Glue-down, staple-down, or floating; often compatible with radiant heat | Nail-down or glue-down; radiant heat compatibility needs careful consideration |
| Moisture/Temp Tolerance | Better | Less tolerant |
| Radiant Heat Suitability | Generally Excellent | Good, but requires more precautions and specific types |
Engineered hardwood is designed to be more dimensionally stable. The layers are oriented in different directions, which counteracts the natural tendency of wood to move. This inherent stability makes it an ideal choice for environments where temperature and humidity might fluctuate, such as rooms with radiant floor heating.
For solid hardwood, it’s recommended to choose narrower planks (e.g., 2.25 inches wide) as they are less likely to show significant gapping or cupping than wider planks when they expand or contract. Wider planks have more wood across their width, meaning more potential for movement.
Plank Width and Thickness
The width and thickness of hardwood planks also play a role in their performance with radiant heat. Thicker planks can sometimes act as an insulator, slowing down heat transfer. However, they can also be more structurally stable.
Narrower planks tend to be more forgiving with temperature and humidity fluctuations.
Plank width is a significant factor. Wider planks are more likely to cup or warp than narrower ones because they have more wood across their width to expand and contract. If you desire wide planks, engineered hardwood is almost always the superior choice for radiant heat applications.
The layered construction helps keep wide planks flat and stable.
Plank characteristics for radiant heat:
Narrower Planks
Generally, planks in the 2-inch to 3.25-inch range are considered safer for solid hardwood installations over radiant heat. Their smaller width means less material across the grain to expand or contract dramatically.
Thinner Profiles (Engineered)
For engineered hardwood, a thinner profile (e.g., 1/2 inch) is often preferable. Thinner planks allow heat to transfer more efficiently from the radiant system to the room. Ensure the wear layer is still substantial enough for durability.
Uniformity is Key
Regardless of width or thickness, uniformity in the planks is important. Warped or uneven planks will make installation difficult and can lead to uneven heating and potential failure.
Maintaining Your Radiant Heated Hardwood Floors
Once your radiant heated hardwood floors are installed, proper maintenance ensures they remain beautiful and functional for years to come. This involves regular cleaning, monitoring temperature settings, and understanding how to address any potential issues. Consistent care is key to enjoying the benefits of your investment without worry.
Routine Cleaning
Regular cleaning is essential for any hardwood floor, but with radiant heat, it’s important to use methods that don’t introduce excessive moisture. Dust and debris can also act as insulators, potentially reducing the efficiency of the heating system. Vacuuming with a soft brush attachment or sweeping with a microfiber dust mop are the best daily or weekly practices.
For occasional deeper cleaning, use a hardwood floor cleaner specifically designed for use with radiant heating systems. These cleaners are typically pH-neutral and low in moisture. Always follow the manufacturer’s recommendations for cleaning products and frequency.
Avoid steam mops, as the high moisture and heat can damage hardwood. Also, refrain from using oil-based soaps or polishes, which can leave a residue that hinders heat transfer.
Best cleaning practices:
Regular Dusting/Sweeping
Use a microfiber dust mop or a vacuum cleaner with a hard floor attachment to remove dust, dirt, and grit daily or several times a week. This prevents scratching and maintains the floor’s appearance.
Damp Mopping (Sparingly)
When cleaning is needed, use a damp (not wet) mop. Wring out the mop until it’s almost dry. Use a cleaner specifically formulated for hardwood floors and radiant heat systems.
Spot Cleaning
For spills, wipe them up immediately with a soft cloth. Do not let liquids sit on the hardwood, as they can cause staining or damage.
Temperature Monitoring and Adjustment
Consistent monitoring of the floor surface temperature is crucial for the longevity of your hardwood. As mentioned earlier, exceeding the maximum recommended temperature (typically 85-88°F) can cause irreparable damage. Use a reliable thermometer, such as an infrared thermometer, to periodically check the surface temperature in different areas of the room.
Adjusting the thermostat should always be done gradually. Avoid sudden large temperature swings. If you notice any signs of distress in the wood, such as gaps opening up between planks or visible cupping, reduce the temperature immediately and consult with a flooring professional.
Maintaining a stable, comfortable temperature is the best way to protect your investment.
Tips for temperature management:
Install a Floor Probe Thermostat
This is the best way to ensure your system never overheats the floor. The thermostat will directly read the floor temperature and regulate the heating system accordingly.
Gradual Changes
When adjusting the thermostat for seasonal changes, do so in small increments (e.g., 2-3 degrees per day). This allows the wood to acclimate slowly.
Periodic Checks
Even with a thermostat, it’s wise to check the floor temperature with an infrared thermometer every few months, especially during the first year of operation.
Protecting Your Floors from Damage
Beyond temperature and cleaning, other factors can affect the life of your radiant heated hardwood floors. Furniture placement, rug usage, and the introduction of pets or high-traffic areas all require consideration. Protective measures can prevent scratches, dents, and other damage.
Use felt pads on the legs of all furniture to prevent scratching. When placing large rugs, ensure they are made of natural fibers and have a breathable backing. Avoid rubber-backed mats, as they can trap moisture and heat, potentially damaging the wood.
For areas with high foot traffic, consider adding an extra layer of protective finish during refinishing.
Protecting against damage:
Furniture Protection
Always use felt protectors on furniture legs. For very heavy items, consider furniture coasters made of a non-damaging material.
Rug Considerations
Use breathable rugs made from wool, cotton, or jute. Avoid synthetic rugs with rubber or vinyl backings, which can trap moisture and heat, leading to discoloration or damage to the wood finish.
Pet Care
Keep pet nails trimmed to prevent scratches. Clean up any pet accidents immediately to avoid staining or moisture damage.
Frequently Asked Questions
Question: Can I install radiant heat under any hardwood floor
Answer: While many hardwoods can work, it’s best to use stable species like oak, maple, or hickory. Engineered hardwood is generally more suitable than solid hardwood due to its better dimensional stability.
Question: What is the maximum temperature for hardwood floors with radiant heat
Answer: Most manufacturers recommend a maximum floor surface temperature of 85°F to 88°F (29°C to 31°C) to prevent damage to the wood.
Question: Do I need a special thermostat for radiant heated hardwood floors
Answer: Yes, a thermostat with a floor sensor (probe) is highly recommended. It monitors the actual floor temperature, ensuring it stays within safe limits and prevents overheating.
Question: Can I use a steam mop on my radiant heated hardwood floors
Answer: No, steam mops are not recommended. The excessive heat and moisture can damage the hardwood, causing it to warp, cup, or delaminate.
Question: How soon can I turn on the radiant heat after installing hardwood
Answer: Wait at least 24-72 hours for any adhesives or finishes to cure fully. Then, gradually increase the heat over several days to allow the wood to acclimate slowly.
Wrap Up
Installing radiant heat under hardwood floors is achievable with careful planning and execution. Focus on selecting compatible wood types and engineered options for better stability. Always prioritize safe installation practices, proper subfloor prep, and correct embedding of heating elements.
Strict adherence to maximum temperature limits using a floor sensor thermostat is key. Enjoy your warm, comfortable, and beautiful hardwood floors for years to come.