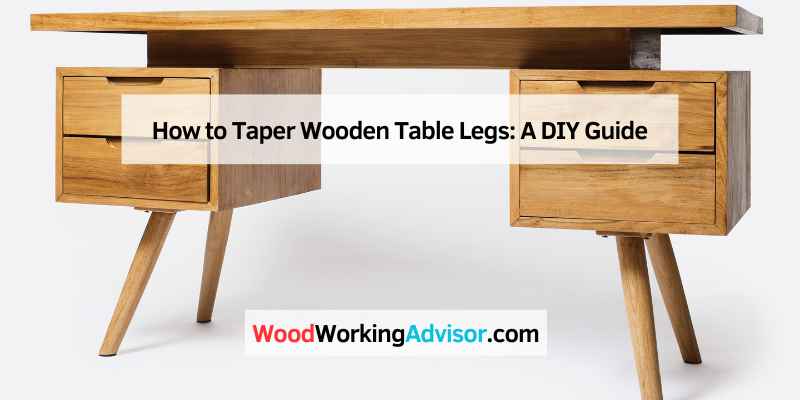
How to Taper Wooden Table Legs: A DIY Guide
To taper wooden table legs, use a saw to cut at a slight angle from the top to the bottom. Sand the edges to create a smooth finish.
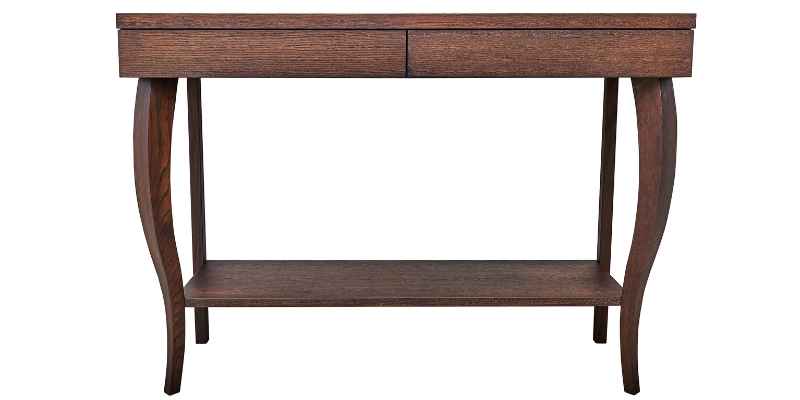
Tapering wooden table legs can elevate the aesthetics of your furniture. This technique adds a modern touch while maintaining stability. Whether you’re upcycling an old table or crafting a new one, tapered legs enhance visual appeal. Tools like a miter saw or a hand planer are essential for this project.
Precise measurements and careful cuts ensure a professional look. With some practice, you can achieve a stylish finish that complements any decor. This guide will help you through the necessary steps, ensuring your table legs are both functional and attractive. Get ready to transform your table with this simple DIY project!
Introduction To Tapering Table Legs
Tapering wooden table legs adds a stylish touch. It makes furniture look modern and elegant. Many people love the sleek lines that tapered legs create.
Choosing to taper table legs brings several benefits. First, it enhances the visual appeal of any piece. Second, tapered legs can make a table seem lighter and less bulky. This can free up space in a room.
DIY tapering is also a fun project. It allows for customization to match your decor. Personalizing furniture can give a sense of pride and accomplishment.
| Benefits of Tapering | Description |
|---|---|
| Improved Aesthetics | Gives a modern, elegant look to furniture. |
| Space Efficiency | Makes tables appear lighter and less bulky. |
| Customization | Allows personalization to fit your style. |
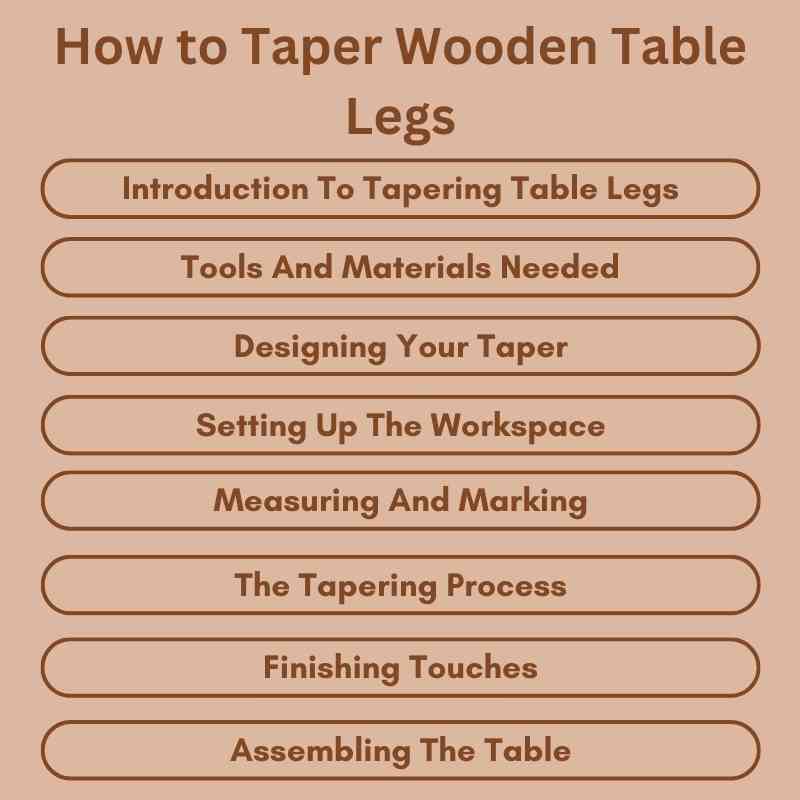
Tools And Materials Needed
Choosing the right wood is crucial for tapering table legs. Hardwoods like oak or maple work best. They offer strength and durability. Softwoods like pine are lighter but less sturdy.
Look for wood with a straight grain. This helps in making smooth cuts. Avoid wood with knots or cracks. These can weaken the legs.
Essential tapering tools include a tapering jig, a table saw, and a router. A tapering jig helps in making even cuts. A table saw provides straight and precise lines. A router adds a nice finish to the edges.
| Tool | Purpose |
|---|---|
| Tapering Jig | Ensures accurate tapering angles |
| Table Saw | For straight cuts and shaping |
| Router | For smoothing edges |
Designing Your Taper
Designing a taper for wooden table legs is fun and creative. Start by choosing the right dimensions. Consider the height and width of your table. A good taper often starts wide and narrows down.
Common tapers include 1 inch to 2 inches in width. This gives a nice look without losing strength. Make sure the taper is even on both sides. This creates visual harmony in your design.
Use a protractor to measure angles accurately. A 30-degree angle is a popular choice. It blends well with most styles. Always remember to test your design with cardboard before cutting wood.
Setting Up The Workspace
Start by cleaning your workspace. Remove any clutter that may cause accidents. Ensure proper lighting for better visibility.
Wear safety glasses and gloves for protection. This helps prevent injuries while working. Use a dust mask to avoid inhaling wood dust.
Secure the wooden leg firmly using a vise or clamps. This keeps the leg steady during tapering. Make sure it is at a comfortable height for you.
Check that the leg is straight before you begin. This ensures an even taper on all sides. Take your time for the best results.
Measuring And Marking
Measuring is the first step in tapering wooden table legs. Use a tape measure for accurate results. Measure the diameter of the leg at the top and bottom. Always measure from the same point to ensure consistency.
Marking is crucial for precision cuts. Use a pencil to draw lines where you will cut. A straight edge can help make these lines perfectly straight. Double-check your measurements before cutting.
Consider using a protractor for angled cuts. This tool helps maintain the correct angle throughout the taper. Mark the angles clearly to avoid mistakes during cutting.
The Tapering Process
Tapering wooden table legs can enhance their look. Start by choosing the right angle. Common angles for tapering are 5 to 15 degrees.
Use a miter saw for clean cuts. Mark your wood clearly before cutting. Always check measurements for accuracy. A jigsaw can also work for curves.
After cutting, the taper may need refining. Planing helps smooth the surface. Use a hand planer or electric planer for best results. Regularly check the taper’s angle as you work.
Finish with sanding for a smooth touch. Start with coarse sandpaper, then move to finer grits. This step ensures a polished, professional look.
Finishing Touches
Sanding is key for a smooth finish on wooden table legs. Start with coarse sandpaper to remove rough spots. Gradually move to finer sandpaper for a polished look. Always sand in the direction of the grain. This helps avoid scratches and makes the wood shine.
After sanding, sealing protects the wood from damage. Choose a good quality wood sealer. Apply it evenly with a brush or cloth. Let it dry completely before touching. A proper seal enhances the beauty of the wood.
Regular maintenance keeps your table legs looking great. Wipe them clean with a damp cloth. Avoid harsh chemicals that can harm the finish. Reseal the wood as needed to ensure long-lasting protection.
Assembling The Table
Start by carefully aligning the legs with the tabletop. Use wood glue on the leg ends for a strong bond. Secure the legs with screws to ensure stability. Check that each leg is at the same height.
For the final inspection, look for any wobbles or unevenness. Adjust the screws if necessary to fix any issues. Sand down rough edges for a smooth finish. This step enhances the overall look of your table.
After adjustments, apply a finish to protect the wood. Choose a stain or sealant that matches your decor. Allow it to dry completely before using the table.
Maintenance And Care
Wooden table legs need regular cleaning to stay beautiful. Use a soft cloth to wipe them. Avoid harsh chemicals that can damage the finish. Dust them weekly to prevent buildup. For spills, clean them quickly to avoid stains.
Long-term preservation is important for tapered legs. Apply furniture polish every few months. This keeps the wood shiny and protected. Store the table in a dry place to avoid moisture. Use coasters to prevent scratches and marks. Regular care helps the table last longer.
Troubleshooting Common Issues
Uneven legs can make a table wobble. To fix this, check each leg’s length. Use a level to find the high spots. Sand down the longer legs until they are even.
For taper imperfections, inspect the tapered areas closely. Use a fine-grit sandpaper to smooth out any rough spots. A sanding block can help achieve an even surface. Take your time to ensure a nice finish.
After sanding, wipe the legs with a damp cloth. This removes any dust and prepares for finishing. Apply a wood stain or sealant for protection and beauty.
Advanced Techniques And Variations
Experimenting with different taper styles can enhance your woodworking skills. Try using simple tapers for a classic look. Angular tapers add a modern touch to your projects. Consider curved tapers for a unique design. Each style brings a different feel to wooden legs.
Incorporating complex tapers requires practice and patience. Start with a template to guide your cuts. Use a router or a jigsaw for precision. Adjust the angle gradually to achieve the desired effect. A well-planned taper can transform ordinary legs into a stunning piece.
| Style | Description |
|---|---|
| Simple Taper | Classic and easy to create. |
| Angular Taper | Modern look with sharp angles. |
| Curved Taper | Soft and flowing design. |
| Complex Taper | Requires precision and skill. |
Conclusion: The Satisfaction Of DIY
Crafting wooden table legs can be very rewarding. Creating something with your hands brings joy. Each cut and shape shows your unique style. Watching your project take form is exciting.
Tapering adds a touch of elegance to your tables. It makes them look sleeker and more modern. This skill can be used for other furniture too.
Future projects can be fun and creative. Consider making shelves, chairs, or even decorative pieces. Each project helps improve your skills. Share your work with friends and family for more joy.
Frequently Asked Questions
How Do You Start Tapering Table Legs?
Begin by measuring the desired taper angle on your wooden table legs. Mark the taper line using a straight edge or a pencil. Ensure you have the right tools, like a miter saw or hand plane, for accurate cuts. Safety gear is essential, so wear goggles and gloves.
What Tools Are Needed For Tapering Legs?
Essential tools for tapering wooden table legs include a miter saw, hand plane, and measuring tape. A straight edge will help guide your cuts. You might also need a sander for finishing touches. Having clamps can stabilize your workpiece, ensuring a safer and more accurate process.
Can You Taper Legs Without Power Tools?
Yes, you can taper legs without power tools. Use a hand saw and a hand plane instead. Mark your taper clearly and take your time for precise cuts. Sanding will help smooth any rough edges. This method can be time-consuming but offers a great hands-on experience.
What Is The Best Angle For Tapering?
A common tapering angle is between 5 to 15 degrees. The best angle depends on your design preferences and stability needs. A steeper angle may look more modern, while a gentler slope offers classic aesthetics. Always test the angle on scrap wood before proceeding with the final piece.
Conclusion
Tapering wooden table legs can transform your furniture’s look and enhance its stability. With the right tools and techniques, you can achieve a professional finish at home. Embrace your creativity and enjoy the process. Your newly tapered table legs will impress guests and elevate your space with a stylish touch.