How to Use a Bandsaw: Setup, Safety & Cutting Guide
To use a bandsaw safely, set the upper blade guide about 1/4 inch above the workpiece, tension and track the blade before turning the machine on, then feed the wood at a steady pace while keeping your hands at least 4 inches from the blade at all times — using a push stick for anything closer.
That 4-inch rule is the one detail most bandsaw tutorials skip, and it is the single easiest way to keep both hands attached through years of woodworking. A bandsaw is genuinely one of the safer stationary power tools in a shop — the blade only moves in one direction and there’s no kickback the way there is with a table saw — but it still removes fingers when the guide is set wrong or a cut is rushed. Below is the full rundown: setup, blade selection, cutting technique, maintenance, and the safety habits that actually matter versus the ones that just sound good.
Bandsaw Setup and Safety Before You Cut
Best All-Around Replacement Blade
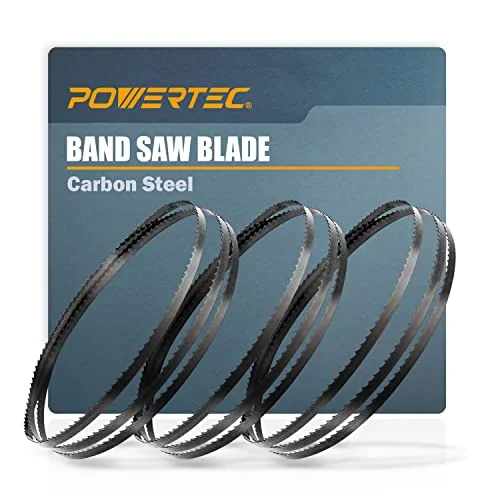 |
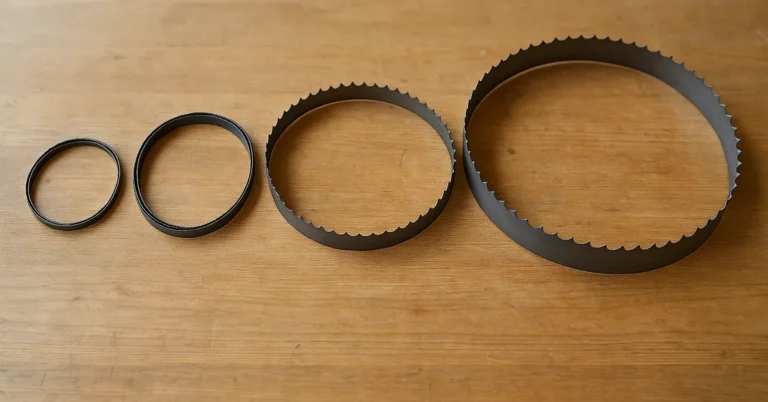
POWERTEC 93-1/2" Bandsaw Blade Assortment – $29.99 A dull or wrong-width blade is the #1 reason new bandsaw owners think the tool itself is inaccurate — this 3-pack covers resawing, general ripping, and tight curves out of one box.
|
Before the blade ever spins, three setup checks matter more than anything else in this guide. Get these right and most bandsaw accidents simply can’t happen; skip them and the tool becomes far more dangerous than its slow-looking blade suggests.
Set the Guide Height — Not Higher "For Visibility"
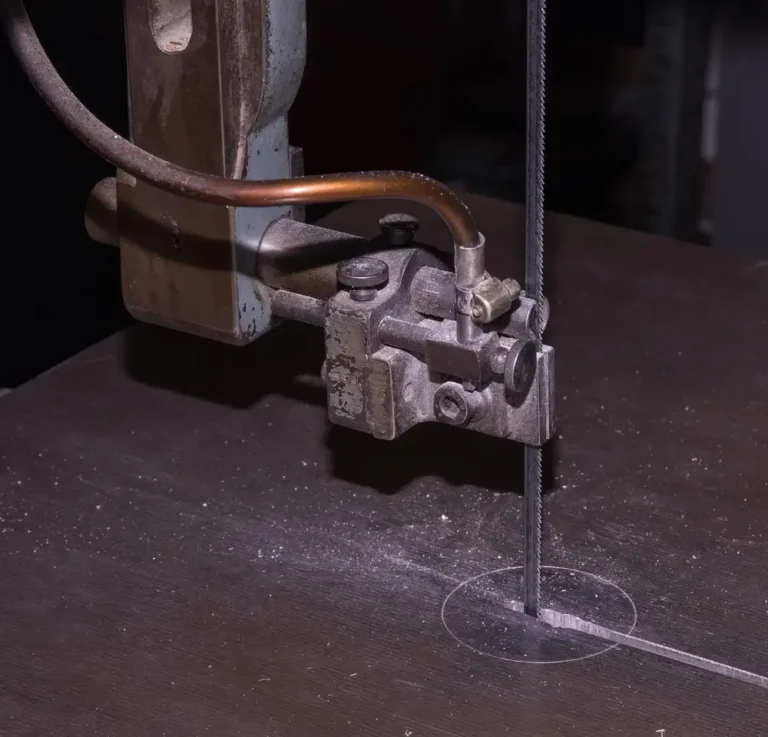
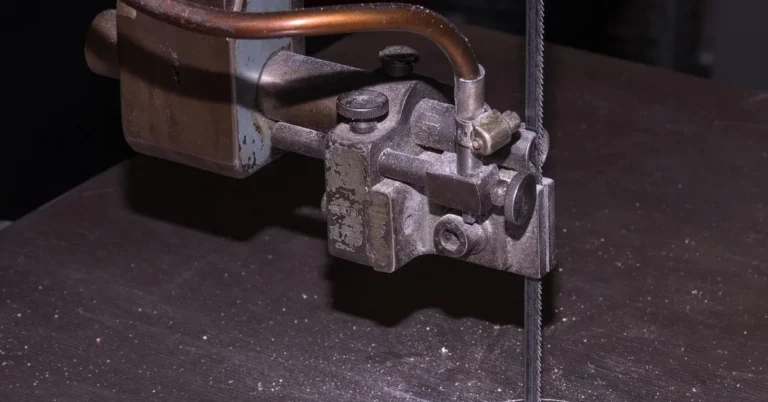
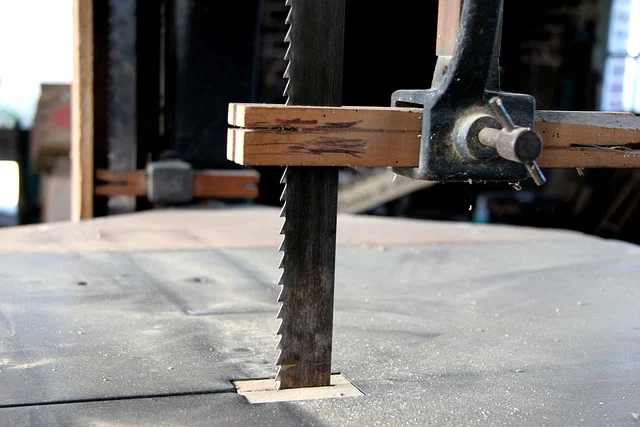
The upper blade guide and guard should sit no more than about 1/4 inch above the top of the workpiece. A lot of beginners raise it higher so they can see the cut line better, which feels helpful but exposes several extra inches of moving blade for no real benefit — the added visibility isn’t worth the added exposed blade. Lower the guide, then adjust it again every time the stock thickness changes.
The 4-Inch Rule
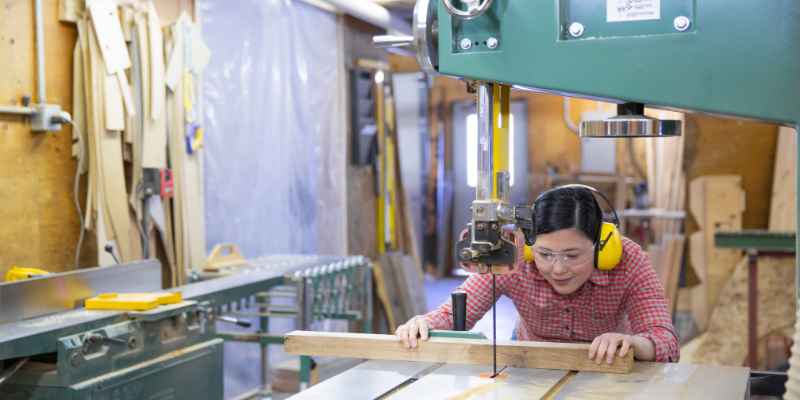
Keep your hands at least 4 inches from the blade at all times while cutting. When the cut would bring a hand closer than that — trimming a short offcut, finishing a resaw pass, cutting a small part — switch to a push stick or push block instead of finishing the cut by hand. This one habit, more than any single piece of safety gear, is what keeps bandsaw operators injury-free for decades.
Skip the Gloves
This corrects a genuinely common misconception: gloves are not standard bandsaw safety gear, and several safety authorities (CCOHS, university shop-safety programs) explicitly recommend against wearing them at the saw. A glove that snags on the blade or the workpiece pulls your whole hand toward the cut instead of letting you pull back — bare hands react and let go faster. Wear safety glasses and hearing protection instead; skip the gloves, and skip loose sleeves, rings, and anything else that can catch.
Once the safety basics are set, the next step is making sure you’re running the right saw and blade for the material in front of you.
Choosing the Right Bandsaw and Blade
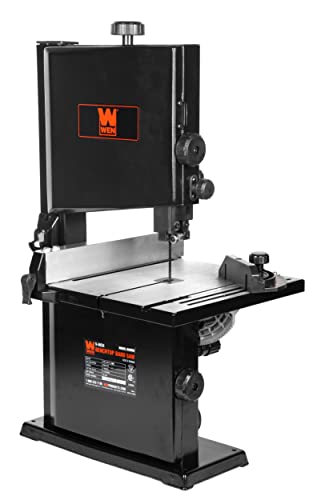
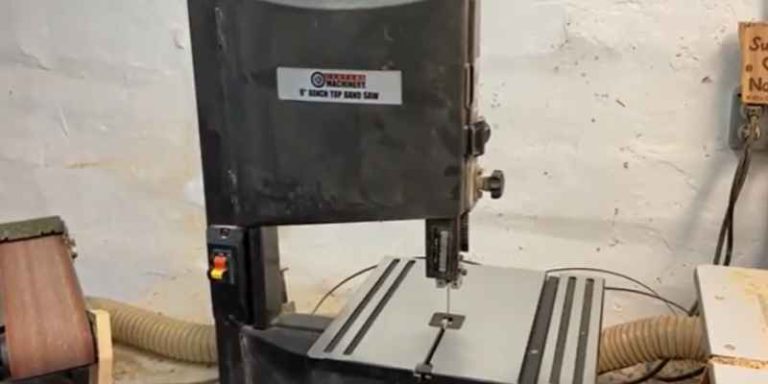
Bandsaws come in three broad categories: benchtop (light-duty, portable, fine for hobbyist curve and scroll work), floor-standing cast-iron models (the 14-inch class most home shops eventually land on), and industrial resaw saws (well beyond what most woodworkers need). For a first saw, a 14-inch cast-iron model is the sweet spot — enough resaw capacity for most furniture stock, and it can be upgraded with a riser block later if you need to cut taller material.
The blade matters as much as the saw. Width sets the tightest curve you can cut — a 1/8-inch blade will follow a roughly 3/16-inch radius, a 1/4-inch blade needs about a 5/8-inch radius, and anything wider is really a straight-line and resaw blade, not a curve-cutting one. Teeth per inch (TPI) controls the cut: fewer, coarser teeth (2-3 TPI) clear sawdust fast in thick resaw cuts, while more teeth (10+ TPI) leave a smoother edge in thin stock but clog faster in anything over an inch thick. Match the blade to the cut you’re making that day, not just the saw you own — this is why a 3-pack assortment covering multiple widths, like the one above, ends up cheaper than buying one blade at a time.
Setting Up and Tensioning the Blade
A new or partially-assembled bandsaw needs to be set up correctly before the first cut, and most of the “my bandsaw wanders” or “my bandsaw vibrates” complaints trace back to one of these steps being skipped.
Assembly: secure the base to a sturdy bench or stand, mount the wheels and confirm the pulleys are aligned, install the blade guard and tension spring, and make sure every fastener is actually tight before you tension a blade — a loose base is the most common cause of bandsaw vibration, not the blade itself.
Tensioning and tracking: release tension, slip the blade over both wheels with the teeth pointing down and toward the front of the table, then bring the tension up gradually while turning the top wheel by hand. Adjust the wheel tilt until the blade tracks in the middle of the tire — never track a blade with the motor running and the wheel covers open. Once it’s tracking straight, set the thrust bearings first (both upper and lower), then the side guides, using a slip of paper as a feeler gauge for clearance. Finish by squaring the table to the blade and making a test cut in scrap before touching a real project.
Choosing the wrong blade for resawing wood into thinner pieces is the most common reason a freshly-tensioned saw still cuts a curved, wandering line instead of straight through a resaw cut — if the setup above is correct and the cut still drifts, the blade itself is usually the next thing to check, using our guide to measuring a bandsaw blade for length and width before ordering a replacement. If you don’t own a bandsaw yet, our band saw comparison by resaw capacity and price can help you pick a model first.
Cutting Techniques: Straight Cuts, Resawing, and Curves
The bandsaw’s single continuous blade makes it the most versatile saw in most shops, but straight cuts, resawing, and curves each want a slightly different technique.
Straight Cuts and Resawing
For straight cuts, use the rip fence and feed at a steady, even pace — forcing the wood faster than the blade wants to cut is what causes barrel-shaped, bowed cuts on a resaw. Resawing (slicing a board into thinner sheets) works best with a wide blade, a low tooth count for chip clearance, and a featherboard or resaw fence to keep the stock tracking flat against the table the whole way through.
Curved Cuts and Patterns
For curves, switch to a narrower blade sized to your tightest radius (see the width chart above), and let the blade do the turning — twisting the workpiece faster than the blade can follow just snaps narrow blades. On tight, intricate patterns, cut a series of relief cuts into the waste side first so scrap falls away as you go instead of binding the blade mid-curve.
Advanced Bandsaw Techniques
Once straight cuts and curves feel routine, a few production techniques let a bandsaw do work that would otherwise need a specialty tool.
Creating Veneers and Inlays
- Resaw thin veneer sheets (as thin as 1/16 inch with a sharp, narrow blade and a slow feed rate) directly off a thicker board instead of buying pre-cut veneer.
- Glue veneers to a substrate with a roller or vacuum press for decorative panels and box lids.
- Cut custom inlay shapes by stacking the inlay material under the pattern and following the line in one pass.
Stack Cutting and Book-Matching
- Tape or tack several identical pattern pieces together and cut them all in one pass for matching parts — useful for anything you need four or more of, like chair spindles or toy parts.
- For book-matched veneers, resaw a single board into consecutive thin sheets and open them like a book so the grain mirrors across the seam.
Bandsaw Maintenance and Troubleshooting
A bandsaw that’s cleaned and adjusted regularly stays accurate for years; one that isn’t will start drifting, vibrating, or breaking blades long before the motor ever wears out.
Regular Cleaning and Lubrication
Clear sawdust from the wheel wells and lower cabinet after every session — packed dust behind the tires throws off tracking over time. Wipe the table and guide posts with a light coat of paste wax so stock slides instead of catching, and check the tire surface periodically for embedded debris or glazing.
Troubleshooting Common Issues
Most bandsaw problems trace back to one of four causes. Uneven or wandering cuts usually mean the blade tension is too low or the guides have drifted out of position — recheck both before blaming technique. Blade drift (the cut pulling to one side of the fence) is almost always a dull edge or uneven tooth set on one side of the blade, not a fence alignment problem. Blade breakage often comes from tensioning too aggressively for the blade’s width, or a stress crack that started at the weld seam. Excessive noise or vibration is worth checking against loose base fasteners and worn tires before assuming the motor bearings are failing.
Bandsaw Projects to Build Your Skills
Practicing on real projects builds bandsaw skill faster than practicing on scrap alone, since real projects force you to plan the cut order and grain direction.
Simple Projects for Beginners
- Wooden coasters: cut circular blanks from a squared block, then sand the edges round for a clean finish.
- Picture frames: cut mitered or curved frame pieces and glue them into a simple assembly.
- Bookends: cut interesting silhouette shapes from thicker stock, then sand and finish to match your decor.
Challenging Projects for Experienced Users
- Wooden jewelry box: resaw your own veneer panels and cut multiple internal compartments with tight-radius curves.
- Intarsia art: cut several species of wood to interlocking shapes and fit them together like a puzzle for a pictorial inlay.
- Curved furniture parts: bandsaw-cut curved chair rails or table legs from thick stock, then clean up the curve with a spokeshave or drum sander.
Bandsaw Safety Revisited
The habits from the top of this guide are worth repeating once the tool feels routine, because that’s exactly when most injuries happen — not on the first cut, but the hundredth, once the 4-inch rule has quietly stopped being a rule and started being a suggestion.
Personal Protective Equipment
Safety glasses are non-negotiable — wood chips and dust fly straight up off the blade. Hearing protection matters too; a bandsaw runs quieter than a table saw but still adds up over a full day in the shop. Skip gloves, rings, watches, and loose sleeves for the reasons covered above.
Habits That Prevent Most Accidents
- Keep the work area well-lit and clear of clutter and cut-off scraps that can catch a foot or block a clean retreat from the blade.
- Never remove the blade guard or adjust the guides while the saw is running — power off and wait for the blade to stop completely first.
- Use a push stick or push block for the last few inches of every cut, not just the ones that “look risky.”
Frequently Asked Questions
What Safety Precautions Should I Take When Using A Bandsaw?
Set the upper guide about 1/4 inch above the workpiece, wear safety glasses and hearing protection, and keep your hands at least 4 inches from the blade at all times — use a push stick for anything closer. Skip gloves, loose clothing, and jewelry, since they can catch on the blade or workpiece instead of letting go.
What Materials Can I Cut With A Bandsaw?
A bandsaw most commonly cuts wood, but with the right blade it also cuts plastic, non-ferrous metal, and even frozen meat in a kitchen setting. Match the blade’s tooth pitch to the material and thickness — a coarse wood blade will grab and chatter in metal, while a fine metal-cutting blade will clog almost instantly in wood.
How Do I Choose The Right Blade For My Bandsaw?
Start with the tightest curve radius you need to cut, then pick the widest blade that can still make that curve — roughly 1/8 inch for a 3/16-inch radius up to 1/4 inch for a 5/8-inch radius. For resawing or straight ripping, go wider (1/2 inch to 3/4 inch, saw permitting) with a coarser tooth count for faster chip clearance.
How Do I Maintain My Bandsaw For Optimal Performance?
Clear sawdust from the wheel wells after every session, wax the table and guide posts periodically so stock slides smoothly, and check blade tension and guide clearance before starting a new project. Inspect the blade for dullness, missing teeth, or a stress crack at the weld, and replace it at the first sign of any of the three rather than fighting a bad cut.
Conclusion
Most of what makes bandsaw use safe and accurate comes down to a handful of habits: guide height set close to the stock, blade tension and tracking checked before every session, the right blade width for the cut you’re actually making, and hands kept at least 4 inches from the blade at all times. Get those right and the bandsaw becomes one of the most forgiving, versatile tools in the shop.
Sponsored / affiliate links. As an Amazon Associate I earn from qualifying purchases. I may earn additional commission from eligible campaigns.