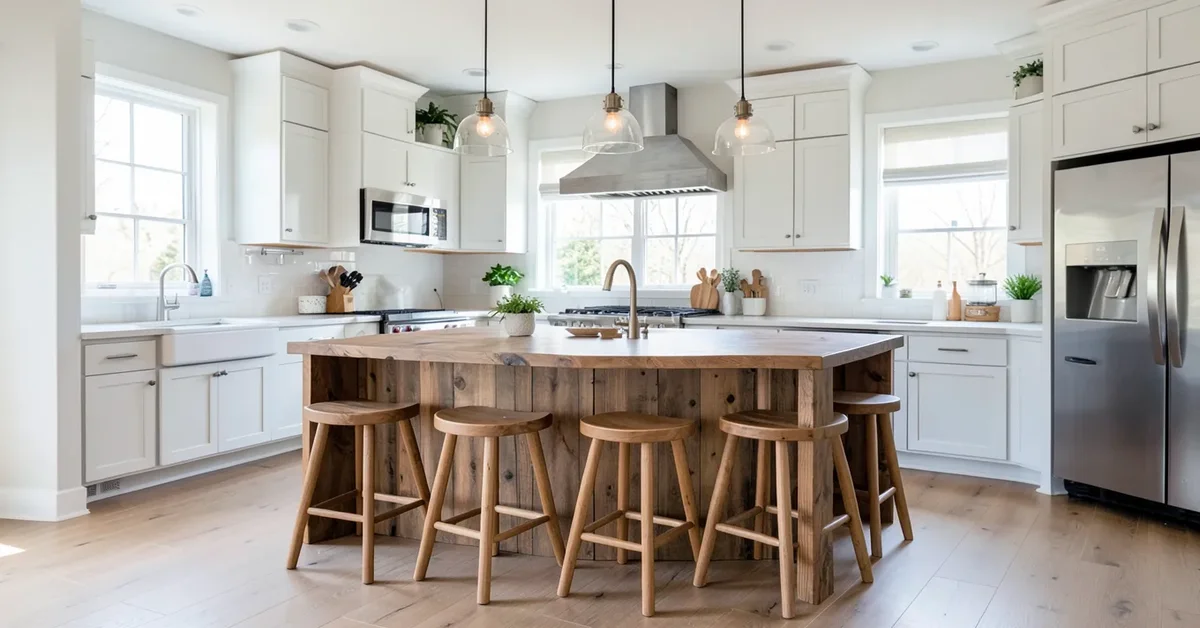
Stained Wood Kitchen Island With Legs: Design Ideas That Work
A stained wood kitchen island on real legs (rather than a boxed-in cabinet base) reads as furniture, not built-ins, which is exactly why it’s become the go-to look for both modern and farmhouse kitchens. Here’s how to actually choose the wood, the stain, and the leg style so the finished island looks intentional instead of mismatched.
Choosing the Right Wood
Best Conditioner For A Wood Island Top
 |
Howard Butcher Block Conditioner & Food-Grade Mineral Oil, 12 fl oz – $9.18 Food-safe mineral oil and beeswax blend that re-hydrates a wood island top and helps prevent the surface from drying and cracking.
|
Oak and maple are the two most common choices for a reason: both are hard enough to shrug off daily kitchen use, and both take stain predictably. Red oak has a pronounced, open grain that shows dramatically under a dark stain, while maple’s tighter, closed grain gives a smoother, more subtle look but can blotch if you skip a pre-stain conditioner. Walnut costs more but needs little stain at all since its natural chocolate-brown tone already reads as “finished.” Cherry is worth considering if you’re willing to wait: it darkens noticeably from sun exposure over its first year or two, so a cherry island actually looks better a year after installation than the day it’s built. Pine is the budget option, but it’s soft enough to dent from dropped pans, so it suits a more casual, lived-in look better than a showpiece island.
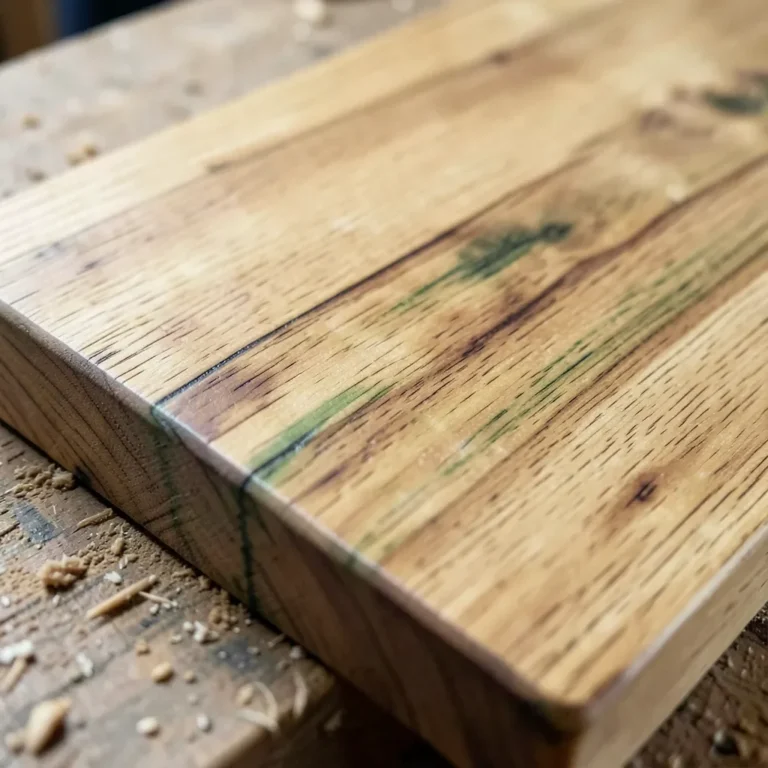
Grain pattern matters as much as species. A straight, tight grain (common in quarter-sawn oak or maple) reads as clean and modern. A more open, curly, or knotty grain adds visual texture that suits farmhouse and rustic styles, but it also means the stain will pool differently in the knots and open pores, so always test your exact stain on an offcut of the exact board you’re using, not just the same species.
Staining Techniques That Actually Hold Up
Natural vs. Dark Stains
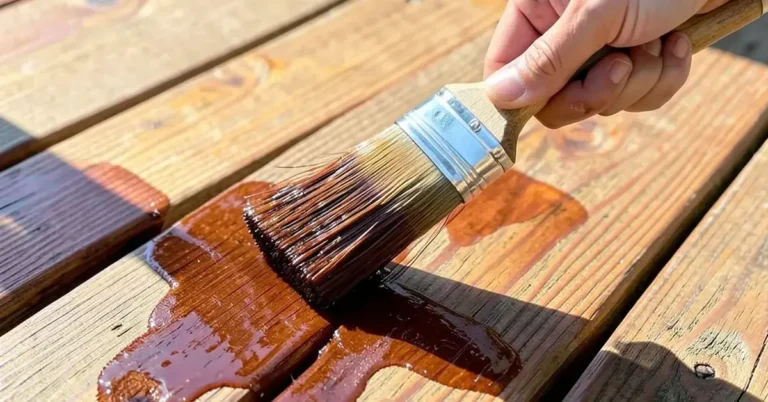
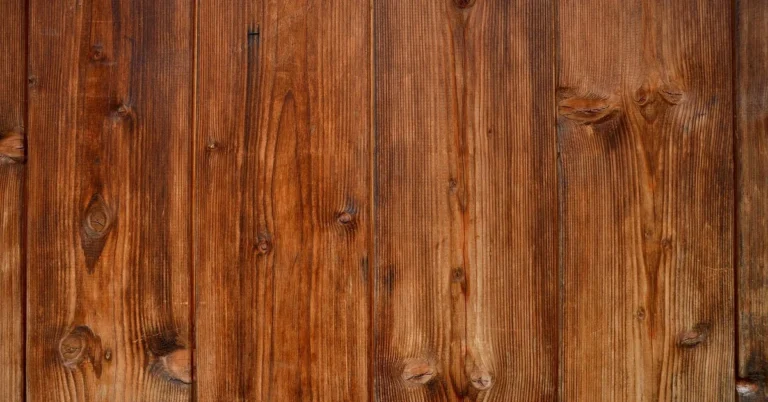
A natural or light stain lets the wood’s own color and grain do the work, which suits lighter species like maple or ash and reads as bright and casual. A dark stain hides more of the underlying grain but adds visual weight and contrast, especially against white cabinetry, which is part of why the dark-island-white-cabinets combination has stayed popular for so long. Neither is objectively better; it comes down to how much contrast you want between the island and the rest of the kitchen.
Getting a Weathered Look on Purpose
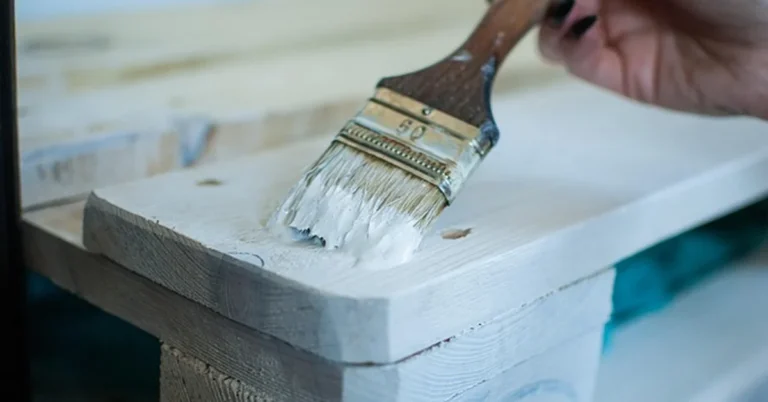
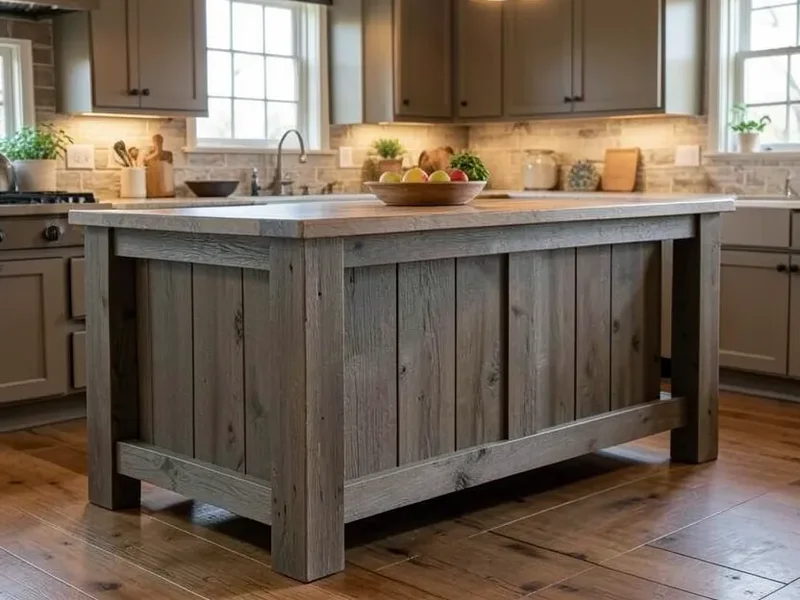
A convincing weathered finish is built in layers, not achieved with one gray stain straight from the can. Start by raising the grain slightly with a damp cloth and light sanding so the surface has some texture to hold pigment unevenly. Apply a base coat of a warm brown stain first, let it dry, then follow with a thinned gray glaze wiped unevenly, heavier in the corners and along edges where real weathering would concentrate. Dry-brushing a small amount of white or driftwood-gray paint over raised grain lines afterward adds the final aged look. This is the technique furniture makers use to avoid the flat, uniformly gray look of a single weathering stain applied straight.
Selecting Table Legs
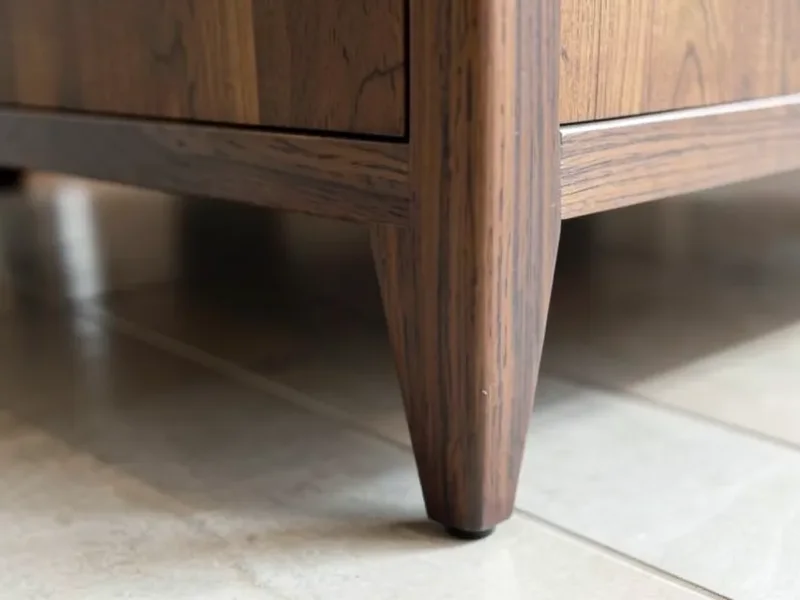
Leg material sets the whole tone. Solid wood legs stain to match or intentionally contrast the island top and feel the warmest. Metal legs (usually black or brushed steel hairpin or square-tube styles) read as modern-farmhouse and hold up to kicks and rolling stools better than a delicate wood profile. Tapered legs, wider at the top and narrower at the floor, are the current go-to for a reason: the taper visually lightens a large island so it doesn’t dominate the room the way a boxy, straight-legged base can.
One practical point most inspiration articles skip: leg thickness needs to match the island’s actual size and weight, not just the style you like. A large island with a heavy stone or butcher-block top needs a leg at least 3 to 4 inches square (or a substantial turned profile) to avoid looking spindly and, more importantly, to actually support the load without racking over time. A small prep island can carry a slimmer, more delicate leg without looking out of proportion.
Building In Real Functionality
An island on legs still has room for storage if you plan for it: open shelving between the legs works for cookbooks and cutting boards, while a run of drawers or a small cabinet section can be built into the base without covering every leg. A built-in wine rack or a towel bar mounted to a leg adds function without extra bulk. Beyond storage, a leg-based island with an overhang on one side is what actually lets you tuck stools underneath for seating, something a fully enclosed cabinet base can’t do without a separate overhang built in anyway.
Seating and Lighting That Complete the Look
Stool height needs to match counter height, not just look right in a photo: standard counter-height islands (36 inches) need 24-26 inch stools, while bar-height islands (42 inches) need 28-30 inch stools. Wooden stools echo a stained wood island most naturally, while metal stools add contrast without competing with the wood grain. Pendant lighting over the island isn’t just decorative; it’s task lighting for the actual workspace, so hang fixtures 30-36 inches above the island surface, and choose a warm color temperature (2700K-3000K) to avoid a cold, clinical look against warm wood tones.
Maintaining a Stained Wood Island
Wipe spills immediately, especially anything acidic like citrus or wine, since standing liquid is what actually causes dark stain rings on a wood surface, not brief contact. Use soap and water for regular cleaning; skip ammonia-based or abrasive cleaners, which can dull or strip a finish over time. Always use trivets under hot pans and cutting boards or placemats under dishes to prevent both heat marks and scratches.
Two Design Directions to Steal
For a modern look: a smooth, tightly-grained wood top in a mid-tone stain, paired with slim black metal tapered legs and simple hardware, works in kitchens of almost any size because the palette stays neutral and the profile stays visually light. For a rustic or farmhouse look: thicker, square wood legs, a more open-grained wood with visible character marks, and a warmer or weathered stain create the sense of an heirloom piece rather than a manufactured one. Both directions work; the mistake is mixing the two without intention, like pairing a delicate tapered leg with a heavily distressed, farmhouse-style top.
Frequently Asked Questions
How do you choose the right wood stain for a kitchen island?
Match the stain’s undertone to your cabinetry and floor rather than choosing it in isolation. Dark stains add contrast and read as modern; lighter or natural stains feel more casual and rustic. Always test the exact stain on an offcut of the exact wood you’re using, since grain and species change how a stain color actually looks.
What are the benefits of a stained wood kitchen island?
A stain highlights the wood’s natural grain while a topcoat adds real wear resistance, so a stained island balances appearance and durability better than either an unfinished or fully painted surface. It also gives the island warmth that reads as furniture rather than a built-in cabinet.
How do you maintain a stained wood kitchen island?
Clean with a soft, damp cloth and mild soap, avoid ammonia-based or abrasive cleaners, wipe spills immediately, and use trivets and placemats to prevent heat and scratch damage. A finished (stained and sealed) top needs occasional reapplication of a compatible finish; a bare or oiled wood top needs a food-safe conditioner every few months instead.
Can a stained wood kitchen island fit a modern kitchen design?
Yes. Pair a smooth, tightly-grained wood top with a mid-tone or dark stain and slim metal tapered legs, and keep hardware and surrounding materials simple. The contrast between warm wood and cool metal or stone is a defining feature of the modern-farmhouse look, not a mismatch.
Bottom Line
A stained wood kitchen island on real legs works because the leg style, stain depth, and wood species all send the same design signal, whether that’s a light, tapered, modern look or a thick-legged, weathered, farmhouse one. Pick your direction first, then choose wood species, stain, and leg material to support it, rather than choosing each piece separately and hoping they match.
Sponsored / affiliate links. As an Amazon Associate I earn from qualifying purchases. I may earn additional commission from eligible campaigns.