Natural Wood Slices for Ornaments: How to Dry and Prep Them
Dry wood slices before you decorate them. If the slice still holds moisture, it can crack, cup, shed bark, or push moisture into paint and glue later. Aim for roughly 10% to 12% moisture content for indoor craft use, then sand, clean, and finish only after the slice stays flat and dry.
Wood slices work well for rustic ornaments because the flat face gives you a clear surface for paint, decals, or burning, and the narrow profile keeps the ornament light. Birch and cedar are common choices. Typical ornament blanks are about 3/8 inch to 1/2 inch thick, and they are commonly sold pre-drilled or can be drilled for a hanging hole after prep.
Drying pitfalls and prepping store-bought or cut slices



Cut-your-own slices need the most caution. Uneven drying causes most problems: one side dries faster, the face cups, the end grain checks, and bark can loosen. Craft-store circles may already be dried and ready to craft, but they still deserve a quick inspection for rough edges, loose bark, or a stubborn damp smell.
What you’ll need
- Wood slices, ideally sorted by thickness and species
- Sandpaper in medium and fine grits
- Soft brush or cloth for dust removal
- Drill and bit for a hanging hole, if the slice is not pre-drilled
- Acrylic paint for color coverage
- Wood burner or decal supplies, if you plan to decorate that way
- Mod Podge or Polycrylic for sealing
- Jute string or ribbon for hanging
- Optional wood beads or bows for hanger detail
- Heat gloves, eye protection, and ventilation for oven drying
Which drying method should you use?
Choose air drying when you can wait and want the lowest crack risk. Choose oven drying only when you need speed and can watch the slice closely. Choose denatured alcohol when you want a faster shortcut on slices that are already cut to manageable size and you can work safely with fumes and a sealed soak container.
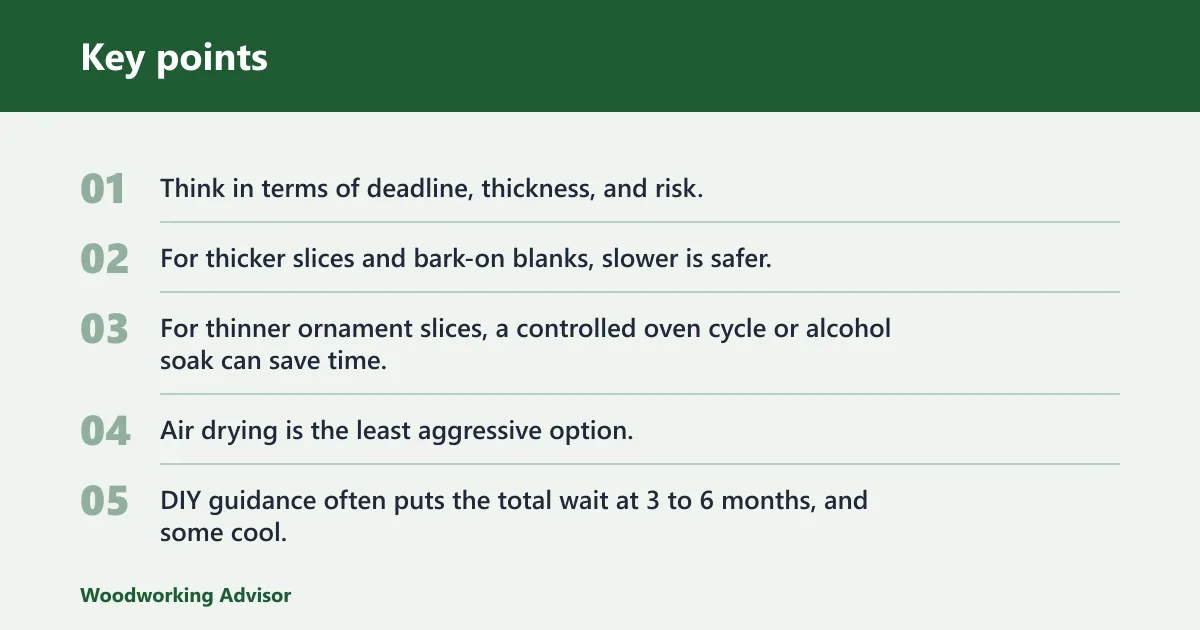
Think in terms of deadline, thickness, and risk. For thicker slices and bark-on blanks, slower is safer. For thinner ornament slices, a controlled oven cycle or alcohol soak can save time, but both increase the chance of checking or warping compared with patient air drying.
Air dry for the safest result
Air drying is the least aggressive option, and it is the best choice when you are making several ornaments at once and can wait. DIY guidance often puts the total wait at 3 to 6 months, and some cool, dry-room drying methods take many months. Use spacers, keep the slices out of direct sun, and flip them periodically so both faces lose moisture at a similar rate.
Use the oven only when speed matters
Oven drying is faster, but it carries higher crack risk. A low setting around 200°F is the typical target, and one commonly cited slice method uses 45 minutes per side before flipping. Keep the slices in a single layer, monitor closely, and stop if edges begin to darken, split, or curl hard enough to lift the center.
Use denatured alcohol for a faster shortcut
The alcohol method is a shortcut, not a cure for badly warped wood. Soak the slices in denatured alcohol for about 24 hours, then let them dry for another 24 hours in a ventilated area. Denatured alcohol is toxic and flammable, so keep it away from flame, sparks, and poor ventilation. Use a sealed container and avoid skin contact.
How do you dry wood slices fast?
Dry them with the quickest method that still fits the slice thickness and your crack tolerance. For the lowest risk, air-dry with spacing. For a faster result, use the oven at about 200°F with a timed flip. For a true shortcut, use denatured alcohol for about 24 hours, then dry for another 24 hours.
Suppose you have a 1/2 inch birch slice and need it by the weekend. Oven drying is the more realistic fast option, but it is also the more crack-prone one. Suppose the slice already shows bark lift or a shallow end-grain check. In that case, air drying is safer, because faster heat can widen that defect.
- Sort the slices by thickness and discard any with active splits or heavy cup.
- For air drying, stack with spacers and keep airflow around every face.
- For oven drying, set the oven to about 200°F and place slices in one layer.
- Heat for 45 minutes, then flip each slice and heat the other side for 45 minutes.
- For denatured alcohol, soak for about 24 hours, then remove and dry for another 24 hours.
- Recheck flatness, bark attachment, and surface dryness before you decorate.
- If the slice still bends or smells wet, give it more time instead of forcing the finish.
How should you prep the slice before decorating?
Prep comes before paint, decals, burning, and sealer. Sand the faces and edges first, remove all dust, then drill the hanger hole if the blank is not pre-drilled. After that, inspect for bark lift, cup, and end-grain checks. If the slice is not stable yet, stop and let it dry longer.
A common first-timer mistake is drilling too close to the edge of an irregular slice. Keep the hole far enough from the outer rim that the wood around it will not split, especially on thin blanks. Pre-drilled slices are the better option when the blank is small, the bark is loose, or you want to avoid chip-out around the hole.
- Sand the face with a medium grit, then finish with a finer grit.
- Lightly ease the outer edge so the ornament feels smooth in hand.
- Brush or wipe away dust from both faces and the drilled hole.
- Mark the hanger hole near the top, but not so close that the edge can split.
- Drill slowly and back the slice with scrap wood if the blank is thin or irregular.
- Check for bark lift, end-grain cracks, and cupping before you start decorating.
What should you use to decorate and seal them?
Acrylic paint is the most practical paint choice for wood slice ornaments, and it often needs multiple thin coats for solid coverage. Add wood burning or decals after prep and before sealing. Once the decoration is fully dry, seal with Mod Podge or Polycrylic to help protect the surface and keep decals from lifting.
After sealing, finish the hanger with jute string or ribbon. Wood beads or a small bow are optional extras that work well with rustic slices. Keep the hanger assembly separate from wet paint and uncured sealer so the top hole does not clog or tear.
- Apply acrylic paint in thin coats and let each coat dry before the next.
- Burn or apply decals only after sanding and dust removal are complete.
- Seal the decorated face and edges with Mod Podge or Polycrylic.
- Let the sealer cure before tying in jute string or ribbon.
- Add beads or a bow only after the finish is dry to the touch and fully set.
Ornament-ready wood slice checklist

Use this checklist before you paint or seal. If any moisture or movement test fails, wait longer, dry again, or remove the slice from the project before you keep decorating it.
| Slice thickness | Drying method | Estimated wait time | Warning signs | Readiness tests | Moisture | Cupping | Surface dryness | Crack risk |
|---|---|---|---|---|---|---|---|---|
| 3/8 inch | Air dry | Several weeks to 3 to 6 months | Cool, damp smell; bark lift; edge checks | Weight no longer changes, stays flat, moisture meter near 10% to 12% | Pass if moisture is roughly 10% to 12%. | Pass if flat on a table | Pass if both faces feel dry and dust-free | Pass if no new splits appear after 24 hours |
| 3/8 inch | Oven dry at about 200°F | About 45 minutes per side | Darkening edges; rapid curl; popping bark | Stable weight after cooling, no fresh checks, flat after rest | Pass if moisture has dropped and stabilizes | Pass if no visible dish or bow | Pass if the face is dry enough for paint adhesion | Fail if cracks appear during cooling |
| 1/2 inch | Denatured alcohol | 24-hour soak plus 24-hour dry | Strong odor, soft spots, warped center | No wet smell, weight stabilizes, surfaces look even | Pass if the slice no longer gains weight | Pass if the center sits level | Pass if no tacky or cold-feeling patches remain | Fail if new end-grain checks open up |
| 1/2 inch | Air dry | Many weeks to many months | Persistent cup, loose bark, visible checking | Moisture test, flatness check, and 24-hour weight recheck all agree | Pass if meter and weight both hold steady | Pass if there is no rocking on a flat surface | Pass if sanding dust does not cling from hidden dampness | Fail if cracks grow after sanding |
Read the table this way: if moisture fails, wait. If cupping fails, flatten the slice or choose a different blank. If surface dryness fails, do not paint yet. If crack risk fails, stop and move the slice back to drying, because finish work will not fix an unstable blank.
Common mistakes
Painting too soon is the most common problem. Moist wood can push water and sap through the finish and leave the ornament cloudy, blistered, or split. Another mistake is assuming a craft-store blank is automatically ready; some are dried, but some still need sanding or cleanup first.
Rushing the hanger hole can also ruin a slice. Drilling too close to the edge on a round, uneven blank invites split-out. Another error is sealing before the decoration is dry, which can trap moisture under the finish and make the piece fail later.
- Do not decorate until the slice passes the moisture, flatness, and weight-stability checks.
- Do not skip sanding, because rough fibers catch paint and decals.
- Do not use a hole punch on solid wood slices.
- Do not dry thin slices too aggressively if bark retention matters to you.
- Do not rely on one thick coat of paint; use thin coats instead.
If a slice already cracked, you can sometimes save it as a purely decorative blank with a crack-stabilizing glue repair before painting, but do not expect the finish to hide movement. If it still smells wet, return it to drying. If it cups after cutting, slow the drying further and weight it flat between clean boards with spacers only if airflow is maintained and the bark is already secure.
Frequently asked questions
How long should wood slices dry before crafting?
Air-dried slices can take about 3 to 6 months before use, and some cool, dry-room methods take many months. A moisture meter is the most useful check for indoor ornament work. Aim for roughly 10% to 12% moisture content, and confirm the slice stays flat and stable for a full day before decorating.
Can you bake wood slices to dry them?
Yes, but treat baking as a higher-risk shortcut. Use about 200°F and give each side about 45 minutes, then let the slice cool and recheck for warp or checks. Stop if the edges darken fast, bark loosens sharply, or a split opens during cooling.
What is the best paint for wood slice ornaments?
Acrylic paint is the standard choice because it bonds well to sanded wood and is easy to layer. Thin coats work better than one heavy coat, especially on end grain. Let each coat dry fully before adding the next so moisture does not get trapped under the finish.
Do I need to seal wood slice ornaments?
Sealing is a good idea if you are adding decals, painted details, or any finish you want to protect from handling. Mod Podge or Polycrylic are common options. Seal after the decoration is dry, and allow the sealer to cure before adding ribbon or jute so the hanger does not mar the surface.
Can I use pre-drilled wood slices instead of drilling them myself?
Yes, and pre-drilled blanks are often the better choice for small or irregular slices. They save time and lower the chance of splitting the edge during drilling. Still inspect the hole, because rough fibers around a pre-drilled opening can snag ribbon or jute unless you sand them smooth.
Why are my wood slices cracking after I paint them?
Cracking usually means the wood was not dried correctly. Moisture trapped inside the slice can keep moving after paint goes on, which opens checks or widens ones that were already there. Strip the finish if needed, dry the blank fully, and only repaint after the slice stops changing shape.
Sponsored / affiliate links. As an Amazon Associate I earn from qualifying purchases. I may earn additional commission from eligible campaigns.
 50 Pcs Natural Wood Slices 2.0-2.5 Inches, CertBuy Undrilled Round Wood Tree Slices, Craft Wooden Circles with Bark for Wedding Centerpiece, DIY Crafts, Party Home Decor, Christmas Ornaments
 60 PCS 3.2-3.6inch Unfinished Wood Slices, Natural Wood Slices, Predrilled with Hole Wood Slice for DIY Arts Craft Christmas Ornaments