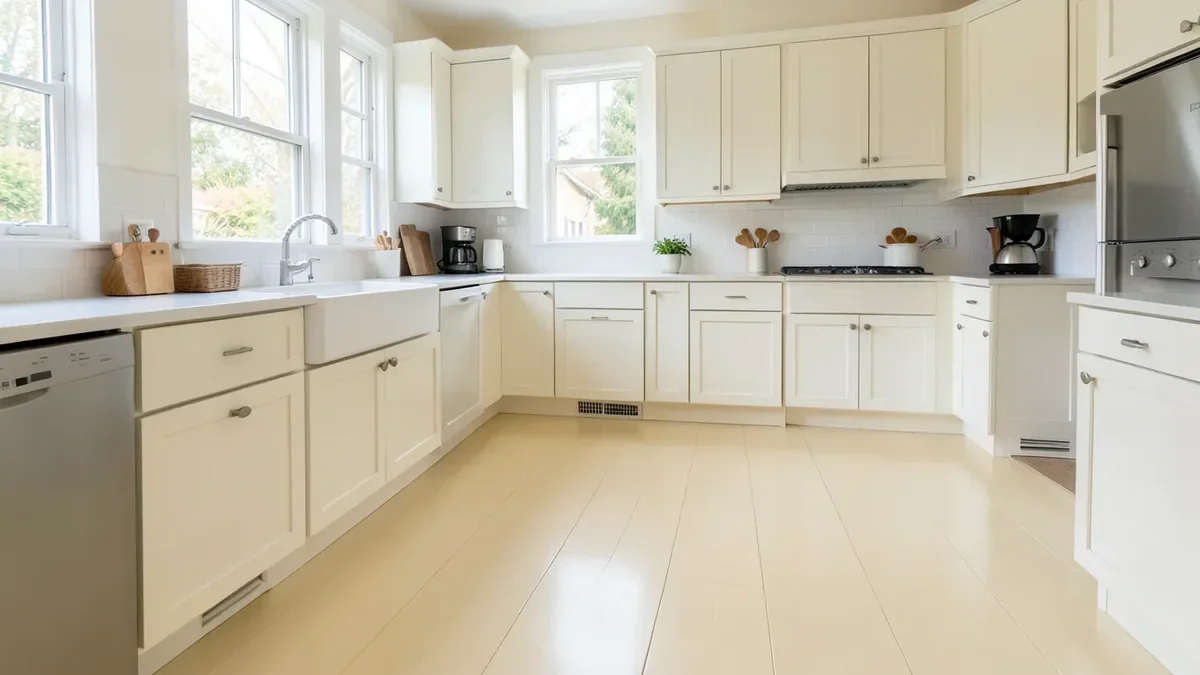
Painted Wood Floors in the Kitchen: Best Paint & 2026 Color Ideas
A painted wood floor can turn a tired kitchen into the room everyone gathers in, but a kitchen is the one room where the wrong paint actually fails fast. Grease from cooking, water dripped near the sink and dishwasher, and daily foot traffic put more stress on a floor finish than almost anywhere else in the house.
The fix isn’t complicated: use a paint rated for floors, not a wall paint, and back it with a protective topcoat. Below is exactly which products handle kitchen conditions, the prep steps that make the difference between a floor that lasts a decade and one that chips in a year, and the color and pattern ideas actually trending for painted kitchen floors in 2026.
The Best Paint for a Kitchen Wood Floor
Regular wall paint isn’t built to flex and bond the way a floor needs to under foot traffic, rolling chairs, and dropped pans, so it cracks and peels in a kitchen within months no matter how carefully it’s applied. What actually holds up is a porch-and-floor enamel or a urethane-modified floor coating: an oil-based (or oil-modified) formula built specifically to bond to wood and resist abrasion. Epoxy floor paint is another option for a kitchen, forming a thicker, more chemical-resistant shell that shrugs off spilled oil and cleaning products, though it’s less forgiving to touch up later than an enamel.
Rust-Oleum’s Porch and Floor Urethane Finish Paint is a solid, widely available baseline for this: it’s formulated specifically for wood and concrete floors, resists fading, cracking, and peeling, and comes in a satin sheen that hides scuffs better than a gloss on a floor that sees daily wear.
Best Floor-Rated Paint for Kitchens
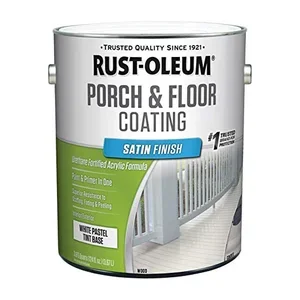 |
Rust-Oleum Porch & Floor Urethane Finish Paint, Satin – $66.61 A urethane-fortified acrylic floor enamel built for the moisture, grease, and daily traffic a kitchen floor takes that a wall paint can’t handle.
|
What’s Different About Prepping a Kitchen Floor
Kitchens build up a layer of airborne cooking grease that a bedroom or hallway floor never sees, and it sits on top of the existing finish even after a normal sweep and mop. Skipping a degreasing step is one of the most common reasons paint fails to bond in a kitchen specifically: wipe the floor down with a degreasing cleaner, such as a diluted dish-soap solution, before sanding, not just a plain water mop.
After degreasing, scuff-sand the existing finish with 120–150 grit sandpaper so the new paint has something to grip; a glossy factory finish or old polyurethane topcoat will shed new paint if it isn’t dulled first. Vacuum and tack-cloth the dust, then apply a bonding primer made for floors before any color coat. Pay extra attention to the strip along the sink base and under the dishwasher lip: standing water there over time is what causes the earliest edge-lifting on a painted kitchen floor.
2026 Color and Pattern Ideas for Painted Kitchen Floors
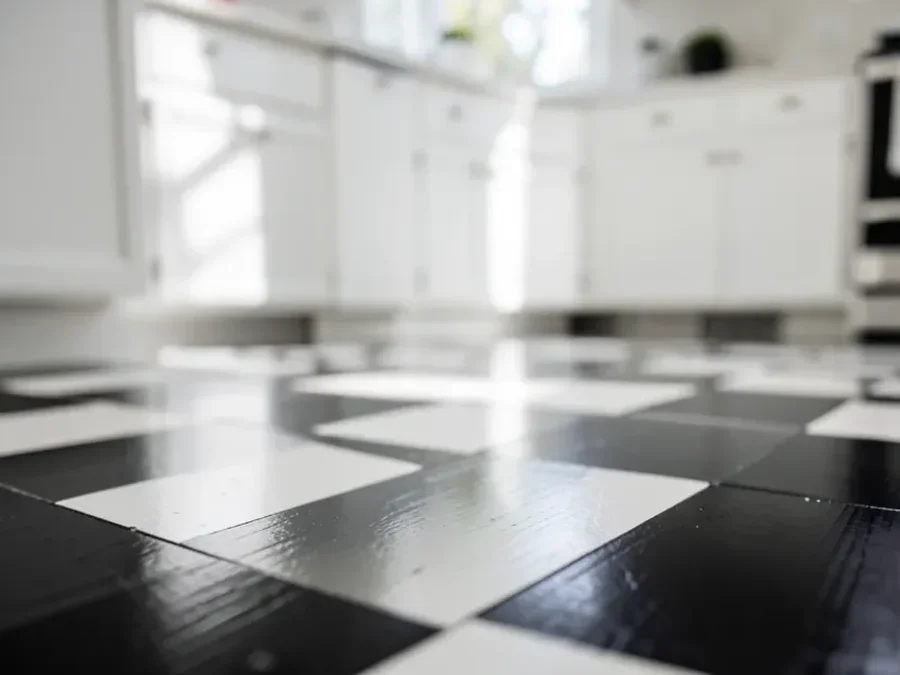
Painted checkerboard floors, in classic black-and-white or a softer two-tone palette, remain a top choice for a kitchen because the pattern’s own contrast hides scuffs and dirt tracked in, and it still reads as intentional after years of wear.
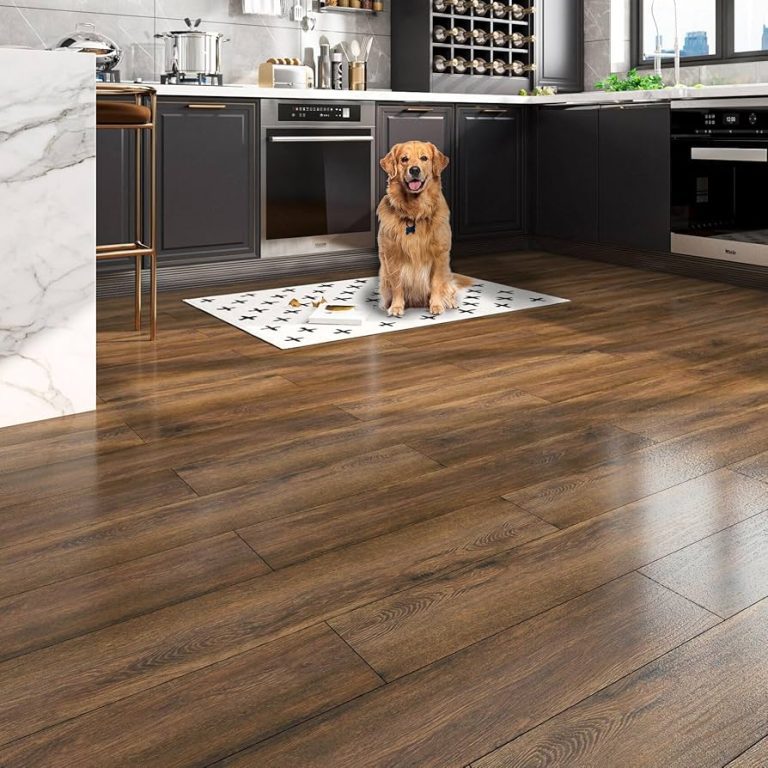
For 2026, the floors getting the most attention are warmer and quieter than the cool gray-washed look that dominated the last few years: soft sandy neutrals and warm creams that pair well with white oak-style painted cabinetry, and medium-brown or warm-toned floors set against a charcoal island for contrast. A painted chevron or herringbone plank pattern is worth considering if the kitchen already has straight-plank flooring and the goal is to make the floor itself the focal point instead of just a neutral backdrop.
If you’re not ready to commit to a full color change, a single accent “runner” painted directly onto the floor in front of the sink or stove, taped off with painter’s tape for a clean border, adds the durability benefits covered below to the highest-traffic zone without repainting the whole room.
Step-by-Step: Painting a Kitchen Wood Floor
- Clear the room, and degrease the floor with a dish-soap-and-water solution – a plain water mop won’t cut through cooking grease.
- Scuff-sand with 120–150 grit, focusing on any glossy factory finish, then vacuum and tack-cloth thoroughly.
- Repair gouges or gaps with wood filler and let it cure fully before priming.
- Apply a bonding primer rated for floors and let it dry completely per the label.
- Apply two thin coats of a floor-rated enamel or epoxy paint, allowing 4–6 hours between coats.
- Let the paint cure at least 24 hours before light foot traffic, and about a week before washing the floor or moving furniture back in.
- Once the paint has fully cured, apply a clear polyurethane topcoat for the extra wear layer a kitchen floor needs.
Protecting the Finish: Topcoat and Maintenance in a Kitchen
A painted kitchen floor lives or dies by its topcoat. The color coat gives the look; the polyurethane (or urethane-reinforced) topcoat is what actually absorbs the daily abrasion from foot traffic, chair legs, and dropped utensils. Skipping it, or applying only a thin single coat, is the single most common reason a painted kitchen floor looks worn again within a year instead of lasting five to ten.
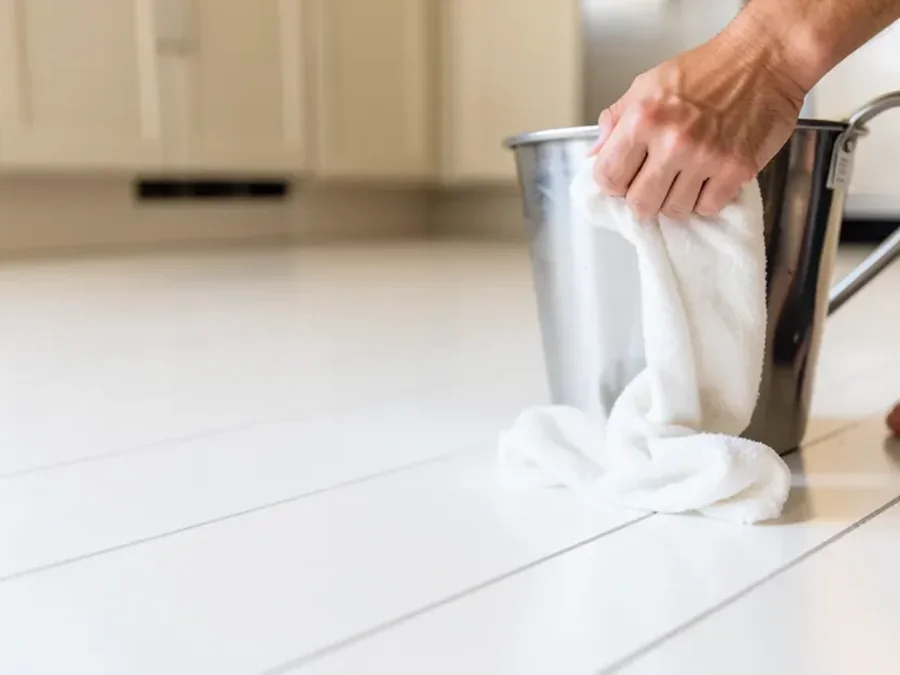
For day-to-day care, sweep or vacuum grit before it gets ground into the finish, and wipe spills, especially oil and water pooling near the sink, right away rather than letting them sit. Mop with a barely damp mop and a pH-neutral cleaner; avoid vinegar, ammonia, and other acidic or high-pH cleaners, which dull a polyurethane topcoat with repeated use. Add felt pads under stools and chair legs, and a mat in front of the sink and stove, since those two spots see the most concentrated wear in a kitchen.
Plan to add a fresh topcoat every 2–4 years depending on traffic, well before it’s actually needed, rather than waiting until the paint itself wears through. Recoating just the topcoat is far less work than repainting the whole floor.
Frequently Asked Questions
Can I paint over any type of wood floor in my kitchen?
Most solid wood floors can be painted as long as the wood is structurally sound and properly prepped. Engineered wood floors with a very thin veneer are the exception: heavy sanding can cut straight through the veneer layer, so stick to a light scuff-sand and a bonding primer instead of a full sand-down on those floors.
How long do painted kitchen floors actually last?
With a floor-rated paint, a proper bonding primer, and a polyurethane topcoat, a painted kitchen floor typically holds up 5–10 years before it needs a full repaint, with a topcoat refresh every 2–4 years in between. Kitchens see more wear than most rooms, so results toward the shorter end of that range are common in high-traffic layouts.
Do I need a primer before painting a kitchen floor?
Yes. A bonding primer made for floors helps the new paint grip a surface that’s likely still holding some residual grease and old finish sheen, blocks wood tannins from bleeding through light colors, and gives an even base for color. Skipping it is one of the fastest ways to get peeling in a kitchen specifically, since grease and moisture make adhesion harder than in a dry room.
What sheen hides scuffs best on a painted kitchen floor?
Satin and semi-gloss are the better choices for a kitchen floor. They clean up more easily than a flat or matte finish and hide light scuffing better than a full gloss, which tends to show every scratch and footprint under kitchen lighting.
How often should I reapply the topcoat on a painted kitchen floor?
Plan on every 2–4 years for the protective topcoat, sooner in the highest-traffic strip in front of the sink and stove. The topcoat wears faster than the paint underneath it, and refreshing it before it wears through protects the color coat from having to be redone as often.
Summary
A painted wood floor works in a kitchen when the paint is actually rated for floors, not walls, and gets a real topcoat on top of it. Degrease and scuff-sand before priming, use two thin coats of a floor enamel or epoxy paint, then seal it with polyurethane so the finish, not just the color, can handle daily kitchen traffic. Beyond durability, 2026’s color trends lean toward warm neutrals and classic checkerboard patterns that hide wear and pair easily with most cabinet colors, so there’s room to make the floor a real design feature instead of just a background.
Sponsored / affiliate links. As an Amazon Associate I earn from qualifying purchases. I may earn additional commission from eligible campaigns.