Plans for a Flag Display Case: Crafting a Timeless Tribute
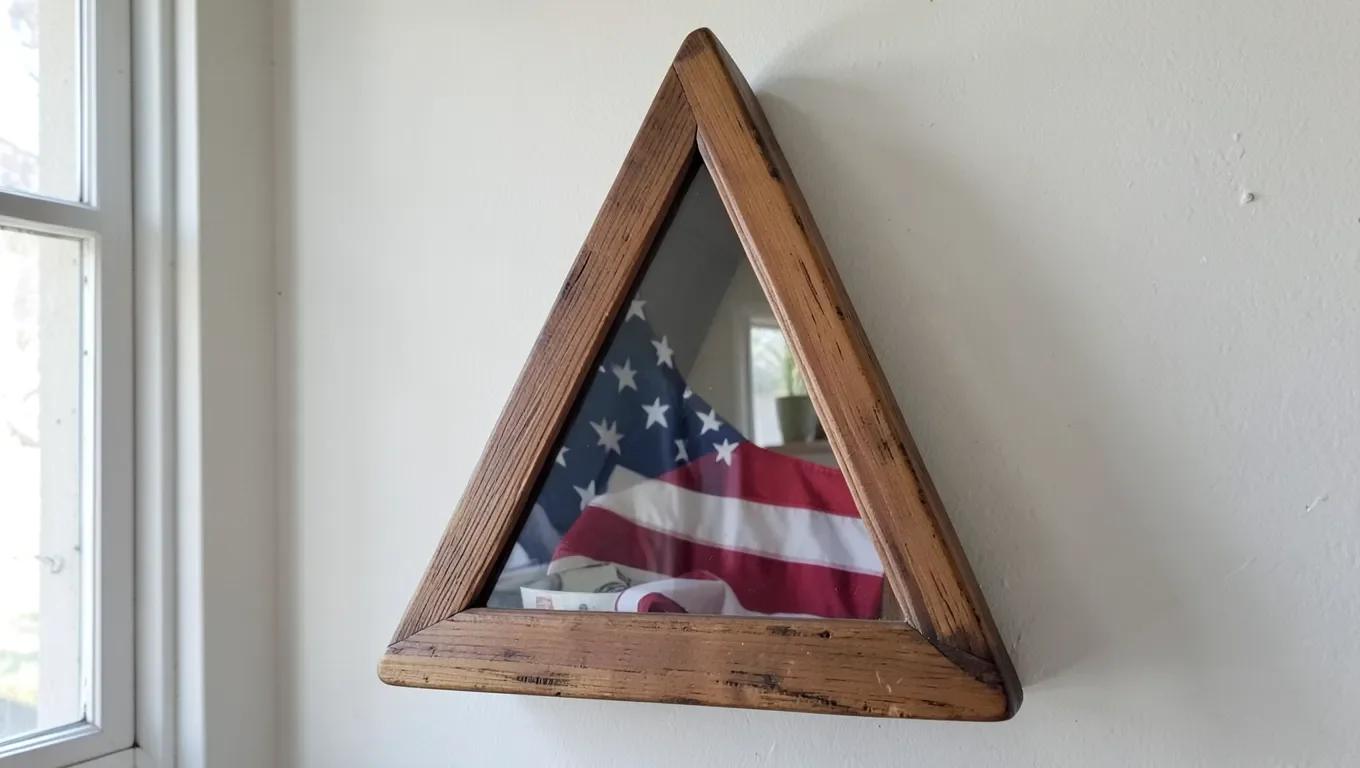
A flag display case protects a folded flag from dust and light while turning it into a piece worth hanging on the wall. Whether it’s a burial flag, a retirement gift, or a flag flown over a significant place, the build is straightforward: a mitered wood frame, a glass or acrylic front, and dimensions sized to the folded flag itself.
Standard Sizes And The Triangle Shape
For Cutting The Glass Front
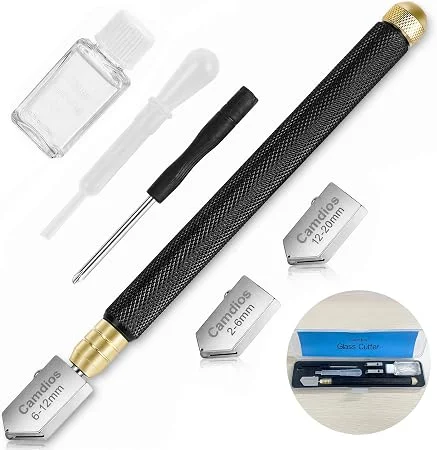 |
Glass Cutter Tool Kit (2-20mm) A fresh carbide wheel and self-feeding cutting oil give a clean, single-pass score – the difference between a snap that follows the line and one that shatters.
|
A folded burial flag (from a 5′ x 9.5′ flag) folds down into a triangle roughly 12″ along the long edge, which is why most flag display cases are built as a triangular shadow box rather than a plain rectangle – the case shape matches the shape of the folded flag itself, with 22.5-degree corner cuts forming the point. A standard case sized for this runs about 25″ wide, 12.5″ high, and 3.5″ deep, with the extra depth leaving room for a plaque or medal mount if you want one.
For a smaller flag (3’x5′ folds down to roughly 9″ on the long edge) or a rectangular flag you don’t intend to fold, a standard rectangular shadow box works fine and is considerably easier to build than mitered 22.5-degree corners – measure your specific flag folded (or flat, if you’re not folding it) before committing to a shape.
Choosing Materials
Oak and walnut hold up well and take a stain evenly; cherry has a warm reddish tone that darkens attractively with age; poplar or pine cost less but show dents more easily over the years the case will likely sit on a wall. Whatever species you pick, choose straight-grained boards without knots – a knot right at a miter joint is a weak point that’s hard to clamp cleanly.
For the front, glass is scratch-resistant and stays perfectly clear over decades but is heavier and can crack if the case is dropped; acrylic is lighter and shatter-resistant but scratches more easily during cleaning if you’re not careful with the cloth. Either one protects the flag from dust equally well – the choice mostly comes down to weight and how the case will be handled or shipped.
| Wood | Durability | Cost | Look |
|---|---|---|---|
| Oak | Very high | $$ | Prominent grain, takes stain well |
| Walnut | Very high | $$$ | Rich dark brown, minimal grain pattern |
| Cherry | High | $$$ | Warm red tone that deepens with age |
| Poplar/Pine | Moderate | $ | Plain, budget-friendly, dents more easily |
Tools And Supplies
- Miter saw (for the 22.5-degree cuts on a triangular case) or a standard saw for a rectangular one
- Wood glue and clamps
- Measuring tape, square, and pencil
- Sandpaper (120 then 220 grit)
- Wood stain or finish of choice
- Glass or acrylic sheet, cut to size
- Small hinges, a latch, and a backing board
- Felt or velvet lining fabric (optional, protects the flag from the wood backing)
Measuring And Designing The Case
Fold the actual flag you’re framing (or a same-size test flag) into its final triangle or rectangle first, then measure it – don’t rely on a generic “standard size” if your flag is a nonstandard dimension, since even a small mismatch either leaves the flag loose and able to shift inside the case or makes it too tight to fit without creasing. Add roughly 1/4″ of clearance on each side beyond the folded flag’s measurements so it sits without being crammed against the glass.
Sketch the case with all dimensions labeled before cutting anything – for a triangular case, mark the two 22.5-degree miter angles and the base width; for a rectangular case, it’s just the four standard 45-degree corners. Having the sketch in hand while cutting catches measurement mistakes before they become an unusable piece of wood.
Building The Frame
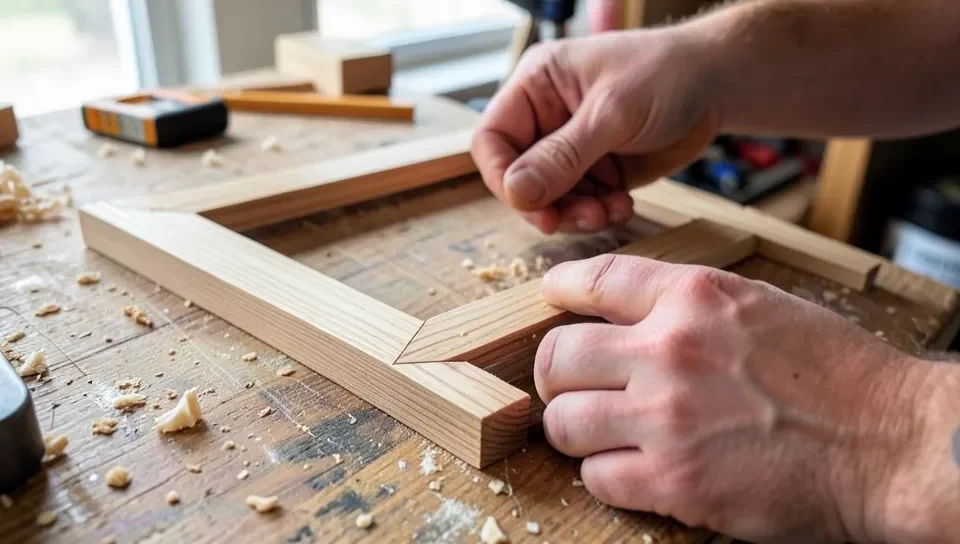
Cut all pieces to length first, then dry-fit the whole frame together before gluing anything – this is the step that catches an angle cut slightly off before it’s permanent. Sand each cut face smooth (a rough miter face leaves a visible gap even with glue), apply wood glue to the joint faces, and clamp the frame square while it cures. A band clamp (a strap that wraps the whole perimeter) holds a triangular or unusually-shaped frame far more evenly than individual corner clamps.
Installing The Glass Or Acrylic Front
A glass cutter with a fresh carbide wheel and a straightedge gives a clean score – press firmly in one continuous pass rather than going over the same line twice, then snap the glass along the score over a table edge. Acrylic can be scored and snapped the same way for thinner sheets, or cut with a fine-tooth blade for a cleaner edge on thicker material. Whichever you use, wear gloves and safety glasses, and lightly sand any cut edge that will be handled to knock off sharp corners.
Set the panel into a rabbet (a shallow groove cut into the frame’s inner edge) rather than gluing it flat against the back – this lets it expand and contract slightly with humidity without cracking, and makes it possible to replace later if it’s ever damaged. Small glazier’s points or thin wood strips hold the panel in place from behind.
Finishing Touches
Sand progressively finer (120 to 220 grit), wipe away dust with a tack cloth, then apply stain or finish before final assembly – it’s far easier to get an even coat on flat, unassembled pieces than after the frame is glued together. Let the finish cure fully per the can’s instructions before handling the case regularly, since a still-curing finish can transfer onto hands or the flag itself.
A hinged back panel (rather than a permanently sealed one) lets the flag be removed for cleaning or re-folding later, which matters more than it seems – flags do occasionally need attention, and a case that has to be destroyed to open it defeats the purpose. Small brass hinges and a simple hook-and-eye latch are enough; add a felt or velvet lining on the backing board if you want a more finished presentation behind the flag.
Displaying The Flag
Fold the flag into its traditional triangle so the union (the blue field of stars) is the visible face, smoothing out creases before closing the case – a flag folded loosely or wrinkled inside a case looks unfinished no matter how well the case itself is built. Mount the case on a solid wall anchor point (not just drywall alone) at eye level, and check it’s level before finishing the installation.
Preserving The Flag Long-Term
Keep the case out of direct sunlight – UV exposure fades flag fabric faster than almost anything else, and a case on a sun-facing wall can show visible fading within a couple of years. Dust the glass or acrylic with a soft cloth and glass cleaner sprayed onto the cloth rather than directly on the panel, which prevents cleaner from seeping in around the edges and reaching the fabric. Store or display in a stable, dry area – humidity swings are harder on old flag fabric than most people expect, and a damp basement or attic is a poor long-term home for one.
Check the flag periodically for signs of fading, fraying, or fabric weakening, especially at the fold lines where the material gets creased in the same spot indefinitely. A flag that’s already fragile from age is better handled and re-folded as little as possible – if it needs to come out of the case for any reason, support the whole folded shape with both hands rather than picking it up by one corner.
Frequently Asked Questions
What are the measurements for a flag case?
A standard flag case typically measures 25 inches wide, 12.5 inches high, and 3.5 inches deep. These dimensions fit a folded 5′ x 9.5′ burial flag.
What are the angles for a flag case?
Flag cases typically have angles of 22.5 degrees. This creates a triangular shape to hold a folded flag securely.
How should a flag be displayed in a case?
Display the flag folded into a triangle with the union (stars) visible. Place it in a clean, glass-front case. Ensure the flag does not touch the ground. Keep it in a well-lit area, away from direct sunlight.
How to fold a 3×5 flag for a display case?
To fold a 3×5 flag for a display case, start by folding it in half lengthwise twice. Then, make triangular folds from the striped end to the open edge until only the blue field shows.
Conclusion
A flag display case is a genuinely achievable weekend project: measure the actual folded flag first, pick a shape that matches it (triangular for a folded burial flag, rectangular for anything else), and take the time on clean miter cuts and a properly-fitted glass or acrylic front. Sized and built correctly, it’s a piece that protects the flag and holds up on the wall for decades.
Sponsored / affiliate links. As an Amazon Associate I earn from qualifying purchases. I may earn additional commission from eligible campaigns.