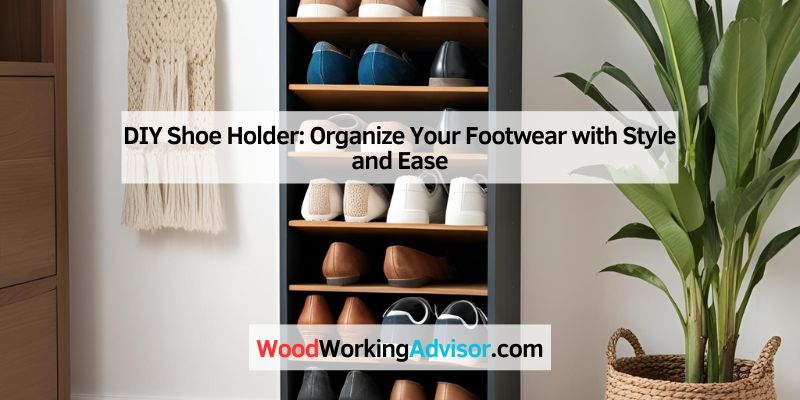
DIY Shoe Holder: 5 Easy Storage Builds for Any Space
A pile of shoes by the door is the fastest way to make an entryway look cluttered, and most storage fixes cost more than the materials to build your own. Below are five DIY shoe holder builds — from a simple wall-mounted rack to stackable crates — ranked by how much space they save, plus a ready-made option if you’re short on time this week.
Introduction To DIY Shoe Holders
Best Ready-Made Option
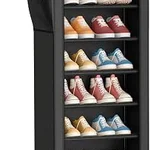 |
Kitsure 10-Tier Shoe Rack with Cover – $19.99 If a weekend build isn’t in the cards, this fits nearly as many pairs into the same footprint.
|
A shop-bought shoe rack from a big-box store typically runs $30-$80 for something built from thin particleboard or wire that sags within a year. The same footprint in 3/4-inch pine or plywood, built yourself, costs closer to $15-$25 in lumber and holds up for a decade — and you’re not stuck with whatever depth and tier spacing the manufacturer decided on. A closet built for sneakers has completely different shelf spacing needs than one storing winter boots, and a store rack can’t adjust for that; a DIY build can.
The materials below cover the five builds in this guide: a basic 3-tier rack, a slanted shoe cubby, a repurposed-crate stack, a PVC-pipe holder, and an over-the-door option for renters. You won’t need all of it for every build — check each section for the specific list.
| Item | Quantity / Notes |
|---|---|
| 3/4″ pine or plywood boards | 4-6 pieces, cut to your closet or wall width |
| Wood screws (1.25″) | 20-30, plus a drill/driver |
| Wood glue | 1 bottle, for joint strength beyond screws alone |
| Sandpaper (120 and 220 grit) | 1-2 sheets each, for smoothing edges before finishing |
| Tape measure and pencil | 1 each, for marking cuts and shelf spacing |
| Paint, stain, or polyurethane | Optional, for matching your entryway’s finish |
Choosing the Right Design
Measure the actual space before picking a design, not the other way around. A standard men’s shoe runs about 12-13 inches long and 4-5 inches wide; a pair of winter boots can push past 14 inches long and 6 inches wide. For a wall-mounted rack, plan on 7-8 inches of vertical clearance per shelf for sneakers and flats, and 10-12 inches if boots are going in the mix — cramming boot-height shelves at sneaker spacing is the most common reason a finished rack looks fine empty and cramped once actual shoes go in.
For material, solid pine gives a warmer, traditional look and takes stain well, but it dents more easily under a dropped work boot than plywood does. Cabinet-grade 3/4″ plywood is more dent-resistant and holds screws better at the edges, but the exposed edge grain needs iron-on edge banding or a coat of paint to look finished rather than raw. If the rack is going in a mudroom that also handles wet boots, skip raw wood entirely and seal every surface with polyurethane — untreated pine will visibly water-stain within a season of dripping boots.
Tools and Materials
A basic 3-tier rack needs surprisingly little: a circular saw or hand saw for cutting boards to length, a drill/driver for pilot holes and screws, a combination square for marking straight cross-cuts, and clamps to hold pieces square while you screw them together. Safety glasses are worth wearing through the whole cutting and drilling process, not just when the saw’s running — a lot of eye injuries on small builds like this happen during drilling, not cutting.
For the slanted-shelf variant (the design that lets you see the toe of every shoe without pulling pairs out), you’ll additionally want a miter saw or miter box to cut the angled shelf supports at a consistent 10-15 degree slant — cutting those supports by eye with a hand saw is where most first-time builds go visibly crooked.
Step-by-Step Building Guide (Basic 3-Tier Rack)
Cut two side panels to your desired height (28-32 inches is typical for a 3-shelf entryway rack) and three shelf boards to your desired width — 30-36 inches comfortably fits 4-5 pairs per shelf. Mark shelf positions on the inside face of both side panels at matching heights before cutting anything else; a rack where the two sides don’t match at every shelf line is the single most common assembly mistake on this build.
Attach the shelves to the side panels using both wood glue and 1.25″ screws driven through the side panel into the end grain of each shelf — glue alone won’t hold under repeated shoe weight, and screws alone without glue tend to work loose after a year of the rack being bumped and shoes dropped on it. Clamp each shelf level and check it with a square before the glue sets; a shelf installed even 2-3 degrees off level will visibly tip shoes toward one end. Once the frame is square and the glue has cured (usually 24 hours), sand all edges starting at 120 grit and finishing at 220, then apply your chosen finish.
Customization Ideas
An old wooden crate — the kind produce or wine bottles ship in — turns into a stackable shoe cubby with almost no cutting required. Sand off any rough spots and splinters, add a thin plywood divider down the middle if the crate is wide enough for two shoes side by side, and stack two or three crates to build height instead of width. Painting each crate a different color (or the same color in different sheens) is an easy way to make a stack of mismatched free crates look intentional rather than salvaged.
For a more industrial look, 4-inch PVC pipe cut into 6-8 inch sections and bundled together (glued side by side, or held in a simple wood frame) makes individual shoe cubbies that work especially well for sneakers and flats stored toe-down. It won’t work for boots or anything with a wide sole, but it’s one of the cheapest per-pair storage options if you’re outfitting a whole closet — a 10-foot length of 4″ PVC runs under $15 and yields more than a dozen cubby sections.
Space-Saving Tips
Vertical racks beat flat shelving for pure pair count per square foot of floor space — a 5-tier vertical rack in a 24-inch-wide footprint holds roughly the same number of pairs as 8-10 feet of flat shelf space, since you’re stacking height instead of spreading width. The tradeoff is visibility: on a tall vertical rack you’re often looking at the tops of shoes on lower tiers rather than the whole shoe, which matters if you’re trying to grab a matching pair quickly on your way out the door.
Corners and door backs are the most commonly wasted storage space in an entryway. An over-the-door organizer with clear pockets adds 12-20 pairs of storage without using any floor space at all, and it’s the fastest option if you rent and can’t mount anything to the wall. Under-bed storage bins are worth considering for out-of-season shoes specifically — boots in summer, sandals in winter — rather than everyday pairs, since digging under a bed for shoes you wear daily gets old fast.
Maintenance and Care
Dust wood racks with a soft, dry cloth weekly, and wipe up any tracked-in mud or water immediately rather than letting it sit — even a polyurethane-sealed rack will eventually show water spots if wet boots are left dripping on it overnight, every night, through a whole winter. For an unsealed or painted rack, a barely damp cloth is fine for occasional cleaning, but dry it right away; standing moisture is what causes wood shelves to cup or warp over a season.
Check screws every few months, especially on a rack that gets shoes tossed onto it rather than placed — the repeated impact loosens screws in end grain faster than in face grain. A screw that’s backed out slightly can usually be re-driven after adding a drop of wood glue to the hole; if the hole itself has stripped out, switch to a slightly longer or thicker screw rather than fighting the same stripped hole.
Inspiring DIY Projects
A ladder-style rack — an old wooden ladder leaned against a wall with shoes tucked between the rungs — takes an afternoon and needs almost no building at all beyond a light sanding and a coat of stain or paint. It works best for flats and sneakers rather than boots, since boots tend to slide off a narrow rung.
Stacked wooden crates painted in a coordinated palette make an entryway feature out of what would otherwise be pallet scrap, and they’re modular — add another crate on top as your shoe collection grows instead of building a whole new rack. If you’re short on closet depth, the PVC cubby build above is worth trying first: it’s the option that fits in the narrowest spaces since a 4-inch pipe only needs about 5 inches of depth to fully contain a sneaker.
In tight storage like this, good ventilation matters even more — our cedar shoe tree picks compared below help offset the lack of airflow between wears.
Frequently Asked Questions
What can I use instead of a shoe rack?
Wire or wicker baskets, clear plastic storage bins, an over-the-door pocket organizer, or a repurposed bookshelf all work as shoe storage without building anything. Under-bed storage boxes are a good fit specifically for out-of-season pairs you’re not grabbing daily.
How do you make easy DIY shoe storage?
Stack two or three wooden crates for an instant tiered rack with almost no cutting, or bundle sections of 4-inch PVC pipe into individual cubbies for sneakers and flats. Both take under an hour of actual building time and use materials that often cost nothing if you already have crates or pipe scraps on hand.
How do you organize shoes without a shoe rack, DIY?
Clear shoe boxes stacked by category, an over-the-door pocket organizer, or a tension rod mounted inside a closet at boot-height (hang boots by the heel over the rod) all organize shoes without any dedicated rack. Rolling under-bed trays work well for shoes you’re storing rather than reaching for daily.
How do you store shoes in a small space?
Go vertical rather than flat — a tall narrow rack or stacked cubbies hold far more pairs per square foot of floor space than a single flat shelf. Clear boxes let you identify pairs without opening each one, and rotating out-of-season shoes to under-bed storage frees up the prime, easy-to-reach space for what you’re actually wearing this month. In tight storage like this, good ventilation matters even more — our cedar shoe tree picks compared below help offset the lack of airflow between wears.
Conclusion
The right build comes down to what you’re actually storing and how much time you want to spend: a basic 3-tier rack is the most versatile if you’re willing to spend an afternoon cutting and assembling, while stacked crates or an over-the-door organizer get you real storage in under an hour with barely any tools. Whichever you pick, measure your actual shoes — not an assumed “standard” size — before cutting anything, since shelf spacing built for sneakers will leave your boots overhanging every shelf edge.
Sponsored / affiliate links. As an Amazon Associate I earn from qualifying purchases. I may earn additional commission from eligible campaigns.