Professional Wood Burning Kit: Fixed-Heat vs Digital Temperature Guide
A professional wood burning kit is defined by two things a basic single-tip burner doesn’t have: interchangeable wire-nib or solid-brass tips, and real heat control – either a dual-wattage switch or a digital temperature dial that can run anywhere from around 200°F for delicate leather work up to 1,000°F-plus for dense hardwood.
Most beginner pyrography tools are a single fixed-heat tip soldered to a cheap handle – fine for practicing on scrap pine, frustrating the moment you want to shade smoothly or switch between fine line work and broad texture. A real kit solves that with swappable tips and a way to actually control the burn. Here’s what to look for, how the heat control actually works, and where a kit’s price difference comes from.
What Pyrography Actually Is
Best Dual-Power Kit for Wood and Leather
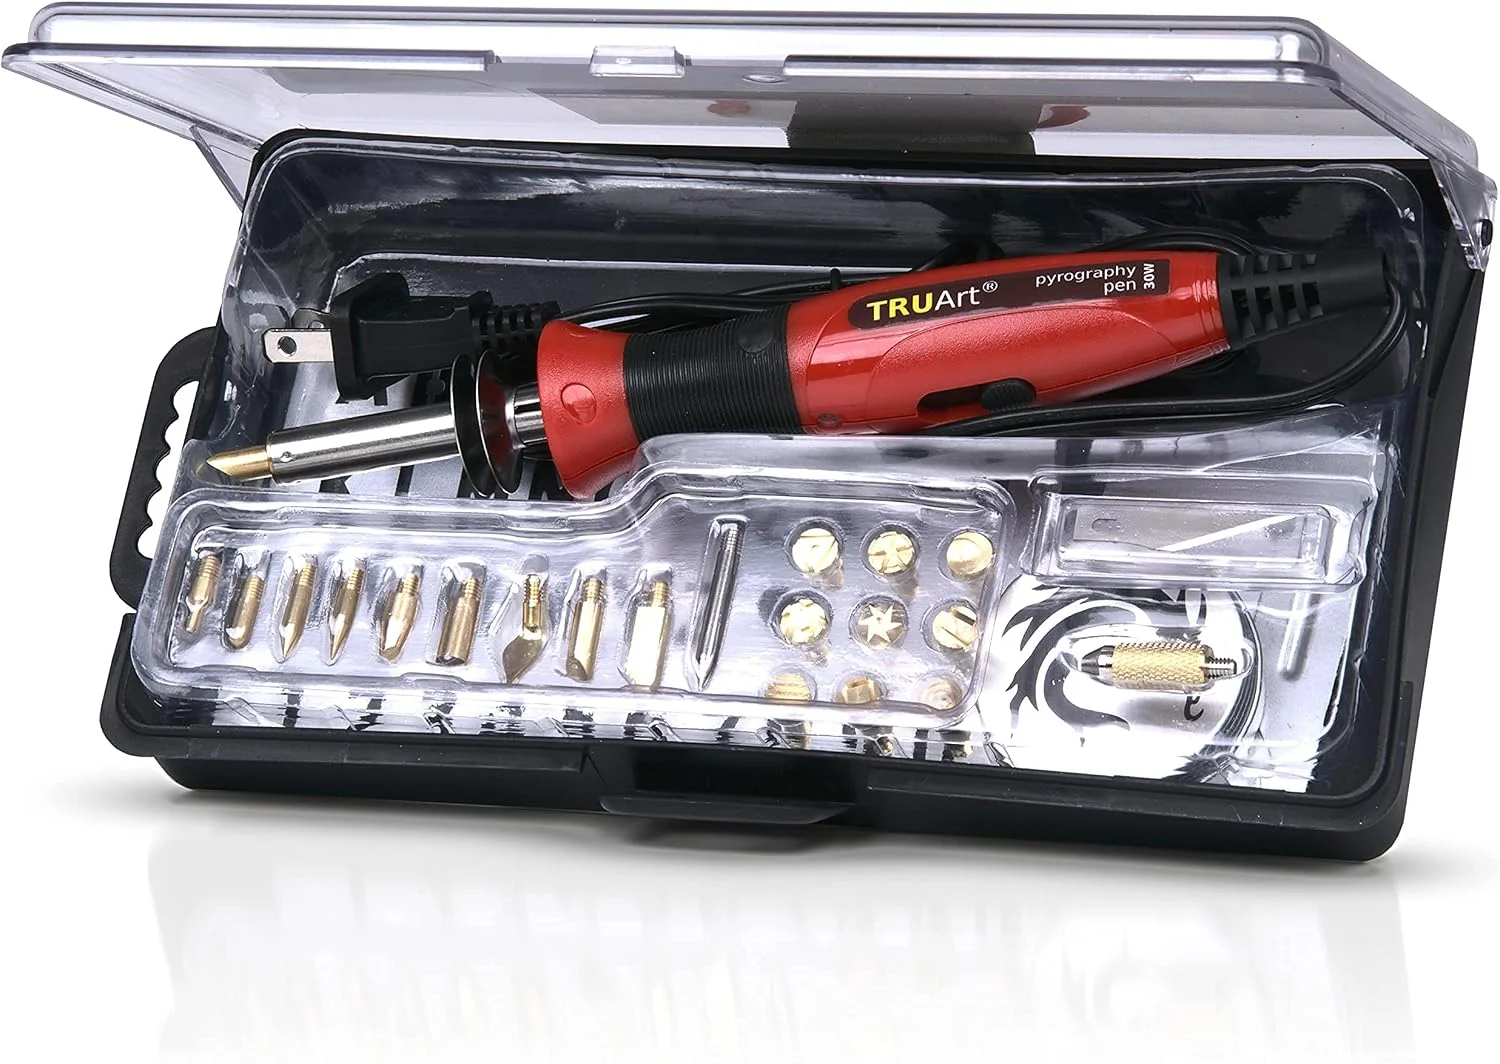 |
TRUArt Stage 1 Dual-Power Pyrography Pen Set (35 Tips) – $44.95 This is the dual-power (30W/15W) fixed-heat TRUArt kit, not their digital-temperature Stage 2 line – a good match for the fixed-heat, interchangeable-tip technique this guide focuses on for beginners and hobbyists moving past a basic single-tip burner.
|
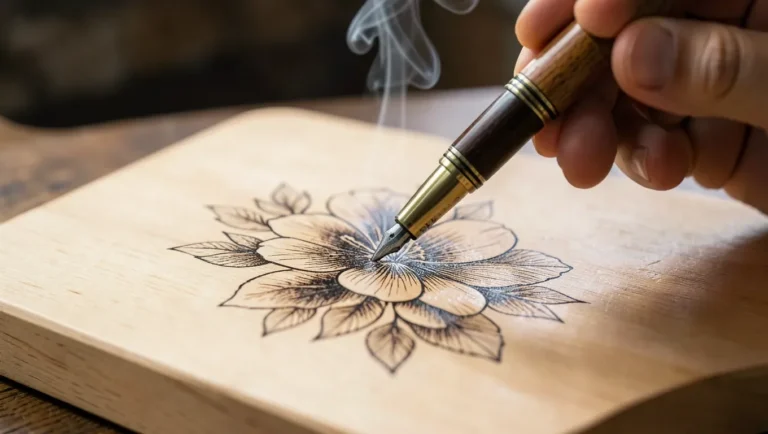
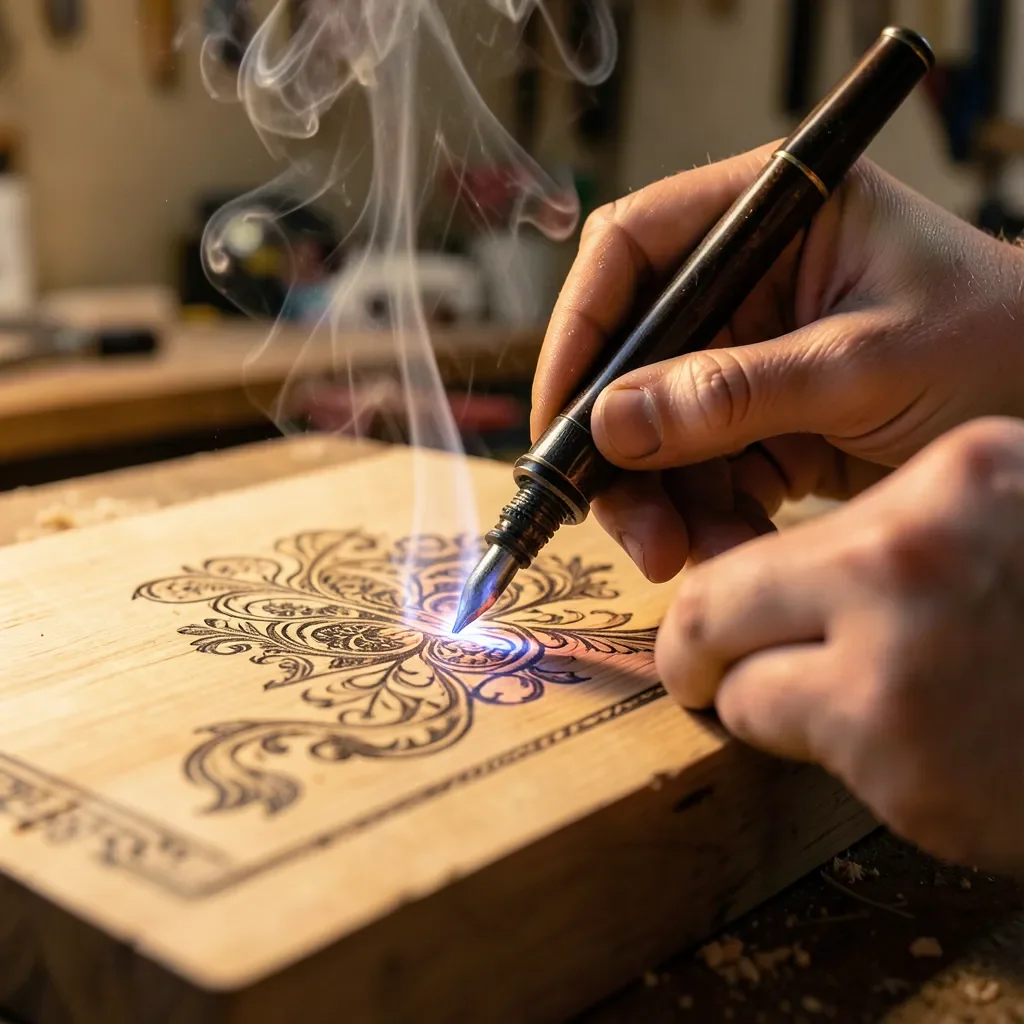
Wood burning, or pyrography, is the craft of burning a design into wood’s surface using a heated metal tip – the same basic principle as a soldering iron, applied as an art tool. It’s an old craft; artists have been using heated metal to mark wood and leather for centuries, but the tools have changed a lot. Older irons were heated over a flame; today’s electric burners hold a steady, adjustable temperature so the depth of a burn depends on pressure and speed, not on how long the tip has been sitting in a fire.
Fixed-Heat vs. Digital Temperature Control
This is the actual difference between a “hobby” burner and a “professional” one, and most buying guides skip explaining it. A fixed-heat kit (like a dual-wattage 30W/15W pen) gives you two power levels – one for wood, one for lighter materials like leather or paper – and you vary the darkness of the burn by changing how fast you move the tip and how hard you press. A digital-temperature kit adds a dial that sets an exact target temperature, commonly somewhere in the 200°F to 750°F range on mid-tier units and up past 1,000°F on higher-wattage professional stations, so the tip itself stays at a constant, repeatable heat no matter how long you’ve been working.
Neither is strictly “better” – a fixed dual-wattage pen is lighter, cheaper, and plenty capable for detailed hobby work once you’re comfortable controlling burn depth with pressure and speed. A digital unit matters more once you’re doing production work, switching between hardwoods and softwoods in the same session, or need the exact same shade repeated across many pieces.
Setting Up Your Workspace
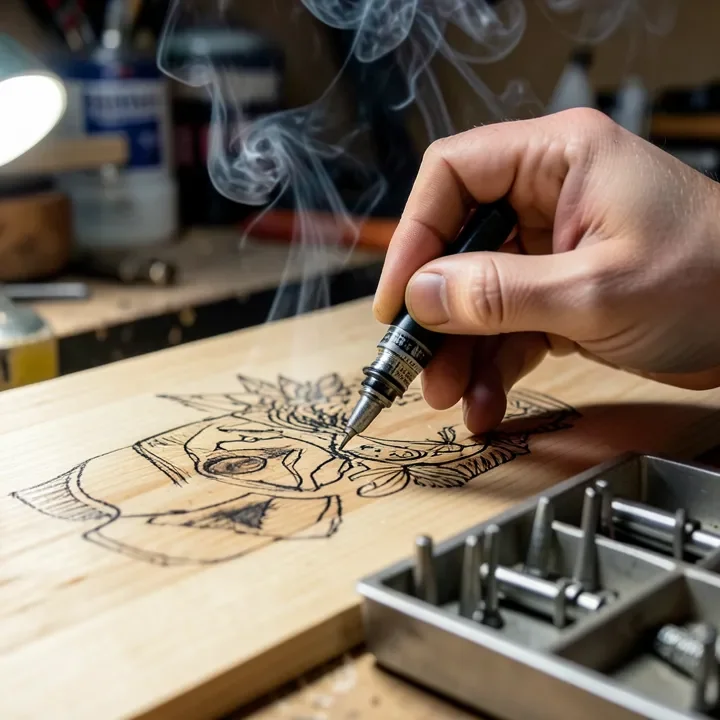
Work in a ventilated area – a fan pointed away from your face is enough for most home setups, since pyrography smoke in small quantities is mostly an irritant rather than a serious hazard, but you still don’t want to breathe it directly for hours. Keep a metal tin or ashtray nearby to rest the hot tip between passes rather than setting it on your work table, and keep a fire extinguisher or a damp cloth within reach as a matter of habit, not because burners commonly start fires.
Set up a dedicated, stable surface, store tips in a labeled tray or the kit’s own case so you’re not hunting for the right shape mid-project, and keep the cord routed away from your work hand so it doesn’t drag across a hot tip.
Basic Techniques
Start with simple shapes on scrap basswood before touching a real project – basswood is the standard practice and finished-piece wood for pyrography because it’s pale, tight-grained, and burns evenly without the grain lines showing through the design the way pine’s do. Trace your design lightly first, then burn along the lines with steady, even speed rather than constant pressure – speed controls depth more predictably than pushing harder does.
For shading, slow down rather than pressing harder: a slower pass at the same temperature darkens the burn, while a faster pass with a lighter touch keeps lines thin. Practice on scrap wood first until you can produce a consistent line before starting on a real piece.
Layering, Shading, and Design Ideas
Build dark areas in layers rather than trying to get full darkness in one pass – burn a light base layer across the whole shaded area, let the tip cool slightly, then go back over the darkest sections a second or third time. This avoids the scorched, uneven look that comes from pressing hard once instead of layering.
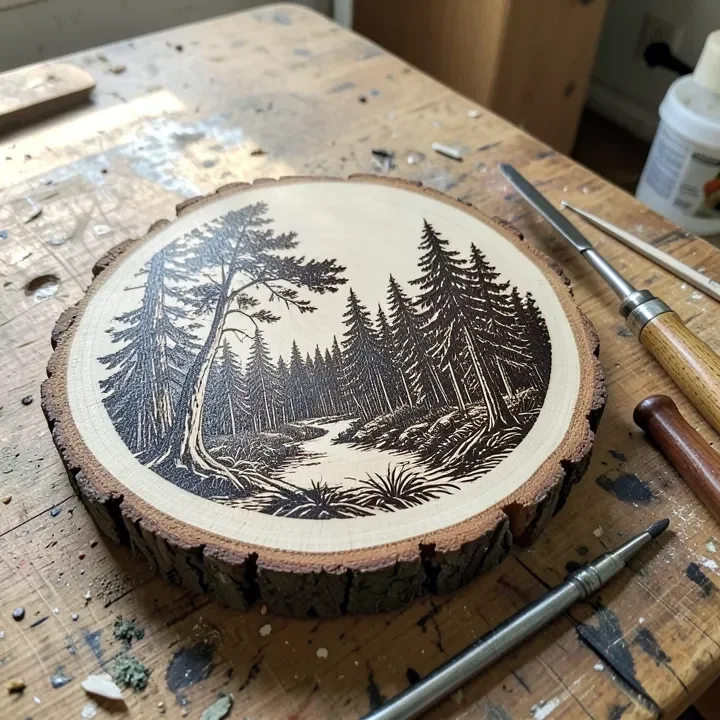
Nature scenes, geometric patterns, and lettering are the most common subjects because they translate well to line-and-shade work; a mix of a fine point tip for outlines and a shading tip for fill is what most finished pieces actually use, which is the whole reason a multi-tip kit matters more than a single-tip burner once you’re past your first few practice boards.
Maintaining Your Kit
Wipe carbon buildup off tips with a soft brass brush while they’re still warm (not hot) – built-up carbon insulates the tip and makes your burns less consistent over time. Store tips in their case rather than loose in a drawer, since bent or nicked tips burn unevenly. Replace a tip once it’s visibly warped rather than fighting an inconsistent burn line, and inspect the cord and handle periodically for wear on a tool that’s essentially a small heating element you’re holding for hours at a time.
Frequently Asked Questions
What Is The Best Wood Burning Kit Brand?
The TRUArt Woodburning Kit is highly recommended. It offers precision, durability, and a variety of tips for detailed work.
What Is The Difference Between Pyrography And Wood Burning?
Pyrography and wood burning are the same art form. Both involve creating designs on wood using heat.
What Heat Gun Is Best For Wood Burning?
The Wagner Furno 500 heat gun is best for wood burning. It offers precise temperature control and durability.
What Is The Best Wood To Use For Wood Burning?
Basswood is the best wood for wood burning. It burns smoothly, has minimal grain, and is easy to work with.
Conclusion
A real “professional” wood burning kit comes down to two upgrades over a basic single-tip burner: interchangeable tips for line, shading, and texture work, and actual heat control – whether that’s a simple dual-wattage switch or a full digital temperature dial. Start on basswood scrap, build shading in layers instead of pressing harder, and match the kit’s heat range to the wood and material you’re actually burning.
Sponsored / affiliate links. As an Amazon Associate I earn from qualifying purchases. I may earn additional commission from eligible campaigns.
 FIRElood Wood Burning Tool,Wood Burning kit Pen 25~750℃,Professional Wood Burning kit,with Digital Thermometer Temperature Adjustable Temperature,1 Wood Burning pens, 30 Wood Burning Pen Tips
 FIRElood LH30-1 wood burning tool,wood burning kit pen 25~750℃,professional wood burning kit,with digital thermometer temperature adjustable temperature,1 wood burning pens, 30 pen tips(LH30-1A pen)