Repair a Scratched Hardwood Floor: The Test That Tells You How
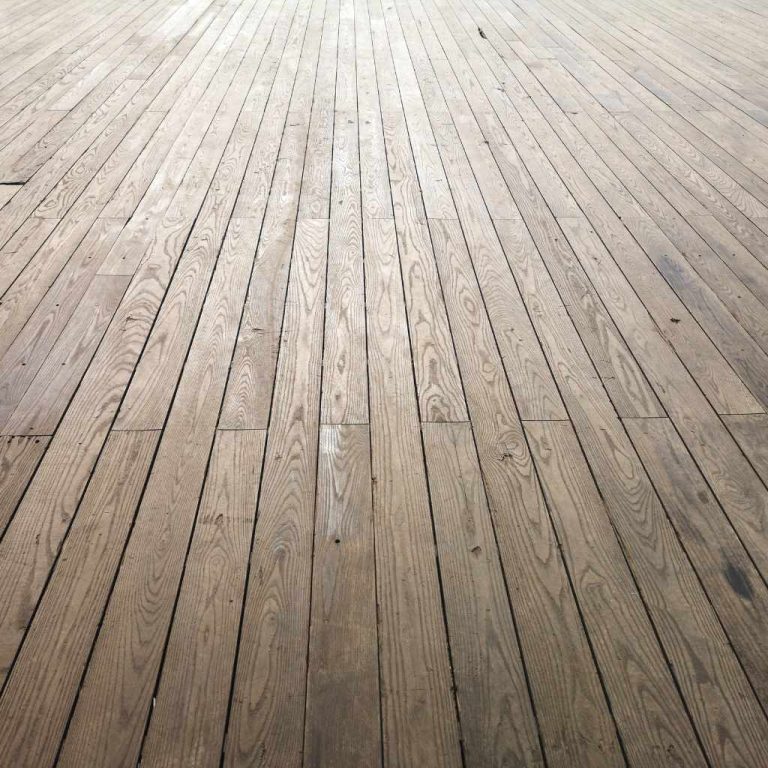
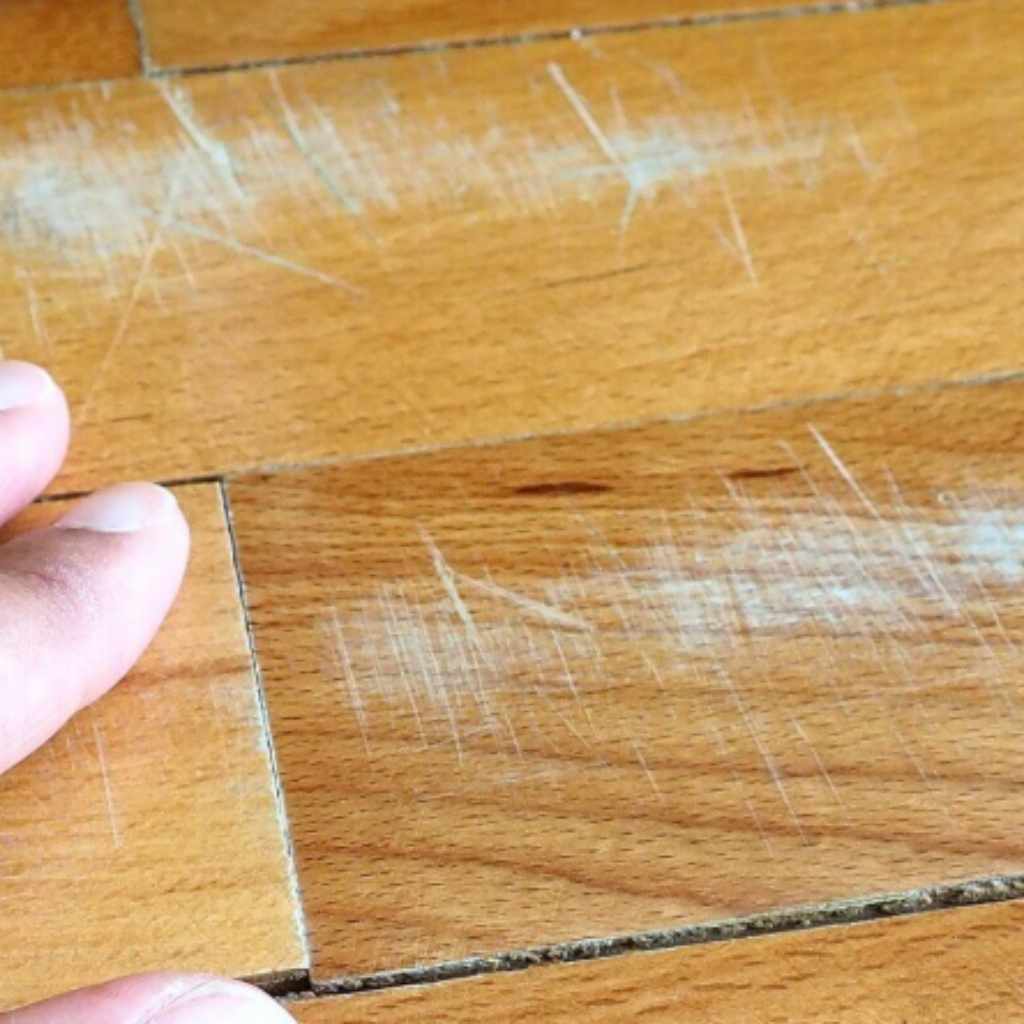
Most hardwood scratches only cut through the clear finish, not the wood itself — and that distinction determines which repair actually works. A wood-tone marker or wax stick fixes a finish-only scratch in minutes. A scratch that’s reached bare wood needs filler and a color match, and no marker will hide it for long.
The 10-Second Test: Has It Reached the Wood?
Best For Widespread Light Scratching
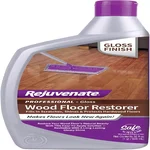 |
Rejuvenate Professional Wood Floor Restorer, 32 oz Gloss – $20.15 A one-coat product built for a floor with light scratching spread across a wide area, rather than one deep, isolated mark.
|
Wipe the scratch with a damp finger. If the surrounding finish beads water slightly and the scratch itself doesn’t absorb any moisture, you’re only through the topcoat — a cosmetic fix will hold. If the scratch visibly darkens or the wood looks like it’s soaking in the moisture, you’re into bare wood, and it needs actual filler, not just a marker on top of the finish.
Fixing a Finish-Only Scratch
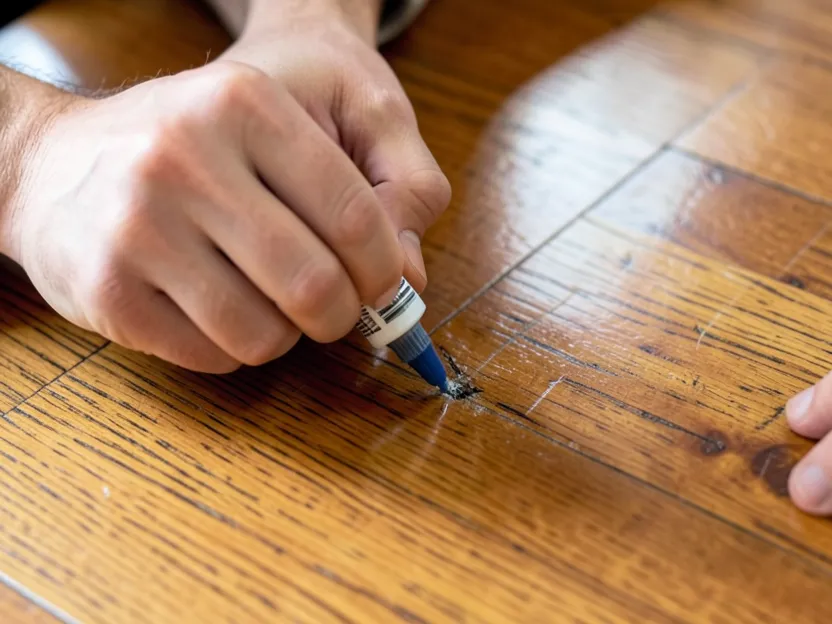
Clean the area first with a dry microfiber cloth — water isn’t needed and can complicate color-matching a wax or marker product. Then pick based on what’s actually on the floor:
| Product | Best For | Key Limitation |
|---|---|---|
| Wood-tone marker/pen | Thin, hairline scratches | Sits on top of the finish — a slightly different sheen can show under angled light |
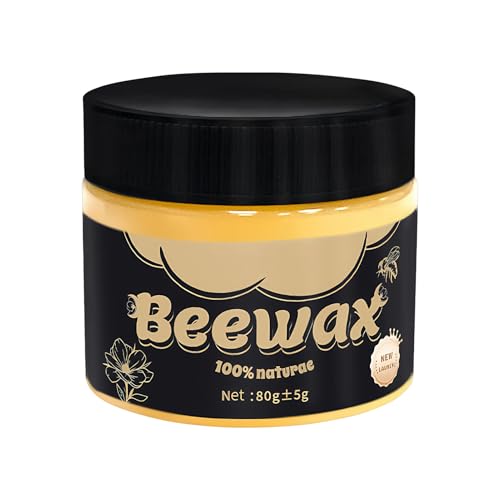
| Wax fill stick | Slightly wider scratches, quick fixes | Softens with heat/friction — not ideal for high-traffic spots |
| Floor restorer/polish | Widespread light scratching across a whole area, not one isolated mark | Doesn’t fix a single deep scratch — it’s a floor-wide product, not a spot treatment |
One detail that trips people up: a marker or wax fill sits on top of the existing clear coat, it doesn’t blend into the wood grain the way stain does on bare wood. That’s fine for a scratch you’ll only notice up close, but it’s also why the repair can look slightly glossy or dull compared to the surrounding finish under direct light — buffing lightly after the repair dries helps even that out.
Fixing a Scratch That’s Reached Bare Wood
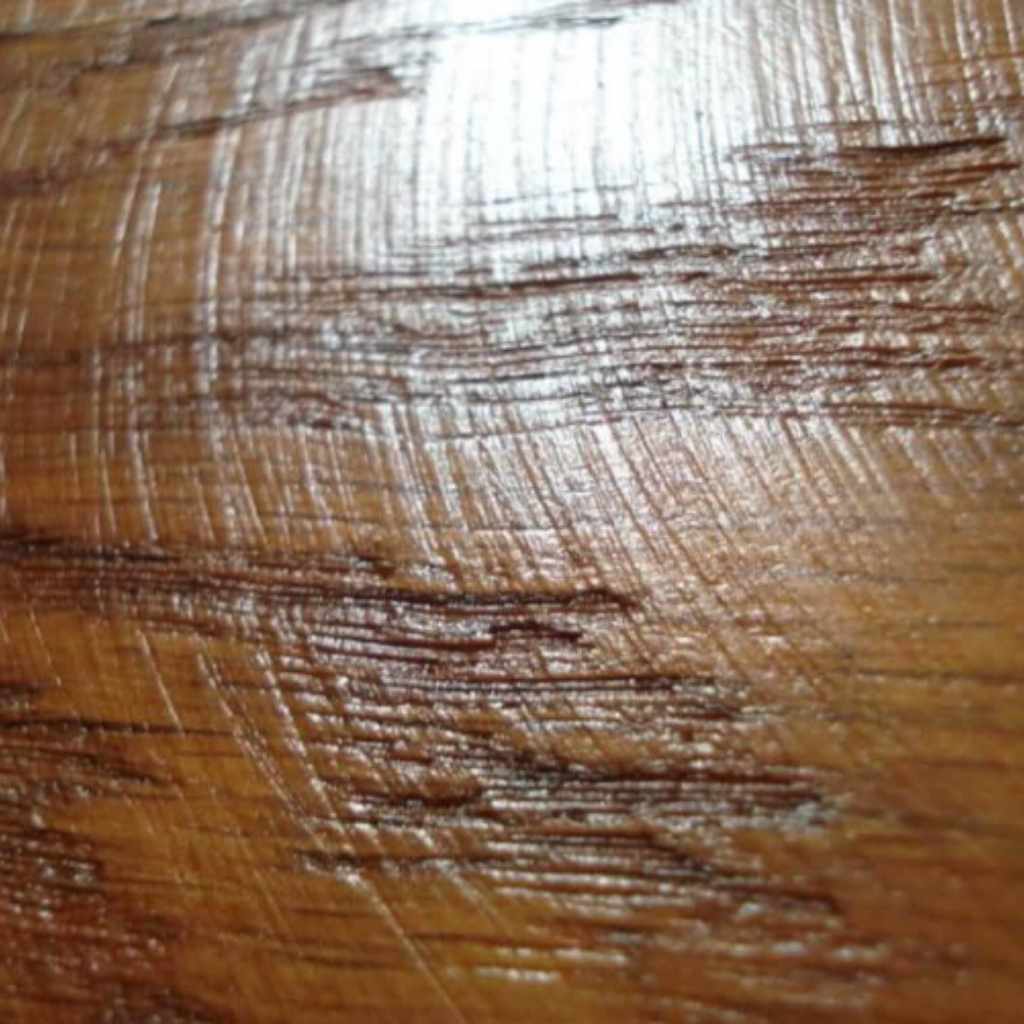
- Clean and dry the area completely. Any moisture trapped under filler will show up as a discolored spot later.
- Press wood filler into the scratch with a putty knife, slightly overfilling since most fillers shrink a little as they cure.
- Let it cure fully per the product’s stated time — rushing this step is the most common reason a repair looks sunken a week later.
- Sand flush with fine-grit (220) sandpaper, working with the grain only, not across it.
- Match the stain color on a hidden test spot first — wood filler and stain often absorb slightly differently than the surrounding solid wood, so test before committing.
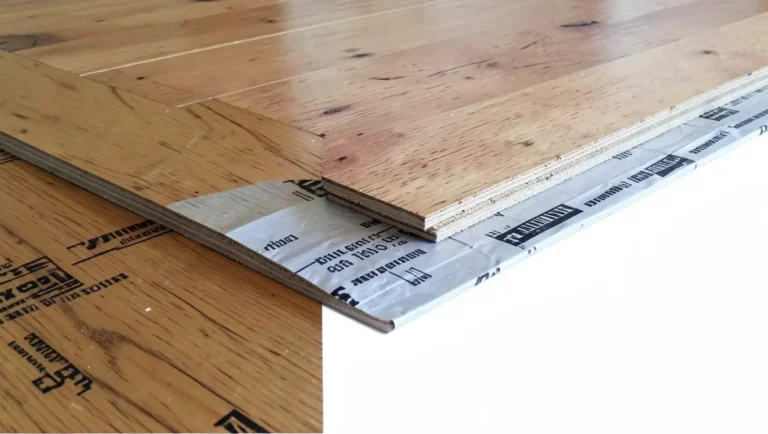
- Seal with a matching topcoat (oil-based or water-based, matching what’s already on the floor) to protect and blend the repair.
One compatibility issue worth knowing: an oil-based wax filler doesn’t always bond well under a water-based polyurethane topcoat applied later, and can leave a cloudy patch. If your floor has a water-based finish, look for a water-based or acrylic filler to avoid that mismatch.
When Spot Repair Isn’t Enough
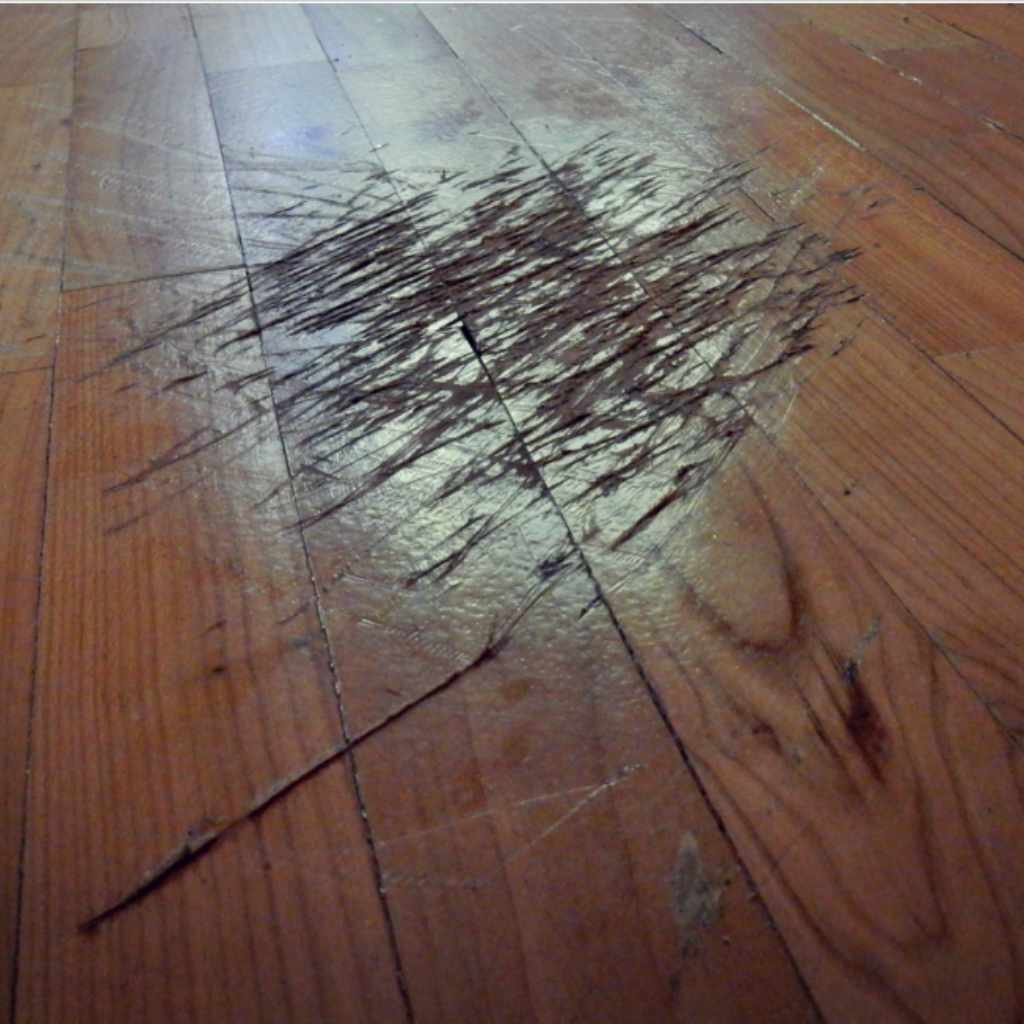
If scratches are scattered across a whole room rather than isolated to one or two spots, spot-treating each one stops making sense — a screen-and-recoat (a light buff plus a fresh topcoat, no sanding to bare wood) is usually the more efficient and better-looking fix. See our refinishing cost guide for what that job actually costs compared to a full sand-and-refinish.
Preventing the Next Round of Scratches
- Felt pads under furniture legs, replaced when they get compressed or grimy — a worn-flat pad scratches almost as much as no pad at all.
- Trim pet nails regularly and consider soft nail caps for dogs that spend most of the day indoors on hardwood.
- Vacuum or sweep grit before it gets ground in — loose dirt and sand act like sandpaper under foot traffic and furniture casters.
- Keep indoor humidity between roughly 35–55% — wood that’s too dry becomes more brittle at the surface and marks more easily.
Frequently Asked Questions
How do I repair minor scratches on hardwood floors?
Clean the area with a dry cloth, then apply a wood-tone marker or wax fill stick matching your floor’s color. Let it set for a few minutes and buff lightly with a soft cloth. This works when the scratch is only through the finish, not into the bare wood underneath.
Can I fix deep scratches on hardwood flooring myself?
Yes. Clean and dry the area, press wood filler into the scratch, let it cure fully, sand flush with fine-grit paper, test your stain match on a hidden spot, then seal with a matching topcoat. Rushing the cure time is the most common reason a DIY repair looks sunken later.
What products work best for hardwood floor scratch repair?
Wood-tone markers and wax fill sticks handle finish-only scratches. Wood filler and matching stain handle scratches that reach bare wood. A floor restorer product is better suited to widespread light scratching across a room than to one isolated deep mark.
How can I prevent hardwood floors from getting scratched?
Use felt pads under furniture (replacing them once compressed), trim pet nails regularly, sweep or vacuum grit before it gets ground into the finish, and keep indoor humidity in the 35–55% range so the wood surface doesn’t become brittle.
Conclusion
The right fix depends entirely on whether a scratch stopped at the finish or reached the wood — test it before you buy a product. A marker or wax stick handles the first case in minutes; filler, sanding, and a color-matched stain handle the second properly. If scratches are everywhere rather than isolated, a screen-and-recoat beats spot-treating dozens of marks one at a time.
Sponsored / affiliate links. As an Amazon Associate I earn from qualifying purchases. I may earn additional commission from eligible campaigns.