Sam Maloof Woodworking Tools: Craft Like a Master Artisan
Sam Maloof woodworking tools are renowned for their quality and craftsmanship. They are essential for any serious woodworker.
Sam Maloof, a legendary woodworker, designed tools that stand the test of time. His tools offer precision, durability, and ease of use, making them invaluable in any woodworking shop. With a focus on ergonomic design, these tools reduce fatigue and enhance productivity.
Woodworkers across the globe appreciate the superior craftsmanship and attention to detail. Investing in Sam Maloof tools means investing in quality and reliability. Each tool reflects Maloof’s dedication to excellence and his passion for woodworking. Whether you are a professional or a hobbyist, these tools will elevate your woodworking experience.
Introduction To Sam Maloof
Sam Maloof was a master woodworker. He is known for his unique furniture design. Maloof’s pieces are seen as works of art. His chairs are especially famous for their smooth curves. The legacy of craftsmanship is evident in every piece he created. His woodworking tools were simple yet effective.
Sam Maloof’s craftsmanship is admired worldwide. He used traditional methods to create modern designs. His work inspired many woodworkers. Maloof’s furniture is in museums and homes alike. His name is synonymous with quality and artistry.
Maloof influenced modern woodworking greatly. He showed that hand-crafted pieces can be timeless. Many woodworkers follow his techniques today. His approach combines simplicity and elegance. Maloof’s tools and methods are studied by enthusiasts and professionals. His influence will continue for generations.

Essential Woodworking Tools
Hand tools are very important in woodworking. A chisel helps carve and shape wood. A hand saw cuts wood into pieces. Clamps hold wood parts together. A mallet taps chisels and joins parts. Files smooth rough edges and surfaces. Screwdrivers help fix screws into the wood. A tape measure ensures correct measurements. Hand planes shave wood for a smooth finish.
Power tools make work faster and easier. A table saw cuts large wood pieces. A drill makes holes and drives screws. Sanders smooth wood surfaces quickly. A router shapes edges and patterns. Jigsaws cut curves and shapes in wood. Circular saws are handy for straight cuts. Planers help make wood pieces even and flat. A lathe turns wood into round shapes.
Choosing The Right Wood
There are many types of wood. Oak is strong and hard. Pine is soft and easy to carve. Maple has a smooth finish. Cherry has a rich color. Walnut is dark and elegant. Each type of wood has its own charm and use.
Check for knots and grain. The grain should be straight. Knots can make wood weak. Look for dry wood. Wet wood can warp. Feel the wood. It should be smooth. Always choose wood that matches your project. Think about the color and texture. Different woods have different looks.
Tool Maintenance
Keeping tools sharp is important. A sharp tool cuts wood cleanly. Use a whetstone for sharpening. Start with a coarse stone. Move to a fine stone after that. Keep the angle steady while sharpening. Use oil or water on the stone. This helps the stone work better. Clean the tools after sharpening. This removes metal shavings.
Store tools in a dry place. Moisture can cause rust. Use a tool chest or cabinet. Line the drawers with a soft material. This prevents scratches. Hang larger tools on the wall. Use hooks or pegboards. Keep tools organized. This makes them easy to find. Label the storage areas if needed.
Joinery Techniques
Woodworkers use different types of joints. Each joint has its own purpose. The butt joint is the simplest. It connects two pieces of wood at their ends. The dovetail joint looks like a dove’s tail. It is strong and decorative. The mortise and tenon joint is very old. It connects two pieces at right angles. The lap joint overlaps two pieces of wood. This joint is strong and simple.
Glue helps make joints strong. Clamps hold the wood while the glue dries. Screws and nails add strength too. Sanding the wood makes the joint smooth. Woodworking tools help create precise joints. Saw cuts the wood to the right size. Chisel carves out the wood. Hammer taps the joints into place.
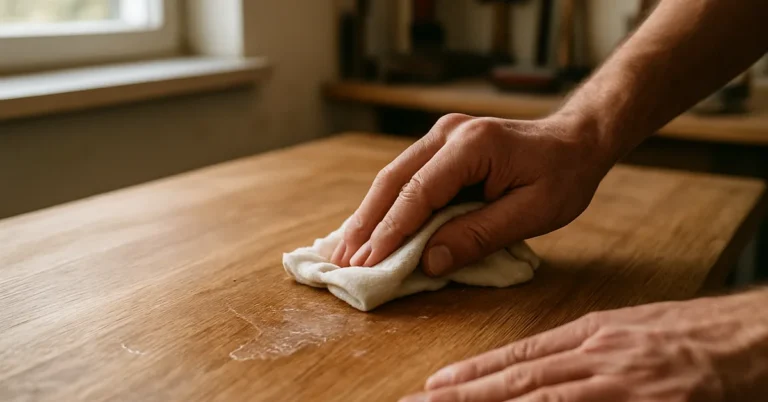
Finishing Touches
Sanding smooths the wood surface. Always start with coarse grit sandpaper. Gradually move to finer grits. This removes scratches and prepares the wood. Sand with the grain to avoid damage. Use a sanding block for even pressure. Power sanders can save time but be careful. Too much pressure can ruin the wood. Dust off the wood between grits for a clean surface.
Applying finishes protects and beautifies the wood. Oil finishes are easy to apply. They enhance the wood’s natural beauty. Varnishes provide a hard, durable layer. They are great for furniture. Stains add color but still show the wood grain. Use a brush or cloth to apply finishes. Follow the wood grain for best results. Allow each coat to dry completely. Sand lightly between coats for a smooth finish.
Safety Tips
Ensure proper ventilation and wear safety gear while using Sam Maloof woodworking tools. Regularly inspect and maintain tools for optimal performance and safety.
Protective Gear
Always wear safety goggles to protect your eyes. Use ear protection to guard against loud noises. Gloves are important to shield your hands. A dust mask helps you breathe clean air. Wear a protective apron to keep your clothes safe. Sturdy boots protect your feet from falling objects. Don’t forget a helmet if you’re working with heavy equipment.
Safe Tool Usage
Keep tools sharp to avoid accidents. Dull tools can slip and cause injuries. Always unplug tools before changing blades. Check cords for any damage before use. Use clamps to hold wood steady. Never wear loose clothing while working. Read the manual for each tool. This ensures you know how to use it properly. Keep your work area clean and free of clutter. This helps prevent tripping and accidents.
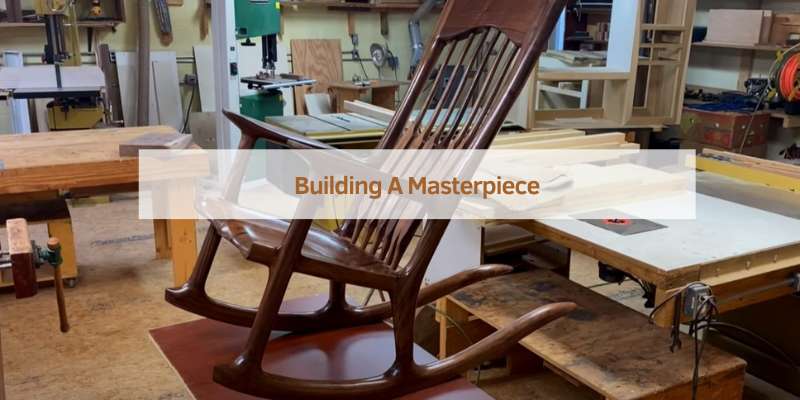
Building A Masterpiece
Planning is key to any project. Start by drawing a simple sketch. This helps visualize the end product. Gather all needed materials. Quality wood is essential. Make sure tools are in good condition. Sharpen blades for clean cuts. Measure twice, cut once. This saves time and avoids mistakes.
Follow these steps for a successful project:
- Choose the right wood.
- Prepare your tools.
- Draw your design.
- Cut the wood pieces.
- Assemble the parts carefully.
- Sand the surfaces smoothly.
- Apply finish for protection.
Frequently Asked Questions
What Tools Did Sam Maloof Use?
Sam Maloof used a variety of hand tools, including chisels and planes. He also employed power tools like bandsaws and routers. His approach combined traditional and modern techniques.
How Can I Learn Maloof’s Woodworking Techniques?
You can learn Maloof’s techniques through woodworking books, online tutorials, and woodworking classes. Many resources feature his distinctive joinery and design.
Are Sam Maloof Tools Available For Purchase?
Sam Maloof’s personal tools are not for sale. However, tools designed in his style are available from specialty woodworking stores.
What Wood Did Sam Maloof Prefer?
Sam Maloof preferred hardwoods such as walnut, cherry, and oak. These woods are durable and provide a beautiful finish for his furniture designs.
Conclusion
Sam Maloof woodworking tools embody the essence of craftsmanship. These tools offer precision, durability, and ease of use. Perfect for both beginners and experts, they elevate woodworking projects. Enhance your craft with Sam Maloof tools and experience unparalleled quality. Invest in these tools to transform your woodworking journey.