Table Saw Spline Jig: How to Build and Use One (Blade Setup)
A table saw spline jig holds a glued, mitered corner steady so the blade can cut a straight groove across the joint for a spline — a thin strip of wood that adds long-grain gluing surface a miter alone doesn’t have. Skip it and a picture frame or box corner glued only end-grain to end-grain can pull apart within a season. This guide covers building the jig from 3/4-inch plywood, setting blade height correctly, and cutting clean spline grooves without tear-out.
What Is a Spline Jig and Why Miters Need One?
Best Spline Jig Pick
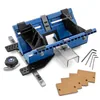 |
Rockler Deluxe Spline Jig – $129.99 Skip cutting your own plywood sled if you’d rather dial in an exact angle first try — this jig locks at 45° and other miter angles for the repeatable spline grooves the steps below walk through.
|
As an Amazon Associate we earn from qualifying purchases.
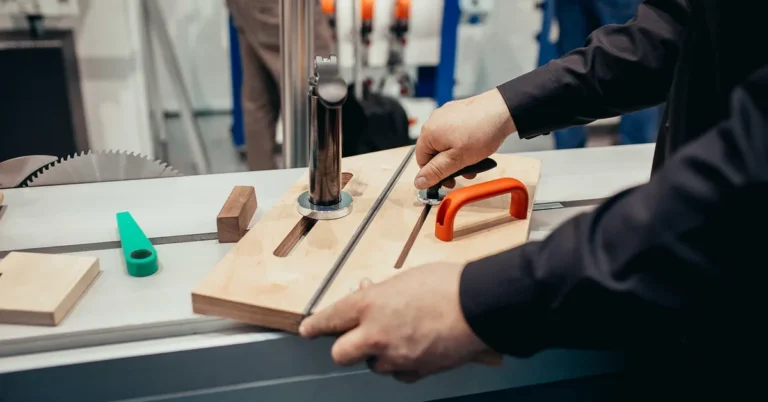
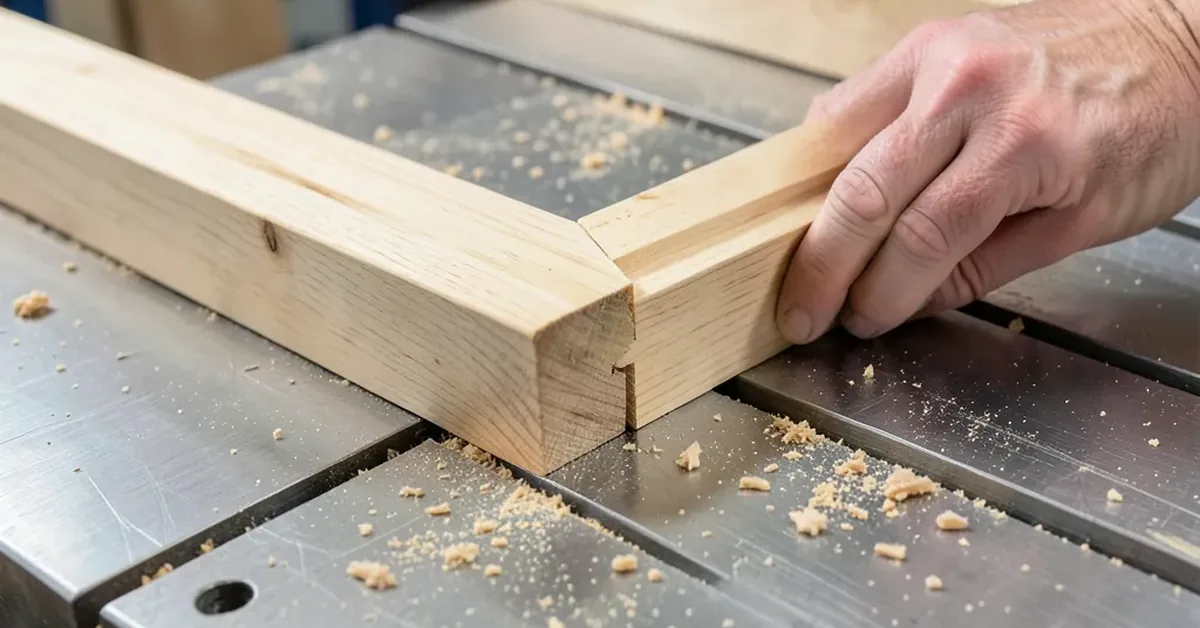
A spline jig is a shop-made or purchased fixture that rides along the table saw fence (or a router table) and holds a mitered workpiece at a fixed angle so the blade or bit cuts a straight groove across the corner. That groove is cut after the miter is glued and dry, then filled with a spline — usually 1/8 to 1/4 inch thick plywood or hardwood — and glued a second time.
- Joint alignment: holds both halves of the miter square while the groove is cut.
- Strength: adds a long-grain glue surface a plain miter doesn’t have.
- Precision: produces the same groove depth and position on every corner.
📊 A standard 45° miter is mostly end-grain to end-grain contact, and wood glue bonds poorly to end grain — the joint needs a spline, biscuit, or corrugated fastener for real strength on anything beyond a light picture frame. Source: Miter joint, Wikipedia
How to Build a DIY Table Saw Spline Jig
A shop-made spline jig costs under $15 in plywood and hardware and takes less than an hour to build. Here’s what you need and how to put it together.
Materials You’ll Need
- Plywood: 3/4 inch thick, for durability.
- Wood screws: to hold the base and fence together.
- Wood glue: for added strength at the joints.
- Measuring tape and square: for accurate layout.
- Table saw: to cut the jig pieces and, later, the splines.
- Clamps: to hold the jig square while it’s assembled.
Step-by-Step Construction
- Cut the base pieces: cut two 3/4-inch plywood rectangles, roughly 12×24 inches.
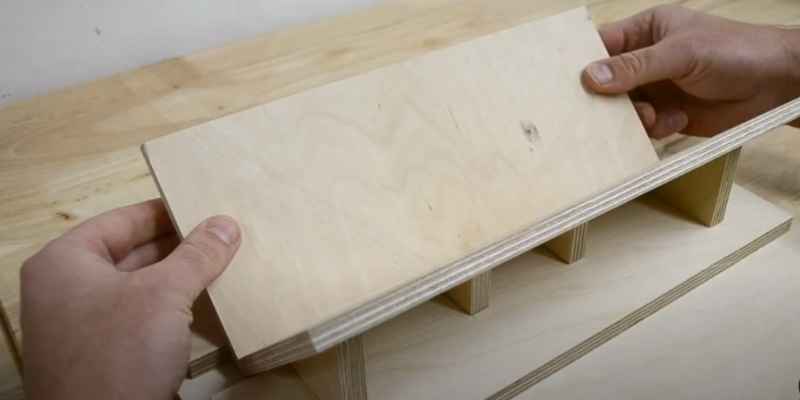
- Cut the V-cradle: cut a 90-degree notch into one edge of a support block so a mitered corner sits point-down.
- Assemble the base: attach the plywood pieces at a right angle with glue and screws.
- Mount the cradle: center the V-cradle on the base so the miter’s point lines up with where the blade will pass.
- Clamp and let dry: hold everything square with clamps until the glue cures.
- Test on scrap: run a scrap mitered corner through before cutting a real project.
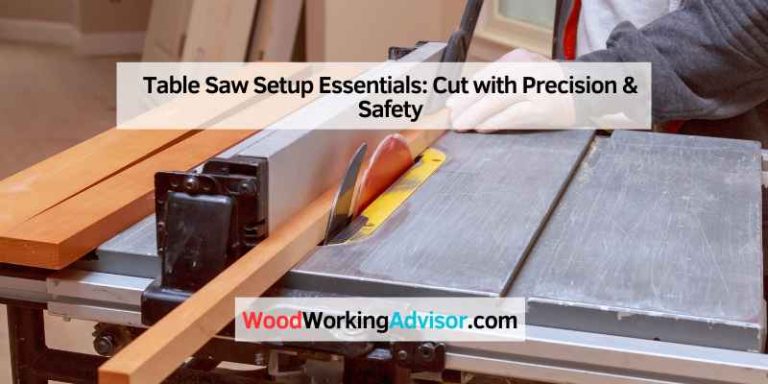
Setting Up Your Table Saw for Spline Cuts
Creating a clean spline groove starts with safe, precise saw setup, not the cut itself.
Safety First
- Clear the area of tools and debris before starting.
- Wear safety goggles and hearing protection.
- Keep hands clear of the blade path — the jig, not your fingers, should ride against the fence.
- Check that the saw blade is sharp and clean before cutting.
Blade Height and Fence Alignment
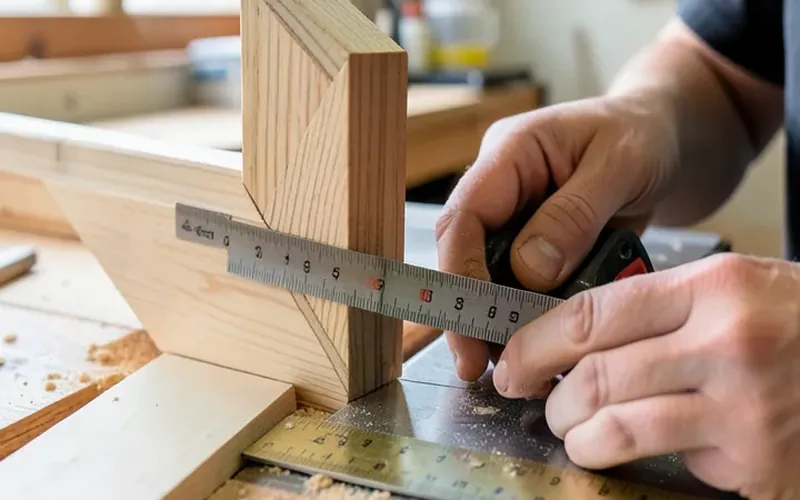
Set the blade height to leave roughly 1/16 to 1/8 inch of uncut wood at the inside corner of the miter — cutting all the way through weakens the tip and can blow it out when you glue and clamp the spline. Confirm the fence is parallel to the blade before running the jig through.
| Adjustment | Action | Tool Needed |
|---|---|---|
| Blade height | Leave 1/16–1/8 in. uncut at the tip | Ruler |
| Fence alignment | Set parallel to the blade | Square |
| Jig cradle | Center on the blade path | Tape measure |
Cutting Perfect Spline Grooves (and Fixing Tear-Out)
Once the jig and saw are set up, the cut itself is simple — but a few habits separate a clean spline from a chipped one.
- Use a zero-clearance insert: it supports the wood fibers right at the blade and cuts tear-out significantly.
- Cut with the grain, not against it: reduces splintering at the exit side.
- Score before the full-depth pass: a shallow first pass followed by a full-depth second pass prevents the top edge from chipping.
- Sand the spline slot lightly: smooth edges improve glue adhesion.
“A scored first pass with the blade raised only about 1/16 inch, then a full second pass at final depth, is what stopped the chipped-corner problem on the maple frames we build most often — trying to take the whole groove in one pass on hardwood almost always tears out the top edge.”
| Blade Type | Best For |
|---|---|
| Fine-tooth crosscut blade | Cleanest spline grooves, least tear-out |
| Combination blade | Acceptable for softwoods and shop jigs |
| Ripping-style blade | Not recommended — leaves a rougher groove |
Creative Uses for Spline Joints
Splines aren’t just structural. Cut them from a contrasting wood — walnut splines in a maple frame, for example — and they become a visible design detail on picture frames, decorative panels, and tabletop corners. Because they land on end-grain, splines also help keep mitered pieces aligned during glue-up, and the added surface area makes the joint more resistant to seasonal wood movement than a plain miter. For deeper background on how splines compare to other reinforcement options, see our guide on wood joint types and their strength, and our guide to cutting gap-free miter joints for the cut that comes before the spline.
Frequently Asked Questions
What size spline should I use for a table saw jig?
Use 1/8-inch plywood or hardwood spline stock for picture frames and light boxes, and step up to 1/4-inch spline stock for larger boxes, cabinet corners, or anywhere the joint sees real weight or stress. The spline thickness should roughly match the width of the saw kerf that cuts it, so a standard 1/8-inch kerf blade pairs with 1/8-inch spline material.
How do you use a spline jig on a table saw?
Clamp the glued-and-dried mitered corner into the jig’s V-cradle so the joint’s point faces the blade, set the blade height to leave a thin land at the inside corner, then slide the jig along the fence through the blade in one steady pass. Rotate the workpiece 90 degrees and repeat for a second spline if the corner is wide enough.
Can you cut splines without a dedicated jig?
Yes — a miter gauge with an auxiliary fence and a stop block can hold a mitered corner at 45 degrees for a spline cut, but it’s harder to repeat exactly on multiple corners. A dedicated spline jig (shop-made or purchased) holds the angle fixed, which matters most once you’re cutting more than one frame or box.
Why is a spline joint stronger than a plain miter?
A plain 45-degree miter is mostly end-grain to end-grain contact, and wood glue bonds poorly to end grain. A spline crosses that glue line at roughly 90 degrees and gives the glue two long-grain surfaces to bond to instead, which is why splined miters hold up far better through seasonal wood movement.
Conclusion
A table saw spline jig turns a plain, end-grain-heavy miter into a joint that can actually take a season of wood movement without opening up. Build one from scrap plywood for occasional use, or step up to an adjustable jig if you’re cutting frames and boxes regularly — either way, the blade-height and grain-direction habits above are what separate a clean spline from a chipped one.
Sponsored / affiliate links. As an Amazon Associate I earn from qualifying purchases. I may earn additional commission from eligible campaigns.