Table Saw With Stand: What to Look For (Real Rip Capacity Specs)
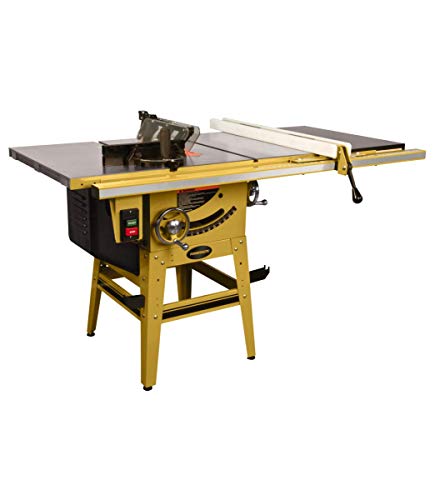
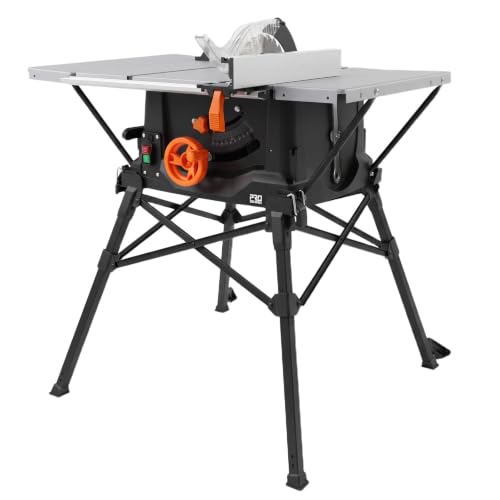
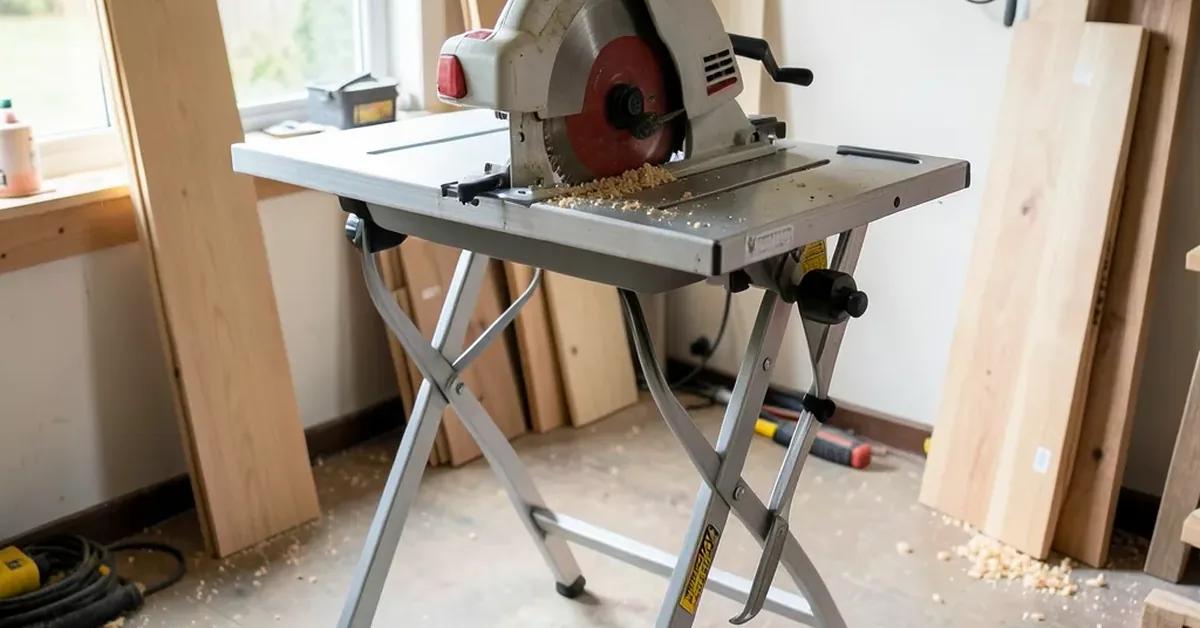
A table saw with a stand pairs a jobsite-capable saw with a folding base built for the same saw’s footprint — unlike a shop-built stand, the fit is engineered, not improvised. Skip a rated stand and you risk a saw that racks or tips under rip pressure. This guide covers picking the right saw-and-stand combo, real rip-capacity numbers, safe setup, and the maintenance that keeps cuts accurate.
What Makes A Table Saw With Stand Worth It
Best Table Saw With Stand Pick
 |
DEWALT DWE7491RS 10″ Table Saw with Rolling Stand – $599.00 A 32-1/2″ rip capacity covers full sheet goods, and the stand folds with built-in wheels — the exact combination this guide’s setup and portability sections are describing.
|
As an Amazon Associate we earn from qualifying purchases.
A table saw with a matched stand solves two problems at once: it gives you a flat, vibration-resistant cutting surface, and it folds down for transport or storage in a way a fixed cabinet saw never will.
| Benefit | Why it matters |
|---|---|
| Stability | A stand rated for the saw’s weight prevents wobble and walking during a rip cut |
| Portability | Folding stands collapse for transport between jobsites or storage in a garage |
| Working height | Most stands set the table around 32-36 inches, reducing back strain versus a bench-top setup |
Pairing your table saw with its rated stand (rather than a generic sawhorse) is what actually delivers on accuracy and safety — a mismatched stand undercuts both.
Choosing The Right Table Saw And Stand
Match the stand to the saw’s actual footprint and weight rating — a universal stand rated for “most saws” is a compromise, a saw-specific stand is engineered for that exact model.
- Power: 15-amp motors are standard on full-size jobsite saws and handle hardwood ripping without bogging down.
- Blade size: 10-inch is the jobsite standard; a few compact models use 8-1/4-inch blades for a lighter, smaller package.
- Rip capacity: 24-32+ inches lets you break down a full 4×8 sheet in one pass without flipping it.
- Safety features: a riving knife, blade guard, and anti-kickback pawls should all be present and reinstallable after ripping cuts.
Real Spec Comparison
| Model | Motor | Rip Capacity | Stand |
|---|---|---|---|
| DEWALT DWE7491RS | 15A, 4,800 RPM | 32-1/2″ | Folding, rolling wheels |
| SKIL TS6307-00 | 15A | Standard jobsite range | Folding stand included |
| SKIL TS6338-00 (compact) | 15A, 8-1/4″ blade | Reduced for portability | Folding stand included |
Bigger rip capacity costs weight and folded size — a full 32″+ saw breaks down sheet goods in one pass, but a compact 8-1/4″ model is easier to carry up stairs or store in a closet.
Setting Up Your Table Saw Station
A good setup starts before the saw is even unfolded: pick the spot, clear the swing radius for infeed and outfeed material, and confirm the stand locks fully before loading any weight on the table.
| Area | Recommended Space |
|---|---|
| Front (infeed) | 3-4 feet |
| Back (outfeed) | 3 feet minimum, more for long rips |
| Sides | 2-3 feet |
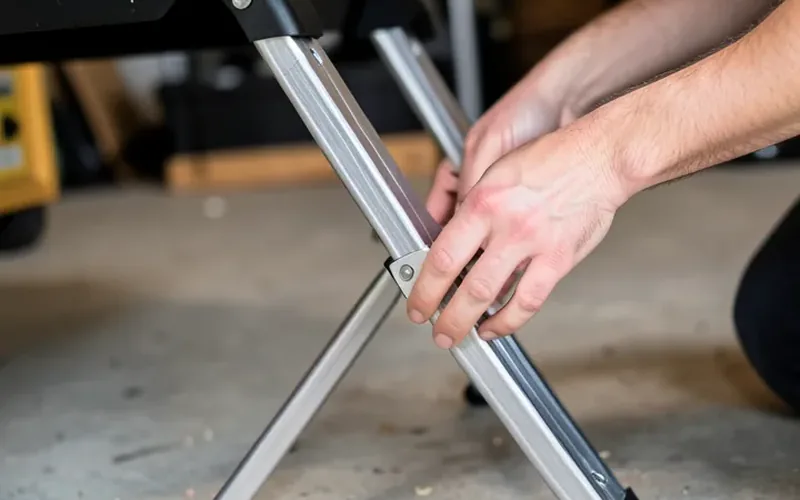
Assembly Tips
- Read the manual first: stand lock mechanisms vary by brand and model.
- Unfold the stand fully and confirm every leg lock is engaged before setting the saw on it.
- Attach the saw using the mounting points the stand provides — don’t skip fasteners to save time.
- Rock-test the table by hand before plugging in the saw.
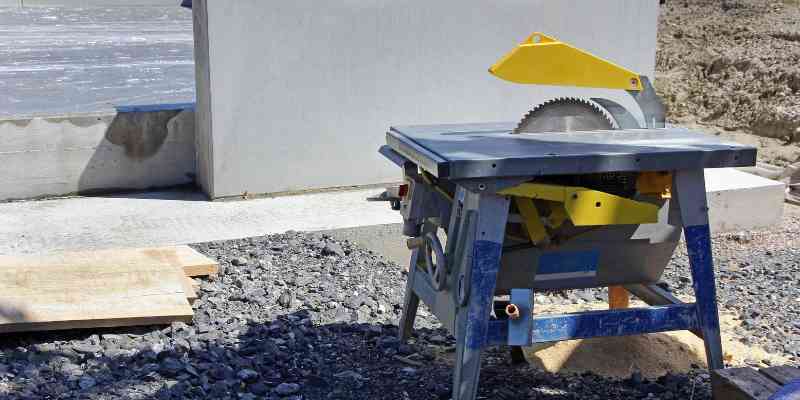
Safety First: Operating Your Table Saw
Table saws cause more blade-contact injuries than any other stationary shop tool, and nearly all of them are avoidable with the guard installed and a push stick in hand.
📊 An estimated 33,400 table saw injuries were treated in U.S. emergency departments in a single year, and 92% involved blade contact. — Source: Federal Register, CPSC Table Saw Safety Standard
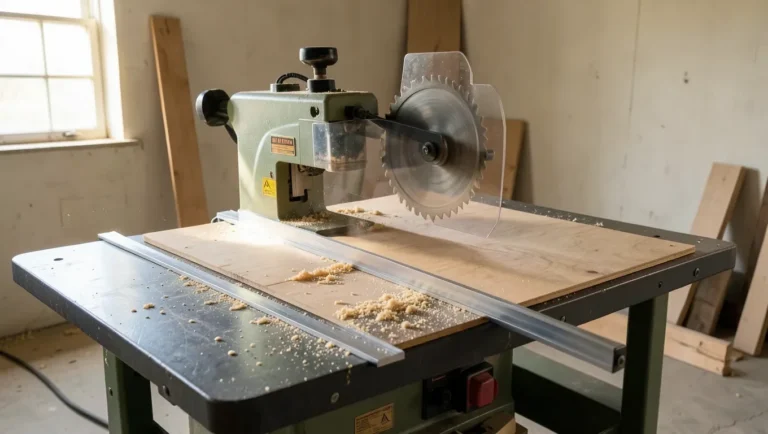
- Keep the blade guard and riving knife installed for every rip and crosscut.
- Check the blade for damage or dullness before starting.
- Confirm the stand is stable and locked before cutting.
- Never reach over the blade while cutting — feed from the side, not across.
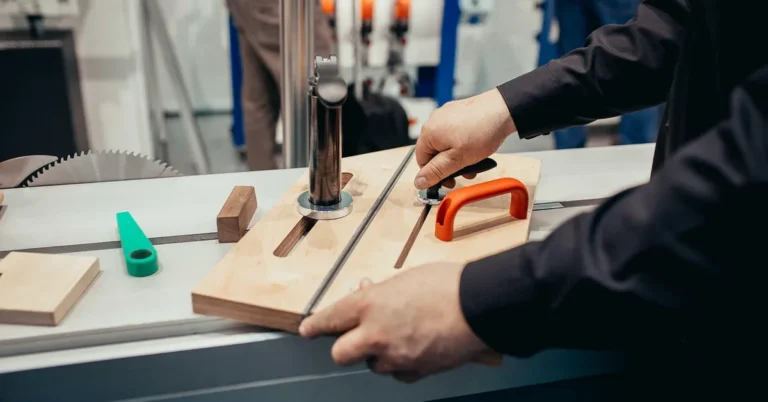
- Use a push stick for any cut narrower than about 6 inches.
- Disconnect power before changing the blade or clearing a jam.
Personal Protective Equipment
| Equipment | Purpose |
|---|---|
| Safety glasses | Protect eyes from dust and kickback debris |
| Ear protection | Reduce noise exposure during extended cutting sessions |
| Dust mask/respirator | Prevent inhalation of fine sawdust particles |
Maintenance And Care
Regular cleaning and periodic alignment checks keep cuts accurate and prevent the belt or motor issues that cause most saw downtime.
- Unplug the saw before any cleaning or adjustment.
- Brush dust from the table and stand after each use; wipe with a damp cloth to prevent rust on cast-iron tables.
- Check blade alignment monthly and fence alignment every 3 months.
| Adjustment | Frequency | Tools Needed |
|---|---|---|
| Blade alignment | Monthly | Ruler, square |
| Blade height/angle | Before each use | Wrench |
| Fence alignment | Every 3 months | Square |
Enhancing Your Saw With Accessories
A few add-ons noticeably improve accuracy and organization without replacing the saw itself.
- Crosscut sleds: keep larger panels square during crosscuts.
- Feather boards: hold stock against the fence for a consistent rip.
- Digital calipers: confirm stock thickness before setting blade height.
- Rolling tool carts: keep blades and wrenches at the saw instead of across the shop.
Troubleshooting Common Issues
Alignment Problems
If cuts start drifting off-square, check blade-to-miter-slot alignment first, then fence-to-blade alignment, then confirm the table itself is still flat and level on the stand.
Motor And Belt Issues
| Symptom | Likely Cause | Action |
|---|---|---|
| Belt squeal | Loose belt tension | Tighten using adjustment screws |
| Visible cracks/fraying | Worn belt | Replace immediately |
| Bogging under load | Dust-clogged motor vents | Unplug and clean with a brush |
Table Saw With Stand Vs. Benchtop-Only Saw
A benchtop saw with no dedicated stand costs less and stores smaller, but it depends on you supplying a stable surface every time — a sawhorse pair or a shop bench that may not be rated for the saw’s vibration and weight. A matched folding stand is a fixed cost up front that removes that guesswork on every future setup.
| Table Saw With Stand | Benchtop-Only Saw | |
|---|---|---|
| Setup | Unfold, lock legs, done | Requires a separate stable surface each time |
| Portability | Folds with built-in wheels on most models | Lighter, but needs a bench or table to sit on |
| Best for | Frequent jobsite moves, solo setup | Fixed shop space with an existing workbench |
Frequently Asked Questions
What Is A Table Saw With Stand?
A table saw with stand is a power tool that combines a saw with a sturdy, often folding, stand engineered for that saw’s footprint and weight. It provides greater stability and mobility than setting a benchtop saw on an improvised surface.
Why Should I Use A Stand For My Table Saw?
A rated stand improves stability and safety during cutting, sets the table at a comfortable working height, and folds for transport between jobsites or into storage — an improvised surface like sawhorses can’t match all three.
Can I Use A Table Saw Without A Stand?
Yes, but it’s not recommended. Without a rated stand, stability during ripping cuts may be compromised, and an unstable base is one of the more common causes of kickback and inaccurate cuts.
What Rip Capacity Do I Need For A Table Saw With A Stand?
For breaking down full 4×8 sheet goods in one pass, look for at least 24-32 inches of rip capacity. If you mostly cut smaller stock, a compact saw with reduced rip capacity saves weight and folded storage size.
Are Table Saw Stands Universal Or Saw-Specific?
Both exist. A saw sold as a set (like most jobsite table saws) ships with a stand engineered for that exact model’s mounting points and weight. Separately-sold “universal” stands fit a wider range of saws but are rated for a weight range rather than one specific model.
How Do I Choose The Right Table Saw Stand?
Match the stand’s rated weight capacity to your saw, confirm the mounting points fit, and check that the fold/lock mechanism is rated for repeated setup — not just a one-time assembly.
Conclusion
A table saw with a matched stand buys real stability and portability over an improvised setup. Pick a rip capacity that matches the material you actually cut, keep the blade guard and riving knife installed every time, and check alignment on a regular schedule. Get those right and the saw-and-stand combo holds accuracy for years of use.
Sponsored / affiliate links. As an Amazon Associate I earn from qualifying purchases. I may earn additional commission from eligible campaigns.