Tape measure calculator for accurate cuts and marks
A tape measure calculator turns a reading like 17 3/16 into a decimal or fraction you can mark directly. For layout, convert first, then transfer that number to the workpiece. Bad conversions cause off-square cuts, gaps, and parts that don’t fit. This guide shows the fastest way I use to read, convert, and mark tape measurements for accurate cuts and spacing.
How is this calculated?
Press Calculate to see the math with your numbers.
What a tape measure calculator does on the bench


On the bench, the job is plain: turn a tape reading into the form the task needs. That might be decimal inches for layout math, a fraction for a blade-side mark, or centimeters and millimeters when the plan is metric. Zo Calculator supports fraction-to-decimal conversion with 1/16″ standard precision, 1/32″ fine precision, and 1/8″ rough precision. It also converts between inches, centimeters, millimeters, and feet.
The output still depends on the input reading. A calculator cannot fix a hook that slips, a blade with worn numbers, or a tape held at an angle. If the reading is soft, the answer will be soft too. In woodworking, the aim is a mark that lands where the cut needs to land.
Why the output still depends on the input reading
If the tape is off by a hair at the start, every later mark carries that same error. A calculator will repeat the mistake in decimal or metric form. I start with a trustworthy reading, then a clean conversion, then a mark transferred with the tape still on the stock.
According to Tape Measure Calculator Pro on the App Store — Tape Measure Calculator Pro is priced at $6.99 on the App Store.
How do you read a tape measure calculator result?
Read the result in the same unit you need to mark. A result like 3.6875 inches can be read as 3 full inches plus 11/16 inch. A result like 47.25 inches is 47 inches and 1/4 inch. For layout, the decimal matters only if you can turn it back into a clear blade mark.
Reading mixed numbers like 3 11/16
Mixed numbers are common in shop work because tape blades are printed that way. The whole number gives the base inch count, and the fraction gives the extra part of the inch. For example, 3 11/16 is 3 plus 11/16, or 3.6875 inches. The same idea works for 17 3/32, 24 1/8, and any other mixed reading.
Turning decimal inches back into a mark on the blade
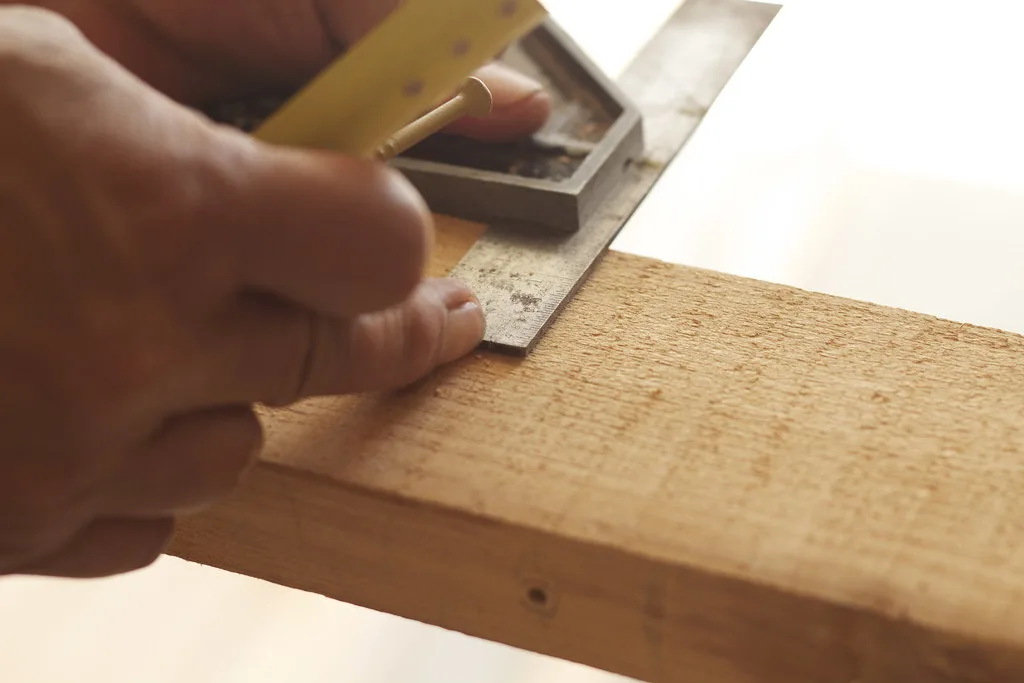
To mark from a decimal, find the closest blade division you trust, then place the line on that fraction. For a 3.6875-inch target, the mark lands at 3 11/16. For a 5.3125-inch target, the mark lands at 5 5/16. The decimal helps with arithmetic; the fraction helps with the actual pencil line.
Fraction to decimal and feet to inches
Fraction-to-decimal conversion uses the same rule every time: whole number + numerator ÷ denominator. So 1/8 converts to 0.125, 1/16 to 0.0625, and 1/32 to 0.03125. Feet-to-inches conversion is just as direct: 12 inches per foot. Five feet is 60 inches, and 2 feet 7 inches is 31 inches.
That matters when a drawing mixes units. A board called out as 6 feet 4 3/16 inches should first become inches before any arithmetic. Mixed feet-and-inches input is common on plans, so a tape measure calculator should handle it without forcing a separate conversion step.
Common shop examples
Here are quick conversions that show the pattern. 7 1/8 inches converts to 7.125 inches. 2 3/16 inches equals 2.1875 inches. 5 1/32 inches equals 5.03125 inches. If a cut list says 8 feet 2 1/2 inches, that comes to about 98 1/2 inches total.
How much rounding is safe for a cut?
Use the coarsest rounding that still fits the job. For rough framing, 1/8 or 1/4 inch may be enough. For cabinet parts, face-frame work, and matched pairs, 1/16 is usually safer. For fine layout, 1/32 or 1/64 may be needed, but only if the tape, stock, and marking method can actually hold that accuracy.
Rounding too early causes trouble. A 23.47-inch target rounded to 23.5 inches might be fine for a spacer, but not for a drawer part with tight reveal. When the result will become a cut mark, round only after deciding how much error the assembly can tolerate.
Choosing rounding for trim, framing, and layout
Trim work often accepts a little movement at the joint, so 1/16 is a sensible stopping point. Framing can tolerate more, depending on the assembly. Repeated layout, such as drilling shelf-pin rows or spacing balusters, rewards tighter rounding because the error repeats across every part.
Use the cut-mark cheat sheet for fast layout
This cheat sheet turns common tape readings into the exact blade mark you need. Use it when spacing hardware, splitting stock, or repeating cuts. If the board must be divided in half, first convert the total length, divide it, then mark the half-length directly on the tape.
| Common tape reading | Decimal inches | Metric equivalent | Exact mark location on the tape |
|---|---|---|---|
| 1/8 | 0.1250 | 3.18 mm | First 1/8 mark past zero |
| 1/16 | 0.0625 | 1.59 mm | First 1/16 mark past zero |
| 1/32 | 0.03125 | 0.79 mm | First 1/32 mark past zero |
| 3/16 | 0.1875 | 4.76 mm | Third 1/16 mark past zero |
| 5/16 | 0.3125 | 7.94 mm | Fifth 1/16 mark past zero |
| 3/8 | 0.3750 | 9.53 mm | Third 1/8 mark past zero |
| 11/16 | 0.6875 | 17.46 mm | Eleventh 1/16 mark past zero |
| 3 11/16 | 3.6875 | 93.66 mm | At 3 inches, then 11/16 past that |
| 17 3/16 | 17.1875 | 436.56 mm | At 17 inches, then 3/16 past that |
How to split stock and repeat spacing from the table
For a 36-inch shelf divided into three equal parts, divide 36 by 3 to get 12 inches. For a 29 1/4-inch opening split into two, that works out to about 14 5/8 inches each. Repeated spacing works the same way; compute once, then mark each location from the same reference edge.
- Measure the full length from the same reference edge every time.
- Convert mixed feet-and-inches to inches if the plan uses both.
- Divide, add, or subtract before marking the stock.
- Round to the smallest fraction the job truly needs.
- Transfer the mark to the board while the tape is still anchored.
How do you know the tape reading is trustworthy?
A tape reading is trustworthy only if the tool is behaving. Hook slop, bent ends, worn numbers, parallax, and a stretched blade can all move the reading enough to matter. For critical cuts, check the tape before trusting any calculator result. The calculator can convert only what the tape actually tells it.
Hook slop and bent ends
The end hook is designed to move slightly so inside and outside measurements both work. That movement is useful, but damage makes it worse. If the hook is bent, loose in a bad way, or not seating squarely on the stock, start over with another tape or measure from a fixed stop.
Worn numbers, parallax, and stretched blades
Worn print is easy to miss in poor light. Parallax happens when the eye is not directly over the blade, so the mark appears shifted. A stretched blade can be harder to spot, especially on long runs. For a quick check, compare a known dimension against a reliable straight reference before laying out parts that must fit.
A quick shop check before critical cuts
Set the tape against a known 12-inch reference and see whether the foot mark lands cleanly. Then compare a second known length, such as 24 inches, to catch a growing error. If the tape fails either check, do not trust it for finish work or repeated cuts.
Can you measure yourself with a tape measure?
Yes, but that is a different job from shop layout. For woodworking, the key question is whether the tape can give a reliable length for the stock, not a body measurement. A calculator can convert body-style input, but that use case is separate from cut marking and should not distract from layout accuracy.
Can i measure feet with a tape measure
Yes. A tape measure reads feet because each foot equals 12 inches. If a board measures 6 feet 2 inches, convert it to 74 inches when you need math, then convert back if the plan wants feet and inches. That prevents mistakes when adding or dividing lengths.
How to read a tape measure in fractions and decimals
Read the whole inch first, then the fractional tick after it. A tape measure calculator can convert that fraction to decimal inches so you can add, subtract, or divide it. Zo Calculator includes measurement addition and dividing a tape measurement into equal parts, which is useful when one piece must be split into multiple equal sections.
Frequently asked questions
how to read a tape measure calculator
Read the result in the unit that matches the job. If the calculator returns decimal inches, convert the decimal back to the nearest blade fraction before marking the board. A result like 9.4375 inches becomes 9 7/16, which is a direct layout mark on the tape.
how to count measurement tape
Start at the hook or a fixed zero, then count the whole inches before reading the smaller marks. The longest lines are inches, the medium lines are halfs and quarters, and the shortest lines are finer fractions. Counting gets faster once the pattern is familiar, but the reading still needs a clean eye.
how to measure my height with a tape rule
Height measurement uses the same scale, but it is not the same job as shop layout. Stand flat, keep the tape straight, and read at eye level to avoid a tilted result. For woodworking, the more important habit is holding the blade square to the stock and reading without angle error.
can i measure my child’s feet with a tape measure
Yes, but that is a sizing task, not a woodworking one. The same tape can measure length, yet the result only helps if the tape is flat and the reading is taken carefully. For shop use, the better habit is to keep the tape aligned to the board edge and transfer the mark without shifting it.
where to buy tape measure for body measurements
Many stores sell soft tapes for body use, but that is separate from shop measuring. For woodworking, choose a tape with clear fractional marks and a hook that seats properly. The best tape for layout is the one you can read cleanly, trust at zero, and verify before critical cuts.
Sponsored / affiliate links. As an Amazon Associate I earn from qualifying purchases. I may earn additional commission from eligible campaigns.
 2pcs Rafter Square, 12-inch & 7-inch Carpenter Sqaure Set withWoodworking Pencil, Carpenter Measuring Layout Tool,Aluminum Alloy Triangle Ruler for Woodworking- Imperial
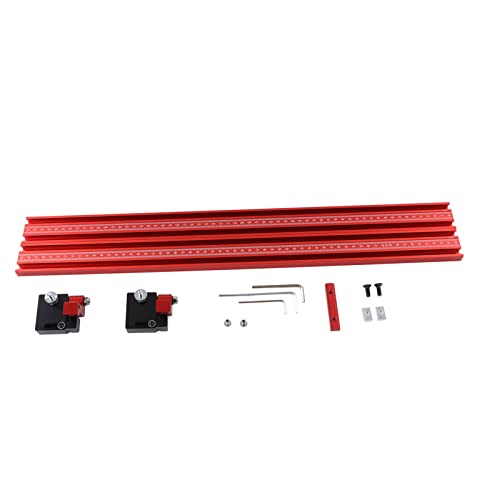 Mavaol 600mm 1200mm Aluminum Alloy Guide Rails, Accurate Cuts, Smooth Adjustment, for Woodworking, CNC Tables, Mitre Tables, DIY Enthusiasts