What Is Rip Capacity on a Table Saw?
Rip capacity is the maximum distance between a table saw’s blade and its fence — the widest single-pass cut it can make — running from about 20 inches on jobsite saws to 50+ inches on cabinet saws. Too little capacity means you can’t break down a full 4×8 plywood sheet without flipping it, throwing off cabinet-grade accuracy. This guide covers capacity by saw type, how much you need for common sheet cuts, and how to extend an undersized fence.
Rip Capacity by Table Saw Type
Rip capacity isn’t one fixed number — it depends entirely on the class of saw. Check our full table saw guide library if you’re still comparing saw types before you buy. The table below shows the realistic range for each.
| Saw Type | Typical Rip Capacity | Best For |
|---|---|---|
| Benchtop / Compact | 18–22 in | Small shops, DIY, tight storage |
| Jobsite | 20–25 in (rail kits stretch this further) | Portable site work, mid-size sheet goods |
| Contractor | 24–30 in | Home shops, general furniture work |
| Hybrid / Cabinet | 30–52 in | Cabinetry, breaking down full sheet goods, production shops |
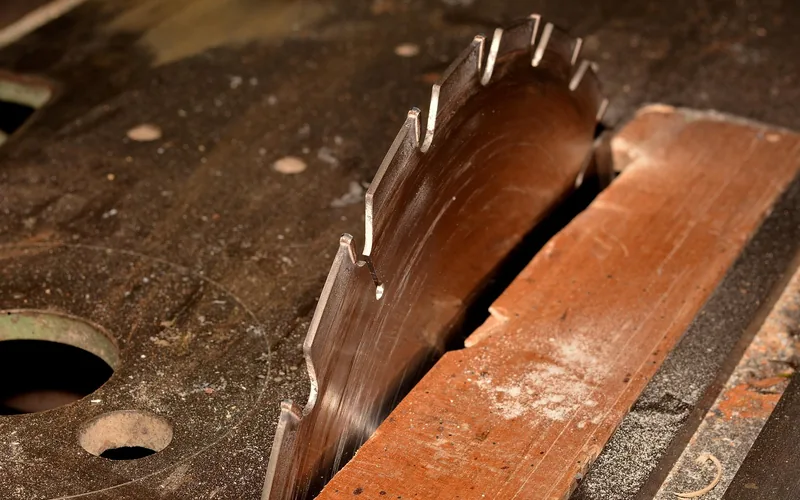
The stated number on a spec sheet is also usually optimistic. The blade housing and tilt mechanism eat into the left side of the table, so the usable rip capacity often runs slightly under the advertised figure — worth confirming on the actual saw, not just the box.
How Much Rip Capacity Do You Actually Need? (Plywood Sheet Math)
Most people searching for rip capacity aren’t buying a spec — they’re trying to break down a standard 4×8 sheet of plywood or MDF. A full sheet is 48 inches wide, so the cut you need to make dictates the capacity you actually need:
| Cut You Need | Resulting Width | Minimum Rip Capacity |
|---|---|---|
| Half a 4×8 sheet (lengthwise) | 24 in | ~24–25 in |
| Thirds | ~16 in | ~16–17 in |
| Quarters | 12 in | ~12–13 in |
| Standard shelf-depth strip | 11.25 in | ~12 in |
That’s why 24–25 inches is the practical minimum most woodworkers actually settle on: it’s the exact width needed to rip a 4×8 sheet in half in one pass. Below that, you’re flipping the sheet and cutting from both sides — workable, but it doubles the chance of a mismatched seam. If you cut a lot of thin strips or repeat-width parts, a dedicated rip-cut jig often does more for accuracy than chasing extra inches of fence travel.
“The number on the box is the least useful spec until you know what you’re actually cutting. I’ve ripped full plywood sheets on a 24-inch contractor saw for years — the trick is a wide, sturdy outfeed table so the offcut side doesn’t tip the far edge of the sheet down mid-cut.”
How to Increase Your Table Saw’s Rip Capacity
If your saw’s stock fence tops out before you need it to, you don’t automatically need a new saw. In order of least to most involved:
- Measure your real usable capacity first. Slide the fence to its farthest position and measure from the blade’s right side, not the saw’s edge — this is your true starting number.
- Check for a factory rail extension. Many jobsite and contractor saws sell an official extension rail that bolts onto the existing fence rails and adds 10–15 inches with no fence swap needed.
- Install an aftermarket rip fence system. A full replacement fence with longer rails is the most reliable way to add real, repeatable travel on a saw that’s otherwise capped.
- Add outfeed or side support. A wide sheet needs something to rest on past the table’s edge — a simple support table prevents the workpiece from tipping and binding the blade mid-cut.
- Upgrade to a cabinet saw if you regularly need 40+ inches. Past a certain point, extension rails add flex that a cabinet saw’s heavier trunnion and rail system doesn’t have.
Best Rip Capacity Upgrade Pick
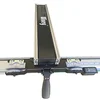
Rockler Wixey Professional Table Saw Fence System (36in Rip Capacity)
A complete professional-grade fence and rail system built to add real, repeatable rip capacity with a digital readout.
- Best for: woodworkers upgrading a capped stock fence to a full pro-grade setup
- Why we picked it: the digital readout makes repeat rip settings exact instead of eyeballing a tape measure
- Main drawback: premium price, and your saw’s table/trunnion needs to support the added rail length
Compare more rip capacity upgrade options
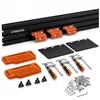 Option 1 O’SKOOL 46in Fence Extension Kit
|
 Option 2 BOW XT Xtender 36in Fence
|
 Option 3 BOW XT Xtender T-Track 46in Fence
|
As an Amazon Associate we earn from qualifying purchases.
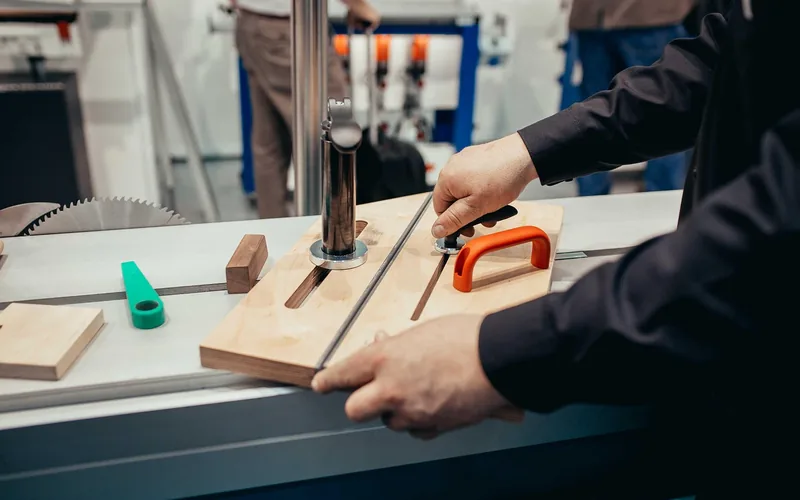
Table Saw Rip Capacity Safety Tips
A longer rip capacity means longer, heavier workpieces moving past the blade — which raises the stakes if the setup is wrong. Keep these in mind whenever you’re ripping near the edge of your saw’s capacity:
- Always use the rip fence. Freehand ripping on a wide board is how straight cuts turn into kickback.
- Support both ends of a long board with an outfeed table or roller stand — an unsupported far end can pinch the blade as it drops.
- Use a push stick or push block once your hand is within about 6 inches of the blade, especially with narrow offcuts on wide rip cuts.
- Match the blade to the cut. A dedicated rip blade with a lower tooth count clears sawdust faster on long cuts and reduces binding.
- Recheck fence-to-blade parallelism after extending a rail — an out-of-parallel fence on a long rip is what causes binding and kickback in the first place.
If a cut is wider than your saw can safely support even after extending the fence, ripping that piece without a table saw is a legitimate option for a one-off oversized cut rather than forcing it past the saw’s real limits. For more on the tool itself, see Wikipedia’s table saw overview.
Frequently Asked Questions
What is a good rip capacity for a table saw?
For most home woodworkers, 24–25 inches is the practical target — it’s the minimum needed to rip a standard 4×8 plywood sheet in half in one pass. Cabinetmakers and production shops who need full-sheet capacity in one direction look for 30–52 inches instead.
How do I increase the rip capacity of my table saw?
Start with a factory rail extension if your saw’s manufacturer sells one, or install an aftermarket rip fence system with longer rails for a bigger, more permanent increase. Add outfeed support so the extra-wide workpiece stays flat and doesn’t bind the blade.
What’s the difference between rip capacity on a jobsite saw and a cabinet saw?
Jobsite saws typically run 20–25 inches because their fence rails and tables are built to fold up and travel. Cabinet saws are stationary, heavier machines with rails that can extend to 50+ inches without the added length flexing under load.
How much rip capacity do you need to cut a 4×8 sheet of plywood in half?
You need at least 24–25 inches of usable rip capacity to split a 48-inch-wide sheet into two 24-inch halves in a single pass. Less than that, and you’ll need to flip the sheet and cut from both sides, which risks a mismatched seam.
Is 24 inches of rip capacity enough for most woodworking projects?
Yes, for most furniture, cabinetry, and general shop projects, 24 inches covers the majority of cuts, including halving a full plywood sheet. It falls short only for woodworkers who regularly need to rip a full sheet’s width in a single, un-flipped pass.
Conclusion
Rip capacity is simply how wide a cut your table saw can make in one pass, and the right number depends on what you actually build. Match the saw type to your real cutting needs — 24–25 inches for most home shops, 30+ for regular full-sheet work — and you’ll rarely think about the spec again.