When Using a Portable Band Saw, Make Sure the Stop Is Firm
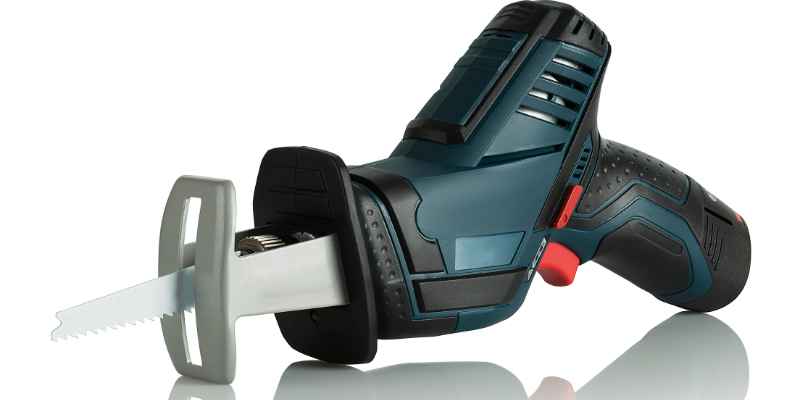
When using a portable band saw, make sure the stop is placed firmly against the object being cut – a loose or missing stop is the #1 cause of jumping cuts and blade binding. Skip that rule, or wear gloves during the cut instead of only during blade changes, and you risk a caught glove or a snapped blade – injuries OSHA and university lab-safety sheets both flag by name. This guide covers the correct PPE, the pre-cut inspection checklist, safe cutting and resawing technique, and the “no hands zone” most portable band saws mark right on the shoe.
Insert your Affiliate Disclosure reusable block here
What “Make Sure the Stop Is Firm” Actually Means
Best Portable Band Saw Blade Pick
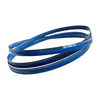
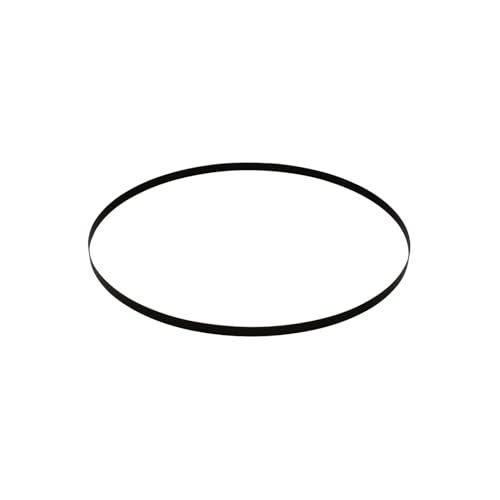
FOXBC 44-7/8″ Bandsaw Blades, 10/14 TPI (3-Pack)
A general-purpose variable-tooth blade sized for most Milwaukee and DeWalt portable band saws – the blade to inspect and replace first per the checklist above. For picks by material and cut type, see our band saw blade guide.
- Best for: Everyday wood and light metal cuts on a handheld portable saw
- Why we picked it: 10/14 variable TPI handles thin and thick stock without a blade swap
- Main drawback: Not the right tooth count for dedicated fine metal work
Compare more portable band saw safety essentials
 Option 1 Morse 811 Bi-Metal Blade, 8/11 TPI
|
 Option 2 DEWALT DPG54-1C Safety Glasses
|
 Option 3 POWERTEC Deluxe Push Stick (2-Pack)
|
As an Amazon Associate we earn from qualifying purchases.
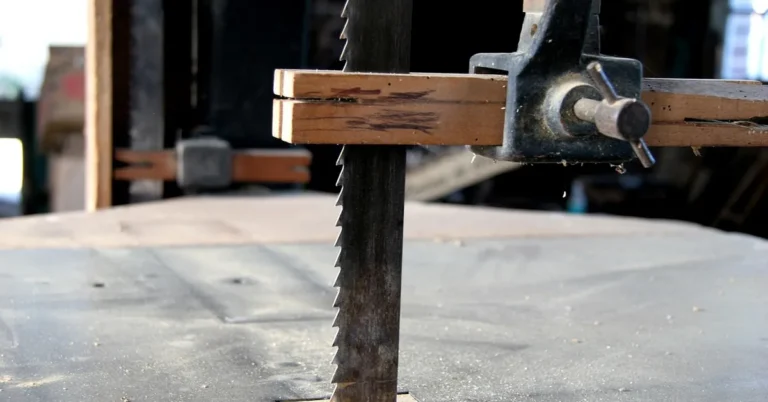
The “stop” is whatever you are bracing the workpiece against – a fence, a clamp, a vise jaw, or the edge of your sawhorse. Placing it firmly against the material does two things: it keeps the stock from shifting sideways mid-cut (a “jumping cut”), and it stops the blade from binding when the kerf closes up behind it. This single habit is the answer most safety courses and shop quizzes are actually testing for, and it is the foundation every other rule below builds on.
Once the stock is secure, everything else – hand position, feed rate, PPE – is there to protect you while the saw does the cutting it was built to do.
PPE: What to Wear (and What NEVER to Wear) at the Blade
Wear ANSI Z87.1-rated safety glasses or goggles for every cut, hearing protection for extended use, and a dust mask when cutting produces fine particles. Skip loose clothing, dangling jewelry, and long sleeves – all three are documented catch hazards on moving blades.
Gloves are the one item most articles get backwards. A university band saw safety guideline lists “hair, clothing, and gloves” together under items to keep away from moving parts – because a glove can be pulled into a running blade exactly like a sleeve can, taking your hand with it. Gloves are correct only when the saw is unplugged: changing the blade, clearing debris, or handling stock before the cut starts. Once the trigger is pulled, bare, dry hands with good grip give you more real protection than a glove that can be grabbed.
Keep your hands at least 3 inches from a moving blade as a baseline, and treat 4 inches as the stricter margin cited in OSHA band saw safety training material. Most portable band saws also mark a “no hands zone” directly on the saw shoe or table – a boundary line showing exactly how close is too close. Check for it before your first cut; it is faster than mentally tracking inches while the saw is running.
| Situation | Gloves? | Why |
|---|---|---|
| Blade is moving, mid-cut | No | Fabric can be grabbed by the blade and pull your hand in |
| Changing or inspecting the blade (unplugged) | Yes | Protects against sharp teeth with no moving-part risk |
| Handling rough or hot-cut metal stock | Yes, briefly | Only while stock is stationary and saw is off |
| Feeding the workpiece through a running cut | No | Bare, dry hands keep full feel and grip near the blade |
Before You Cut: Inspect the Saw and the Blade
Before using a portable band saw, inspect it every single time – not just when something feels off. Check that the blade is sharp, clean, and has no cracks; a dull or damaged blade is more likely to snap or wander off-line. Confirm the blade teeth point toward the shoe (flip the blade inside out if they do not), and check that tension is set correctly – too loose and the blade jumps the wheels, too tight and it wears out fast and runs hot.
Check the cord, plug, and guard as carefully as the blade. If the grounding plug is missing, the cord is damaged, or the saw is visibly misaligned, do not use it – tag it out and get it repaired first. Make sure the switch is in the off position before you plug in, so the saw cannot start unexpectedly. All guards should be in place and functioning; a missing or bypassed guard is not worth the shortcut.
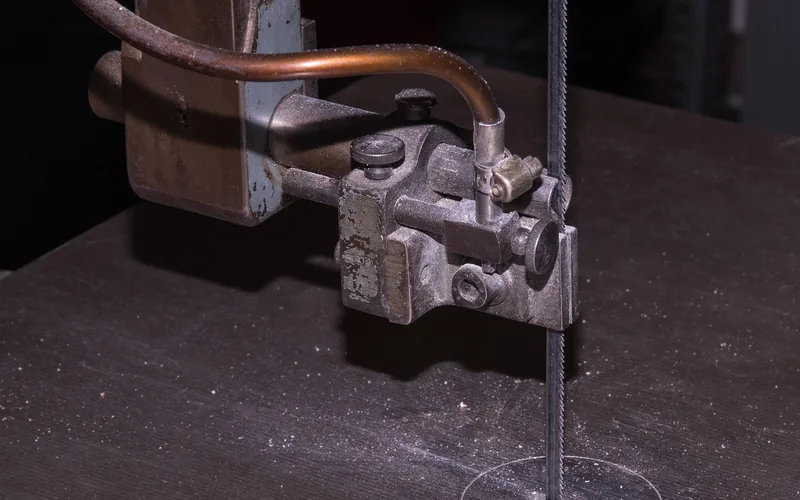
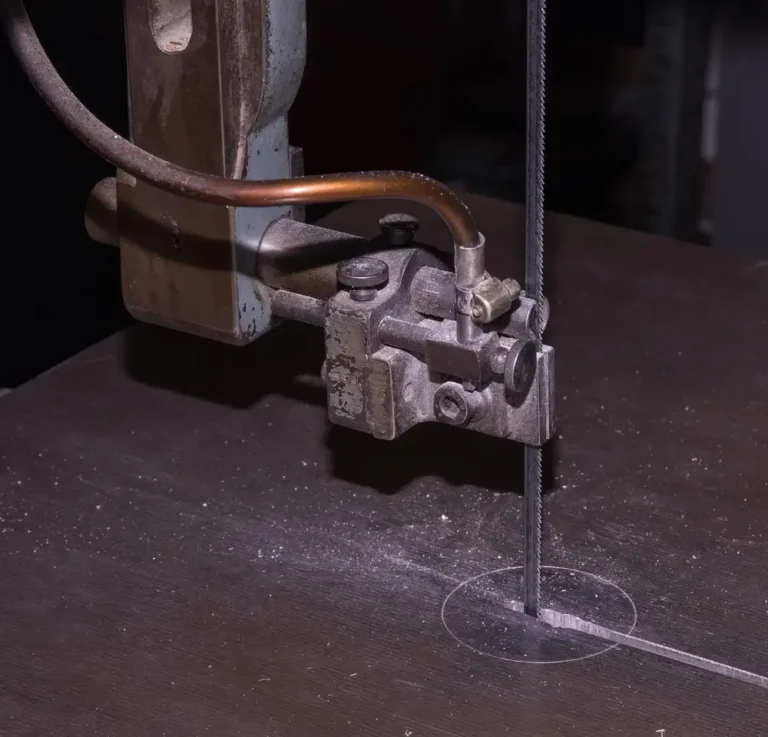
Never adjust the blade, guides, or workpiece while the saw is still running or coasting down – wait for a complete stop, and unplug the saw before making any adjustment. This single habit prevents most of the “I thought it had stopped” injuries reported in shop safety logs.
Portable Band Saw Blade and Safety Gear Pick
If you are still deciding which portable band saw, check handling and blade compatibility by brand first. Already own one? Here is what to inspect and replace before your next cut.
Safe Cutting Technique, Step by Step
- Scribe the cut line: mark the workpiece with a ruler, marking gauge, or combination square so you have a clear line to follow.
- Secure the stock: clamp the material or place the stop firmly against the object being cut so it cannot shift.
- Bring the blade to the line: with the saw off, lower the blade to the workpiece to check the cutting path before starting.
- Start the saw and let it reach full speed: squeeze the trigger and give the blade a second to come up to speed before it contacts the material – this avoids the wobble that causes off-line starts.
- Feed smoothly, do not force it: guide the material through at a moderate, steady speed with both hands on the saw. If it bogs down, slow the feed rate rather than pushing harder.
- Let the cut-off piece move freely: once the cut finishes, the offcut should be free to swing sideways rather than pinching the blade – this lets the blade stop cleanly instead of binding.
For small workpieces, use a push stick instead of your fingers to guide the last few inches through the cut – the same rule that applies to a table saw or router table applies here.
Don’t Cut These: Small, Round, or Irregular Stock
A portable band saw’s small blade is not built for very small items like thin rods or wires – the blade can break under that kind of narrow, high-pressure contact, and a broken blade is one of the few failure modes on these saws that has no built-in containment. Cylindrical or irregularly shaped stock is just as risky: without a flat, clamped surface, the material can twist, roll, or bend the blade mid-cut. Clamp round stock securely and confirm the blade is properly aligned before you start.
Resawing and Tight Curves: What Changes
Resawing – splitting a thick board into thinner ones – asks more of the blade and the setup than a straight crosscut. Keep blade tension correct: too loose and the blade can jump the wheel or wander off-line; too tight and it wears out fast and runs hot. A fence or guide keeps the board from wobbling, and a featherboard clamped to the table holds the stock against that fence for you, which is a safer way to keep pressure on the workpiece than trying to hold it steady by hand near a long resaw cut.
PPE for resawing is the same as any other cut – eye protection every time, gloves only when the saw is off. When cutting tight curves, make relief cuts first: a series of small release cuts that let you remove material gradually instead of forcing the blade to twist through a sharp radius it was not designed to follow.
After the Cut: Guards, Storage, and Cleanup
Never leave a portable band saw running unattended, even for a few seconds – turn it off and unplug it before you step away or make any adjustment. Confirm the blade guard is back in place before storing the saw, clean sawdust and debris off the tool with a damp cloth, and store it somewhere dry and out of the way of foot traffic. A clean, well-lit work area matters as much for the next cut as it did for this one – clutter and debris around the saw table are their own tripping and snag hazard.
If the saw stops cutting straight or bogs down, check tension and blade sharpness first; a dull or loose blade is the most common cause. Turn the saw off and unplug it before investigating, and if the blade has come off the wheels or you cannot troubleshoot the problem safely, get it serviced rather than forcing a fix.
Frequently Asked Questions
When using a portable band saw, what should the stop be placed firmly against?
The stop should be placed firmly against the object being cut. This keeps the workpiece from shifting during the cut, which is what prevents jumping cuts and blade binding, and it gives you consistent control over the cutting path.
Should you wear gloves when using a portable band saw?
No, not while the blade is moving. Gloves can be caught by a running blade and pull your hand in, which is why safety sheets group gloves with loose clothing as items to keep away from moving parts. Gloves are fine, and recommended, only when the saw is unplugged – for example while changing the blade.
How far should your hands be from the blade?
Keep at least 3 inches of clearance as a baseline, with 4 inches cited as the stricter margin in OSHA band saw safety training material. Use a push stick to guide small workpieces through the last few inches instead of your fingers.
What is the “no hands zone” on a band saw?
It is the boundary marked directly on the saw table or shoe on many band saws, showing the area around the blade where hands should never enter during a cut. Check your specific saw for this marking before your first cut – it removes the guesswork of judging distance by eye.
What precautions should you take when using a band saw?
Inspect the saw and blade before every use, place the stop firmly against the object being cut, avoid cutting very small or irregular items, use relief cuts for sharp curves, and never leave the machine running unattended. Keep hands clear of the blade, wear eye protection, skip gloves during the cut, and make sure all guards are in place before you start.
How do you use a portable band saw safely?
Place the stop firmly against the object being cut, keep hands clear of the blade, feed the workpiece smoothly at a moderate speed, and use a push stick for small pieces. Let the blade come to a complete stop before adjusting anything, and clean up and store the saw properly after use.
Conclusion
When using a portable band saw, make sure the stop is placed firmly against the object being cut – that one habit prevents most jumping cuts before they start. Pair it with the right PPE (glasses always, gloves only when the saw is off), a pre-cut inspection of the blade and cord, and a feed technique that lets the blade do the work, and a portable band saw is one of the more predictable power tools in the shop.
Sponsored / affiliate links. As an Amazon Associate I earn from qualifying purchases. I may earn additional commission from eligible campaigns.