Why Did My Epoxy Come Out Cloudy?
Cloudy epoxy usually comes from moisture, cold-temperature crystallization, microbubbles, or amine blush; if the haze appears while curing, wait and warm it, but if it stays cloudy after full cure, identify the cause before sanding or recoating. Leave the cause unchecked, and the surface can stay soft, milky, or peel away, wasting resin and labor. This guide shows how to tell each failure apart and choose the right fix.
What cloudy epoxy usually means
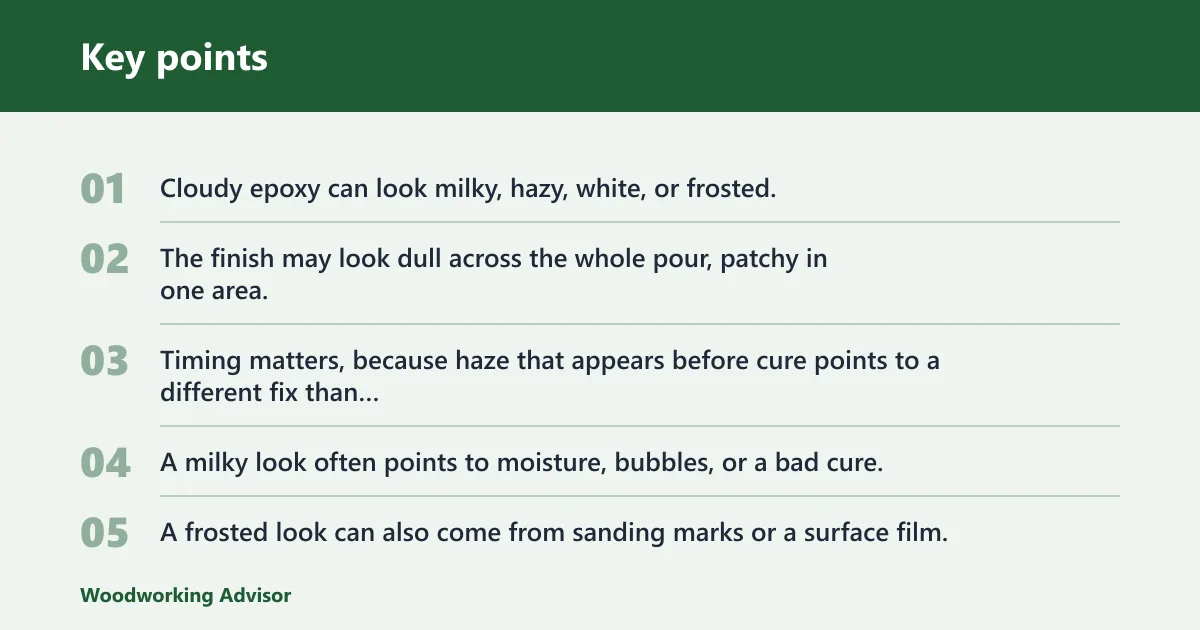


Cloudy epoxy can look milky, hazy, white, or frosted. The finish may look dull across the whole pour, patchy in one area, or cloudy only on top after the rest of the layer has cured. Timing matters, because haze that appears before cure points to a different fix than haze that appears after sanding.
Milky, hazy, white, or frosted: how to tell them apart
A milky look often points to moisture, bubbles, or a bad cure. A frosted look can also come from sanding marks or a surface film. White patches at the edge of a pour often mean condensation or contamination, while uniform haze through the body of the resin suggests trapped bubbles or a resin that stayed too cold during cure.
Why the timing of the haze changes the fix
If the epoxy turns cloudy while it is still curing, the problem may still be active. If the surface looks clear at first and then turns cloudy after full cure, the issue is more likely blush, contamination, or sanding damage. If it turns cloudy right after sanding, the haze may be surface abrasion rather than a curing defect.
When cloudiness is only on the surface
Surface-only cloudiness usually wipes, washes, or sands away more easily than cloudiness inside the cured layer. If the film feels slightly greasy or waxy, suspect blush. If the surface feels dry but looks dusty and dull, the issue may be fine sanding scratches. If the cloudiness runs through the thickness, a full repair is more likely.
Why is my epoxy cloudy?
Most cloudy epoxy traces back to moisture, cold resin, bubbles, over-mixing, or contamination. The key is separating those causes by when the haze showed up and what the surface feels like. A clear diagnosis matters, because the right fix for blush is different from the fix for trapped air or a stalled cure.
Moisture from humidity or condensation
High humidity can contribute to cloudy epoxy, and the risk rises when the workspace or substrate sits near the dew point. Moisture can land on a cool tabletop, a cold mold, or a damp wood surface and get trapped under the resin. Aim for humidity below 50% if possible, especially in winter workspaces.
A common first-timer mistake is pouring epoxy onto a cool slab in a garage on a damp morning. The room may feel dry enough, but the slab can still be cold enough for condensation to form. That thin film of moisture can leave a cloudy patch or a spotty white haze after cure.
Cold resin, cold wood, and stalled cure
Resin can turn cloudy when stored or used cold. Cold resin thickens, which makes bubbles harder to release, and it can slow the cure enough to leave the surface hazy or soft. Most resin works best between 70-75°F, and most epoxies work best at 70-80°F. Below 60°F can stall curing.
Microbubbles from mixing, pouring, or thick sections
Tiny trapped air bubbles can make clear resin look milky. Aggressive stirring, fast pouring, and thick sections all raise the chance of microbubbles. A slow, controlled stirring motion helps reduce air entrainment, and thin test pours usually show bubble problems sooner than deep casts do.
Cloudy epoxy diagnosis chart
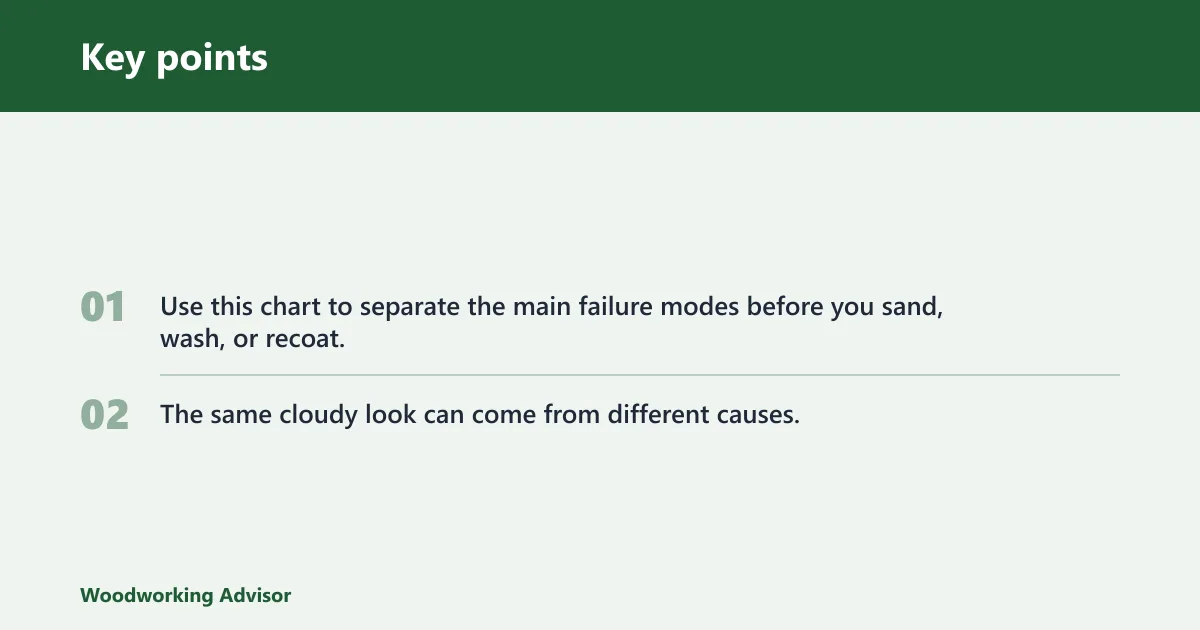
Use this chart to separate the main failure modes before you sand, wash, or recoat. The same cloudy look can come from different causes, and each one gives a different surface check.
| Symptom timing | Likely cause | Confirmation check | Safe fix | When to sand back and recoat |
|---|---|---|---|---|
| Cloudy during cure; resin feels thick or slow to level | Cold resin | Room, resin, or substrate is below the recommended range; cure is slow or stalled | Warm the area to 80°F and keep the part in range | If it stays soft or cloudy after the full cure window, sand back and recoat |
| Cloudy after a cool start or on a cold substrate | Condensation | Surface feels cool; moisture beads or a damp film appears before coating | Dry the surface fully and raise the workspace above the dew point | If moisture was trapped in the layer, remove the affected coat and reapply |
| Milky haze with many tiny dots or pin air | Microbubbles | Cloudiness looks like fine speckling, especially in thick pours or after fast mixing | Let the layer cure if sound; for a clear top layer, sand lightly and recoat | Sand back only if bubbles remain throughout the layer or break the surface texture |
| Cloudy film appears after cure and feels waxy | Amine blush | Surface feels slick or waxy; water may bead unevenly | Wash with water and soap, then dry fully | Light sanding before recoating is often needed after washing |
| Patchy haze, fisheyes, or dull spots | Contamination | Dust, oil, wet filler, or wood moisture is present on the surface or inside the substrate | Clean, dry, and abrade the surface; remove contaminated material | Sand back if the contamination is locked into the cured coat |
Is it amine blush or true cloudiness?
Amine blush is a water-soluble byproduct that can look like a cloudy or waxy film on top of cured epoxy. True cloudiness is usually inside the cured layer or comes from moisture, bubbles, or cure problems. The feel test matters: blush often feels slick or greasy, while true cloudiness usually does not.
What a waxy blush feels and looks like
Blush often shows up as a dull film, a light haze, or a slightly greasy feel. It can be uneven, with some areas looking clearer than others. If a clean cloth drags a bit or the surface feels slick after cure, blush is a likely cause.
How to wash blush before sanding
Wash the surface with water and soap, then dry it fully. That order matters, because sanding first can smear blush across the panel and force it into the scratches. After washing, inspect the finish again. If the cloudiness is gone, the layer may only need a light sand before recoating.
When blush returns after recoating
Blush can return if the next coat cures in the same cool, humid conditions. If a recoated layer clouds again, check the workspace temperature, humidity, and dew point before assuming the mix ratio was wrong. The cause may be environmental, not chemical.
Can cold temperatures make epoxy look cloudy?
Yes. Cold temperatures can make epoxy look cloudy by thickening the resin, trapping bubbles, slowing the cure, and increasing condensation risk. Most manufacturers list a working range near 70-80°F, with many products performing best around 70-75°F. A cold room, a cold board, or cold resin can all push the finish toward haze.
How cold resin traps air and thickens
Cold resin flows more slowly, so bubbles rise out less easily. That thicker flow also makes mixing less efficient, which can leave streaks or partially mixed material that cures hazy or tacky. If the container itself is cold, warm the resin and hardener to the working range before mixing so the mix flows and vents air better.
Why dew point matters in winter shops
Dew point is the condensation threshold. If the workpiece or room drops below it, moisture can collect even when the air does not feel wet. That is why a cold garage, shed, or basement can produce cloudy epoxy after an apparently careful pour. Check the substrate temperature as well as the room temperature.
Suppose a 2-foot tabletop is sealed in a basement that feels dry, but the wood panel is still cold from the night before. A clear pour can turn hazy near the edges first, because those edges cool faster and collect the first condensation.
How do I fix cloudy epoxy after it cures?
Fix the surface only after you know whether the cloudiness is on top of the cure or inside it. Wash blush, dry the part, and inspect again. If the surface is still cloudy but sound, light sanding with 320-400 grit may be enough. If the layer is soft, contaminated, or cloudy through its thickness, sand back and recoat.
Wash, dry, and recheck the surface
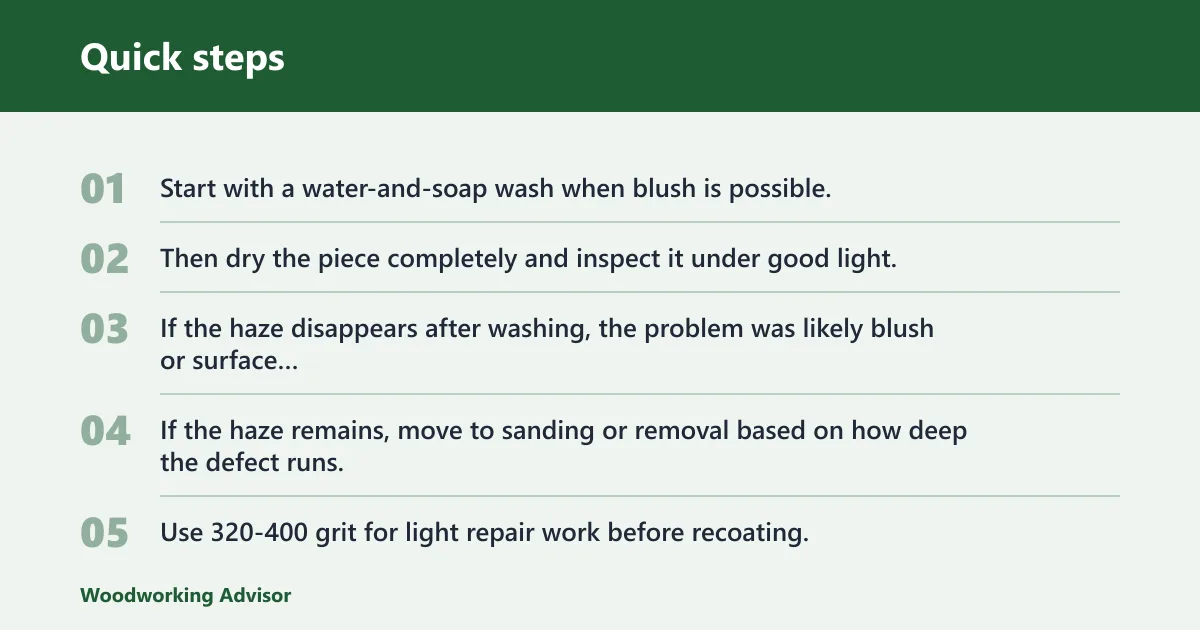
Start with a water-and-soap wash when blush is possible. Then dry the piece completely and inspect it under good light. If the haze disappears after washing, the problem was likely blush or surface contamination. If the haze remains, move to sanding or removal based on how deep the defect runs.
Light sanding with 320-400 grit
Use 320-400 grit for light repair work before recoating. That range cuts the dull film without gouging the surface. If the epoxy is otherwise sound and only needs a new coat for gloss, a careful sand followed by a clean, dry recoat is usually the least aggressive path.
When to sand back and recoat
Sand back and recoat when the cloudiness sits inside the film, when the surface stays tacky, or when contamination has been locked into the layer. Do not try to polish through a failed cure. If the layer remains milky after the full cure window, a fresh coat over a bad base can trap the problem.
Polishing clear repairs after sanding
If the surface is clear but dulled by sanding, you can polish after the epoxy has a sound cure. A common progression for polishing is 220, 400, 600, 1000, and then finer grits up to 4000. Polishing is for a cured, stable surface, not for fixing uncured resin or deep haze.
How to prevent cloudy epoxy next time
Prevention starts with temperature, moisture control, and accurate mixing. Measure the mix ratio exactly, keep the workpiece dry, and stay within the manufacturer’s temperature range. Warm resin and hardener safely before mixing if the room is cold, and avoid pouring when the substrate is near the dew point.
Measure the mix ratio exactly
Common mix ratios are 1:1 or 2:1 resin to hardener, but you need to follow the label for the specific product. Incorrect ratio can cause cloudiness, tackiness, or a cure that never fully hardens. Use clean measuring cups and a disciplined pour so the ratio stays exact.
Pre-warm resin and hardener safely
If the materials are cold, bring them into the working range before mixing. That reduces viscosity and helps bubbles escape. Do not overheat the components. The aim is a stable room and material temperature, not a hot batch that kicks too fast.
Keep the workpiece dry and above the dew point
Check the surface, not just the room. A dry-looking panel can still carry condensation if it is colder than the air around it. This matters most in winter, in garages and sheds, and on dense substrates that hold cold longer than the air does.
Mix gently and avoid entrained air
Use a slow, controlled stirring motion. Fast whipping adds bubbles, and bubbles are one of the common causes of cloudiness. Scrape the sides and bottom of the cup, but keep the motion calm. If the pour is deep or thick, plan for a longer path for air to escape before cure.
Frequently asked questions
Why did my resin come out cloudy?
Resin usually comes out cloudy because of moisture, cold resin, bubbles, contamination, or a mix ratio problem. The timing matters. Cloudiness during cure often points to temperature or air. Cloudiness after cure can point to blush, surface moisture, or a finish that needs washing before sanding or recoating.
Why does my resin come out cloudy?
Resin comes out cloudy when something interrupts clarity before the cure finishes. High humidity, a cold workspace, over-mixing, or a dirty substrate can all do it. If the surface is waxy, wash for blush first. If the resin is soft or tacky, check the mix ratio and temperature range.
Is cloudy epoxy caused by moisture or humidity?
Yes, moisture or humidity can cause cloudiness, especially when condensation forms on a cool surface or when the workspace sits near the dew point. Aim for humidity below 50% if possible. If the haze is only on the surface, drying and washing may solve it. If moisture is trapped in the layer, more repair is needed.
How do I fix cloudy epoxy resin after it cures?
Start by washing the surface if blush is possible, then dry it and inspect it in bright light. If the cloudiness is only a dull surface film, light sanding with 320-400 grit may be enough before recoating. If the haze runs through the layer or the resin stayed soft, sand back and recoat.
Sponsored / affiliate links. As an Amazon Associate I earn from qualifying purchases. I may earn additional commission from eligible campaigns.