Why Is My Nail Gun Not Shooting Nails? 5 Causes & Quick Fixes
A nail gun that won’t shoot usually comes down to one of five things: low air pressure, a jammed or misaligned magazine, a stuck trigger safety, worn O-rings, or (on cordless models) a weak battery or fouled fuel cell. Work through them in that order and most guns fire again in under ten minutes.
The fix depends on which symptom you’re actually seeing. A gun that clicks but doesn’t fire is a different problem than one that fires but leaves the nail proud, and both are different from a gun that does nothing at all when you pull the trigger. This guide walks through each cause in the order it’s worth checking, starting with the one that fixes the problem most often: air supply.
Common Nail Gun Problems
Pneumatic nail guns fail to fire for a handful of predictable reasons: not enough air pressure reaching the tool, a nail jammed sideways in the magazine or driver channel, a trigger or contact-trip safety that’s stuck in the wrong position, or worn internal O-rings that let air leak past the piston instead of driving it forward. Cordless (battery-and-fuel-cell or brushless) nail guns add two more: a battery too low to fire the solenoid, or a fuel cell that’s empty, cold, or has a dirty metering valve.
Start with the cheapest, fastest check first. Confirm the magazine actually has nails loaded and the compressor is running and connected before assuming something is broken internally — an empty magazine or a compressor that tripped its breaker accounts for a surprising share of “my nail gun stopped working” calls.
Best For Preventing Misfires
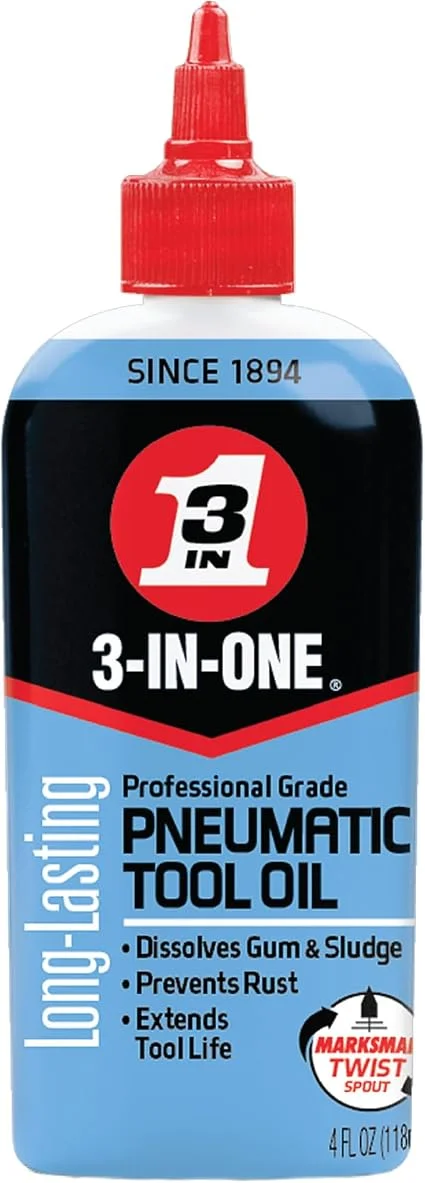 |
3-IN-ONE Professional Grade Pneumatic Tool Oil, 4 oz – $8.06 Works across brands (DeWalt, Bostitch, Hitachi, Senco, Paslode) – dissolves the gum and sludge buildup that causes weak or missed fires.
|
Checking The Air Supply
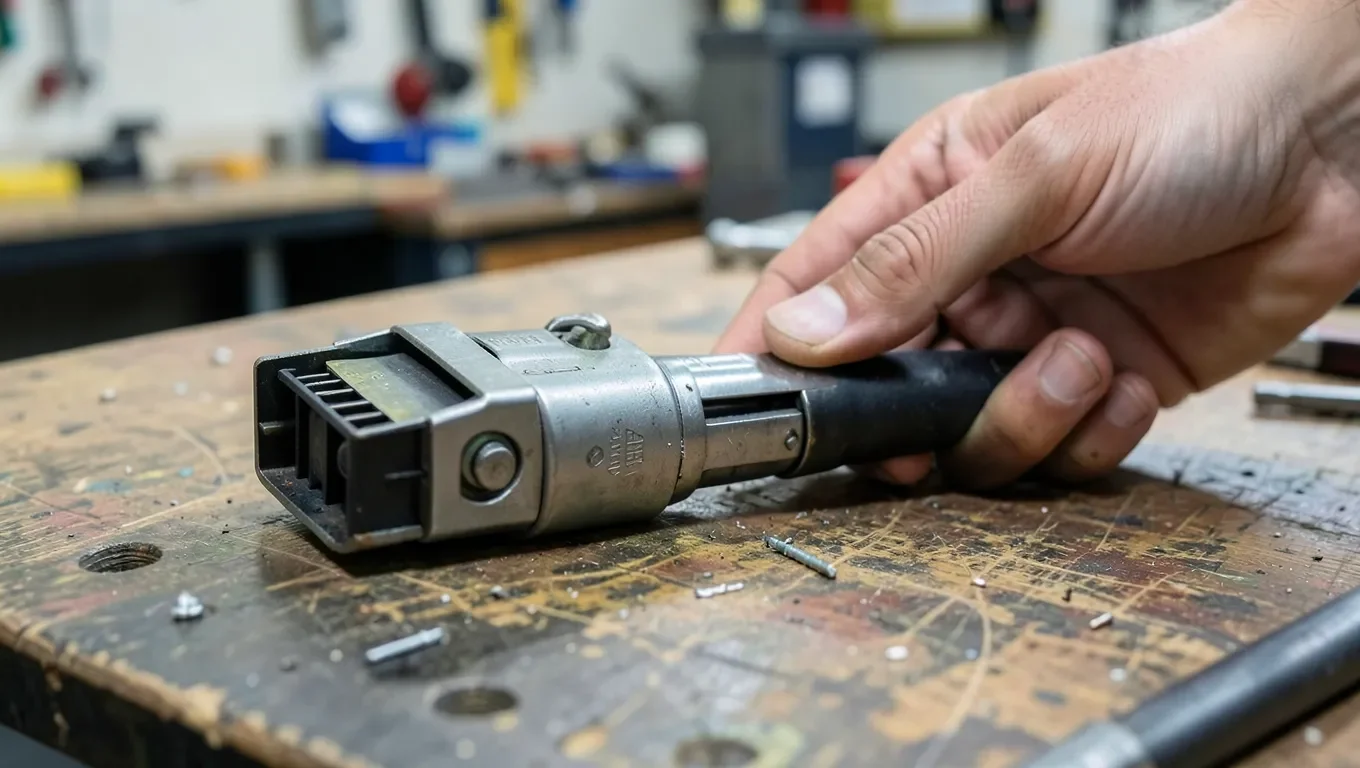
Most pneumatic nail guns need 70 to 120 PSI to cycle fully, and the exact number is printed on the tool’s data plate or manual — running below spec is the single most common reason a gun fires weakly or not at all. Set the compressor’s regulator to the manufacturer’s number, not just “high,” since overshooting the spec can blow O-rings just as reliably as running under it.
Check the hose itself next. A hose with an internal split or a loose quick-connect fitting can show correct pressure at the gauge while still starving the gun under load, because the leak only shows up once air is actually flowing. Run a hand along the hose while the compressor is under load and feel for a hiss or airflow at any fitting — a felt leak there is almost always the real cause when the gauge looks fine but the gun still won’t fire.
Inspecting The Magazine
Nails have to match the gun’s specified gauge, length range, and collation angle exactly — a 21° framing nailer will jam constantly if fed 20° or 22° collated strips, even though they look nearly identical on the shelf. Check the manual or the sticker on the magazine for the exact spec before assuming the gun itself is at fault.
Load the strip so the points face the driver channel and the strip sits flush against the pusher spring, then close and lock the magazine until it clicks. A magazine that isn’t fully latched will feed nails at an angle, which either jams the driver blade or lets the gun fire with nothing in the chamber — the “shooting blanks” symptom most people report separately from a true jam.
Examining The Trigger And Safety
Most framing and finish nailers use a sequential or contact-trip safety tip that has to be pressed flush against the work surface before the trigger will fire the gun at all — this is a safety feature, not a fault, and it’s the most overlooked reason a gun “won’t fire” even though the trigger itself feels fine. Press the tip firmly against a scrap board and pull the trigger before assuming the trigger mechanism is broken.
If the safety tip moves stiffly or not at all, sawdust and resin buildup around its pivot pin is the usual cause. A few drops of pneumatic tool oil worked into the pivot, followed by a dozen dry cycles against a scrap board, frees most stuck safeties without disassembly.
Cleaning And Maintenance
Dust and resin from framing lumber and pressure-treated wood build up inside the driver channel over weeks of use, and that residue is what eventually slows the piston enough to stop full nail seating. Blow out the magazine, driver channel, and exhaust port with compressed air after each project, and wipe visible resin off the driver blade with a rag and a little mineral spirits.
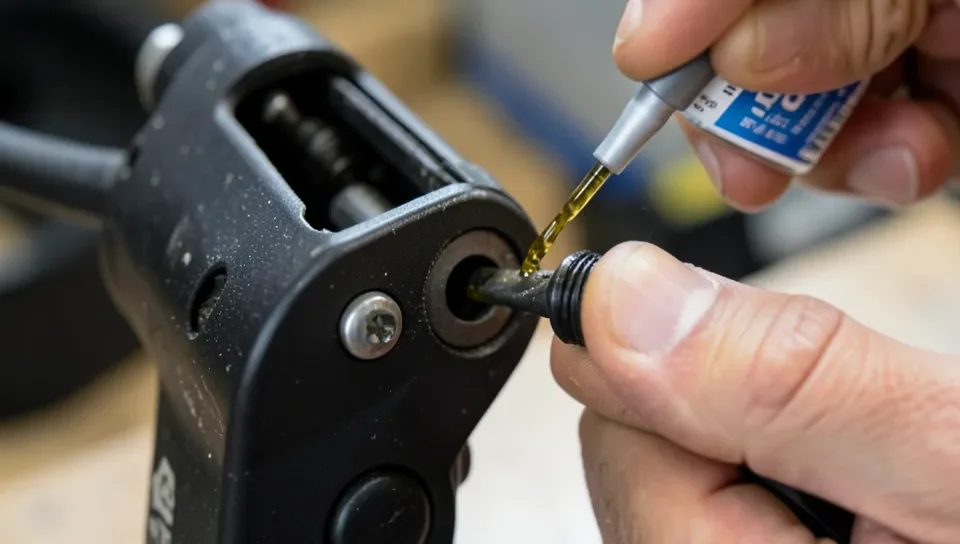
Oil-lubricated pneumatic guns need a few drops of pneumatic tool oil in the air inlet before each use — not general-purpose oil, which leaves a gummy residue that attracts more dust than it prevents. Oil-free guns (common on newer finish nailers) skip this step entirely; check your manual before oiling one, since oiling an oil-free tool can actually cause the misfire it’s meant to prevent.
Assessing The Power Source
On cordless nail guns, a battery below roughly 20% charge often has enough voltage to light the indicator LED but not enough to fire the internal solenoid or fan — the tool looks “on” but won’t shoot. Charge it fully before troubleshooting anything else; a battery issue is easy to mistake for a mechanical fault.
Fuel-cell cordless guns (Paslode-style) need the fuel cell’s metering valve clean and the cell itself above roughly 32°F to vaporize properly — a cold garage in winter is a common, non-obvious reason these guns misfire that has nothing to do with the tool being broken. On corded electric nailers, check the cord and outlet with a different tool before assuming the nailer’s motor has failed.
Replacing Worn Parts
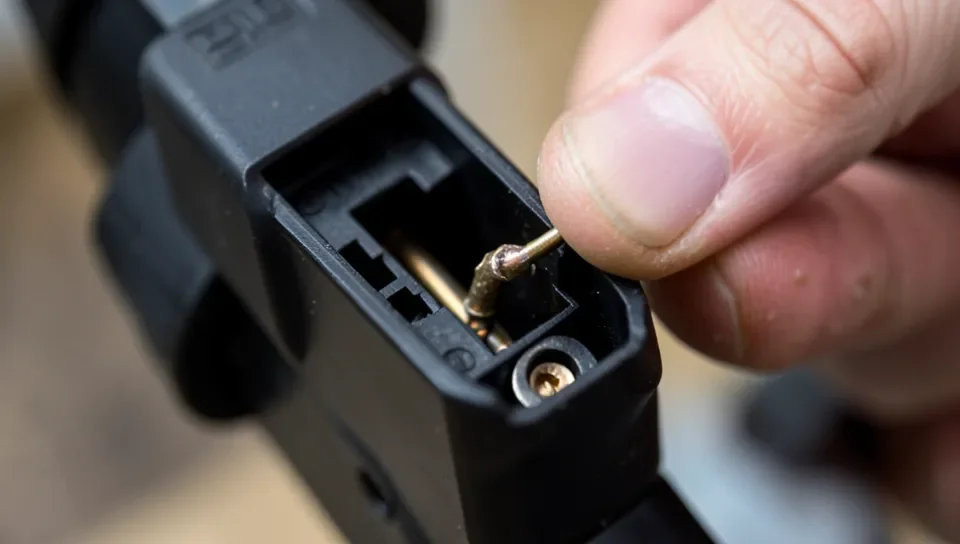
O-rings and piston seals harden and crack after roughly 1 to 3 years of regular use, and once they do, air leaks past the piston instead of driving it, which shows up as a gun that fires weakly, double-fires, or doesn’t fire at all even with correct pressure. Most manufacturers sell a brand-specific O-ring rebuild kit (DeWalt, Bostitch, Hitachi/Metabo HPT, Senco, and Paslode each have their own kit numbers) — search your exact model number rather than a generic kit, since O-ring sizes are not interchangeable across brands.
The driver blade — the metal strip that actually strikes the nail — can also chip or bend from repeated impact on knots or embedded hardware. A bent driver blade will still cycle the gun but seat nails crookedly or fail to seat them at all; sight down the blade for a visible bow, and replace it if you find one rather than trying to straighten it.
Brand-specific Quirks Worth Knowing
Some misfire causes are specific to a brand’s design rather than generic wear. Metabo HPT (formerly Hitachi) 18-gauge brad nailers commonly stop firing when the no-mar tip’s contact-trip pin gets gummed with finish overspray — a cotton swab and denatured alcohol on the tip usually restores it without any disassembly. Craftsman pneumatic framing and finish nailers, often built by a contract manufacturer rather than Craftsman itself, are more prone to trigger-valve O-ring wear within the first year than premium brands — if a newer Craftsman gun won’t fire despite correct pressure, the trigger valve assembly (not the main piston) is the first part to suspect. Senco finish nailers with a driver blade that seats nails inconsistently, rather than not firing at all, usually point to a worn bumper rather than the O-rings — the bumper absorbs the piston’s return stroke and gets mushy well before the seals fail.
Professional Help
Most misfires trace back to air pressure, a jam, a stuck safety, or basic maintenance — all fixable at the bench in a few minutes with no special tools.
When To Seek Assistance
Take the gun to a repair shop or the manufacturer if you hear a grinding or clicking noise from inside the housing, the piston won’t return after firing (a stuck-open gun is a real safety hazard), or you’ve replaced the O-rings and it still won’t hold pressure. Those point to a cracked cylinder or a bent piston rod, neither of which is a practical DIY fix.
Finding A Technician
Manufacturer-authorized service centers (listed on the brand’s own support page) know the exact O-ring kit and torque specs for that model, which matters more for pneumatic tools than it does for most other power tools. A generic small-engine or tool-repair shop can still handle it, but confirm they’ve worked on nail guns specifically before dropping one off — the internals are different enough from drills and saws that general experience doesn’t always transfer.
Frequently Asked Questions
Why Is My Nail Gun Not Firing?
A nail gun that won’t fire is usually low air pressure below the tool’s rated PSI, a jammed or misaligned nail in the magazine, or a safety tip that isn’t pressed fully against the work surface. Check those three before assuming a mechanical failure.
How Do I Fix A Nail Gun Jam?
Disconnect the air hose first, then open the magazine and driver channel to remove the jammed or bent nail. Reload with nails matching the gun’s exact gauge and collation angle, close the magazine until it locks, and test-fire into scrap wood before returning to the project.
Why Is My Nail Gun Shooting Blanks?
A nail gun shooting blanks (cycling but not driving a nail) usually means an empty or improperly loaded magazine, the wrong nail size for the gun, or a worn driver blade that’s no longer contacting the nail head squarely. Check the magazine load first since it’s the fastest fix.
How Often Should I Oil My Nail Gun?
Oil an oil-lubricated pneumatic nail gun with a few drops of pneumatic tool oil in the air inlet before each use, or at minimum daily during continuous jobsite use. Oil-free nail guns should never be oiled — check your model’s manual to confirm which type you have.
Conclusion
A nail gun that stops shooting nails almost always comes down to air pressure, a magazine jam, a stuck safety tip, worn O-rings, or a weak battery/fuel cell on cordless models — work through them in that order and most guns are back in action within minutes.
Keep the gun clean, oiled (if it’s an oil-lubricated model), and loaded with the correct nail spec, and most of these failures never happen in the first place. If you’ve worked through every step here and the gun still won’t hold pressure or fire, that’s the point to stop troubleshooting and take it to a technician rather than force it.
Sponsored / affiliate links. As an Amazon Associate I earn from qualifying purchases. I may earn additional commission from eligible campaigns.