Sam Maloof Chair Joinery: How the Signature Joint Works
Sam Maloof’s chairs stay together for decades because of one specific joint – a three-sided housed tongue-and-groove that interlocks the leg into the seat, not a mortise and tenon like most chairs use. Skip this joint and you get the wobble that plagues most shop-made Maloof-style rockers. This guide covers how the joint is actually cut, the 5-degree back-leg splay that makes it work, and how Maloof’s own method evolved from a simpler 1950s technique.
This article focuses specifically on how a Maloof chair is joined and built – for Sam Maloof’s life story, awards, and the broader history of his workshop, see our companion guide to the Sam Maloof chair.

The Maloof Joint: Construction, Evolution, and the 5-Degree Splay
Best Rabbeting Bit Set Pick
 |
Freud Rabbeting Bit Set with Bearings – $48.48 Interchangeable bearings let you dial in different rabbet depths on one bit – the same principle Maloof used with his tapered-bearing bits to cut the angled leg shoulders this guide describes.
|
As an Amazon Associate we earn from qualifying purchases.
A Housed Tongue-and-Groove, Not a Mortise and Tenon
Most chairmakers join a leg to a seat rail with a mortise and tenon. Maloof used something different: a three-sided housed tongue-and-groove (two-sided on the rocker’s back legs), cut with a ¼-inch tongue and groove. The leg’s shoulder is rabbeted so it interlocks with a matching rabbet cut into the seat rail – maximizing the glued surface area rather than relying on a single tenon shaft for strength.
The joint is assembled dry-fit first. A properly cut Maloof joint should close with a couple of light mallet taps – not a fight, and not so loose it wobbles. Maloof reinforced every glued joint with screws even though the interlocking shoulders and glue surface likely didn’t need them structurally; he built pieces meant to survive for generations, and the screws were cheap insurance.
How the Joint Evolved: The 1950s Method vs. the Later Rabbet Joint
Maloof didn’t start with the joint he’s known for. In his chairs from the 1950s and early ’60s, he clamped the two side seat rails outside-edge to outside-edge, then bored a hole centered on the seam. Once unclamped, this left a half-round socket in each rail where a lathe-turned leg was shaped to match – a much simpler approach than the interlocking joint that followed. Maloof later settled on 1/4-inch rabbeting bits to cut shoulders that let the front and rear legs interlock with the seat rails directly, which is the version reproduced in most Maloof-style builds today.
The 5-Degree Back-Leg Splay (and the Router Bit That Cuts It)
The back legs of a Maloof rocker splay inward by 5 degrees – part of what gives the chair its distinctive stance and seated comfort. Cutting an angled rabbet by hand consistently on every leg is nearly impossible, so Maloof developed matching tapered rabbeting bits with tapered bearings: the bearing itself is cut on a taper, so as it rides the leg stock the bit removes material at a 5-degree angle instead of square. The front-to-back face of the joint comes out angled automatically, without extra jigs or hand-paring.
A standard fixed-bearing rabbeting bit only cuts square shoulders. For a shop build, a rabbeting set with interchangeable/tapered bearings is the practical way to reproduce this detail without machining a custom bit.
Sculpting the Seat and Rocker Feet
The seat’s rounded, sculpted profile is shaped after the chair is glued up, not before – Maloof’s handwork blended the machine-cut joints into the finished sculptural form rather than sculpting each part separately and hoping they lined up. Coarse shaping used a bandsaw and grinding wheel to rough out the contour, then hand tools refined it.
The rocker’s curved feet are not bent solid wood – they’re bent lamination: thin strips (roughly 3/16 inch thick) are glued together over a curved form, which lets the rocker take a graceful curve without the strength loss or spring-back you’d get trying to steam-bend a single thick piece.
Tools Involved in the Joint and Seat Work
- Router with rabbeting bit set – cuts the interlocking leg shoulders
- Bandsaw – roughs out the seat contour and rocker curves before hand-shaping
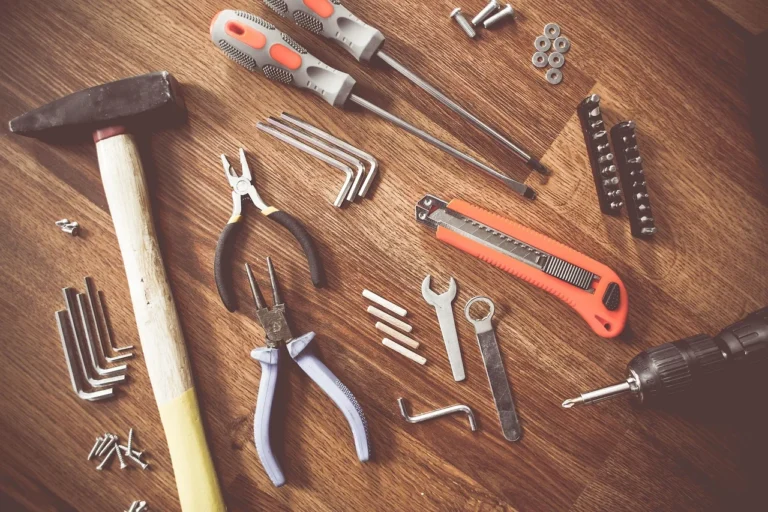
- Spokeshave, chisels, and gouges – blend the machine-cut joint into the sculpted seat by hand
- Drill press – bores screw pilot holes that reinforce each glued joint
- Bent-lamination form and clamps – glues up the thin strips that become the rocker’s curved feet
Finishing the Joint Area
Once the joints are glued, screwed, and hand-blended into the seat, sanding progresses through the grits until the transition between leg and seat is invisible to the touch. An oil finish (applied in thin coats, buffed between coats) is the traditional choice – it soaks into open grain at the joint line better than a film finish like polyurethane, which can pool and telegraph the seam.
If you’re building your own version, see our Sam Maloof rocker plans for dimensions, our Maloof chair templates for the seat and leg profiles, and our guide to hand-carving a Maloof-style rocking chair for the seat-sculpting process in more depth.

Frequently Asked Questions
Is the Maloof joint a mortise and tenon?
No. It’s a three-sided housed tongue-and-groove joint with rabbeted shoulders that interlock the leg into the seat rail, which gives more glue surface area than a single mortise-and-tenon shaft.
Why do Maloof rocker back legs splay inward?
The 5-degree inward splay on the back legs is part of what gives Maloof rockers their seated comfort and stable stance. Maloof cut it with a custom tapered-bearing rabbeting bit so the angle was consistent on every chair.
How is a Sam Maloof chair constructed?
A Sam Maloof chair is built from hardwoods like walnut or cherry, joined with the signature rabbeted tongue-and-groove leg joint, reinforced with screws, then hand-shaped and sculpted after glue-up to blend the joints into the seat’s sculptural form.
What tools are used in Maloof chair construction?
A router with a rabbeting bit set cuts the leg joints, a bandsaw rough-shapes the seat and rocker curves, and hand tools like spokeshaves, chisels, and gouges blend the machined joints into the finished sculpted seat.
How long does it take to make a Maloof chair?
Building a Maloof-style chair typically takes several weeks, including joint-cutting, glue-up, hand-shaping the seat and joint transitions, and multiple coats of oil finish with drying time between each.
Conclusion
The Maloof joint’s strength comes from housed, interlocking shoulders and generous glue surface – not a deep tenon – and the signature 5-degree splay comes from a purpose-built tapered bit, not hand-fitting each leg. Get those two details right and the rest of the build is shaping and finishing.
Sponsored / affiliate links. As an Amazon Associate I earn from qualifying purchases. I may earn additional commission from eligible campaigns.