Angled Tenon and Sloped Mortise Calculator Guide
Calculate the joint angle from the leg’s rise and run: angle = arctan(rise ÷ run), then cut the tenon and mortise to that same angle and verify with a full-size layout before sawing. Miss the angle and the stool will rock, the chair splay will fight assembly, and you will spend glue-up fixing what should have been a clean fit. This guide shows the math, the layout steps, a cut-check checklist, and a common-stock lookup table for splayed furniture joints.
How is this calculated?
Press Calculate to see the math with your numbers.
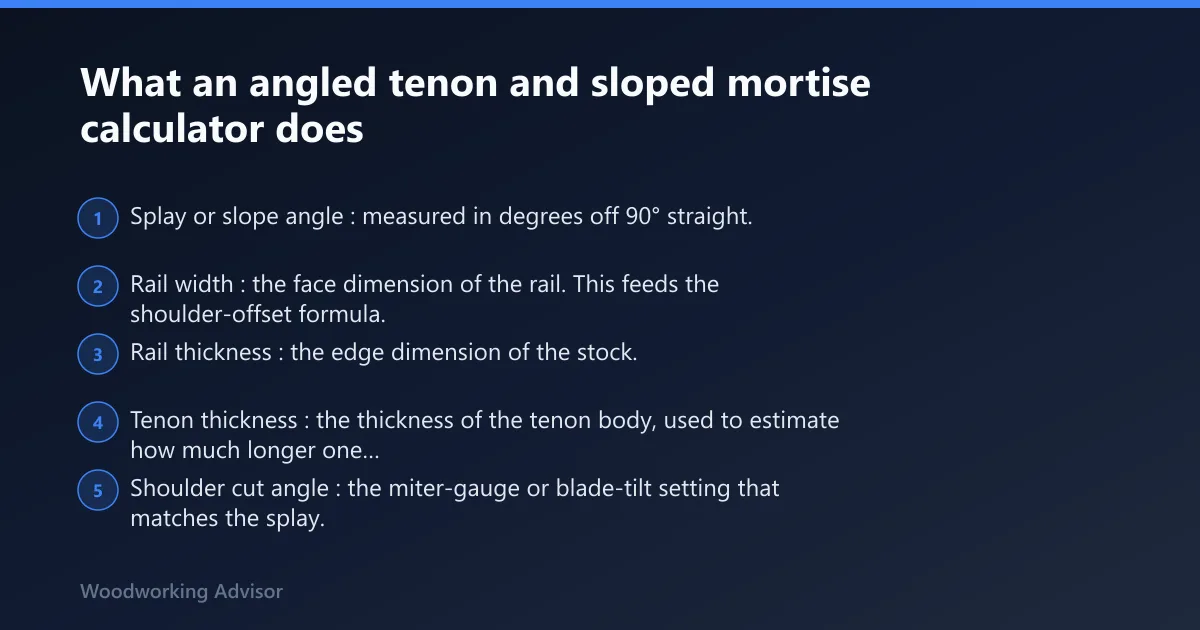
What an angled tenon and sloped mortise calculator does


An angled tenon and sloped mortise calculator lays out mortise-and-tenon joinery cut off square for splayed furniture joints. It turns a splay angle, rail width, rail thickness, and tenon thickness into shoulder angle, shoulder offset, cheek stagger, and mortise depth adjustment. That keeps the geometry tied to the stock, not to guesswork.
Square-joinery rules fail here because the joint faces are no longer perpendicular to one another. A 10° splay shifts the long point, moves the shoulder line, and changes how deep the mortise must be before the tenon bottoms out. The calculator is useful because it turns those linked dimensions into machine settings and layout marks.
The inputs the calculator needs
- Splay or slope angle: measured in degrees off 90° straight. A common chair example is 10° outward.
- Rail width: the face dimension of the rail. This feeds the shoulder-offset formula.
- Rail thickness: the edge dimension of the stock. This drives cheek stagger and mortise depth adjustment.
- Tenon thickness: the thickness of the tenon body, used to estimate how much longer one cheek becomes than the other.
What the calculator should output
- Shoulder cut angle: the miter-gauge or blade-tilt setting that matches the splay.
- Shoulder offset: the linear distance between the short and long shoulder lines.
- Cheek stagger: the top-to-bottom cheek length difference created by the angle.
- Mortise depth adjustment: extra depth so the long point does not bottom out in a standard-depth mortise.
How do you calculate an angled tenon and sloped mortise?
Start with the angle, then calculate shoulder offset from the rail width and cheek stagger from the tenon thickness. The shoulder offset uses width × tan(angle), while cheek stagger uses tenon thickness × tan(angle). Add the cheek stagger to the nominal mortise depth so the long point has room.
Shoulder offset formula
Shoulder offset = rail width × tan(angle). The angle is the splay measured off 90° straight, not the included joint angle. On a 3.5-inch rail at 10°, the offset is 0.617 inches, which is roughly 5/8 inch. That offset is the distance between the short-point and long-point shoulder lines.
How cheek stagger comes from tenon thickness and angle
Cheek stagger = tenon thickness × tan(angle). This is the extra length difference between the top cheek and the bottom cheek on the angled tenon. In the example section, that offset is shown as about 1/8 inch, which is enough to matter when the mortise is cut to a standard depth.
How to turn the math into a mortise depth target
Use the nominal mortise depth as your starting point, then add cheek stagger. That keeps the long point from striking the bottom before the shoulders close. A shallow mortise can feel fine during dry fit and still fail when clamping pressure pulls the joint home.
Worked example: A rail 3.5 inches wide, with a 3/4-inch tenon thickness and a 10° splay, gives a shoulder offset of 0.617 inches and a cheek stagger of about 0.132 inches. If the nominal mortise depth is around 1 inch, the adjusted target is about 1-1/8 inch or a bit more for clean clearance, depending on your layout knife lines and saw kerf.
What do shoulder offset, cheek stagger, and long point mean?
The long point is the shoulder corner that extends farther down the board on the splayed side, and the short point is the opposite end. Shoulder offset is the distance between those two shoulder lines. Cheek stagger is the difference in cheek length from top to bottom, and it is what keeps the long point from bottoming out.
Long point and short point on the shoulder lines
The long point sits farther down the board than the short point. That difference appears at the shoulder line, not just in the mortise. When the angle is small, the line shift can look minor on paper, then turn into the difference between a joint that closes and one that hangs up under clamp pressure.
Top cheek and bottom cheek on the tenon
The top cheek and bottom cheek are not equal on a splayed joint. One cheek stretches longer because the tenon is traveling through sloped geometry. If the cut is laid out as though the cheeks were square to the rail, the mortise ends up too short on one side.
Why the long point can bottom out if depth is short
The calculator warns that the long point can bottom out in a standard-depth mortise. That failure often shows up as a joint that almost seats, then stops hard before the shoulders meet. It may also split the shoulders open when the clamp force is increased to “fix” the problem.
How do you set up a saw for an angled tenon?
Translate the shoulder cut angle into the machine setup, then check the setting against a knife line before cutting. For a 10° splay, set the blade tilt or miter gauge to match the calculated shoulder angle, not a square-joint default. Saw calibration matters most when the angle is small, because half a degree shows up fast.
Translating shoulder cut angle into miter gauge or blade tilt
The shoulder cut angle is the machine setting that reproduces the geometry on the stock. If the calculator says 10°, set the miter gauge or blade tilt to 10° and confirm which reference your saw uses. A gauge marked from the fence side does not behave like a bevel scale marked from the blade.
Setting stops and checking calibration before the first cut
- Check the saw against a trusted square or angle block.
- Set the miter gauge or blade tilt to the calculated shoulder angle.
- Make one scrap cut and measure the shoulder line before touching the real part.
Marking knife lines so the setup matches the math
Knife lines beat pencil lines here. Mark the long point, short point, and shoulder offset on the face side, then transfer the cheek boundaries to both edges. If the saw setup and the knife lines disagree, stop and correct the machine, not the part.
How much deeper should a sloped mortise be?
A sloped mortise should be deeper than the nominal mortise by at least the cheek stagger, and sometimes a little more for glue space and a clean bottom. The long point needs room to land before the shoulders close. If the mortise is left at square-joint depth, bottoming out is likely.
Depth adjustment for chairs, stools, and tables
Chairs usually want tighter control because many joints share the same angle and load path. Stools often tolerate a bit more forgiveness, but the short stretchers can still rack if one mortise is shallow. Tables may accept more variation in looks, yet a leg joint that bottoms out will still force the top out of line.
How to avoid a long-point bottom-out in real stock
Measure the actual stock thickness before choosing depth. A tenon thickness that looks standard on paper can change after surfacing, and that changes cheek stagger. Cut the mortise a touch deeper than the math minimum when the grain is dense or the bottom of the mortise is prone to fuzzing over.
How do you mark cheek layout on an angled tenon?
Mark the long point first, then strike the short point from the calculated shoulder offset. After that, carry the cheek lines from the shoulder down the tenon at the calculated stagger. The point is to keep the layout tied to the measured face and thickness, not to a square reference that no longer fits the joint.
What the marking sequence should look like
- Mark the shoulder line and identify the long point and short point.
- Transfer the shoulder offset across the rail width.
- Strike the cheek lines using the tenon thickness and splay angle.
- Double-check that the mortise will clear the long point at full depth.
Printable reference table and scrap-test checklist
This reference table gives quick starting values for common stock. It is meant for splayed furniture joints, where the angle is measured off 90° straight. Use it as a layout aid, then confirm the exact cut on scrap before you cut the real parts.
| Rail width | Tenon thickness | Splay angle | Shoulder offset | Cheek stagger | Depth note |
|---|---|---|---|---|---|
| 2.5 in | 1/2 in | 5° | 0.219 in | 0.044 in | Shallow increase; verify fit on scrap |
| 3.5 in | 3/4 in | 10° | 0.617 in | 0.132 in | Long point needs added mortise depth |
| 4.5 in | 1 in | 10° | 0.793 in | 0.176 in | Depth adjustment becomes harder to ignore |
| 3.5 in | 3/4 in | 15° | 0.937 in | 0.201 in | Check machine calibration carefully |
| 2.5 in | 1/2 in | 10° | 0.440 in | 0.088 in | Good test case for small parts |
Three-step scrap-test verification checklist
- Cut a trial joint in scrap. Use the same rail width, thickness, and tenon thickness as the real part.
- Measure the shoulder closure. Confirm that the long point seats without crushing the shoulder or leaving daylight.
- Check mortise depth and repeat. If the long point stops early, deepen the mortise slightly and recut the test until the joint closes by hand.
Failure cases to watch for
A small angle error, even around half a degree, can show up as a shoulder that looks fine at the bench but ends up misaligned across a set of legs. On a chair, that can turn into a wobble or a twisted stance. If the mortise is undercut, the joint may seem tight until assembly force reveals the bottoming-out point.
Competitor tools often stop at the formula. That is where real parts start misbehaving. A calculator is only useful if the saw is set, the knife lines are clear, and the scrap piece proves the fit before the actual rail is cut.
What angle do you cut for a splayed leg mortise and tenon?
Cut the shoulder angle to match the splay angle measured off 90° straight. If the leg splay is 10°, set the miter gauge or blade tilt to 10° and confirm the mark on scrap. The shoulder angle is the machine setting, while the splay angle is the geometry that created it.
How do you avoid bottoming out a long-point tenon in a mortise?
Add the calculated cheek stagger to the nominal mortise depth, then test on scrap before cutting the final pieces. The long point needs clearance to land before the shoulders close, especially on dense stock or when the mortise bottom is not perfectly flat. A short mortise is one of the easiest layout errors to miss.
Frequently asked questions
How do you calculate an angled tenon and sloped mortise?
Measure the splay angle off 90° straight, then use width × tan(angle) for shoulder offset and tenon thickness × tan(angle) for cheek stagger. Add the cheek stagger to your mortise depth target. Then confirm the layout on scrap, because the long point can still bottom out if the cut is shallow.
What is the shoulder offset for a splayed joint?
The shoulder offset is the distance between the short and long shoulder lines on the rail face. The formula is rail width × tan(angle). A 3.5-inch rail at 10° gives 0.617 inches, which is about 5/8 inch, and that shift has to be transferred to the knife line, not guessed at the saw.
How do you set up a saw for an angled tenon?
Set the miter gauge or blade tilt to the shoulder cut angle produced by the calculator, then verify it against a known mark or scrap cut. For a 10° splay, that means a 10° machine setup. A small error matters because the shoulder line and cheek layout will no longer match the real angle.
How much deeper should a sloped mortise be?
Make the mortise deeper than the nominal depth by at least the cheek stagger. That extra depth keeps the long point from bottoming out before the shoulders close. If the stock is dense or the bottom is rough, add a little more and prove the fit on scrap before cutting the final mortise.
How do you mark cheek layout on an angled tenon?
Mark the long point first, then strike the short point using the calculated shoulder offset. After that, carry the cheek lines along the tenon using the thickness-based stagger. The layout should follow the actual stock dimensions, not a square-joint method copied over from straight rails.
What formula do I use for angled mortise and tenon geometry?
Use two formulas: shoulder offset = rail width × tan(angle), and cheek stagger = tenon thickness × tan(angle). Those two numbers feed the shoulder line and the mortise depth adjustment. If you need a shortcut, the calculator can do the arithmetic, but the layout still has to be checked on the board.
Sponsored / affiliate links. As an Amazon Associate I earn from qualifying purchases. I may earn additional commission from eligible campaigns.
 Corner Angle Finder - Miter Saw Protractor Bevel Gauge Tool with Scales, Goniometer Ruler for Woodworking, Carpenter, Construction, DIY Measurement, Aluminium Alloy Premium Digital Angle Finder
 Protractor Angle Finder, 2025 New Stainless Steel Protractor, with 0-170° Dual Scale, Angle Measuring Tool for Woodworking/Carpenter/Construction/DIY Measurement