Best Way To Get Soft Wax At Home (Tips That Really Work)
The best way to get soft wax at home involves understanding the right wax types for your skin and hair, proper preparation, precise application and removal techniques, and gentle aftercare. Focusing on gentle products and careful steps leads to smoother, less painful results.
Understanding Soft Wax
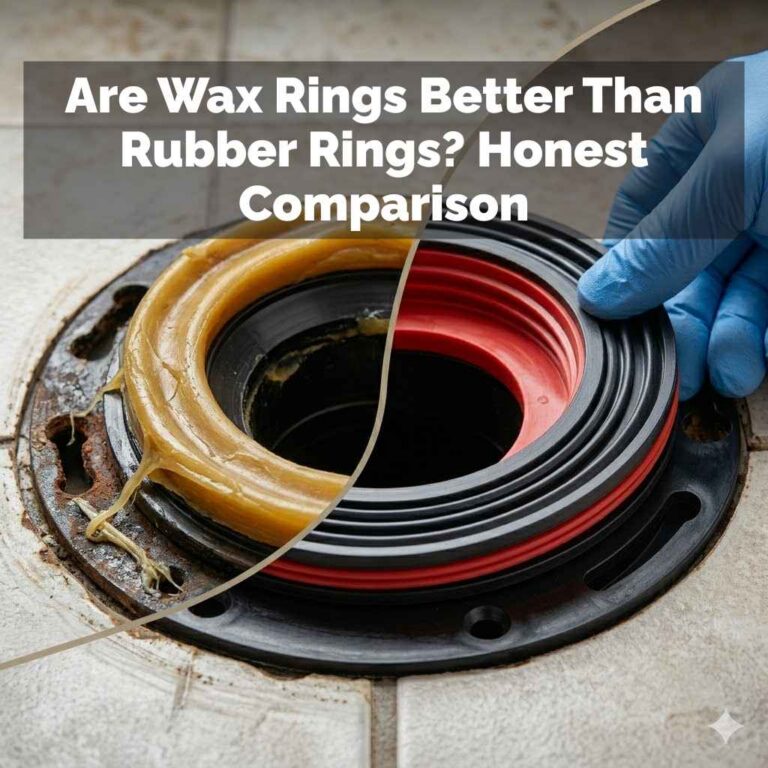
Soft wax, also known as strip wax, is a popular choice for many. It’s often made with ingredients like rosin, beeswax, and oils. This type of wax is spread thinly over the skin.
Then, a cloth or paper strip is pressed onto the wax. When you pull the strip away, it removes the hair. Soft wax grabs hair from the surface of the skin.
It’s great for larger areas like legs and arms. It can also work well for back hair. Some people find it a bit more sensitive on the skin.
This is because it can sometimes lift the top layer of skin cells.
The key to soft wax success is getting the temperature just right. If it’s too hot, you risk burning yourself. Too cool, and it won’t spread easily or grab hair effectively.
It becomes thick and clumpy. This makes the whole process messy and less effective. The consistency is very important.
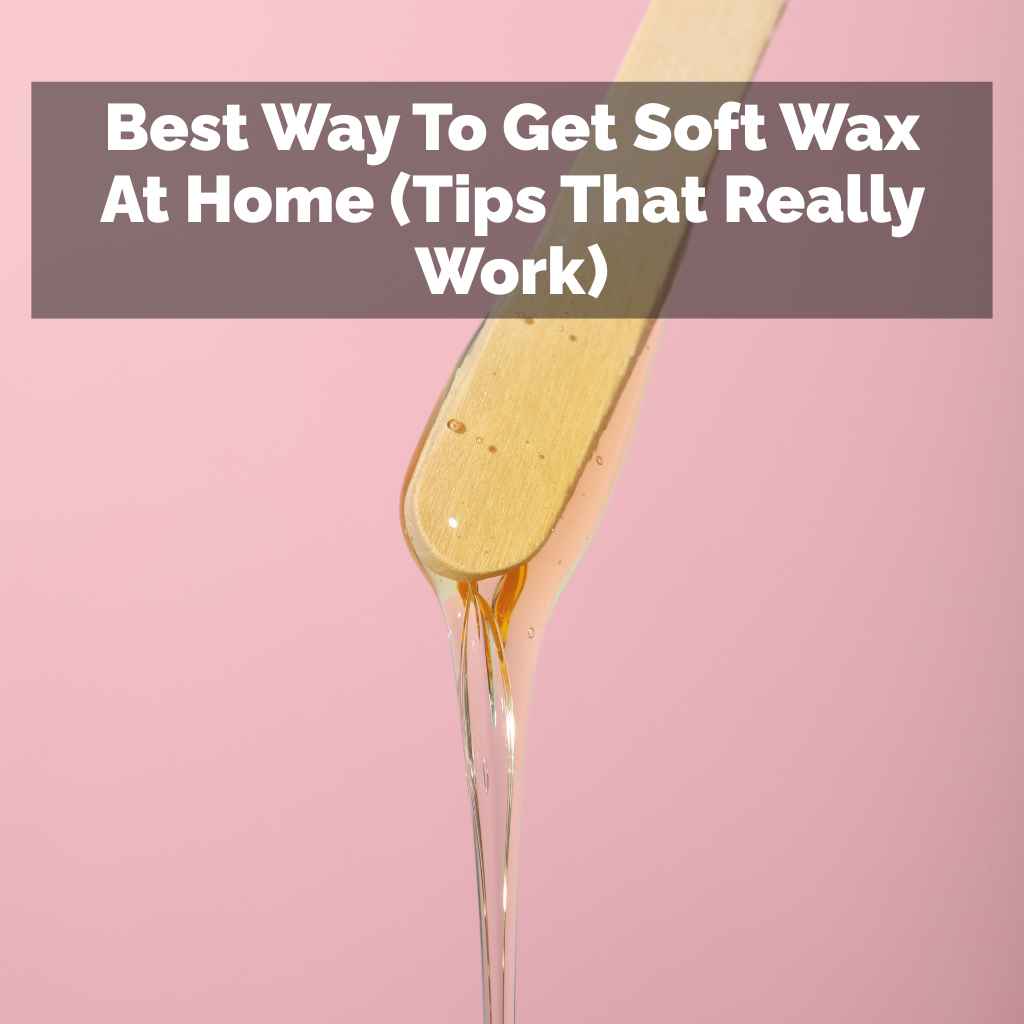
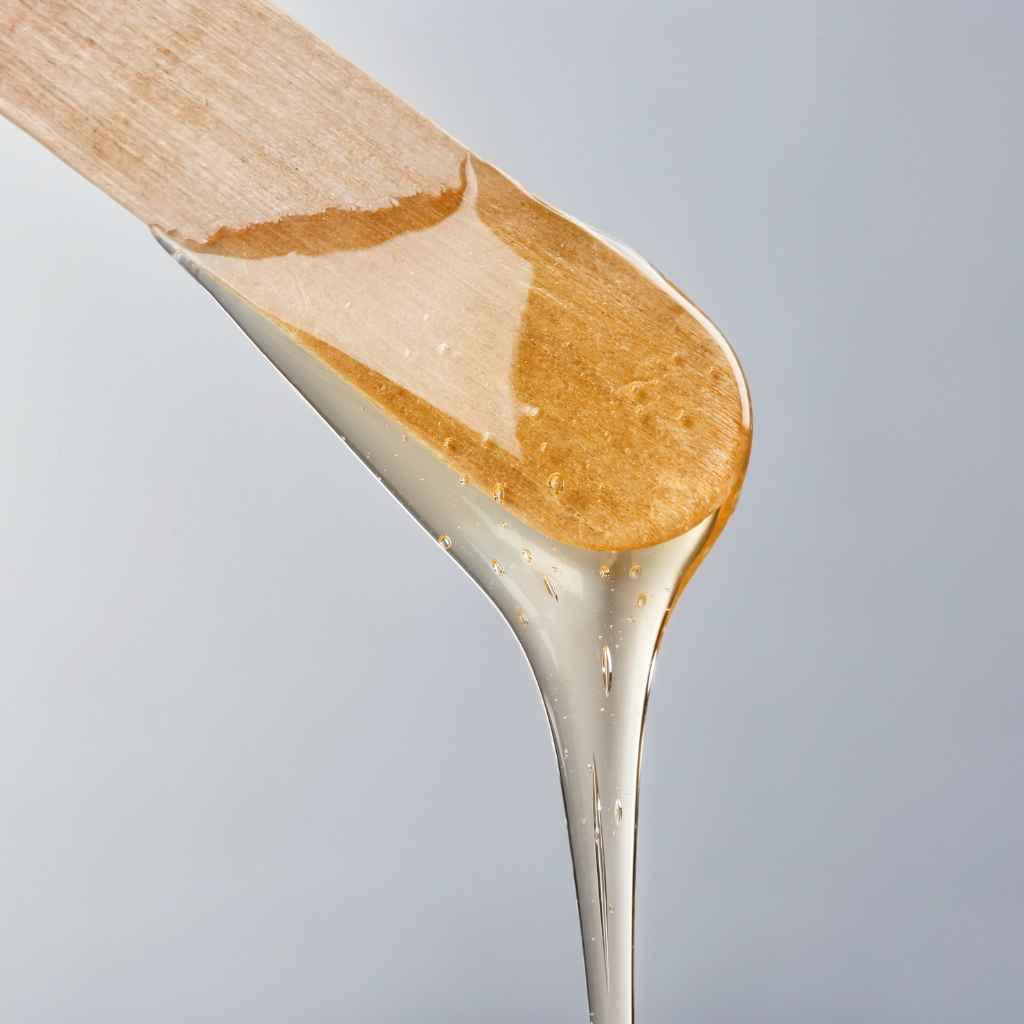
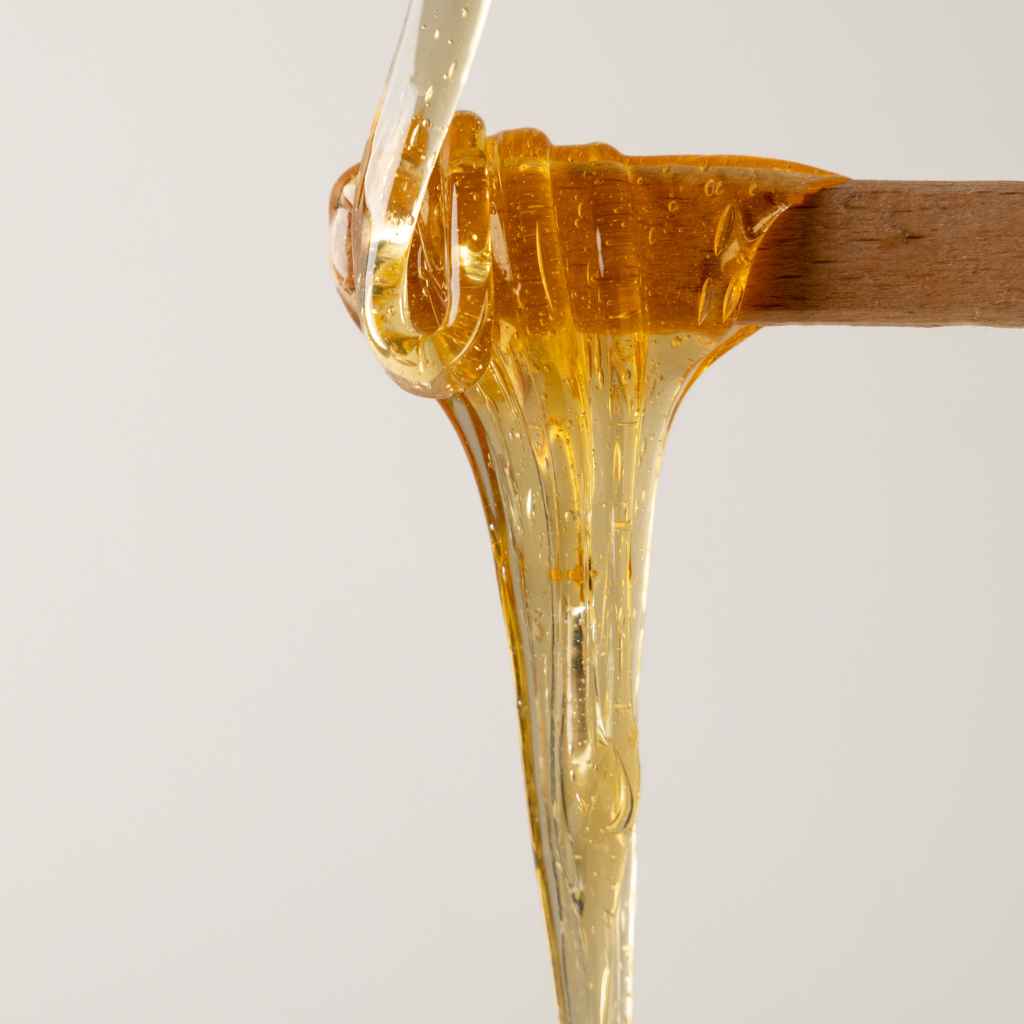
You want it to be like warm honey. It should flow smoothly but not be watery. Many home waxing kits come with wax beads or a pot of wax.
You usually heat this in a special warmer. Some can even be heated in a microwave, but you must be very careful.
Soft wax is generally less expensive than hard wax. It is also usually quicker to apply to large areas. This is because you use strips to remove it.
Hard wax is applied thicker and doesn’t need strips. It hardens and is pulled off directly. Soft wax is more flexible.
This can be both good and bad. It adheres well to the skin. This means it grabs fine hairs effectively.
However, this also means it can pull skin more. Proper technique is vital to avoid this. Think of it like spreading frosting on a cake.
You want an even layer. Not too thick, not too thin.
When you’re choosing a soft wax, look at the ingredients. Some waxes are formulated for sensitive skin. These often have fewer harsh chemicals or added soothing agents.
Things like chamomile or azulene can be good. They help calm the skin. Always read the product label.
It will tell you the best way to use it. It will also tell you what areas it’s good for. Some waxes are better for coarse hair.
Others are better for fine hair. Knowing your hair type helps you pick the right wax.
Preparing Your Skin for Waxing
Getting your skin ready is a big part of the process. It makes waxing easier and reduces pain. It also helps prevent ingrown hairs.
First, make sure your hair is long enough. It needs to be about a quarter of an inch long. This is roughly the length of a grain of rice.
If your hair is too short, the wax won’t be able to grab it. If it’s too long, it can be painful. You might want to trim it a little.
This is especially true for larger areas with very coarse hair. Just a light trim will do.
The day before waxing, gently exfoliate your skin. This removes dead skin cells. It helps the wax get to the hair more easily.
Don’t scrub too hard. You don’t want to irritate your skin. Just a light scrub with a gentle body brush or scrub will work.
On the day of waxing, take a warm shower. This opens your pores. It also cleans your skin.
Clean skin is important. Any dirt or oil can stop the wax from sticking properly. It can also lead to infections.
After your shower, make sure your skin is completely dry. Pat it with a soft towel. Do not apply any lotions, oils, or creams.
These create a barrier on your skin. The wax won’t be able to stick to the hair. It will stick to the product instead.
This makes it much harder to remove hair. Some people like to use a pre-wax cleanser. This is a good idea.
It removes any remaining oils or residue. It helps the wax grip the hair better. It also helps protect your skin.
For sensitive areas, like the bikini line or underarms, you might want to take an over-the-counter pain reliever. Do this about 30 minutes before you plan to wax. This can help reduce discomfort.
Avoid caffeine and alcohol before waxing. They can make your skin more sensitive. Also, try to avoid waxing if you’re on your period.
Your skin tends to be more sensitive then. Proper preparation is key to a smoother, less painful waxing experience.
Skin Prep Checklist
- Hair length: at least 1/4 inch
- Exfoliate gently the day before
- Shower to clean and open pores
- Ensure skin is completely dry
- Avoid lotions or oils on waxing day
- Consider a pre-wax cleanser
- Pain reliever (optional, 30 mins prior)
Heating and Testing Your Soft Wax
Getting the wax temperature right is crucial. If it’s too hot, you can seriously burn your skin. If it’s too cold, it will be thick and hard to spread.
It won’t grab the hair well. Most wax warmers have temperature settings. Start with a medium setting.
Allow the wax to melt completely. Once melted, stir it gently with a clean applicator. This helps ensure an even temperature throughout.
The best way to test the temperature is on your inner wrist. It’s a sensitive area. It’s like testing a baby’s bottle.
Dip a small part of the applicator into the wax. Flick off any excess. Then, carefully test a tiny bit on your wrist.
It should feel warm, not hot. You should be able to hold it there for a few seconds without discomfort. If it feels too hot, turn the warmer down.
Let it cool a bit before testing again.
It’s also important to keep stirring the wax as you use it. The wax at the bottom can get hotter than the wax at the top. Stirring mixes it up.
This keeps the temperature consistent. If you’re using a microwaveable wax, follow the package directions exactly. Heat it in short intervals.
Stirring between each interval is key. Always test carefully after each heating. It’s better to reheat a little than to burn yourself.
The consistency you’re aiming for is like warm honey. It should flow smoothly from the applicator. It shouldn’t be too runny.
It shouldn’t be too thick either. If it’s too thick, it won’t spread thinly. This makes it harder to remove.
If it’s too thin, it can be messy. It might also irritate the skin more. A good consistency ensures efficient hair removal.
It also makes the process less painful.
Applying Soft Wax Correctly
Once your wax is at the perfect temperature and consistency, you’re ready to apply. Use a clean applicator stick for each dip into the wax. This prevents contamination of the wax pot.
Hold the applicator at a slight angle. Spread the wax in a thin, even layer. Apply the wax in the direction of hair growth.
For example, if your leg hair grows down, spread the wax downwards. This is a very important step.
Don’t spread the wax too thin, or it won’t grab hair. Don’t spread it too thick, or it will be hard to remove. Aim for a layer that’s about as thick as a piece of paper.
Leave a slightly thicker edge at the end of your application. This edge gives you a place to grip when you pull. You want to work in small sections.
Don’t apply wax to a huge area at once. Smaller sections are easier to manage. They also help ensure the wax stays at the right temperature.
For legs, you might do sections about 2-3 inches wide. For areas like the upper lip or eyebrows, use much smaller sections. Always apply in the direction of hair growth.
This might seem backward, but it’s how the wax grips the hair best. If your hair grows in different directions in one area, you might need to go over it carefully. Or, you might apply wax in one direction, then another.
Be mindful of the skin underneath. You don’t want to go over the same spot too many times.
When you’re applying, hold the skin taut. This means stretching it slightly. Use your free hand to keep the skin firm.
This helps the wax adhere to the hair. It also reduces the chance of the wax sticking too much to the skin. This will make removal easier and less painful.
Think about how you’d stretch a canvas before painting. It’s a similar idea. This tension is key.
Application Tips
- Use a clean applicator for each dip
- Spread wax thinly, about paper thickness
- Apply in the direction of hair growth
- Leave a slightly thicker edge to grip
- Work in small, manageable sections
- Hold skin taut while applying
Removing Soft Wax Effectively
This is the part that can make people a little nervous. But with the right technique, it’s much easier. Once you’ve applied the wax in a thin layer and in the direction of hair growth, you’ll place your strip on top.
Press the strip down firmly. Smooth it over the wax a few times. This helps the wax stick to the strip.
Make sure the strip is fully adhered to the wax and hair.
Now, find that thicker edge you left. Hold the skin taut with your free hand. This is super important for a less painful pull.
Grab the edge of the strip. Rip the strip off quickly and in one swift motion. The most crucial part is to pull the strip parallel to the skin.
Do NOT pull upwards. Pull parallel to the skin. And pull in the opposite direction of hair growth.
So, if hair grows down, you pull upwards. But parallel to the skin.
Think of it like pulling off a bandage very fast. The faster you pull, the less it hurts. A slow pull will just drag and be more painful.
Also, ensure you are pulling in the direction the hair grows out. If your hair grows downwards, you will pull upwards. A common mistake is pulling straight up into the air.
This is why holding the skin taut is vital. It prevents the skin from being pulled up with the wax. It focuses the pull on the hair.
After you pull, press down on the area immediately with your hand. This helps to calm the nerve endings. It reduces the sting.
You can then apply a new strip if needed. Continue working in small sections. If some hair remains, you can reapply wax to that small area.
However, try not to wax over the same spot too many times. This can cause irritation and redness. It’s often better to leave a few stubborn hairs.
You can tweeze them later or wax them in your next session.
Keep your strips neat. Fold them over to use the other side if it’s not too messy. This can save on waste.
Dispose of used strips properly. They are sticky and can make a mess. Some people like to use baby powder after waxing.
This helps absorb any leftover wax. It can also soothe the skin. But make sure the skin is dry before applying powder.
It’s all about these small steps.
Removal Technique Breakdown
- Press strip firmly onto wax
- Smooth strip over wax and hair
- Grip the edge of the strip
- Hold skin taut with free hand
- Rip strip off quickly in one motion
- Pull parallel to the skin
- Pull in the opposite direction of hair growth
- Immediately press on the waxed area
Dealing with Leftover Wax
Sometimes, even with the best effort, a little bit of wax sticks around. This can be annoying. But there are easy ways to clean it up.
Never use water directly on sticky wax. Water doesn’t dissolve wax. It can actually make it spread and become messier.
The best thing to use is an oil-based product. Many waxing kits come with a post-wax oil. If yours didn’t, you can use things like baby oil or even olive oil.
Take a soft cloth or cotton pad. Dampen it with your oil of choice. Gently rub the sticky areas.
The oil will help break down the wax. It will lift it off your skin. Wipe away the residue.
You might need to repeat this a few times. Be gentle. You don’t want to irritate your skin further.
Once all the wax is gone, you can wash the area with warm water and a mild soap.
Some people find that body oil works well to remove wax. Others prefer a specialized post-wax cleanser. These are designed to be gentle.
They also often have ingredients that help soothe the skin. Read the instructions on your wax kit. They will usually tell you the best way to remove any residue.
If you don’t have any special products, baby oil is a reliable choice.
Avoid using harsh soaps or alcohol. These can dry out your skin. They can also cause redness or stinging.
The goal is to remove the wax gently. And then to help your skin recover. Once the area is clean, it’s time for aftercare.
This is just as important as preparation.
Aftercare for Soothed Skin
After you’ve finished waxing, your skin will be sensitive. It might be a little red. This is normal.
The most important thing is to be gentle. For the first 24 hours, avoid hot showers or baths. Stick to lukewarm water.
Hot water can further irritate your skin. Also, avoid saunas and steam rooms. These can open your pores and lead to infection.
Don’t apply any perfumed lotions or deodorants to the waxed area. The alcohol or fragrance can sting. Opt for unscented, gentle moisturizers.
Aloe vera gel is a fantastic option. It’s cooling and helps calm the skin. It can greatly reduce redness and irritation.
Many people find it very soothing after waxing.
Avoid tight clothing for a day or two. Loose, breathable fabrics are best. This allows your skin to breathe.
It prevents friction. Friction can lead to irritation and ingrown hairs. For example, if you waxed your legs, wear loose pants or a skirt.
If you waxed your bikini area, wear cotton underwear.
Continue to exfoliate your skin regularly, starting a few days after waxing. This is key to preventing ingrown hairs. Exfoliate every few days.
Use a gentle scrub or an exfoliating mitt. This keeps dead skin cells from blocking hair follicles. When the hair starts to grow back, it can get trapped underneath.
Exfoliation helps it break through the skin easily.
Stay out of direct sun for at least 24-48 hours. Waxed skin is more susceptible to sunburn. If you have to be in the sun, use a high SPF sunscreen.
And wear protective clothing. Protect your skin from harsh elements. This helps it heal properly.
Proper aftercare ensures smooth results. It also keeps your skin healthy.
Post-Waxing Care
- Avoid hot water for 24-48 hours
- No saunas or steam rooms
- Use unscented, gentle moisturizers
- Aloe vera gel is highly recommended
- Wear loose, breathable clothing
- Exfoliate regularly (starting a few days after)
- Avoid sun exposure for 24-48 hours
When to Reconsider Home Waxing
While home waxing can be convenient and cost-effective, it’s not always the best option for everyone. There are situations where you should probably stick to a professional. If you have very sensitive skin, you might find home waxing too harsh.
Even with the gentlest products, there’s a risk of irritation. Professionals have ways to manage this.
If you have certain skin conditions like eczema or psoriasis, consult your doctor. Waxing might make these conditions worse. Also, if you’re using acne medications like retinoids or Accutane, talk to your dermatologist.
These medications can make your skin very thin and fragile. Waxing can cause severe skin lifting or tearing. This is a serious risk.
Always be honest with your esthetician about your medications.
If you have a lot of moles or skin tags, be cautious. You should not apply wax over them. Wax can tear them off, which is painful and can lead to bleeding.
If you have a large number of moles, or they are raised, it might be better to go to a salon. A professional esthetician knows how to work around these areas safely. They can also identify any concerning moles.
If you’re waxing a very sensitive or hard-to-reach area for the first time, like the full bikini area or your back, it might be overwhelming. Professionals have the experience and technique for these areas. They can do it quickly and effectively.
Trying it yourself for the first time on a large, sensitive area can lead to poor results or injury. It’s often wise to get a professional’s help first.
Finally, if you’re just not comfortable with the process, or if you’re feeling very anxious, don’t force it. Waxing should be a manageable process. If it feels too daunting, or you’ve had bad experiences at home, a salon is likely a better choice.
Professionals are trained. They know how to handle complications. They can offer a more controlled experience.
Common Soft Wax Mistakes to Avoid
We all make mistakes, especially when we’re learning. But knowing common errors can help you avoid them. One big mistake is not preparing the skin properly.
As we discussed, clean, dry skin is vital. Skipping exfoliation or applying lotion before waxing will lead to poor results. The wax won’t grip the hair well.
This means you’ll need more passes. It makes the process more painful and less effective.
Another common mistake is having the wrong wax temperature. Too hot burns you. Too cold makes it unspreadable.
Always test on your wrist. And keep stirring the wax. It’s easy to get impatient.
But this step is critical for safety and effectiveness. Rushing this part can lead to real problems.
Applying wax too thickly is also a frequent issue. A thin, even layer is best. A thick layer is hard to remove.
It can also pull more on the skin. This increases pain and irritation. Remember that edge you need to grip?
If you apply it too thick, you might not have a good edge. This makes grabbing the strip difficult.
Pulling the wax strip the wrong way is a major mistake. Many people pull straight up. This is very painful and can irritate the skin.
Always pull parallel to the skin. And always pull in the opposite direction of hair growth. Holding the skin taut is key here.
It prevents the skin from lifting with the wax. Think of it as a quick, firm motion. Not a slow, hesitant pull.
Going over the same area too many times is another error. Each pass with wax can irritate the skin. If you miss a few hairs, it’s often better to leave them.
You can try to tweeze them. Or you can wait until your next waxing session. Repeatedly waxing the same spot can lead to bruising, redness, and even skin lifting.
Be gentle with yourself and your skin.
Top Waxing Mistakes
- Improper skin preparation (no exfoliation, lotion applied)
- Incorrect wax temperature (too hot or too cold)
- Applying wax too thickly
- Pulling upwards instead of parallel to the skin
- Not holding skin taut during removal
- Waxing the same area multiple times
- Ignoring aftercare instructions
Choosing the Right Soft Wax Product
The market has a huge variety of soft waxes. Picking one that suits you can make a big difference. Consider your skin type.
If you have sensitive skin, look for waxes labeled “sensitive skin.” These often contain soothing ingredients like aloe vera, chamomile, or azulene. They might also be made with fewer chemicals or fragrances.
Think about your hair type. Is your hair fine and light, or coarse and dark? Some waxes are formulated for fine hair.
Others are designed to grip coarser hair more effectively. If you have very stubborn hair, you might need a wax with a stronger grip. Read product descriptions carefully.
They often mention what hair types the wax is best for.
Consider the format. Soft waxes come in several forms. You can find wax beads, which are great for small batches.
You can get wax in a can or jar, which you’ll melt in a warmer. Some kits come with pre-made wax strips. These are convenient but can be less effective for thicker hair.
For home use, melting wax beads or jar wax in a warmer is often the most versatile option.
Look for waxes that are easy to spread. A good soft wax should have a smooth, pliable texture when melted. It shouldn’t be too sticky or too brittle.
Reviews can be helpful here. See what other users say about the ease of application and removal. Some waxes are water-soluble, which means they clean up easily with water.
Others are oil-soluble, requiring oil for cleanup.
Don’t be afraid to try a few different brands or types. What works perfectly for one person might not be ideal for another. Start with a reputable brand.
Many offer starter kits. These are a good way to test different products without committing to a large size. Your first choice might not be your last.
Experiment a little to find your perfect match.
What to Do If You Get a Burn
Accidents happen, and sometimes wax can be too hot. If you get a mild burn, don’t panic. First, immediately run cool (not ice cold) water over the affected area.
Do this for at least 10-15 minutes. This helps to reduce the heat and prevent further damage to the skin. Avoid using ice directly on the skin, as this can cause frostbite.
After cooling the burn, gently pat the area dry with a soft cloth. Do not rub. You can then apply a thin layer of aloe vera gel.
Pure aloe vera gel is excellent for burns. It’s cooling and helps with healing. You can also use a mild burn ointment.
Avoid any products with fragrances or alcohol. These can irritate the burn.
Keep the area clean. If the burn is blistering, try not to break the blisters. Blisters protect the skin underneath.
If a blister breaks, clean it with mild soap and water. Apply an antibiotic ointment. Cover it with a sterile bandage to prevent infection.
Change the bandage daily or if it gets wet or dirty.
If the burn is severe, covers a large area, or if you experience signs of infection (like increased redness, swelling, pus, or fever), seek medical attention right away. Most minor burns from waxing will heal within a week or two. The key is to act fast and be gentle with the affected skin.
Frequently Asked Questions
How often should I wax?
Most people find that waxing every 3 to 6 weeks works best. This depends on how fast your hair grows. If you wax regularly, your hair may grow back finer and sparser over time.
It’s important to let your hair grow out enough between sessions for the wax to grab it.
Can I wax my face at home?
Yes, but you must be extremely careful. Facial skin is very delicate. Use a soft wax specifically designed for the face, like for the upper lip or eyebrows.
Always test temperature. Consider using strips and techniques that are gentle. If you have sensitive skin or are unsure, it’s best to see a professional for facial waxing.
Is soft wax better than hard wax for beginners?
Many beginners find soft wax easier to use on larger areas like legs. It’s applied thinly and removed with strips, which can be quicker. Hard wax requires a bit more technique to apply and remove correctly.
However, hard wax is often preferred for sensitive areas like the bikini line because it adheres less to the skin.
What if I’m allergic to rosin in wax?
Rosin is a common ingredient in soft waxes, and some people are allergic to it. If you suspect a rosin allergy, look for rosin-free waxes. These are often made with other natural resins or synthetic ingredients.
Always patch test any new product on a small area of skin before a full waxing session.
How do I clean my wax warmer?
To clean your wax warmer, you can use oil. Pour a small amount of baby oil or mineral oil into the warmer after you’ve removed the majority of the wax. Turn the warmer on low heat and let the oil soften any remaining wax residue.
Use a paper towel or soft cloth to wipe out the melted wax and oil. Make sure the warmer is completely cool before you unplug it.
Can I reuse soft wax strips?
It’s generally not recommended to reuse soft wax strips. Once a strip has been used, it’s full of hair and wax. Trying to reuse it will be less effective.
The wax may be dried out, and it won’t grab hair as well. Plus, it can be less hygienic. For the best results, use a fresh strip each time.
Conclusion
Achieving smooth, soft skin with home waxing is totally doable. It really comes down to a few key things. Proper skin prep, getting the wax temperature just right, and using the correct application and removal techniques.
Don’t forget the gentle aftercare too. Small steps make a big difference. Be patient with yourself as you learn.
You’ll find what works best for your skin and hair. Enjoy that smooth feeling!