Best Way to Repaint Furniture: A Genius, Essential Guide
The best way to repaint furniture involves thorough preparation: cleaning, sanding, and priming. Applying two thin coats of high-quality paint, like an acrylic latex enamel, with a quality brush or roller, ensures a durable, smooth finish. Finish with a protective topcoat for long-lasting results. This simple process guarantees a professional look every time.
Hello there! I’m Md Meraj. In my workshop, I’ve seen countless old, forgotten pieces of furniture. A wobbly side table, a dated dresser, or a scuffed-up chair. You might have one just like it sitting in a corner right now. Many people think giving it a new life is too hard, but I’m here to tell you it’s one of the most rewarding DIY projects you can tackle. You don’t need a big, fancy shop or expensive tools. With a little guidance and patience, you can turn that old piece into something beautiful. This guide will show you how, step-by-step.
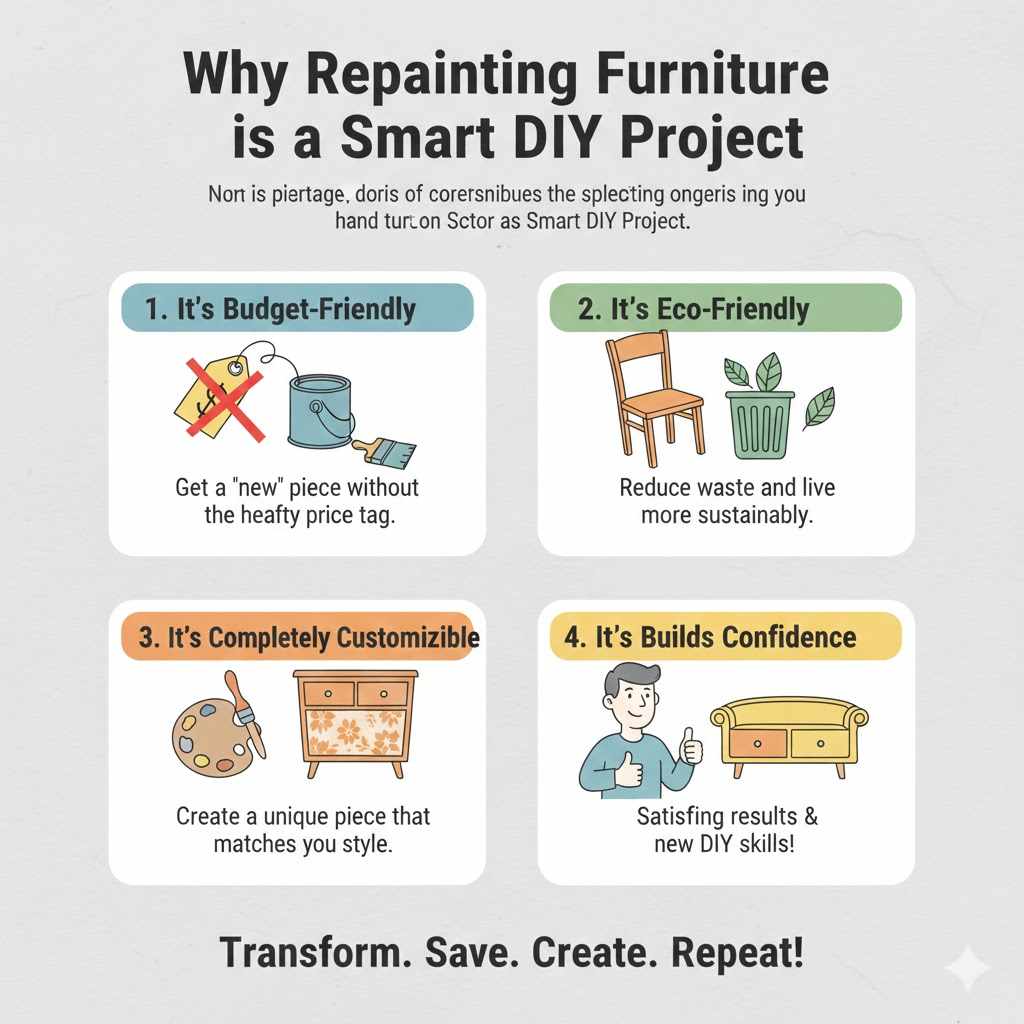
Why Repainting Furniture is a Smart DIY Project
Before we roll up our sleeves and grab a paintbrush, let’s talk about why this is such a great project for anyone to try. Repainting furniture isn’t just about changing a color; it’s about transformation. It’s about saving money, reducing waste, and adding your own personal touch to your home.
- It’s Budget-Friendly: A brand-new dresser can cost hundreds of dollars. A can of paint and a few supplies? A tiny fraction of that. You get a “new” piece of furniture without the hefty price tag.
- It’s Eco-Friendly: Every piece of furniture you repaint is one less item in a landfill. It’s a wonderful way to recycle and live a more sustainable lifestyle.
- It’s Completely Customizable: You are in full control. You pick the color, the finish, and the hardware. You can create a unique piece that perfectly matches your style and home decor, something you could never find in a store.
- It Builds Confidence: Completing a project like this is incredibly satisfying. You’ll look at your finished piece and say, “I did that!” It’s a fantastic way to build your DIY skills and confidence for bigger projects down the road.
Gathering Your Supplies: What You’ll Need
Having everything you need on hand before you start makes the whole process smoother and more enjoyable. Think of it like cooking a meal—you get all your ingredients ready first. Here’s a simple checklist of tools and materials for a flawless paint job.
Safety First!
- Safety Goggles: Protect your eyes from dust and paint splatters.
- Dust Mask or Respirator: Essential for sanding to avoid breathing in fine particles.
- Gloves: Nitrile gloves will keep your hands clean from cleaners, primers, and paints.
Prep & Cleaning
- Drop Cloths or Plastic Sheeting: To protect your floor and surrounding area.
- Screwdriver: To remove handles, knobs, and other hardware.
- Degreaser or Cleaner: A solution of TSP (Trisodium Phosphate) substitute or simple soap and water works well.
- Clean Rags or Sponges: For cleaning and wiping down the furniture.
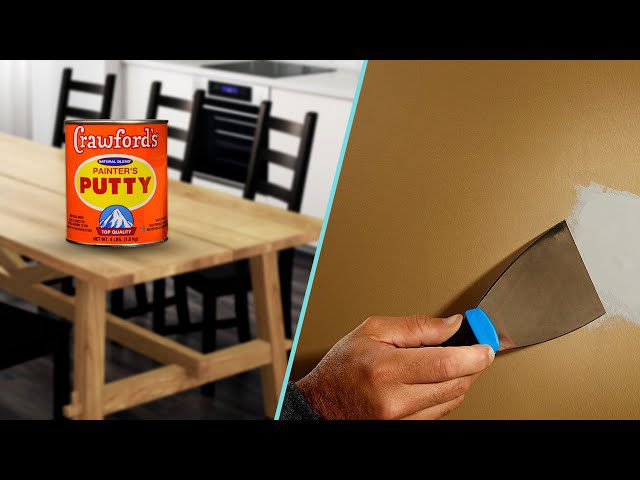
- Wood Filler: To patch any holes, dents, or deep scratches.
- Putty Knife: For applying the wood filler smoothly.
- Painter’s Tape: To tape off any areas you don’t want to paint, like glass panels or drawer insides.
Sanding & Priming
- Sandpaper or Sanding Sponges: A variety of grits is best. I recommend 120-grit for initial sanding and 220-grit for between coats.
- Tack Cloth or Microfiber Cloth: To wipe away all sanding dust before priming or painting.
- Primer: A good quality stain-blocking primer is your best friend for a professional finish.
Painting & Finishing
- Paint: High-quality latex, acrylic, or chalk paint works well for furniture. We’ll discuss this more below.
- High-Quality Paint Brushes: An angled sash brush is great for cutting in edges and details.
- Small Foam or Mohair Roller: For a super smooth finish on flat surfaces like tabletops and drawer fronts.
- Paint Tray: To hold your paint for the roller.
- Topcoat/Sealer: A clear water-based polyurethane or polycrylic to protect your new finish.
Choosing the Right Paint and Primer
The paint aisle can feel overwhelming. So many cans, so many labels! Let’s break it down so you can choose with confidence. The secret to a durable finish is picking the right product for your project. Your two most important choices are the primer and the paint.
Primer: The Unsung Hero
Never, ever skip the primer. I can’t say this enough. Primer does three crucial things:
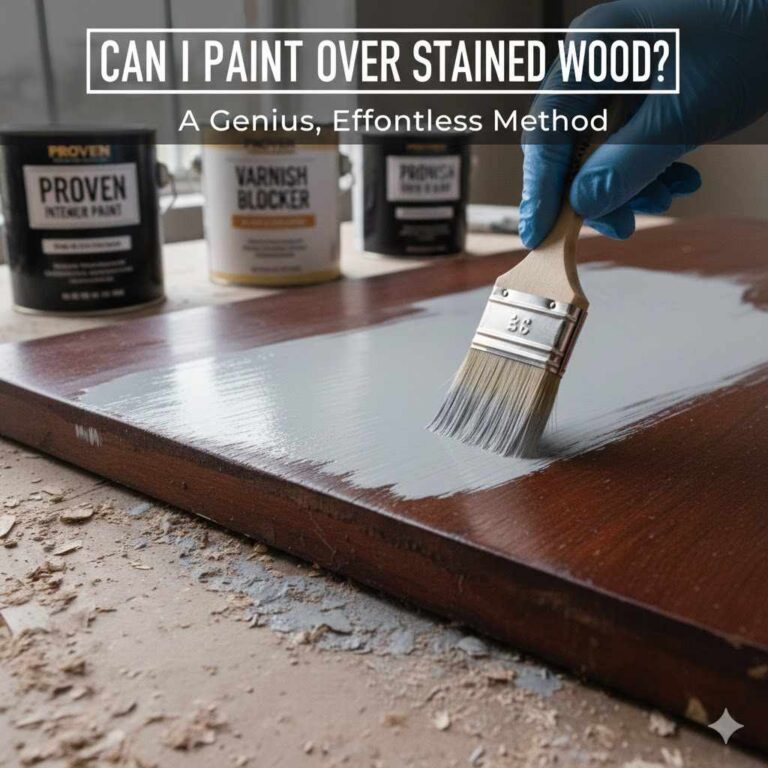
- It Blocks Stains: Wood often has natural oils or old stains (called tannins) that can bleed through your new paint, causing ugly yellow or brown spots. A stain-blocking primer stops this.
- It Helps Paint Adhere: Primer creates a surface that your paint can grip onto, preventing chips and peels down the road.
- It Creates an Even Base: It covers up old colors and wood grain, so your new color looks uniform and true.
For most projects, a good water-based stain-blocking primer like Zinsser Bulls Eye 1-2-3 is a fantastic all-around choice. If you’re painting over a very slick, glossy surface, an adhesion-promoting primer is an even better option.
Paint: Your Ticket to Transformation
Once you’ve primed, it’s time for the fun part: color! But which type of paint is best? Here’s a quick comparison to help you decide.
| Paint Type | Best For | Pros | Cons |
|---|---|---|---|
| Latex Paint (Water-Based) | Most indoor furniture projects (dressers, nightstands, bookcases). | Easy cleanup with soap and water, low odor, dries quickly. | Can be less durable than other types; a good topcoat is recommended. |
| Acrylic Enamel (Water-Based) | High-traffic pieces like kitchen cabinets, tabletops, and chairs. | Very durable, hard finish (cures harder than standard latex). Easy cleanup. | Can be slightly more expensive. |
| Chalk Paint | Creating a distressed, matte, or shabby-chic look. | Excellent adhesion (often requires no priming), very forgiving for beginners, easy to distress. | Requires a protective topcoat (wax or poly) to be durable; matte finish can show dirt. |
| Alkyd/Oil-Based Enamel | Outdoor furniture or pieces needing maximum durability. | Extremely durable and smooth, self-leveling finish. | Strong fumes (requires good ventilation), long dry times, cleanup requires mineral spirits. |
For beginners, I almost always recommend a high-quality water-based acrylic enamel. It gives you the durability you need with the easy cleanup and low fumes of a latex paint. Brands like Sherwin-Williams ProClassic or Benjamin Moore ADVANCE are excellent choices.
The Genius 7-Step Method to Perfectly Repainted Furniture
Alright, you’ve got your supplies and you’ve picked your paint. Now it’s time to follow the simple steps that will take your furniture from drab to fab. Don’t rush these steps. Patience is a woodworker’s greatest tool. Following this process is what separates an okay paint job from a fantastic one.
Step 1: Prep Your Workspace
Find a well-ventilated area to work. A garage with the door open, a covered patio, or even a room with several open windows is perfect. Lay down your drop cloths to protect the floor. Set up your piece so you can easily walk around it and access all sides.
Next, remove all hardware. Take off every knob, pull, and hinge. Put them in a labeled plastic bag so you don’t lose any screws. If you’re painting drawers, take them out and work on them separately from the main furniture frame.
Step 2: Clean and Degrease Your Furniture
This might be the most important step of all. Paint cannot stick to dirt, grime, or furniture polish. If you skip cleaning, your paint will eventually fail—I guarantee it.
Mix your TSP substitute cleaner according to the directions on the package, or just use a bucket of warm water with a few drops of dish soap. Using a sponge or rag, scrub down the entire piece of furniture. Get into all the corners and crevices. You’ll be surprised how much grime comes off!
After scrubbing, use a separate rag with clean water to wipe off any cleaning residue. Let the piece dry completely. For furniture made before 1978, it’s wise to test for lead paint. If you suspect lead paint is present, consult the EPA’s safety guidelines before proceeding with sanding.
Now is also the time to fill any unwanted holes or deep scratches with wood filler. Apply it with a putty knife, slightly overfilling the area. Let it dry completely according to the product’s instructions.
Step 3: Sanding for a Smooth Finish
I know, I know—sanding seems like a chore. But it’s not about removing the old finish entirely. It’s about “scuffing up” the surface to give the primer something to grab onto. A light sanding is all you need.
If you used wood filler, start by sanding those patched areas smooth with 120-grit sandpaper until they are flush with the surrounding surface. Then, take your 120-grit paper or sanding sponge and lightly sand the entire piece. You’re just trying to dull the existing sheen. The surface should feel slightly rough and look dull when you’re done.
| Sanding Grit | When to Use It | Why |
|---|---|---|
| 120-Grit (Medium) | Initial scuff sanding and smoothing wood filler. | Rough enough to create grip for the primer but not so rough that it leaves deep scratches. |
| 220-Grit (Fine) | Sanding between coats of primer and paint. | Smooths out any minor imperfections or dust nibs in the finish without removing too much product. |
After sanding, it’s critical to remove every speck of dust. A vacuum with a brush attachment works well, followed by a wipe-down with a tack cloth or a slightly damp microfiber cloth. The surface must be perfectly clean and dust-free before you move on.
Step 4: Prime Like a Pro
With your clean, dry, and dust-free piece, you’re ready for primer. Stir your primer thoroughly. Using your angled brush, apply a thin, even coat. Start with the detailed areas, corners, and edges first. Then, switch to your foam roller for the large, flat surfaces like the top and sides. The roller will help you avoid brush marks.
Don’t try to get perfect coverage in one coat. A thin, even coat is much better than a thick, goopy one. Let the primer dry completely according to the can’s instructions. This usually takes at least an hour, but letting it dry for a few hours is even better.
Once dry, your piece might feel a little rough. This is normal! Take your 220-grit sandpaper and give the entire piece a very light sanding. This will knock down any grain that was raised by the water-based primer and create an ultra-smooth base for your paint. Wipe away the dust again with your tack cloth.
Step 5: Apply Your First Coat of Paint
The moment has arrived! Stir your paint well. Just like with the primer, use your high-quality angled brush for the details and your foam roller for the flat surfaces. Apply a thin, even coat of paint. Work in one direction, maintaining a wet edge to minimize brush and roller marks.
The biggest mistake beginners make is applying the paint too thickly. They think it will save them time. It won’t. Thick coats take forever to dry, can sag or drip, and won’t cure properly, leading to a soft, easily damaged finish. Two thin coats are always better than one thick coat.
Let this first coat dry completely. Again, check the instructions on your paint can. Don’t rush this! Painting the second coat too soon can ruin the first one.
Step 6: Light Sand and Second Coat
You guessed it—once the first coat of paint is fully dry, it’s time for another very light sanding with 220-grit sandpaper. This step is the secret to a professional, silky-smooth finish. It removes any little bumps, dust particles, or imperfections. Be gentle; you are just smoothing, not removing paint.
Wipe away all the dust with your tack cloth. Now, apply your second thin coat of paint exactly as you did the first. You will see the magic happen with this coat. The color will deepen, the coverage will be perfect, and the finish will look amazing.
Step 7: Apply a Topcoat for Durability (Recommended)
Let your final coat of paint cure for at least 24-48 hours. Curing is different from drying. Dry means it’s not wet to the touch. Cured means the paint has hardened and become durable. If your piece will see a lot of use—like a tabletop, desk, or chair—I highly recommend a protective topcoat.
A water-based polycrylic or polyurethane is a great choice. It goes on clear and doesn’t yellow over time like oil-based topcoats can. Apply 2-3 thin coats with a brush or a new foam roller, lightly sanding with 220-grit sandpaper between each coat (but not after the final coat). Make sure to wipe away dust between coats.
Once your final topcoat is dry, you can reattach your hardware (or install brand-new hardware for an extra pop!). Let the entire piece cure for several days before putting it into heavy use. The longer you let it cure, the harder and more durable the finish will be.
Common Mistakes to Avoid When Repainting Furniture
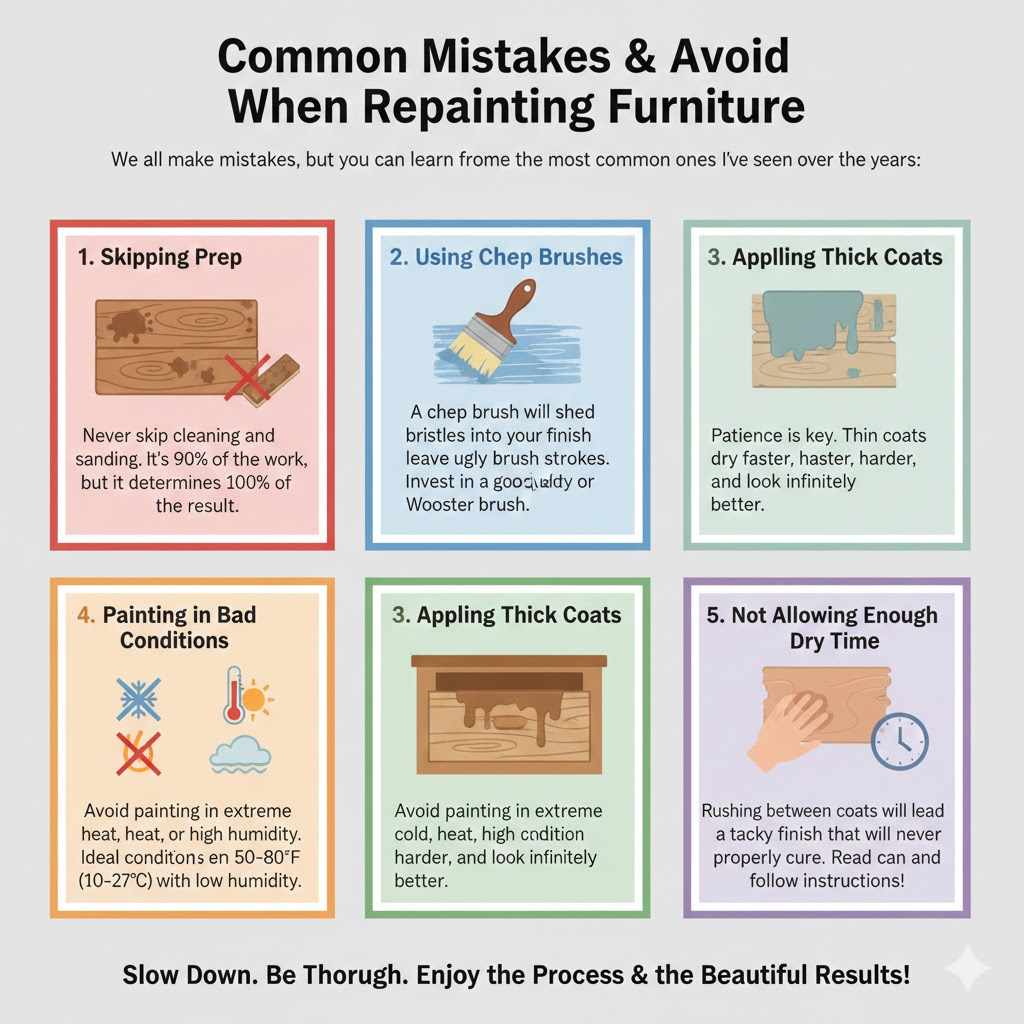
We all make mistakes, but you can learn from some of the most common ones I’ve seen over the years:
- Skipping Prep: Never skip cleaning and sanding. It’s 90% of the work, but it determines 100% of the result.
- Using Cheap Brushes: A cheap brush will shed bristles into your finish and leave ugly brush strokes. Invest in a good quality Purdy or Wooster brush. You can wash and reuse it for years.
- Applying Thick Coats: Patience is key. Thin coats dry faster, harder, and look infinitely better.
- Painting in Bad Conditions: Avoid painting in extreme cold, heat, or high humidity. Ideal conditions are between 50-80°F (10-27°C) with low humidity.
- Not Allowing Enough Dry Time: Rushing between coats will lead to a tacky, soft finish that will never properly cure. Read the can and follow the instructions!
FAQs: Your Repainting Questions Answered
Here are some of the questions I get asked most often in my workshop. I hope these help clear things up for you!
Do I always have to sand furniture before painting?
Yes, for the best results, you should almost always do a light “scuff” sand. It takes very little time and ensures the primer and paint have a good surface to stick to. The only exception is some specialty “no-prep” chalk paints, but even those benefit from a light sanding for better durability.
What is the best brush for painting furniture?
A 2-inch angled sash brush made with synthetic bristles (like nylon or polyester) is perfect for most furniture projects. The angle gives you excellent control for cutting in around edges and details. Pair it with a small foam roller for large flat areas for a brushstroke-free finish.
Can I use spray paint to repaint furniture?
Absolutely! Spray painting can provide a beautiful, smooth finish, especially on chairs with lots of spindles or detailed pieces. The key is to apply several very thin misting coats rather than one heavy coat. Work in a well-ventilated outdoor area and wear a respirator.
How long do I need to wait between coats of paint?
This depends on the paint and your environment (temperature and humidity). Always check the manufacturer’s instructions on the paint can. As a general rule, wait at least 2-4 hours for latex or acrylic paint. When in doubt, wait longer. If the surface feels even slightly tacky, it is not ready for another coat.
Do I need to put a topcoat over chalk paint?
Yes. Chalk paint has a porous, matte finish that needs to be sealed to protect it from stains and water. You can use a soft furniture wax for a traditional, mellow look or a water-based polycrylic for higher durability, especially on surfaces like tables and desks.
How long does it take for paint to fully cure?
While paint may be dry to the touch in a few hours, it takes much longer to fully cure and harden. Most water-based paints take about 21-30 days to reach maximum hardness. Be gentle with your newly painted piece for the first few weeks to avoid scratches or dings.
What if my furniture has a laminate or veneer surface?
You can still paint it! The process is the same, but the prep work is even more critical. Clean it thoroughly, give it a good scuff sand, and most importantly, use a high-quality adhesion-promoting primer. This type of primer is specifically designed to stick to slick, non-porous surfaces.
Your Workshop, Your Masterpiece
And there you have it! That’s the best way to repaint furniture, broken down into simple, manageable steps. It’s not about having some kind of magic talent; it’s about following a good process and having a little patience.
Think about that piece of furniture you were ready to give up on. Now, imagine it with a fresh coat of paint in your favorite color, with beautiful new hardware, standing proudly in your home. You can make that happen. The feeling of accomplishment you’ll get from transforming something with your own two hands is truly special.
So, grab that old dresser from the garage or that flea market find. Follow these steps, take your time, and enjoy the process. You are more than capable of creating something wonderful. Happy painting!